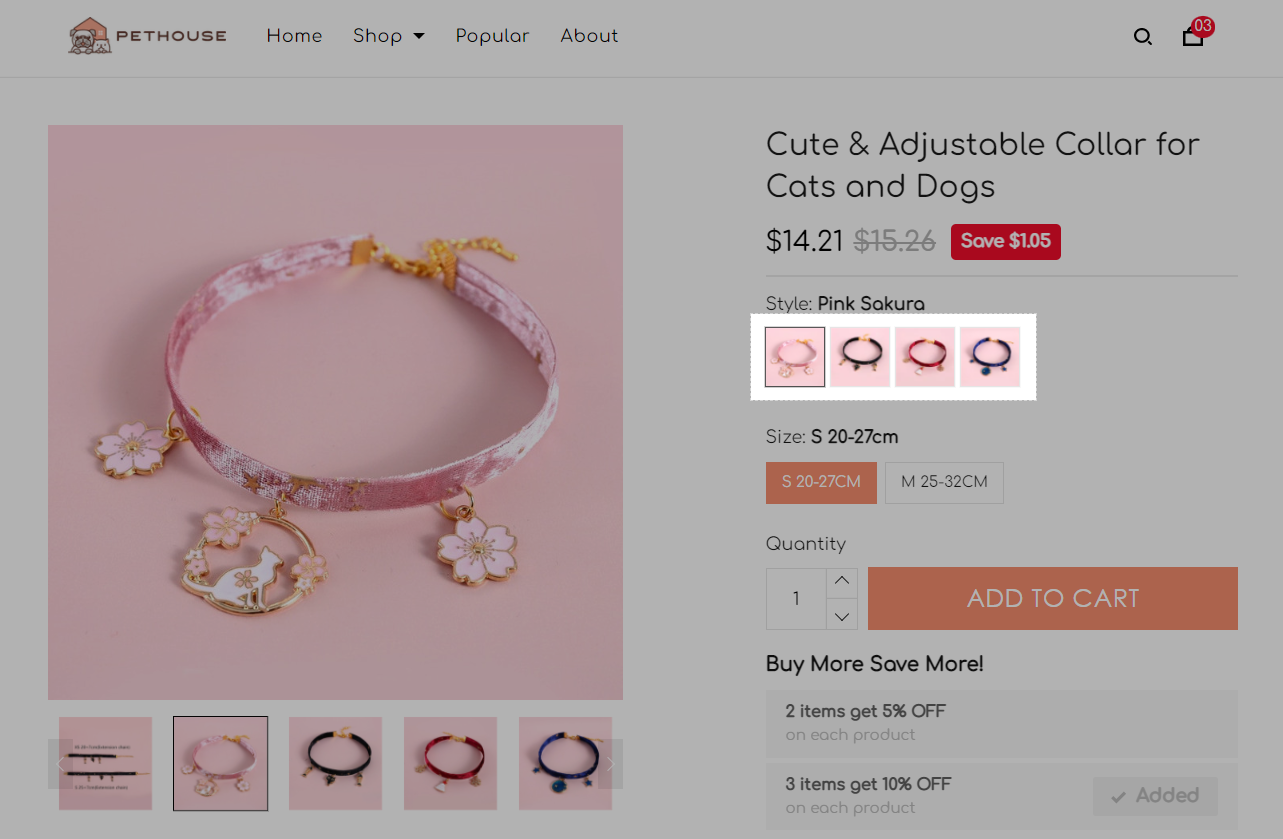
色板是用于表示产品变体的具体颜色、图案等的缩略图。在ShopBase上,您可以根据共同特征(例如颜色和尺寸)将不同的产品变体分组。每组色板将由一个图片(或 颜色)表示。本文将指导您为产品创建并启用变体组色板。
主要内容
A. 创建变体组色板
B. 启用变体组色板
A. 创建变体组色板
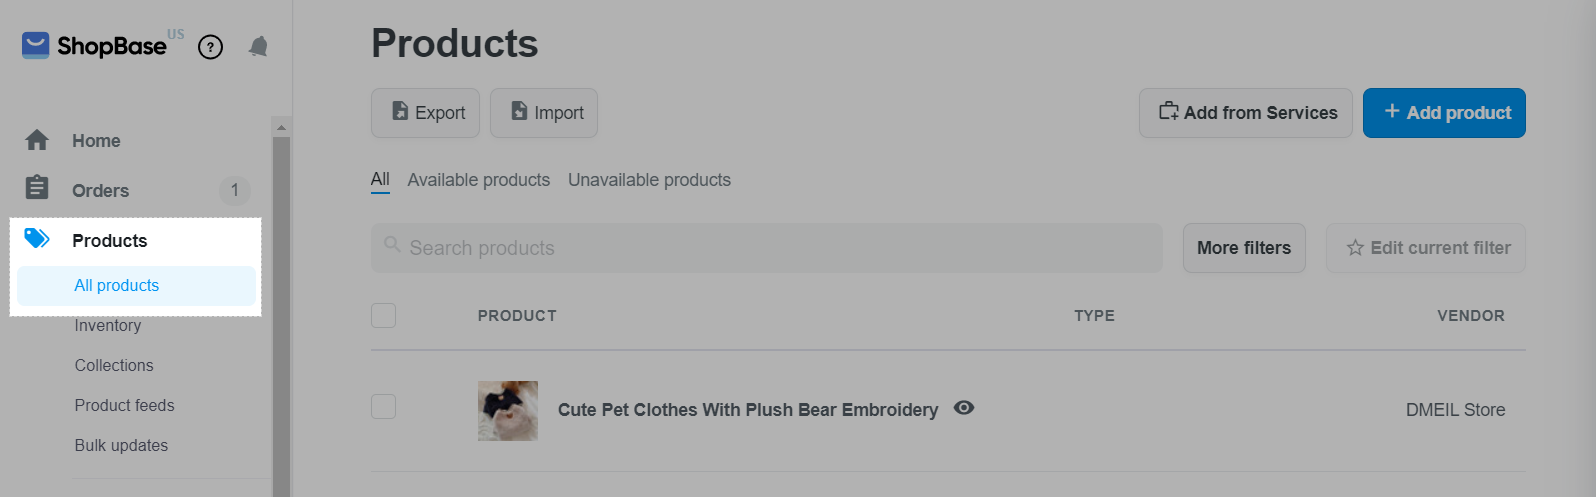
在ShopBase后台中,转到 Products > All products并选择您要编辑的产品。
在 Variant部分中,添加变体图片以显示色板。请参阅 此教程以了解如何为您的产品设置变体图片。
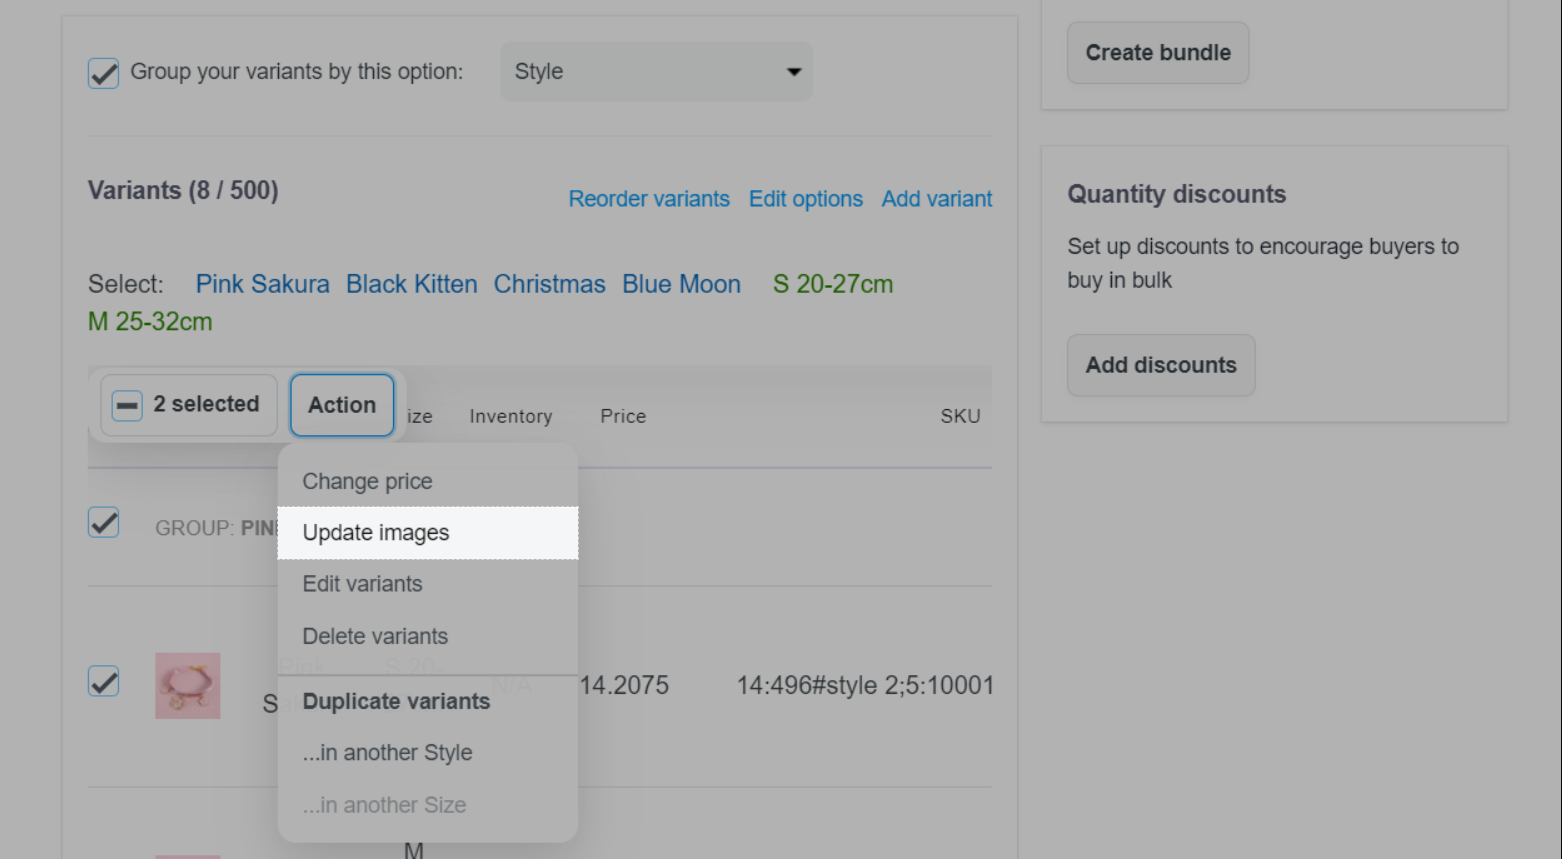
然后,勾选 Group your variant by this option(通过此选项将变体分组)并选择所需的选项。您的变体将分组,并且您选择的选项将在产品页面上显示产品图片。

完成后,请点击 Save changes。
B. 启用变体组色板
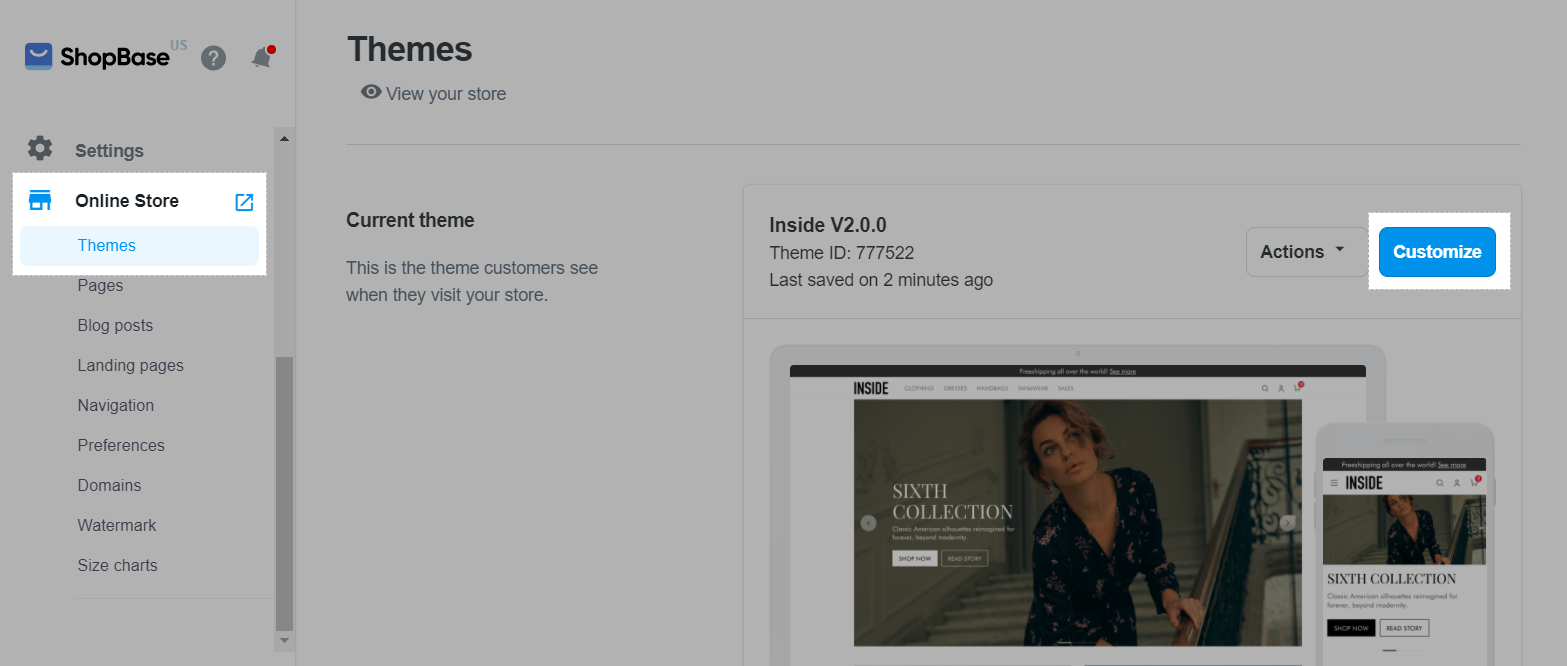
在ShopBase后台中,转到 Online store > Themes。在要编辑的主题中,点击 Customize。
在 Settings选项卡中,点击 Product。
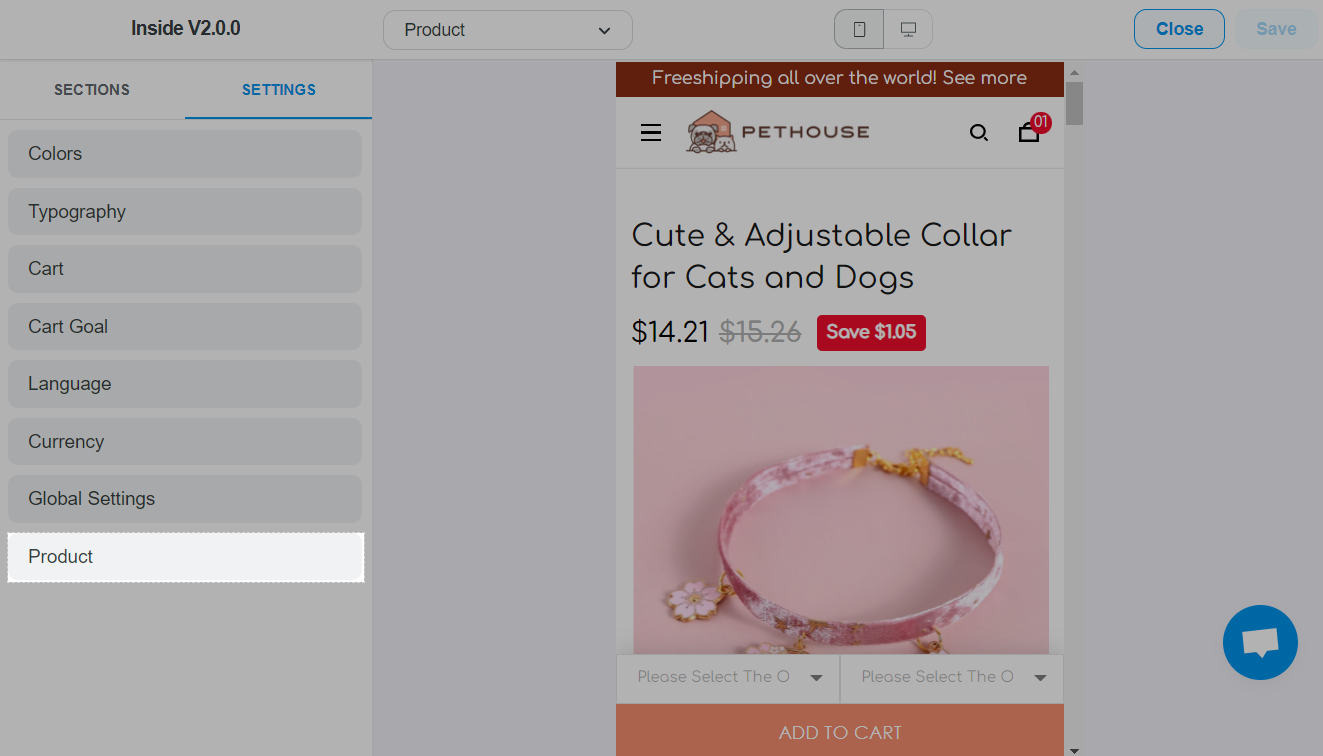
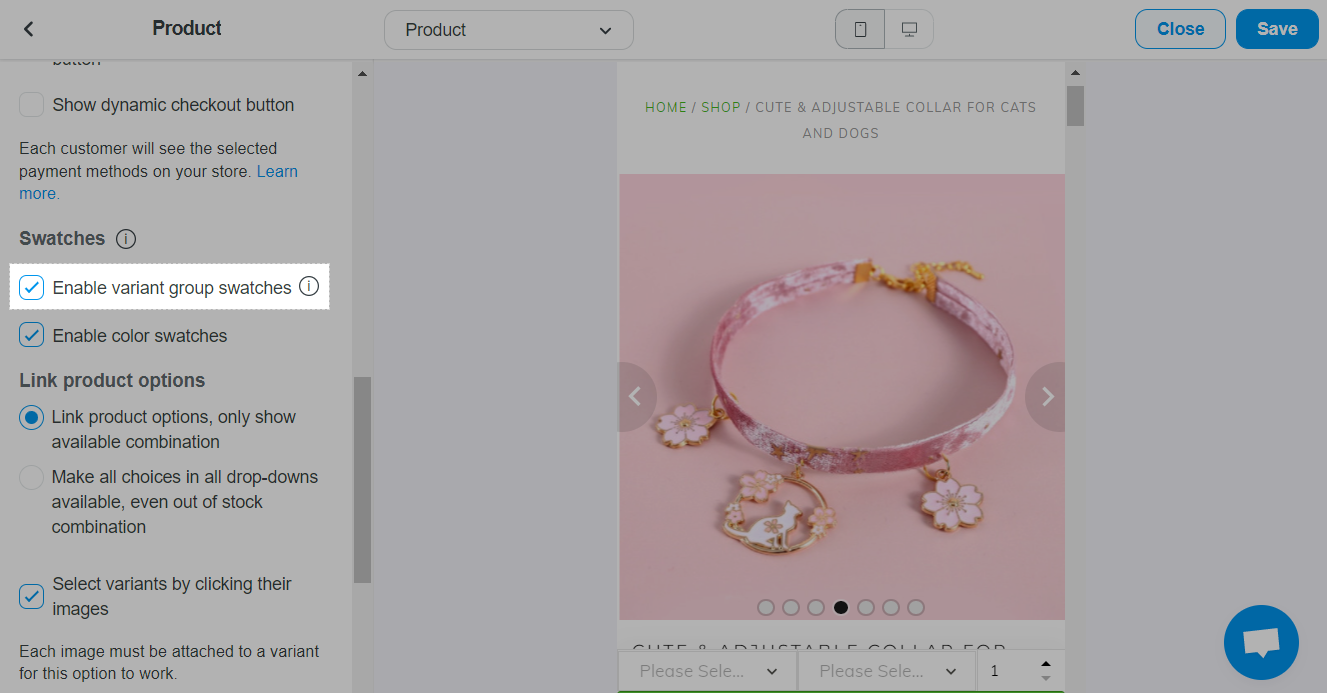
接下来,勾选 Enable variant group swatches。
在 Options settings > Swatches 中,选择 Enable variant group swatches。
接下来,将变体选择器设置为按钮样式。
*前往 Variant style (Option Style),选择 Buttons。
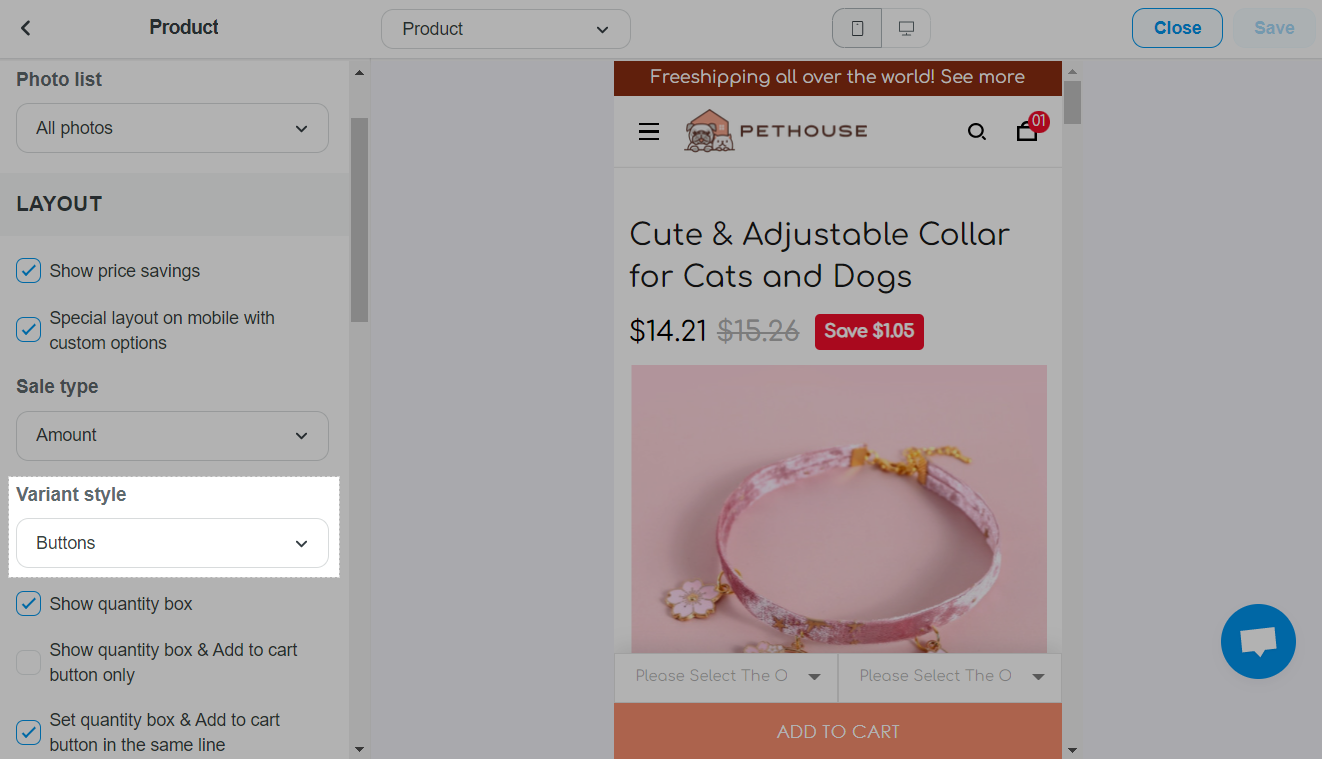
完成后,请点击 Save。
每个变体必须至少有一个独特的图片。否则,该组将不会显示任何色板。
如果正确地设置,色板(包括变体组色板和 颜色色板)可以为选项列表中的任何变体选项显示。
如果将颜色设置为第一个选项,则将显示产品图片而不是 色板。
默认情况下,产品将按第一个选项分组(当导入和添加产品时)。
更新于 10 months 前