The rotation of payment methods is a strategic way to disperse your transaction volume across multiple accounts, minimizing the risk of reaching volume limits or experiencing issues with your payment gateway. By employing payment rotation, you can set rules to alternate between multiple Stripe and PayPal accounts based on specified volume thresholds. This guarantees a balanced distribution of transactions, prevents any single payment account from being overloaded, and optimizes the management of transactions
Cancellation and refund requests will be sent to the correct payment methods. With PayPal, tracking numbers will be automatically updated to the methods that received the order's payment. Please refer to this article about how to send tracking to PayPal automatically.
In this article, we will give you an overview of payment method rotation and guide you through the steps to set it up.
In this article
A. Enable payment rotation
Before you start, please connect the preferred payment methods to your store.
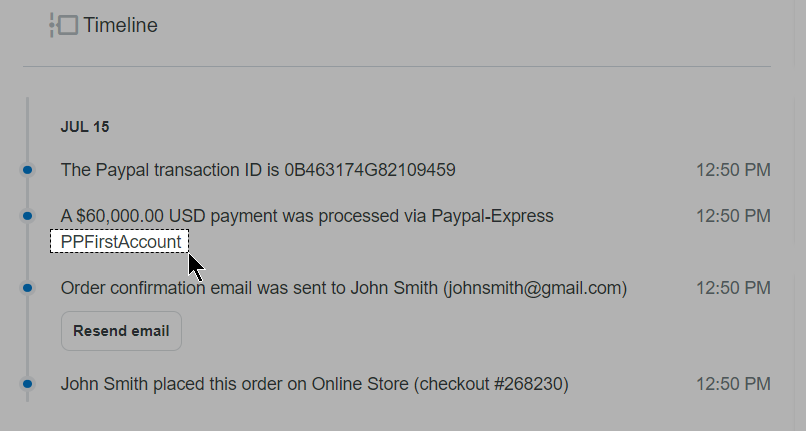
You need to fill in a name for the payment account when activating a new one. This name will be shown on order detail page and on CSV file when you export orders to indicate which account received the payment.
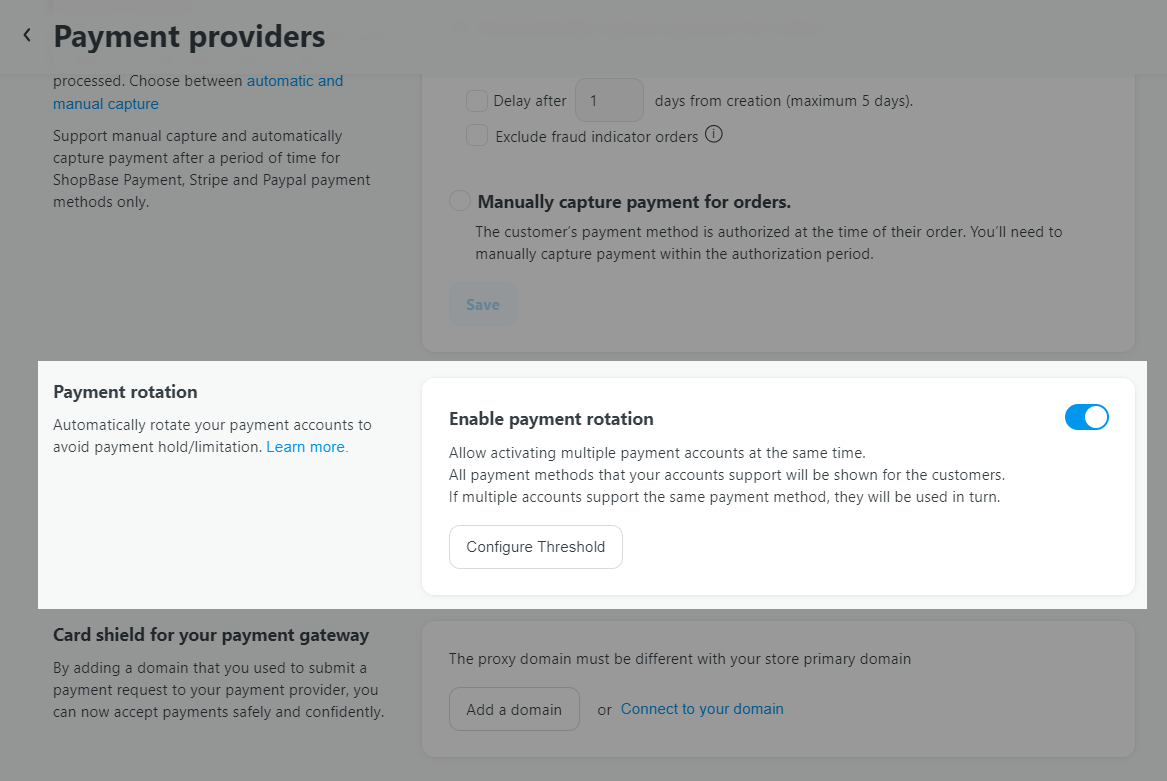
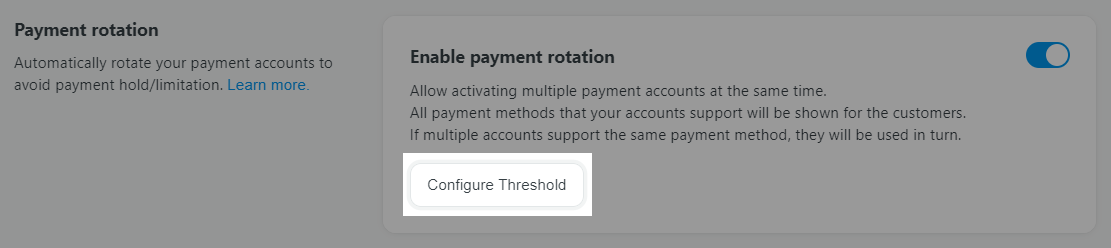
To enable payment rotation on your store, please follow the steps below:

B. Configure thresholds
Click on Configure Threshold.
Enable Stripe/PayPal threshold configuration by toggling the corresponding switch.
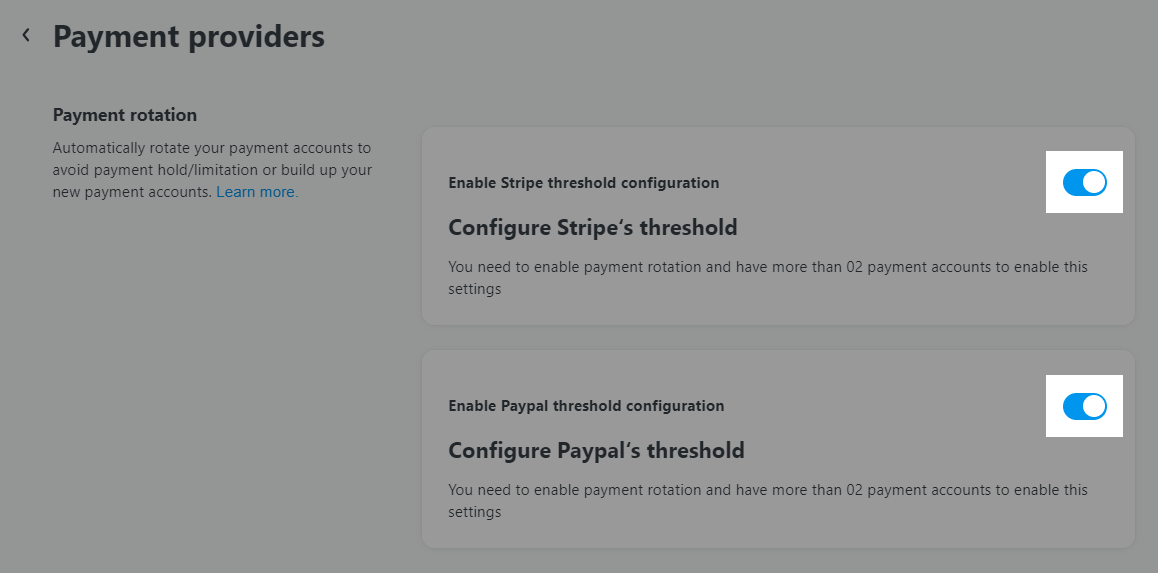
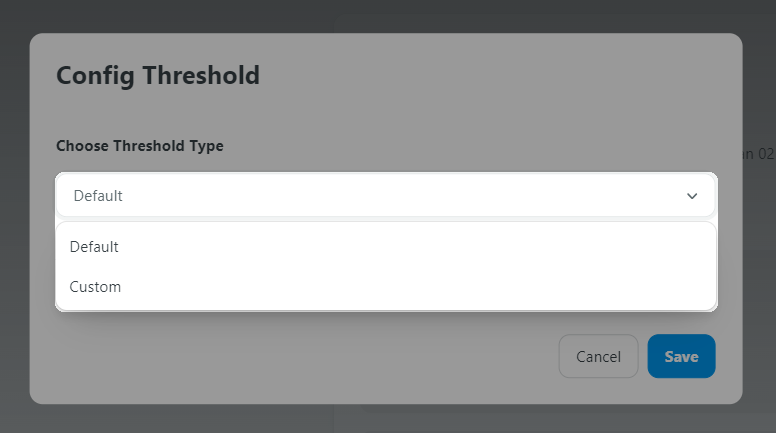
You will see a list of your Stripe/PayPal accounts. To begin setup, click on the gear icon ⚙️ associated with each one. For each account, select the configuration type:
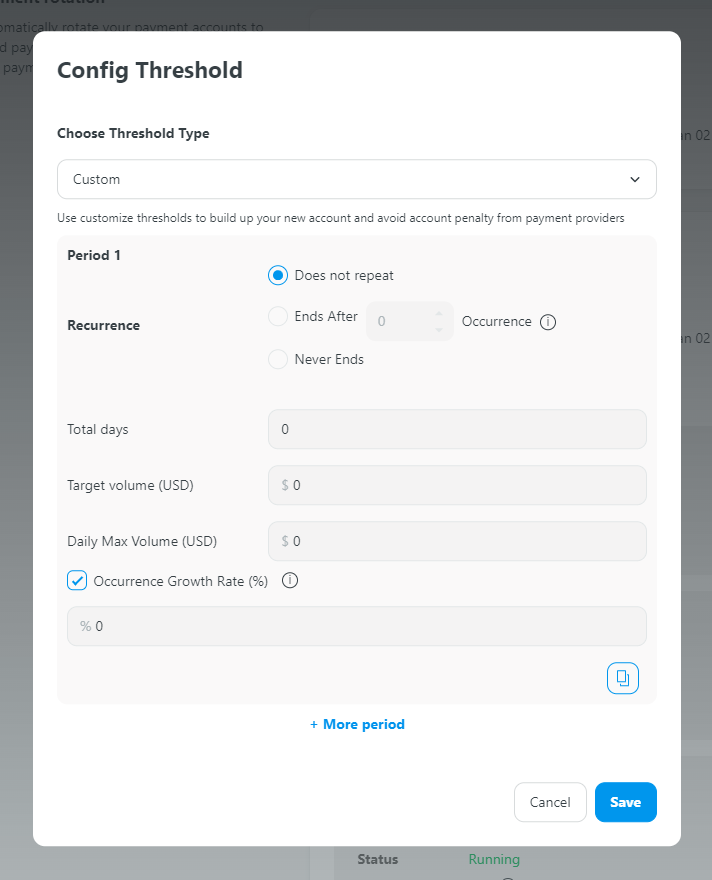
Press Save button to apply al configurations.
The system requires an account to be set as Default. If other accounts reach their limit, transactions will switch to the default account to avoid interruptions in store operations.
It's important to note that payments will be switched per checkout session, including successful, unsuccessful, and abandoned checkout sessions. This means that each new checkout session will start with the next payment account in the rotation, regardless of whether the previous session was successful or not.
C. Manage payment rotation
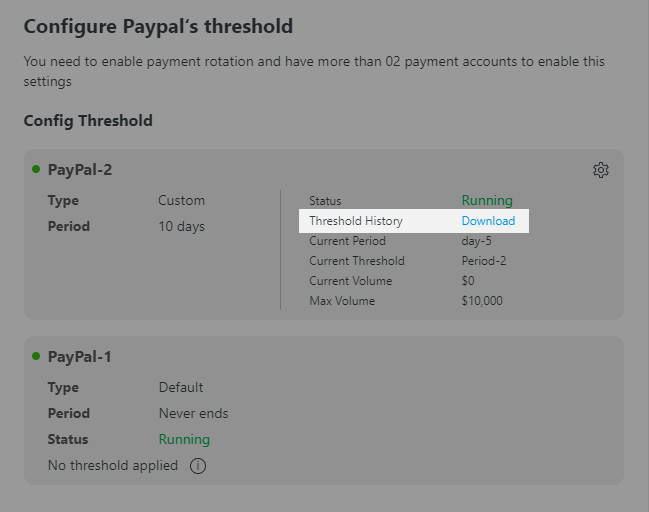
Navigate to the configuration dashboard in the Payment Rotation section. Here, you can see the status, current period, which day you are in the current period, as well as a summary of the current transaction volume and maximum volume for each of your accounts.
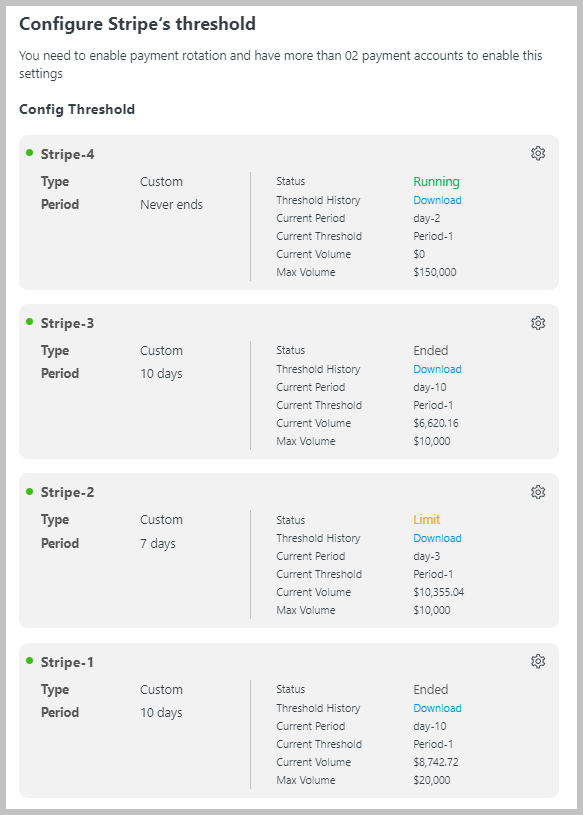
You can edit the rotation rules by clicking gear icon ⚙️ associated with each account. Modify the parameters as per your requirements. Once completed, click on Save to apply the new rotation settings. New settings will overwrite the old ones.
Click on Download to save a report of the transaction history to your device.
If you wish to discontinue the rotation, navigate to the Payment Providers section and switch the Payment Rotation to Off .

D. Frequently asked questions
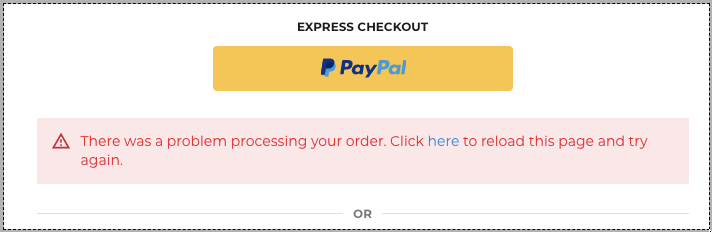
When one payment account is disabled on your store, new visitors on the checkout page will find other conditionally rotated payment methods. In case the payment account is disabled right when a visitor is checking out, they will see a warning as follows to refresh their page and be directed to another available account.
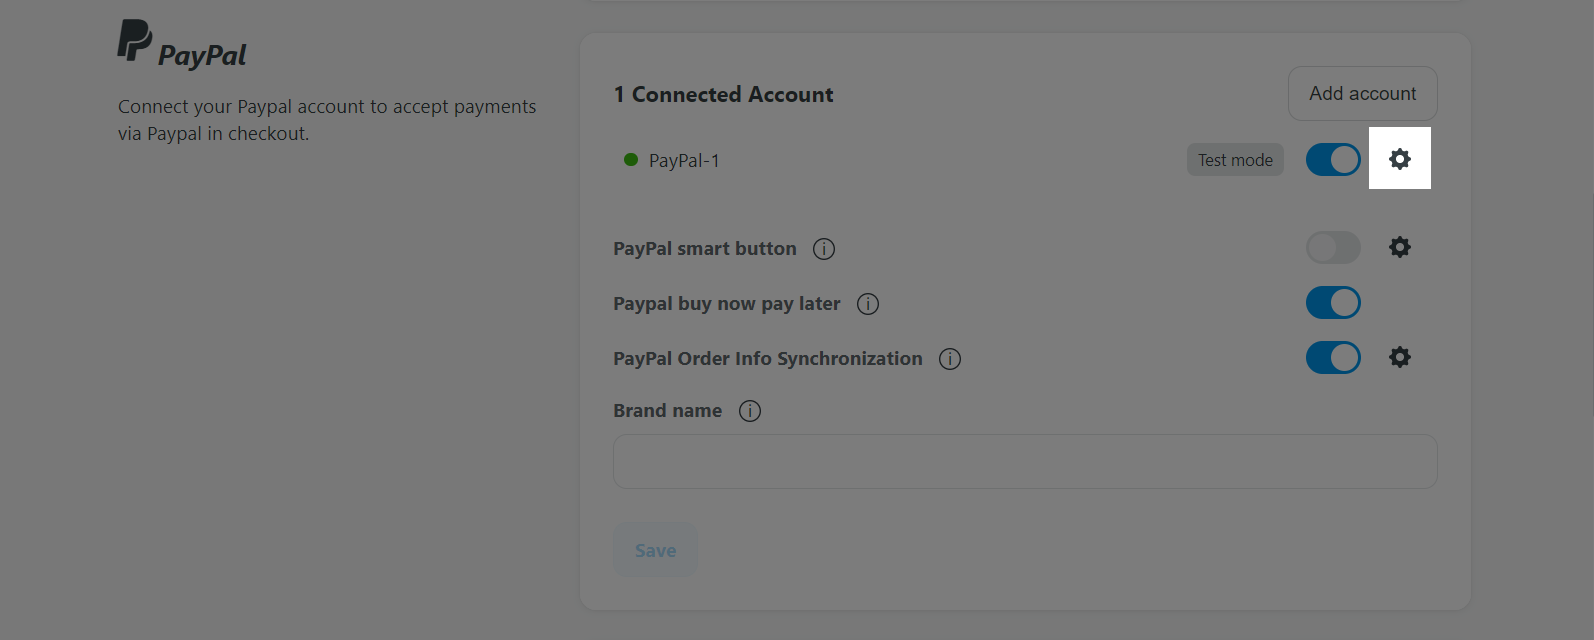
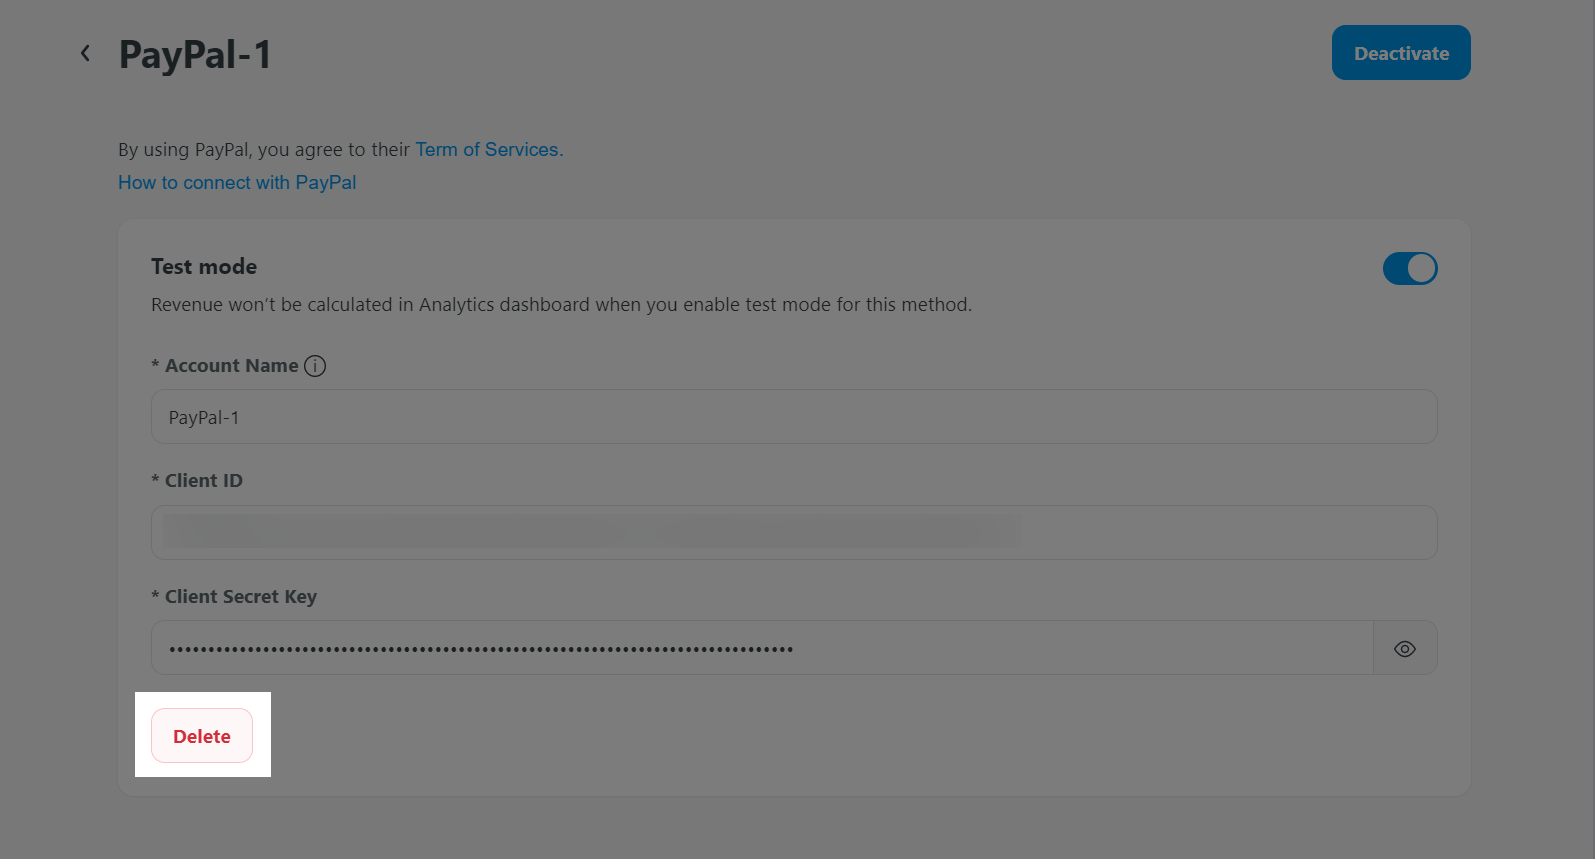
To delete the disabled account from your account list, please go to your ShopBase admin site > Settings > Payment providers > Click on the Settings icon next to the account you want to remove > Delete.