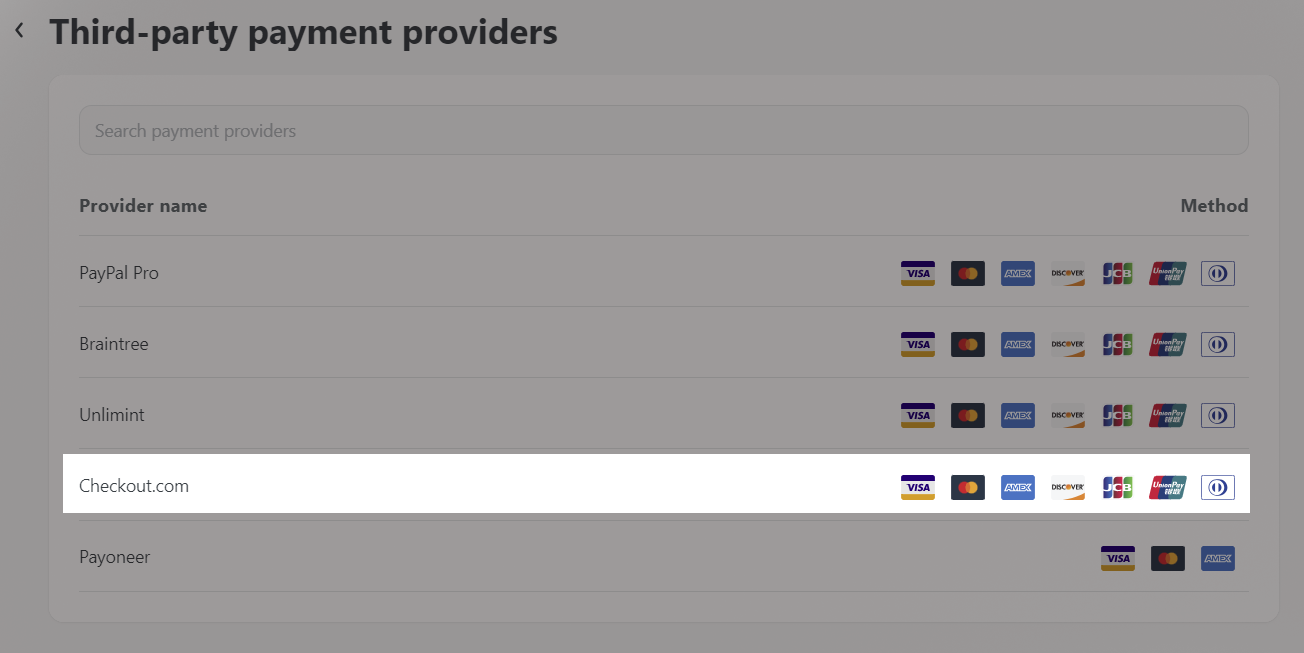
Besides PayPal, Stripe and other payment gateways, you can activate Checkout.com as well if you want to allow credit card payments during checkout.
Before connecting, you must have a Checkout.com account. Check the step A below for more details. If you already had a Business Account and Sandbox Account, kindly follow this tutorial to finish all steps.
In this article
A. Set up Checkout.com Business Account and Sandbox Account
B. Get Public key & Private key
C. Activate Checkout.com as your payment method
D. Deactivate your Checkout.com account
A. Set up Checkout.com Business Account and Sandbox Account
Checkout.com can be configured on test mode or live mode on your store.
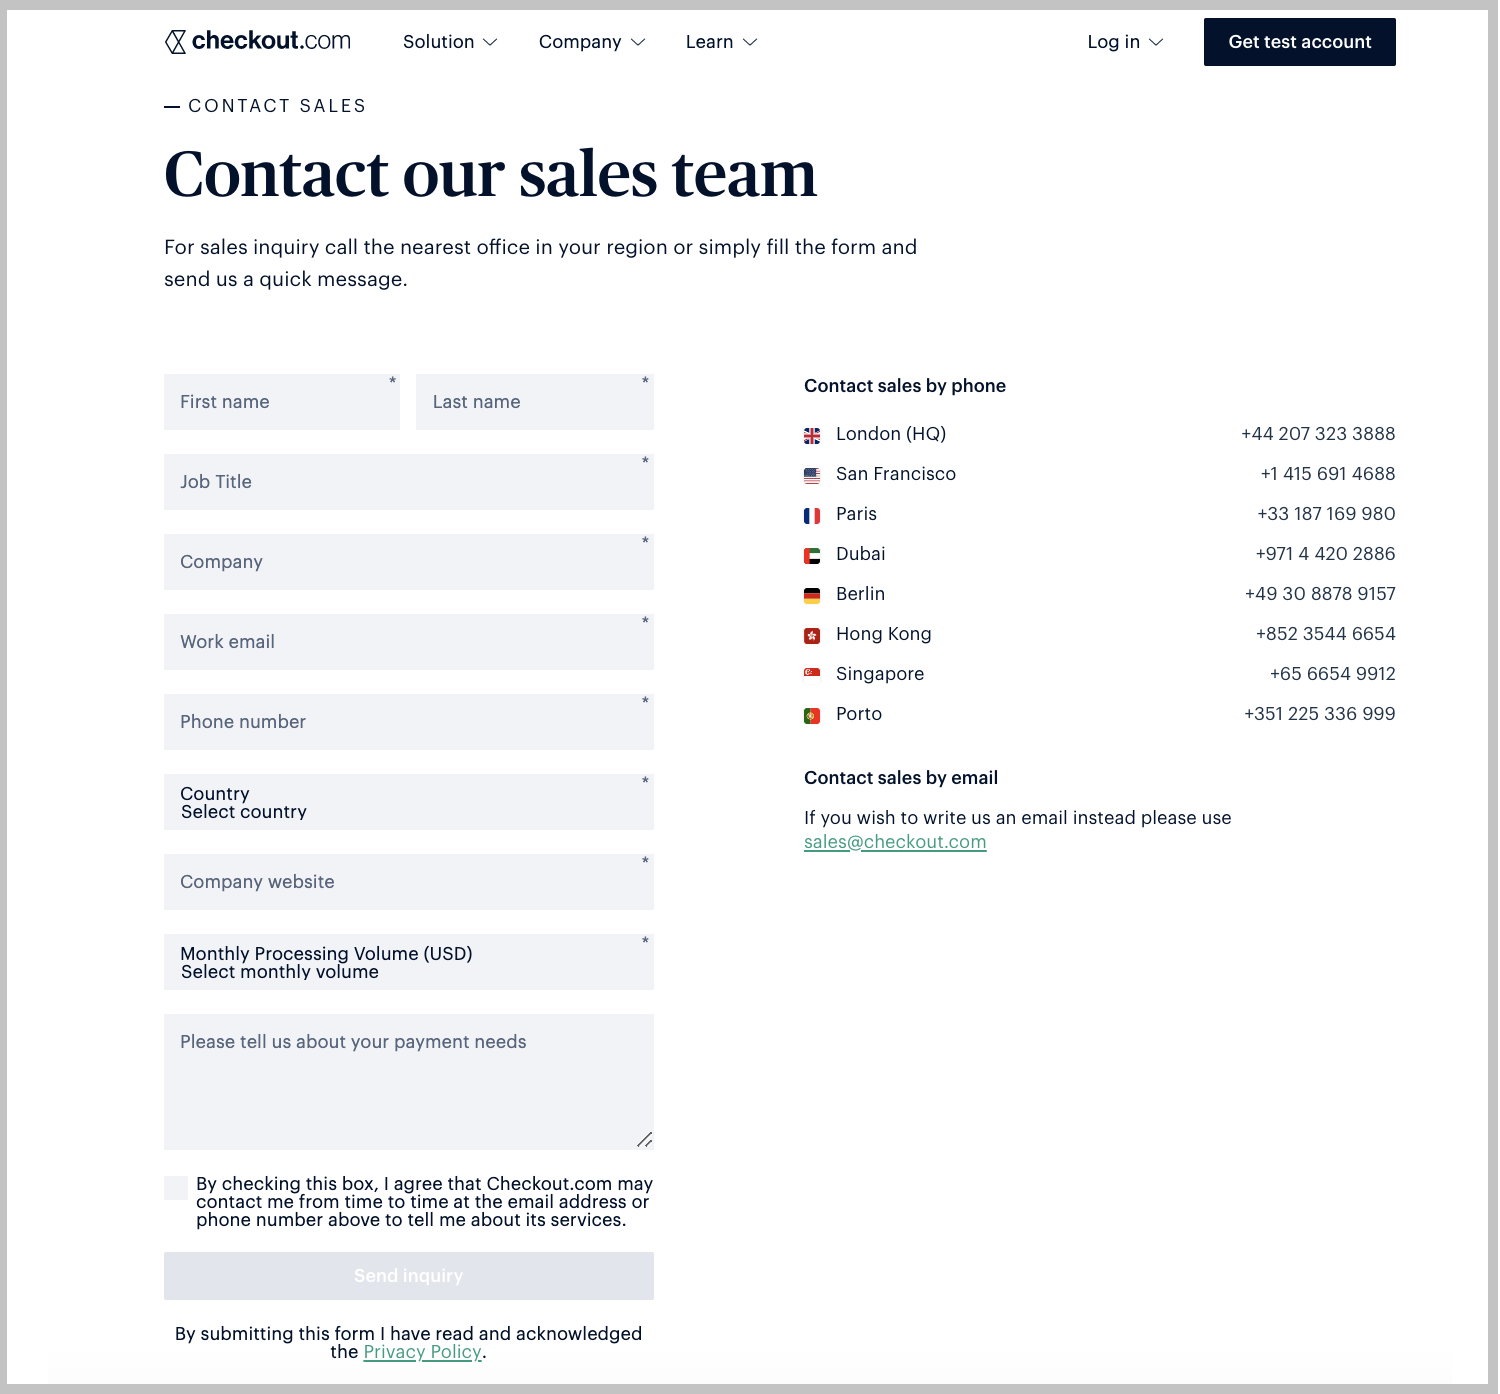
In case you want to use it as a live gateway (for real purchases), go to this link to inquire an account.
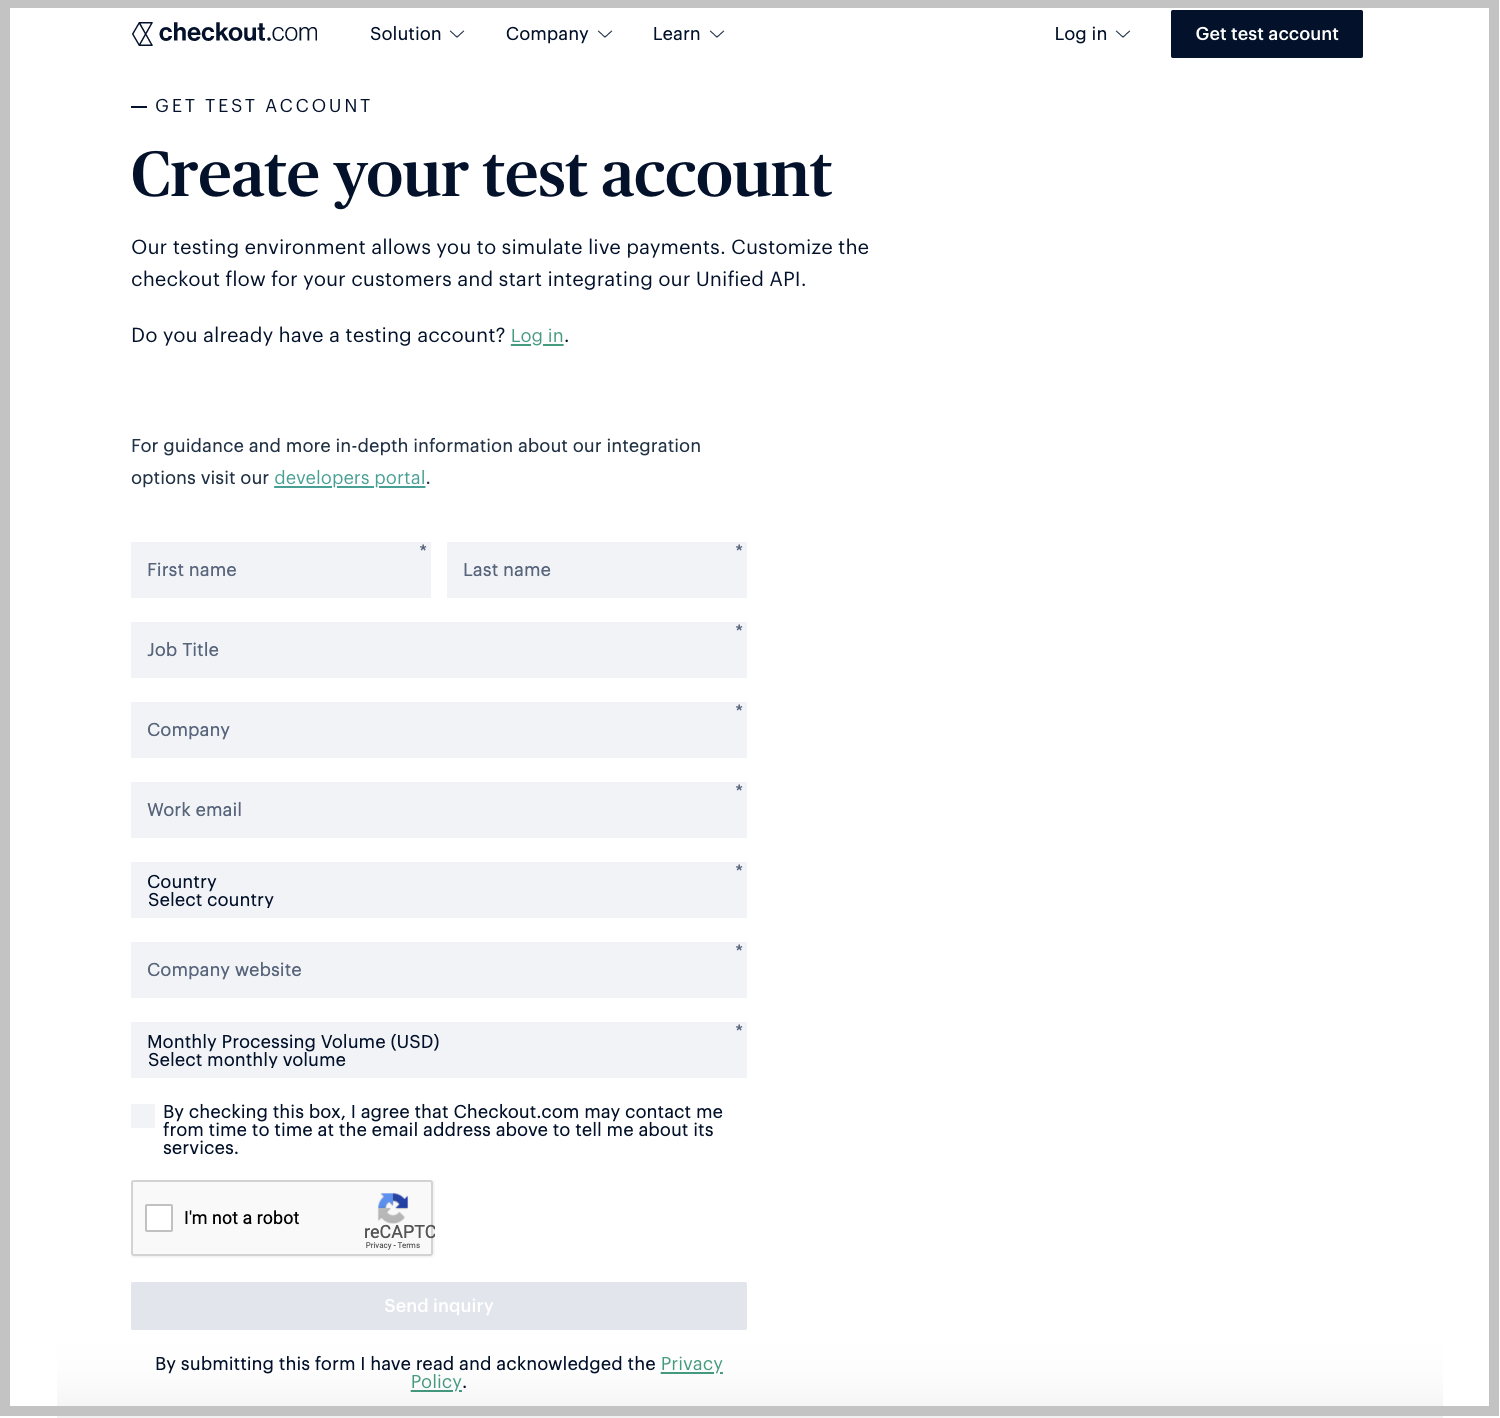
If you only want to test the gateway, you can create a Test account (Sandbox account)
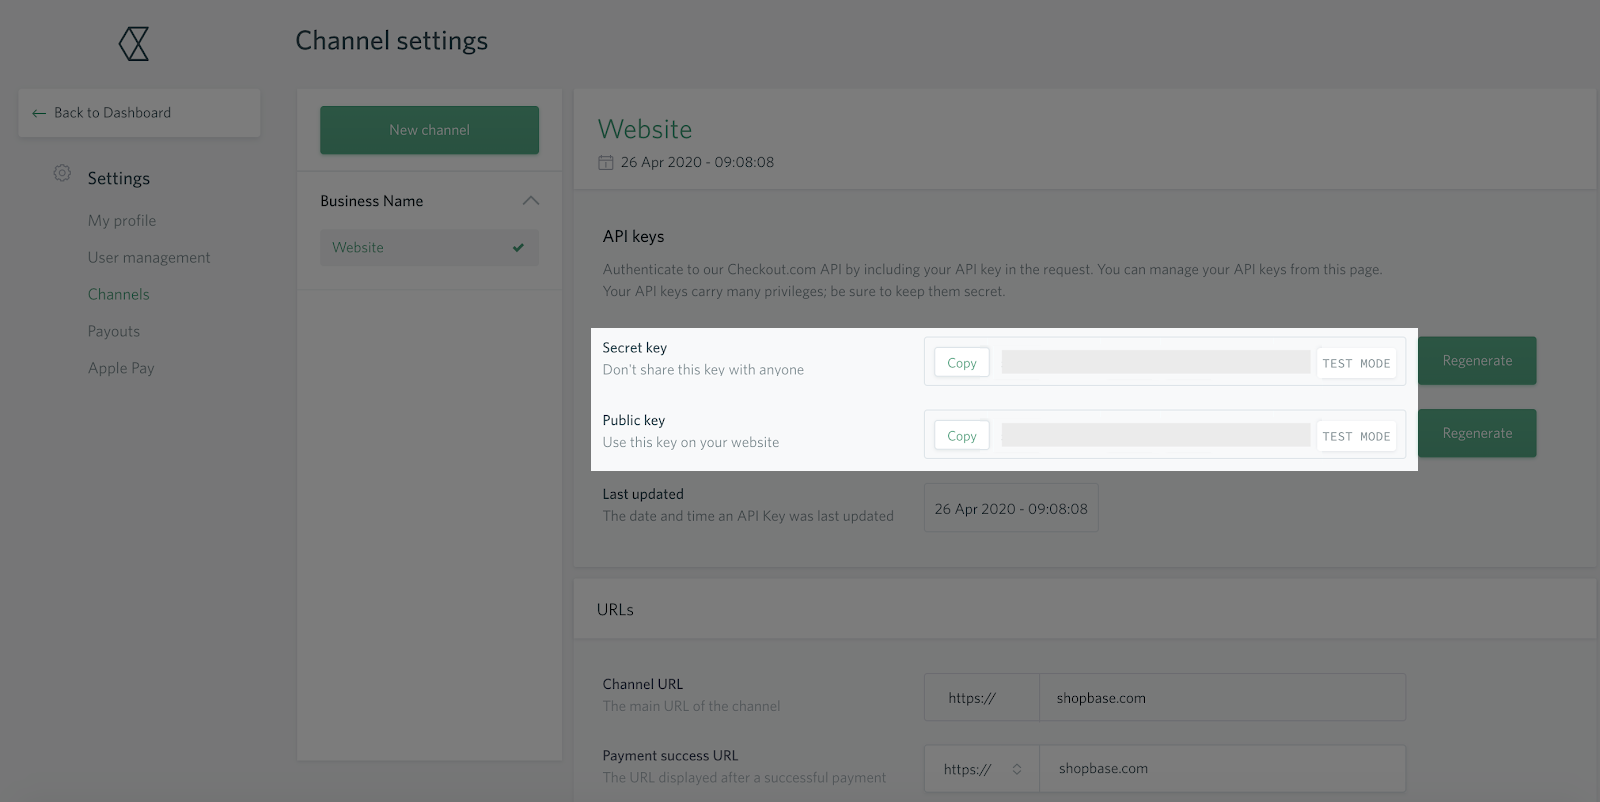
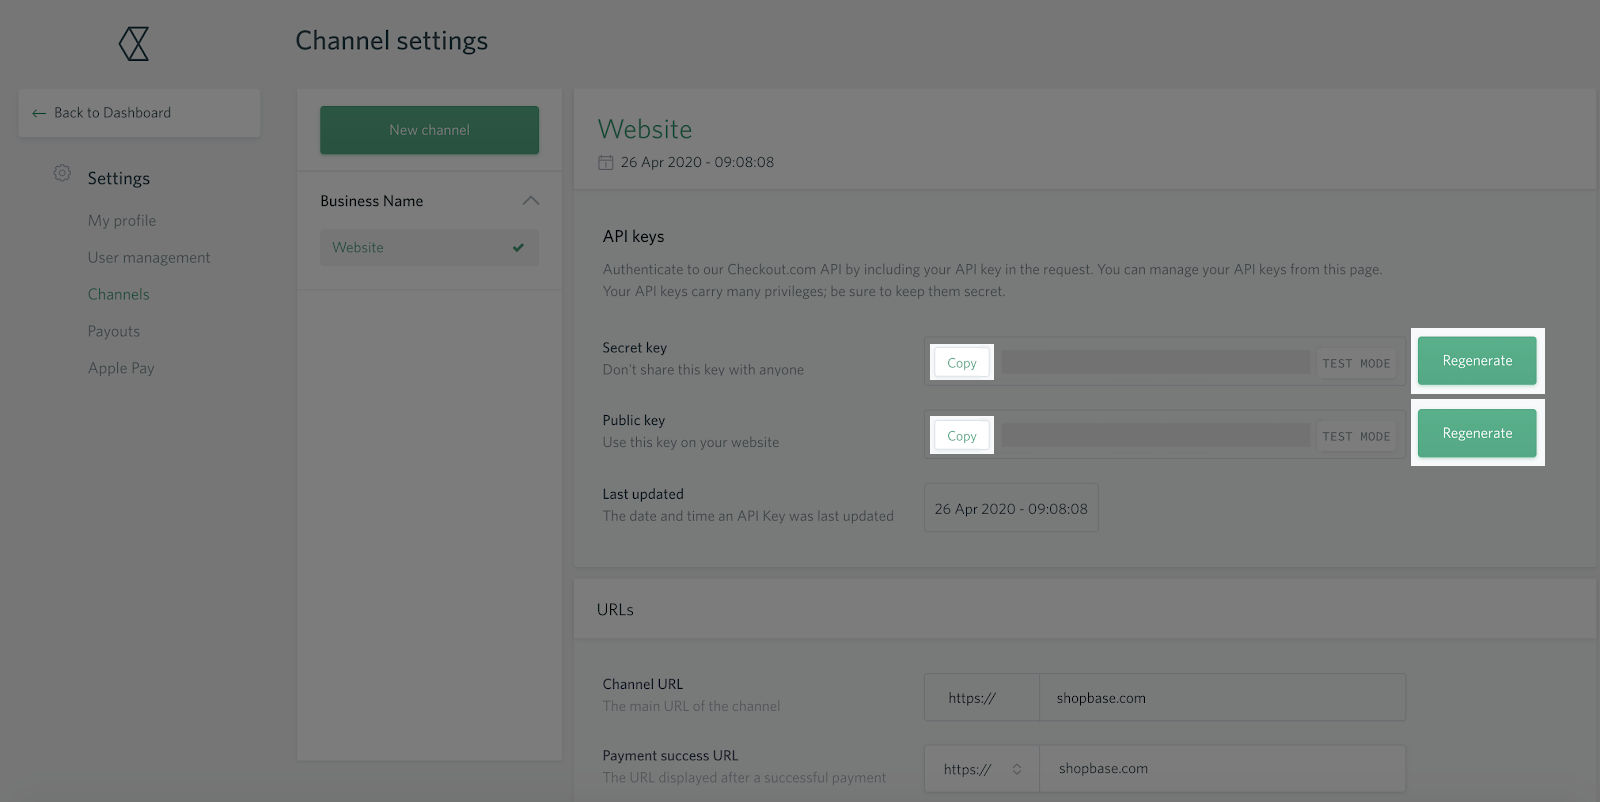
B. Get Public key & Private key
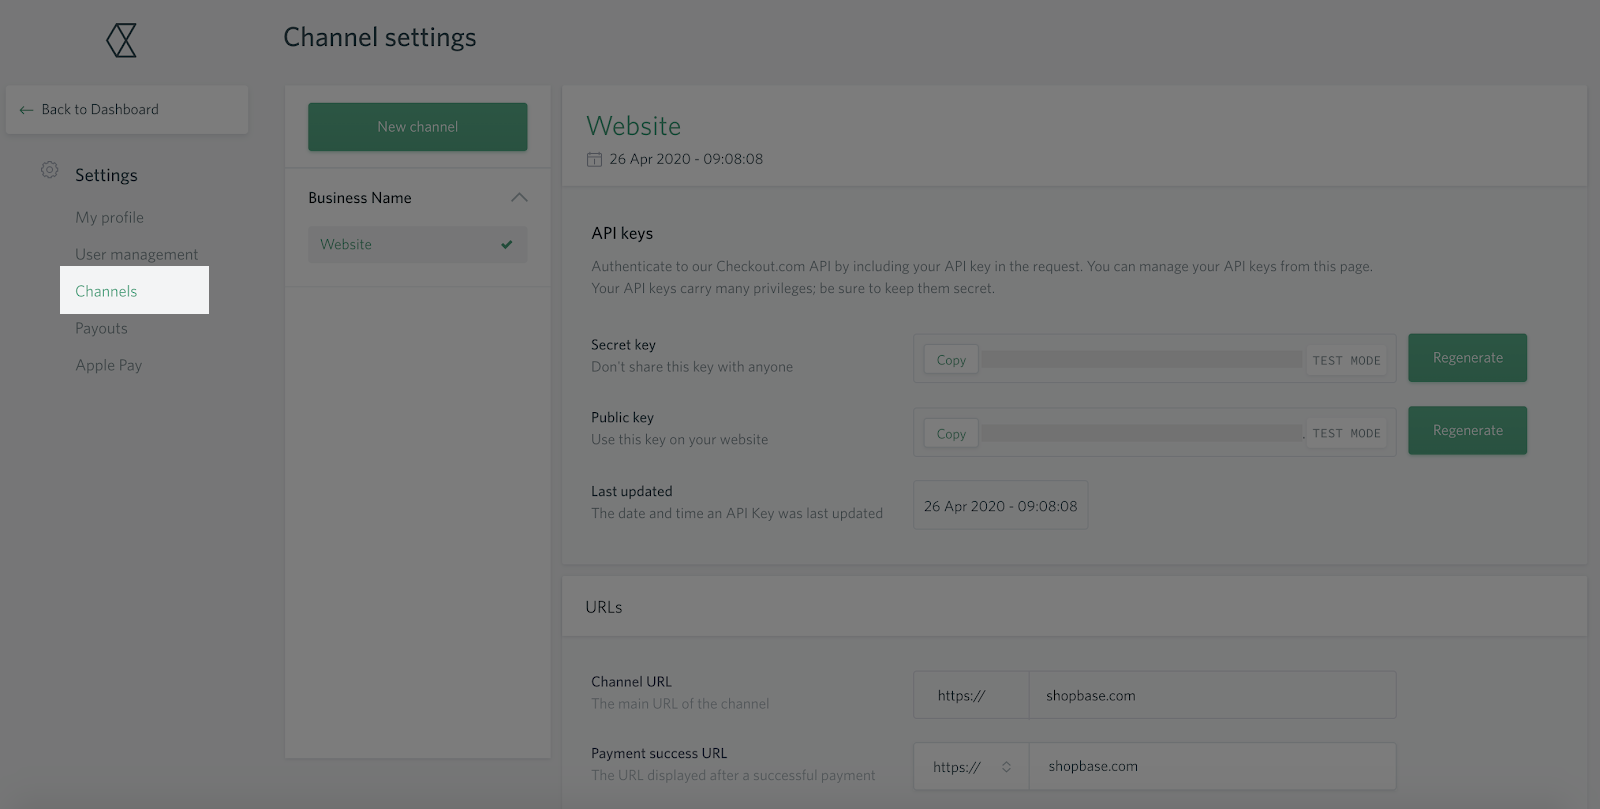
You will need to get Public key & Private key of your Checkout.com account for later steps.
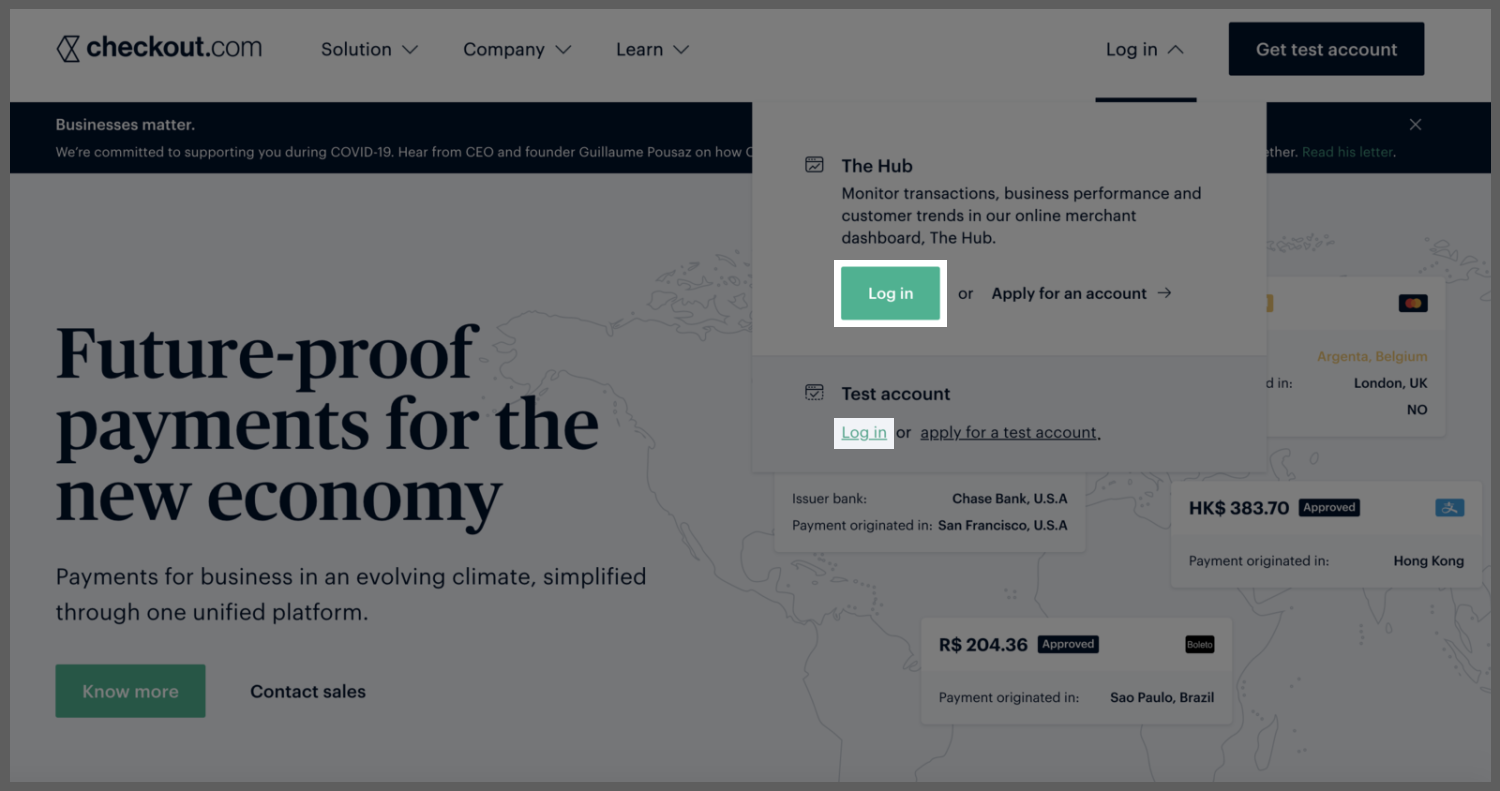
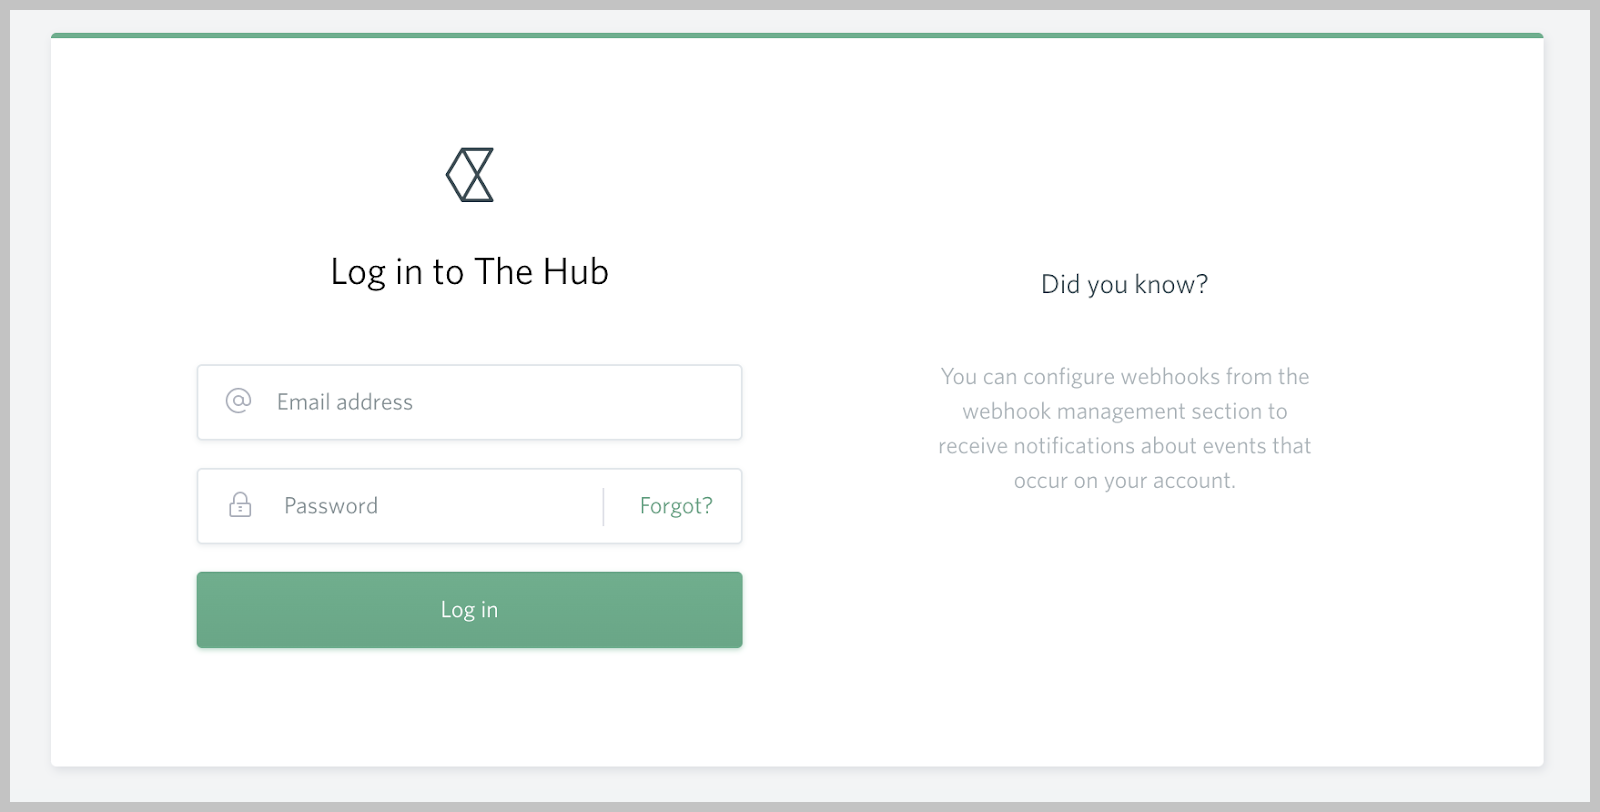
For Test account, you can login from Checkout.com home page or Checkout.com Sandbox Hub.
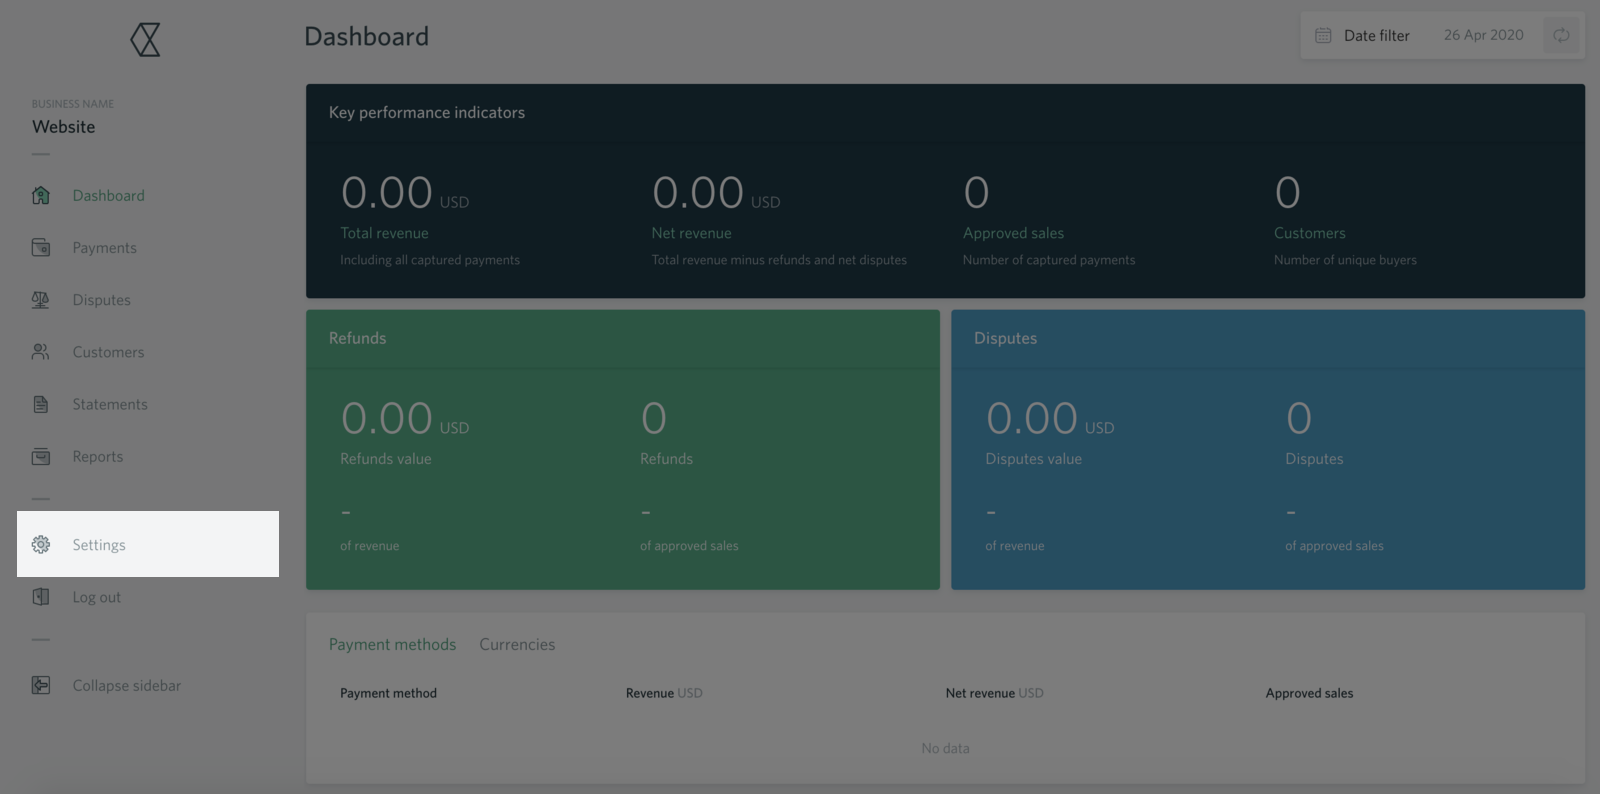
In Settings menu, select Channels.
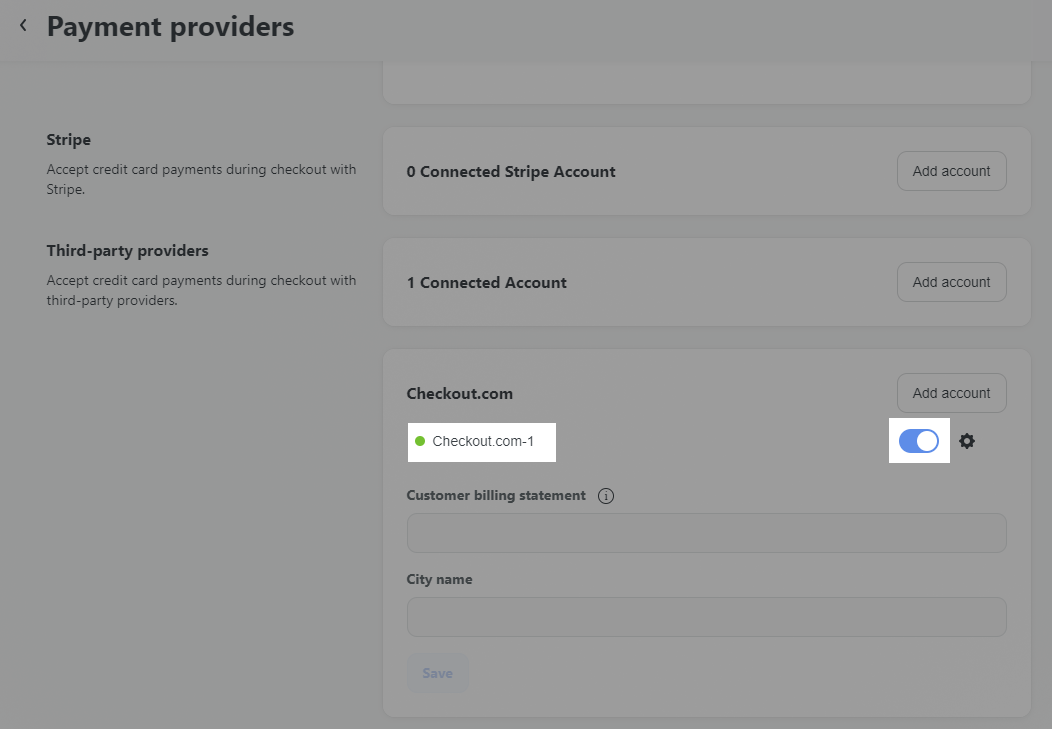
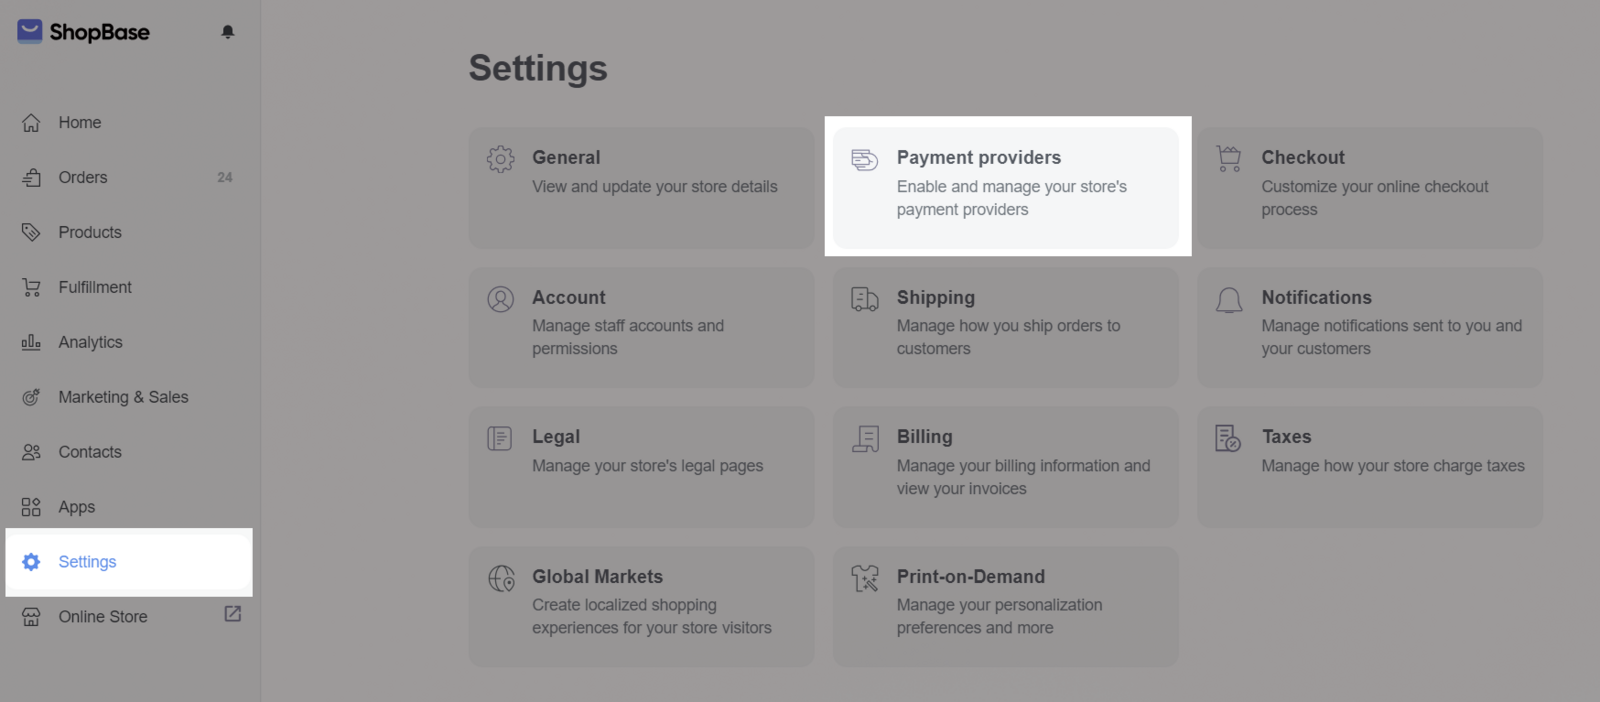
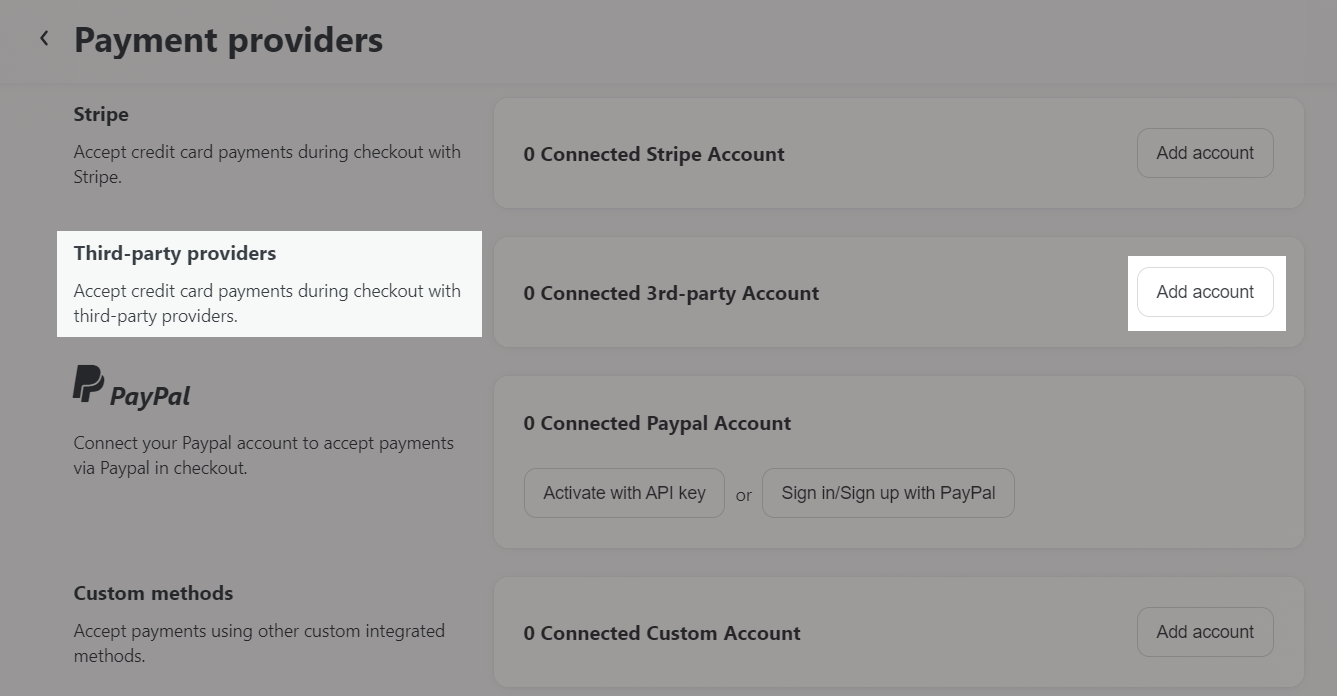
C. Activate Checkout.com as your payment method
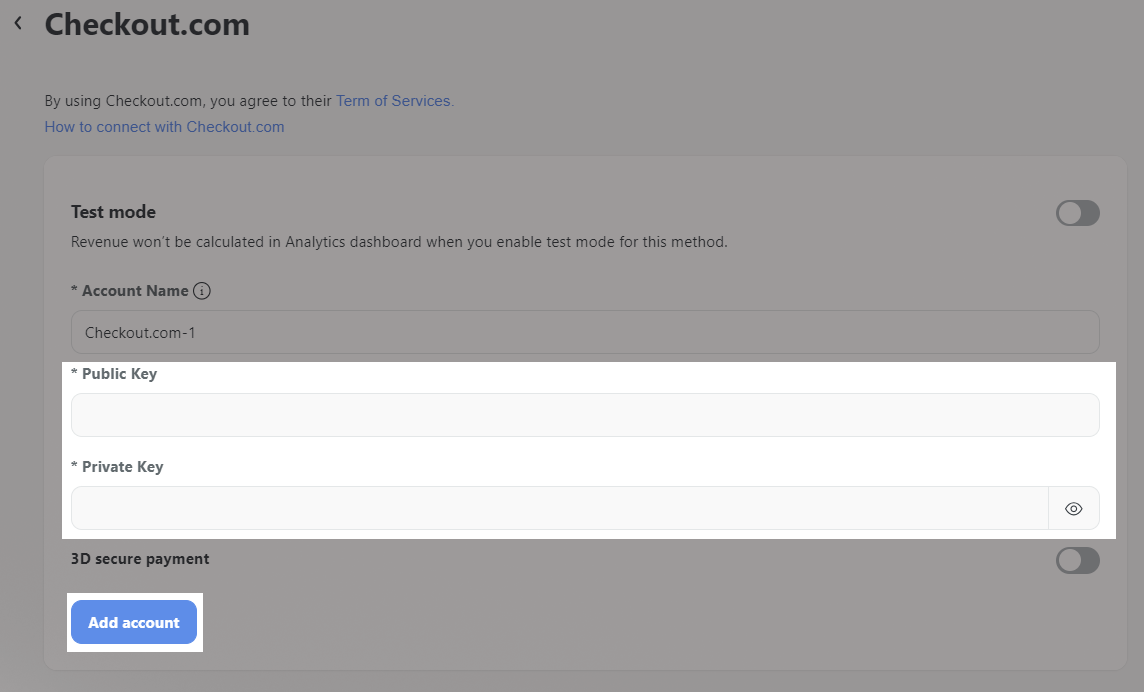
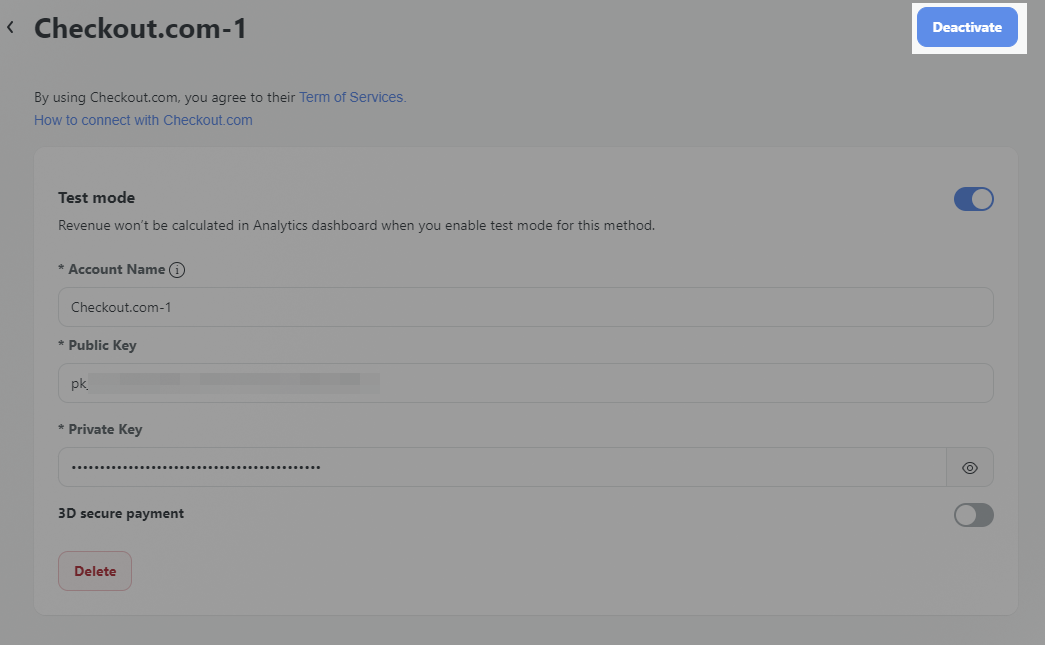
Enable Test mode then use the credentials from Test account if you just want to test the store.
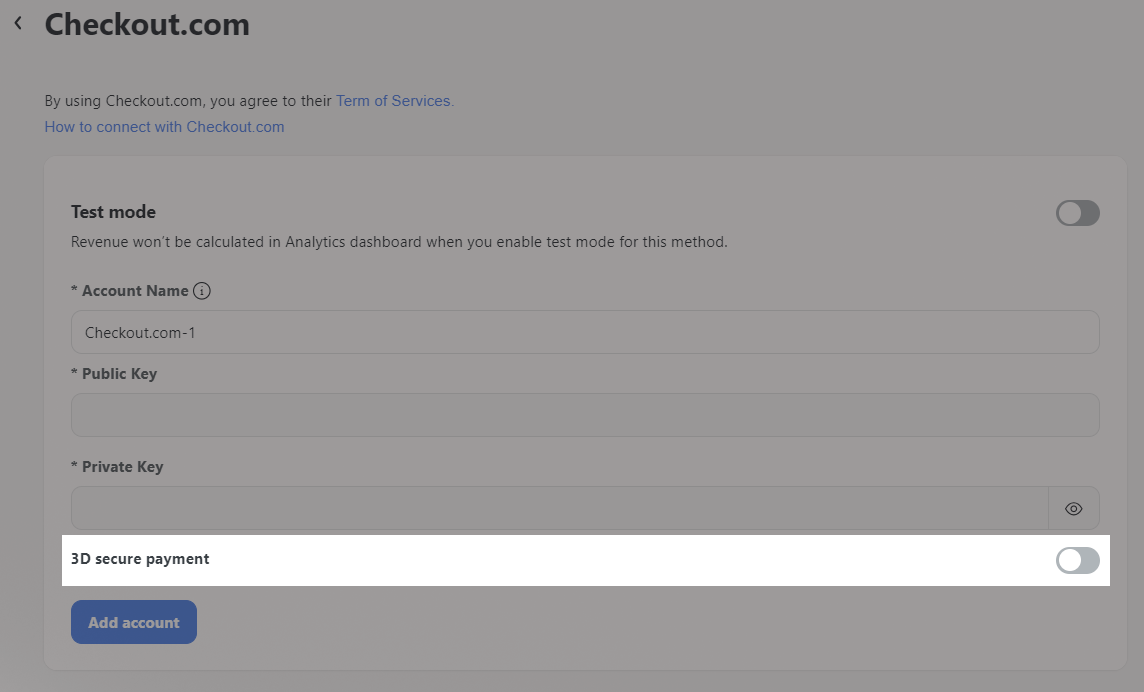
You can enable 3D secure for this payment gateway.
Remember to include prefix "CKO*" to your content in Statement Description as it is required by Checkout.com.
That's all and you are now ready to receive customers' purchases via Checkout.com.
To keep your account safe, ShopBase will not send any information related to your store, including your store name, store domain, product name, etc. to payment gateways to help prevent your account from being restricted.
D. Deactivate your Checkout.com account
After connecting your Checkout.com account to the store, you can deactivate it anytime and still be able to re-activate it later.