Say goodbye to lengthy checkout processes and embrace the future of streamlined shopping with Express Checkout! With this innovative solution, you can finalize your purchases in just two simple steps, and it takes around 10 seconds to complete the entire transaction. We've also integrated popular payment methods like StripeLink, Apple Pay, and Google Pay, PayPal Express for your convenience. Get ready to enjoy faster, smoother, and more hassle-free shopping with Express Checkout.
In this article
A. Express Checkout vs Standard Checkout
B. How to activate Express Checkout
C. Express Checkout method display rule
D. How to deactivate Express Checkout
A. Express Checkout vs Standard Checkout
Express Checkout excels with its speed, accessibility, and an extensive selection of payment methods. Here's a summary of the key differences:
Express Checkout |
Standard Checkout |
|
|---|---|---|
Duration |
10 seconds, within 2 steps |
2-minute-checkout with multiple steps |
Placement |
Product page, Cart page, Checkout page |
Only Checkout page |
Available payment methods |
StripeLink, GooglePay, ApplePay, PayPal |
Only PayPal |
B. How to activate Express Checkout
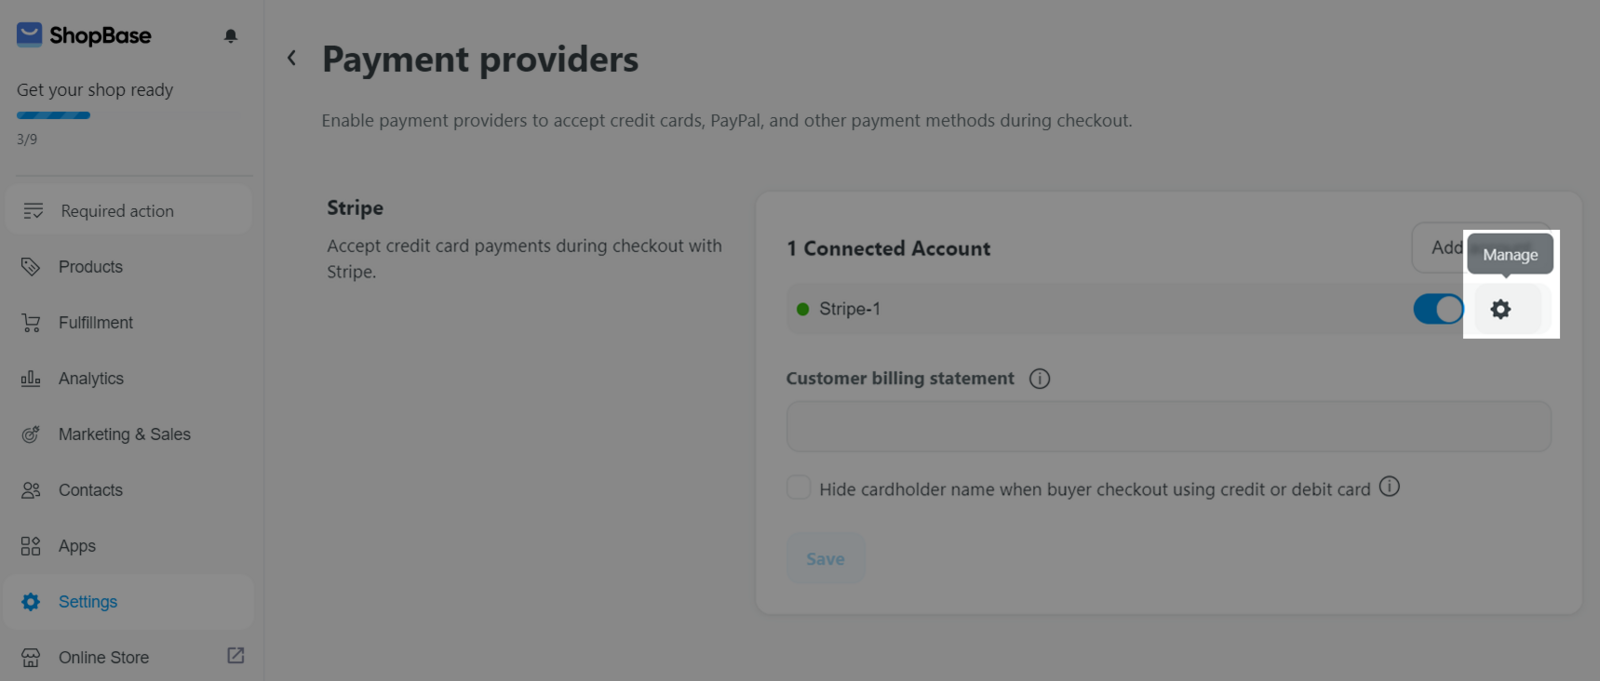
For ShopBase stores
StripeLink/Apple Pay/Googe Pay

Yes I understood to confirm and activate Express Checkout.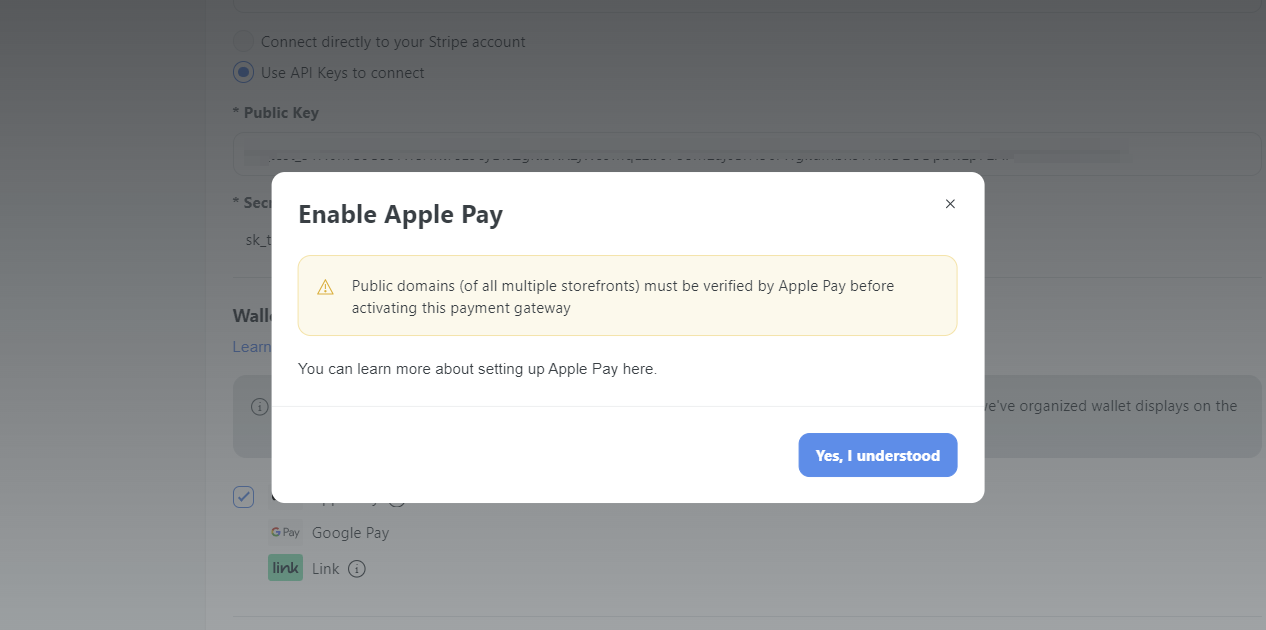
StripeLink/ Apple Pay/ Google Pay is supported exclusively for Shopbase stores that apply Website Builder templates.
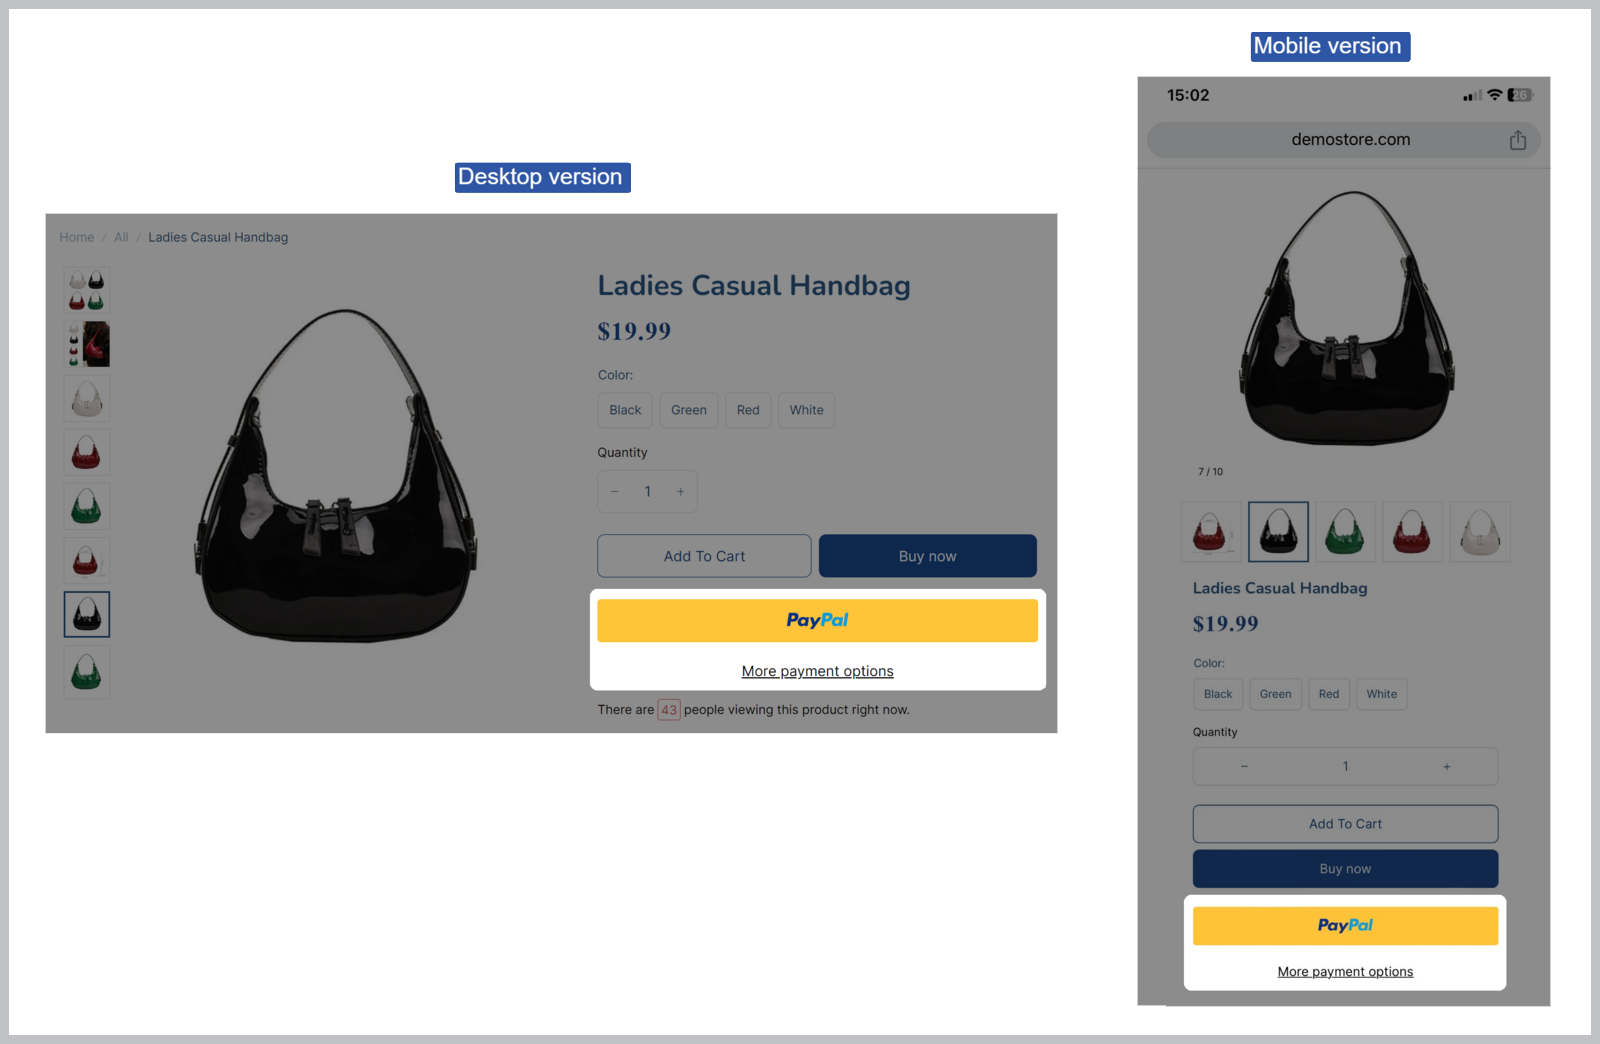
PayPal
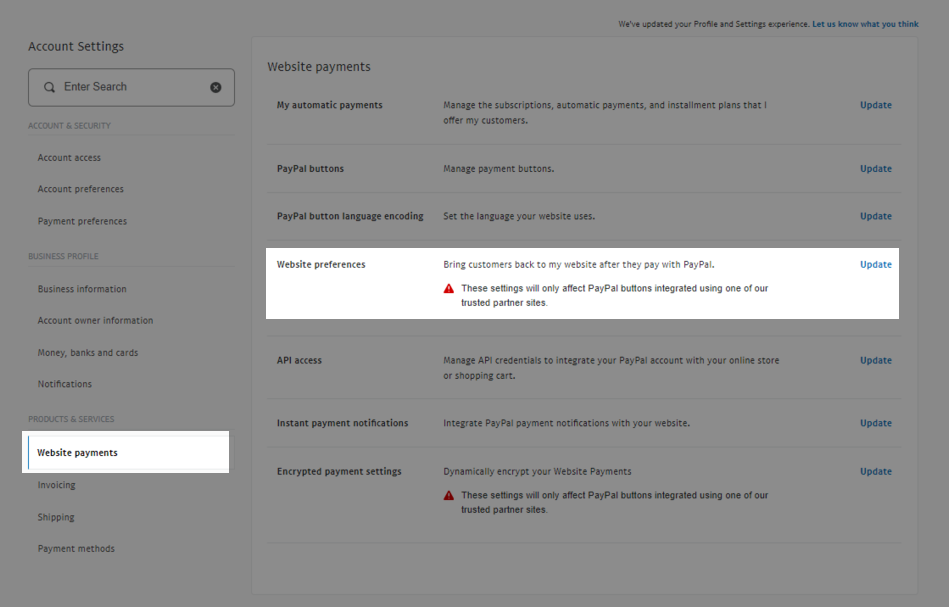
With PayPal Express Checkout, you need to configure your PayPal account to require customers to provide their phone number during the checkout process.
Please follow these steps:
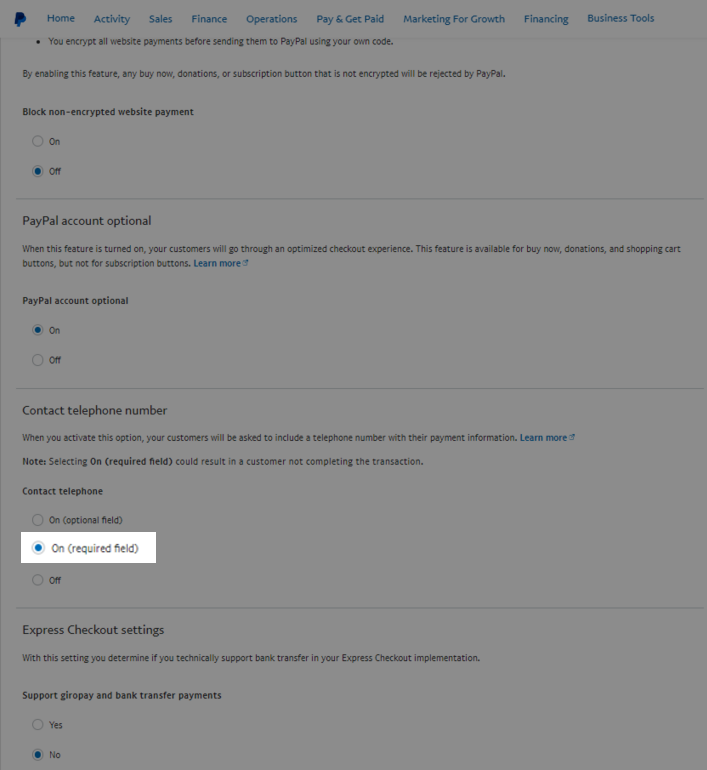
On (Optional Field) - adds the phone number field to your checkout but it isn't required for checking out.
On (Required Field) - requires that your customer enter their phone number when checking out.
Off - removes the field completely.
Requiring a phone number during checkout may lead to a decrease in store conversions and sales because many customers are unwilling to share their contact information. If you absolutely need the phone number, select On (Required Field).
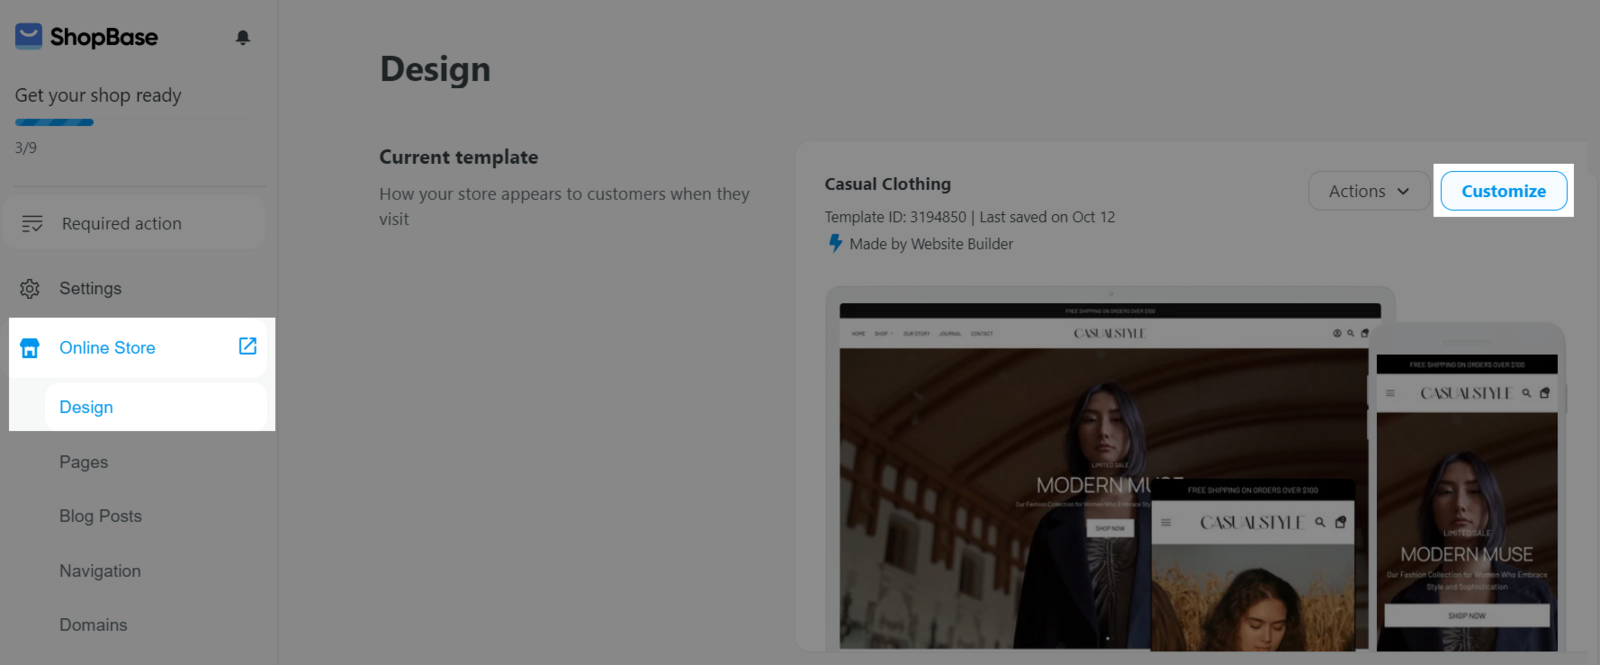
You can choose to set it up on the product page, cart page, checkout page, or even have it appear on all three of these pages, depending on your preferences and requirements.
Go to Online Store > Design > Customize.
For Website Builder
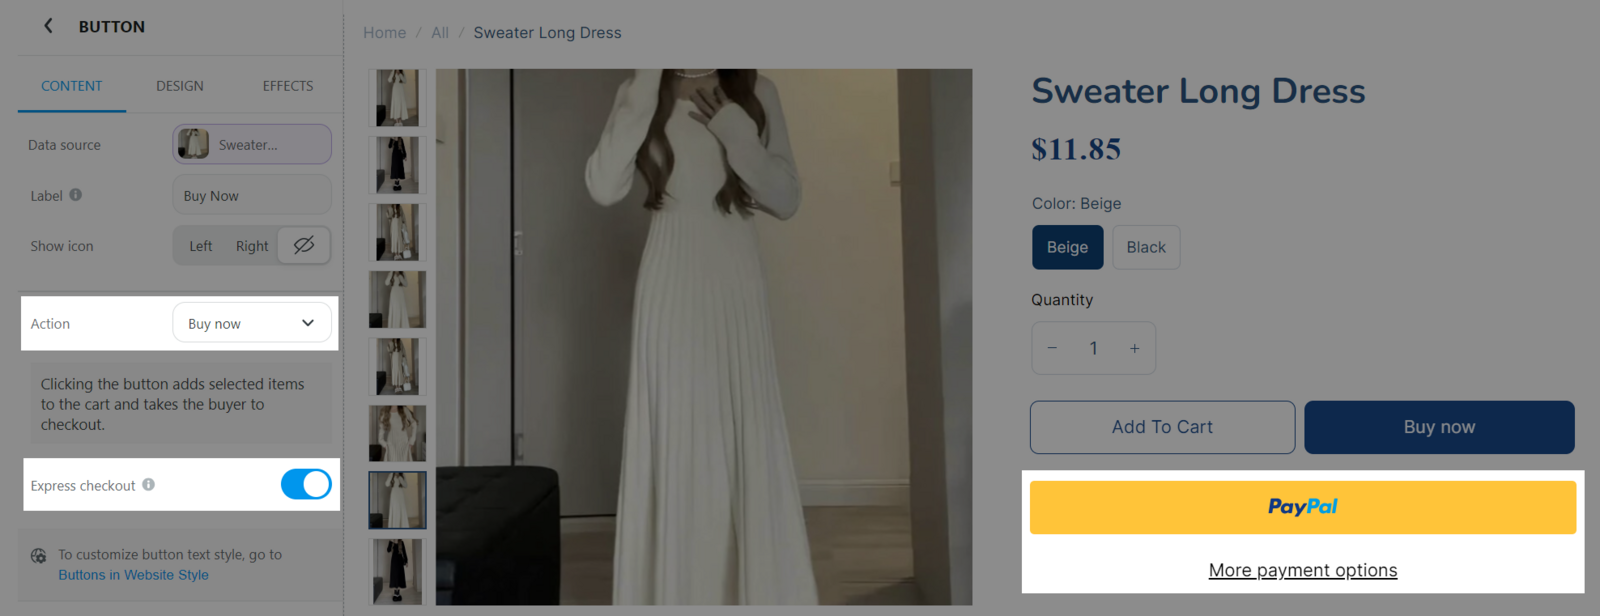
For Theme Editor (Theme version 2.0)
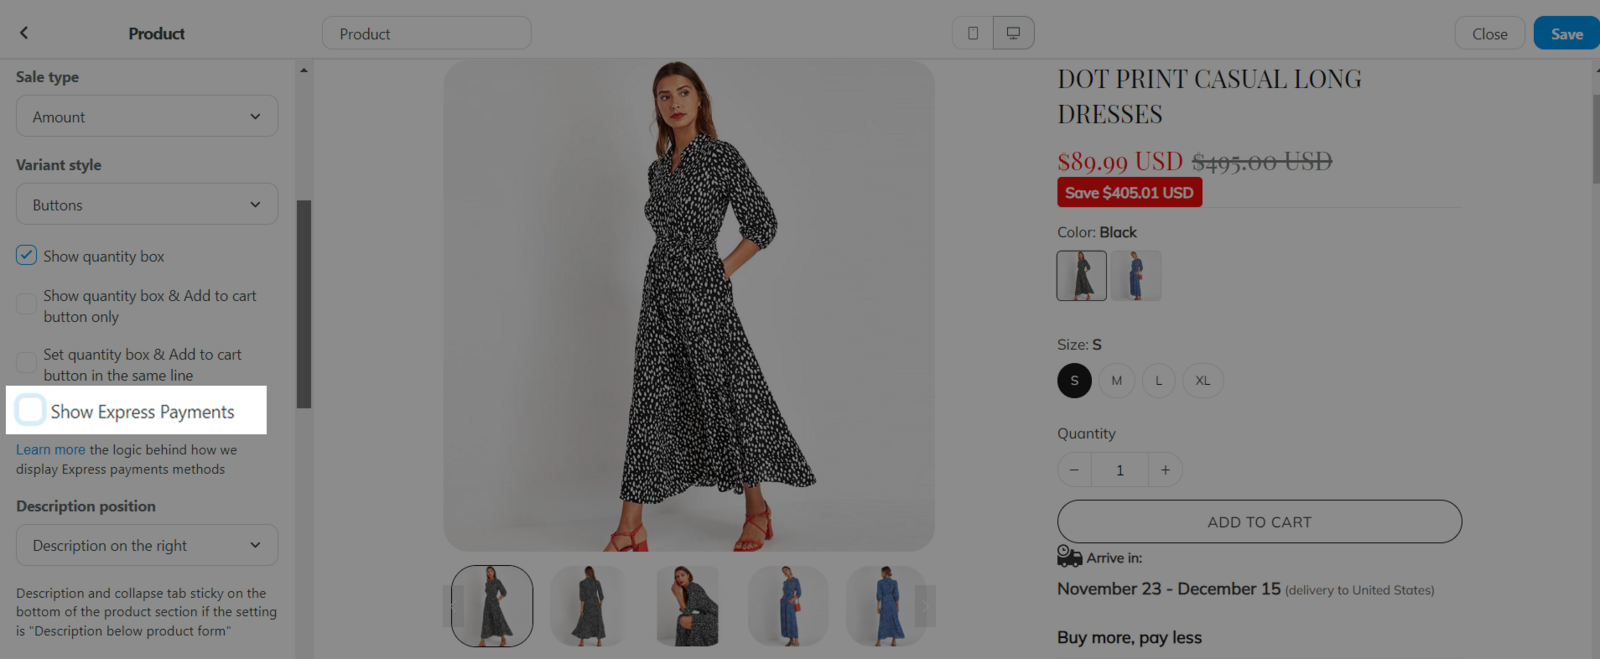
If you checked the option Settings by theme settings:
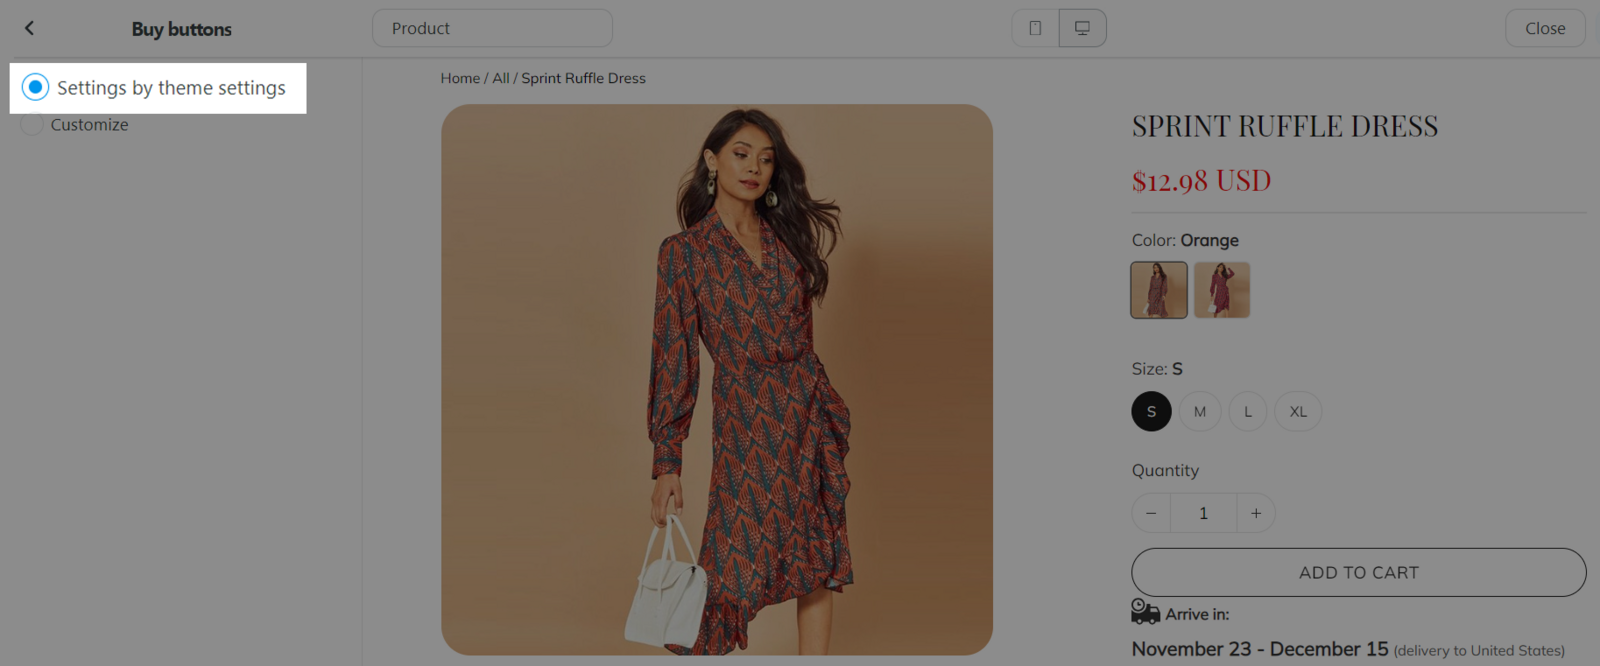
Please return to the previous page and go to Settings, click on Product. Then tick the box labeled Show Express Payments.
If you checked the option Customize:
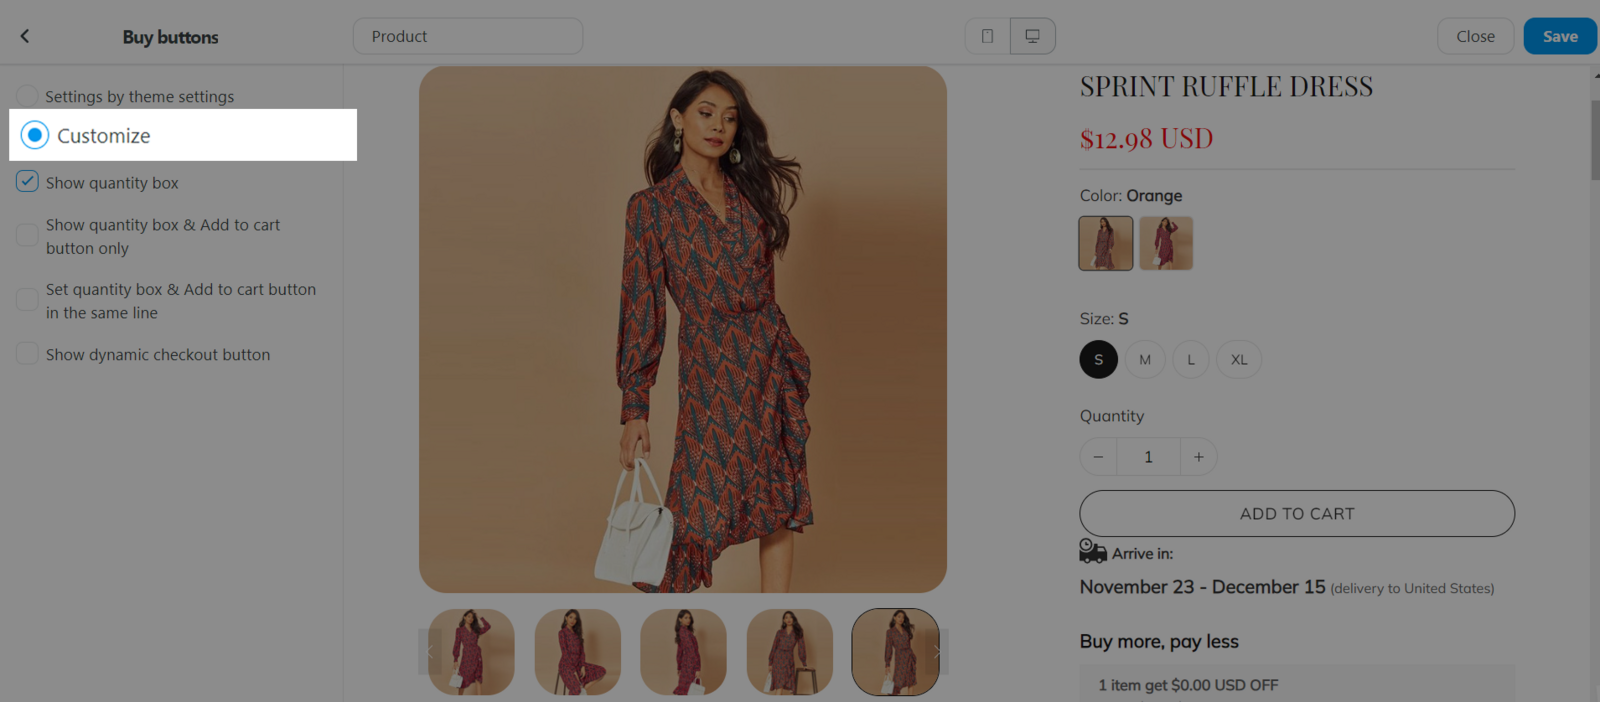
Mark both checkboxes: Show dynamic checkout button and Buy with PayPal.
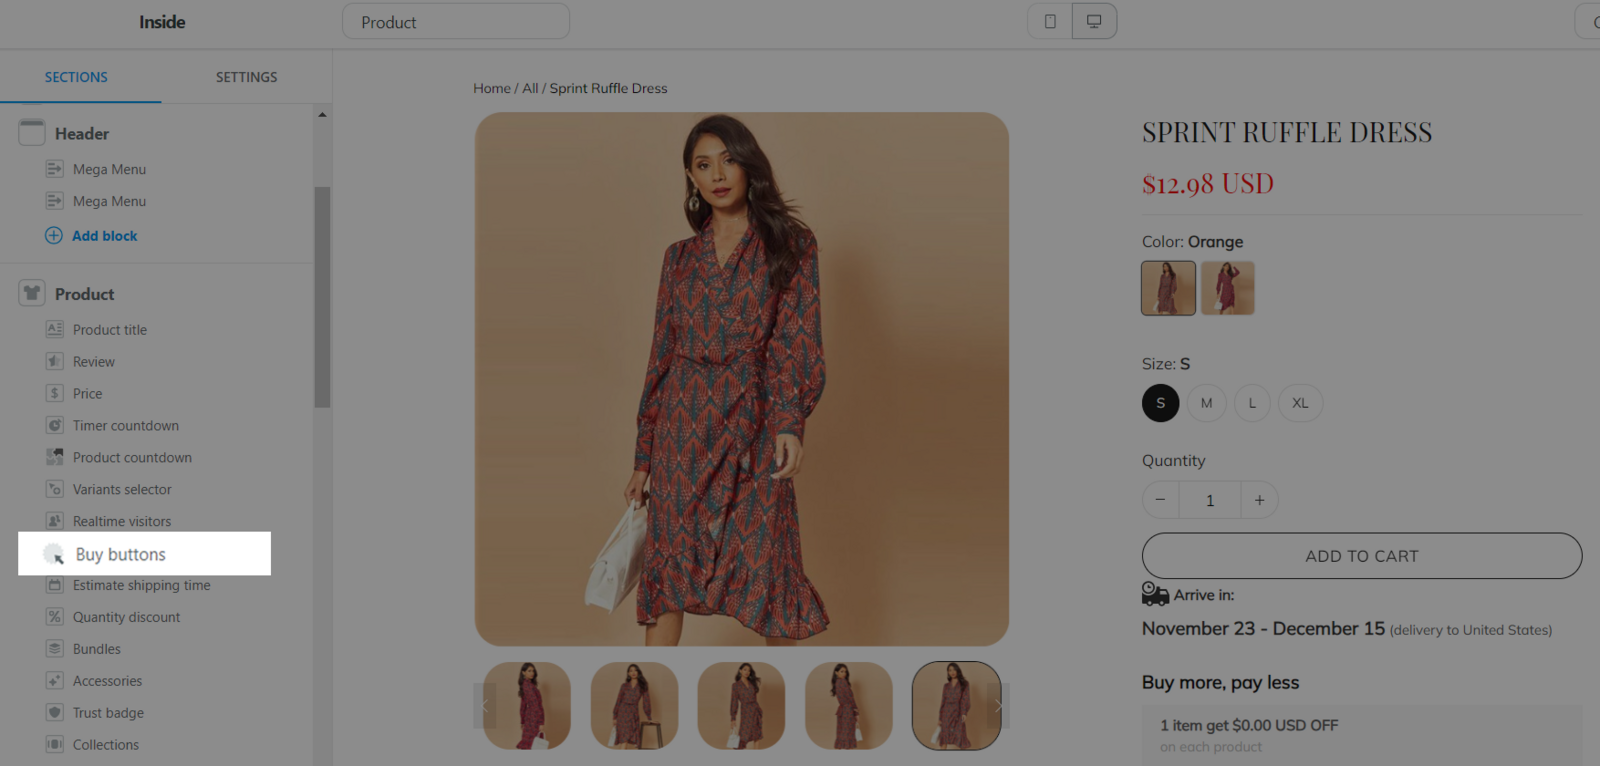
For PlusBase/PrintBase stores
Please follow the instructions in Step 2 of this article to set up the Express Checkout button in your theme/template.
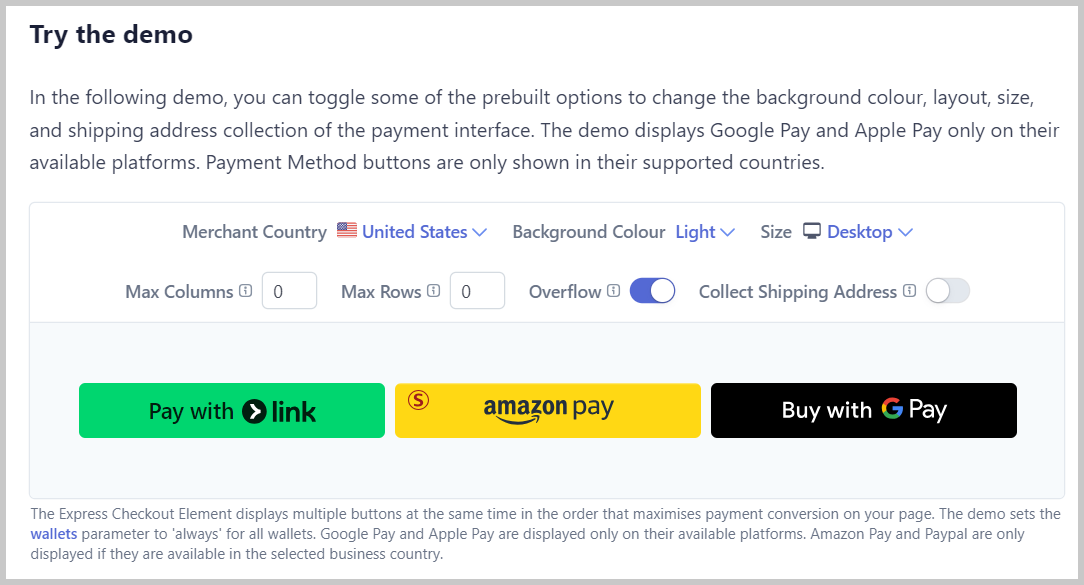
C. Express Checkout method display rule
D. How to deactivate Express Checkout
For Website Builder
For Theme Editor (Theme version 2.0)
Navigate to the section where you've set up the options as described above), then untick the Show Express Payments checkbox to disable the Express Checkout.