Each store theme includes a highly customizable Header section. The Header combines many built-in settings, including different options for your logo sizes. In order to set up the Header, go to Online Store > Themes > Customize > Sections > Header. In this article, we will guide you on how to adjust your Header sections.
In this article
B. Top Bar
C. Logos
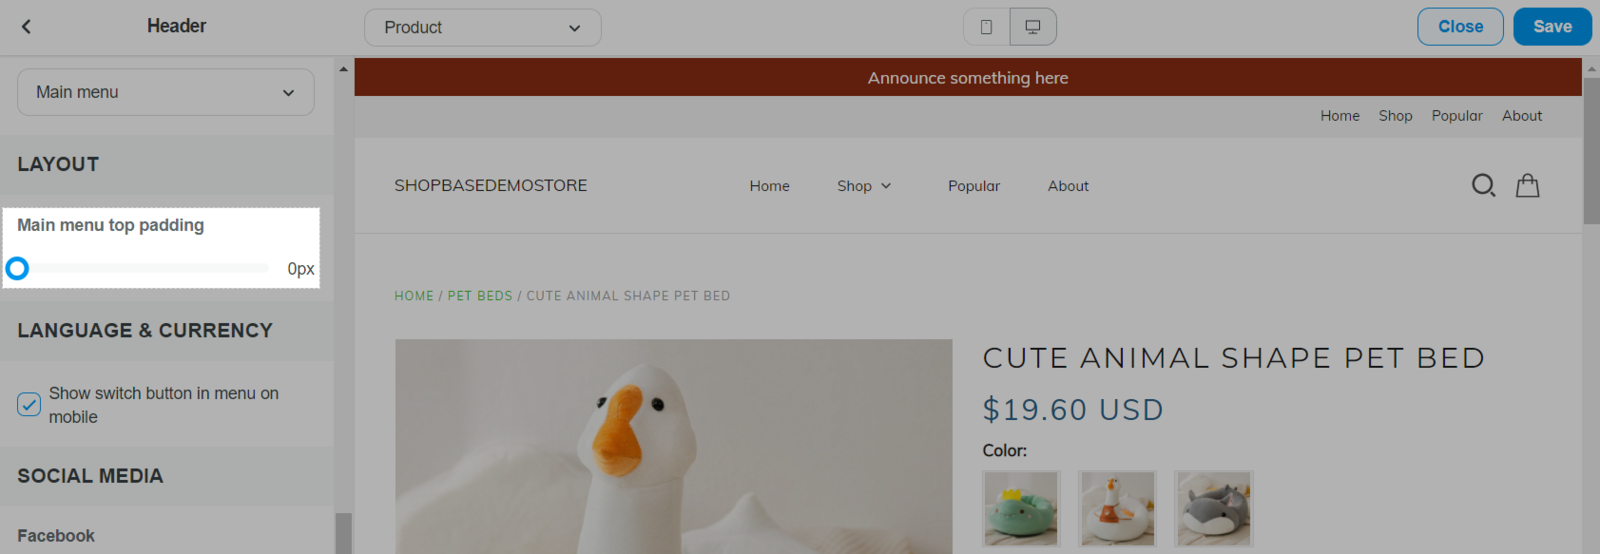
D. Menus
E. Search
F. Cart icons
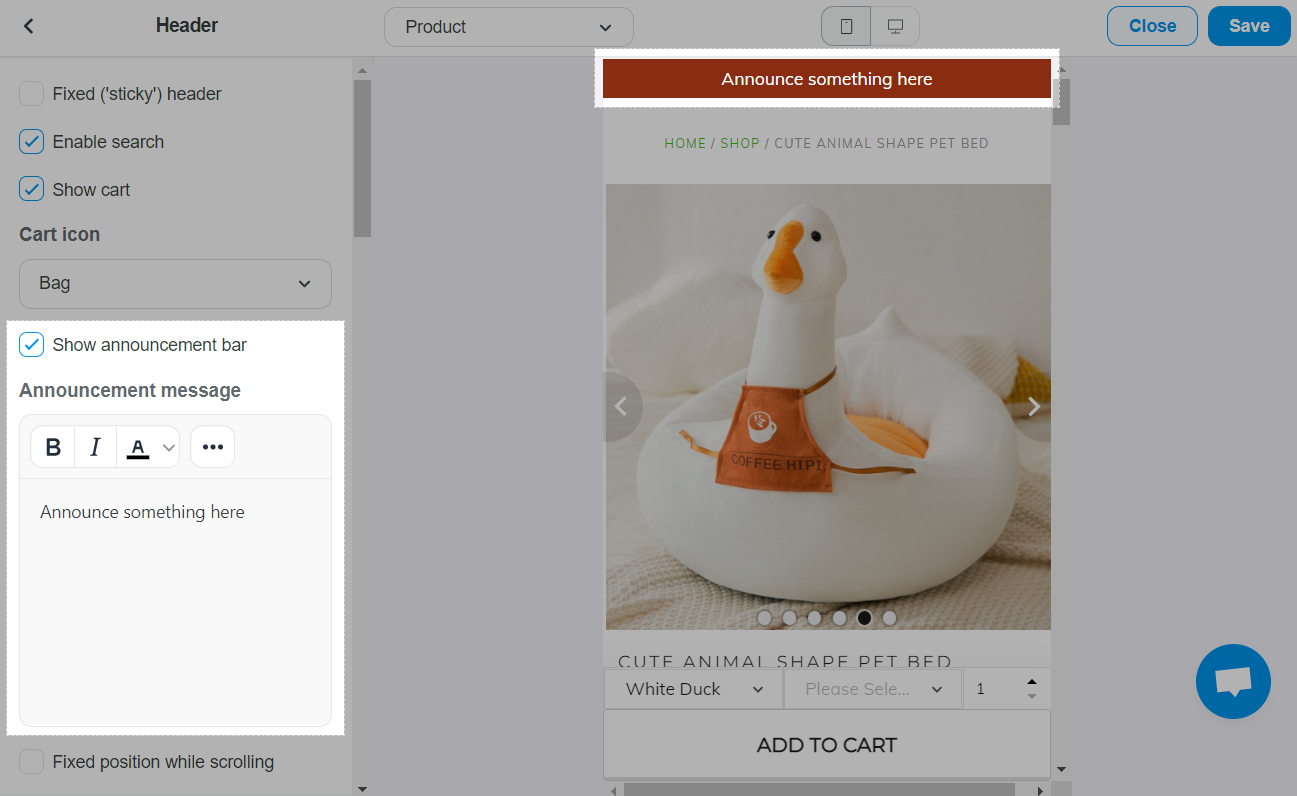
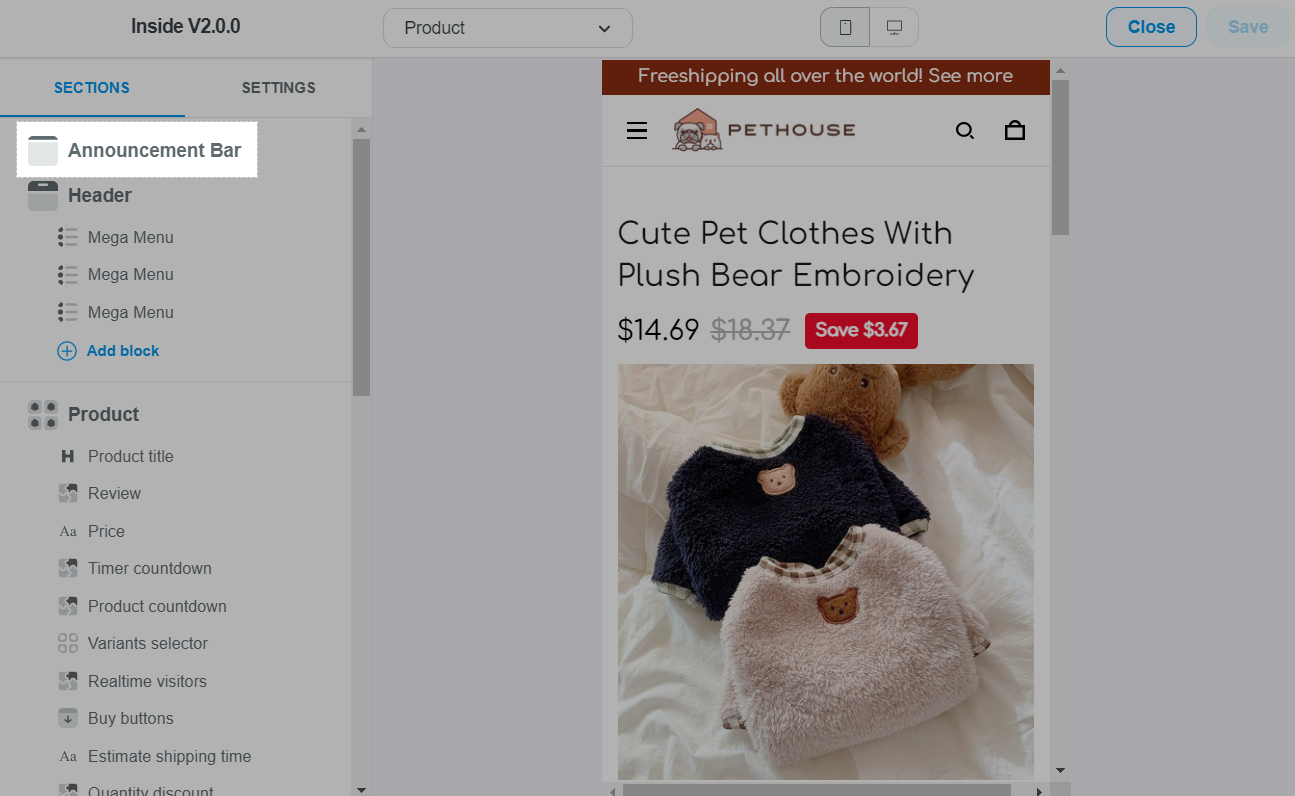
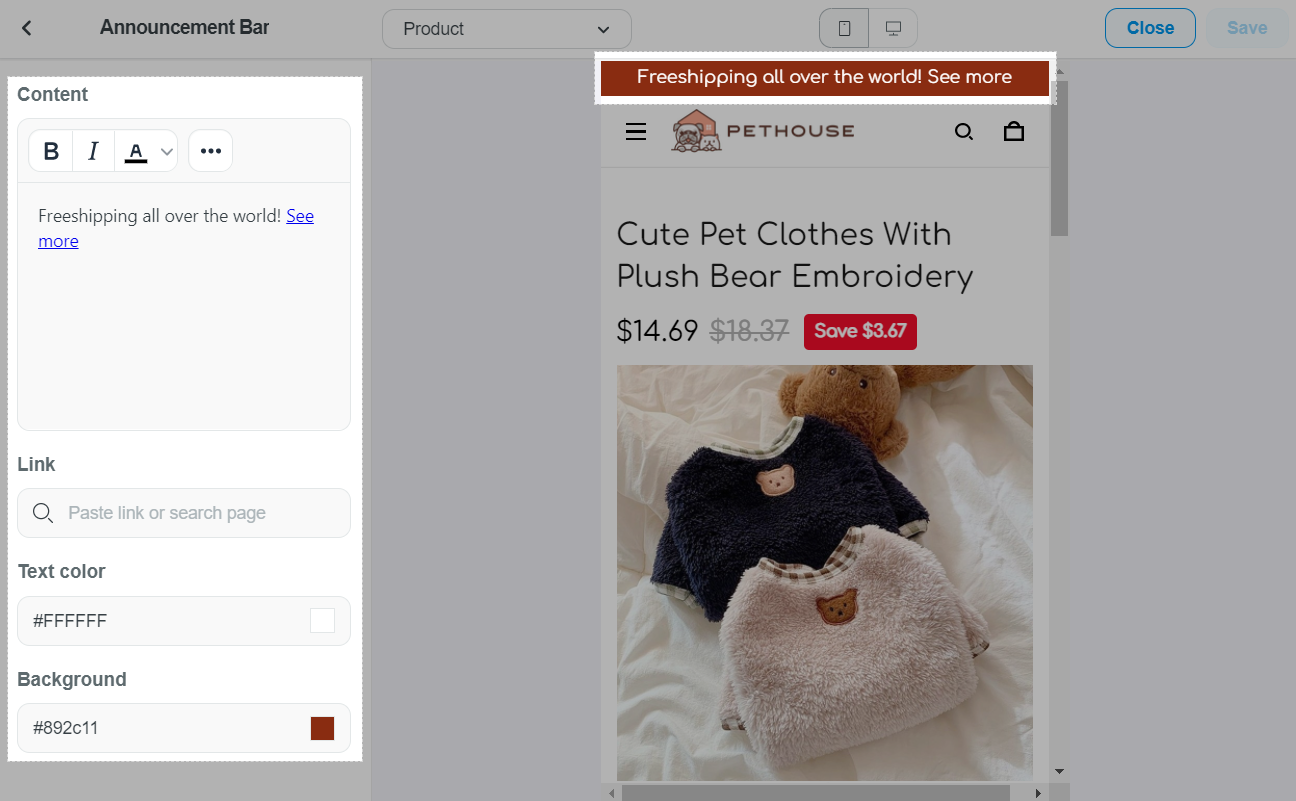
A. Announcement Bar
You can enable the Announcement bar. This bar will appear as a banner at the top of the header. It's a great way to promote discount codes, sales, or important information to your customers! The text area includes several options such as bold, italicize, insert image and link to your text. If the text box is left blank, the announcement bar will disappear.
B. Top Bar
A Top bar can be enabled and will display above your Main Menu and below your Announcement Bar.
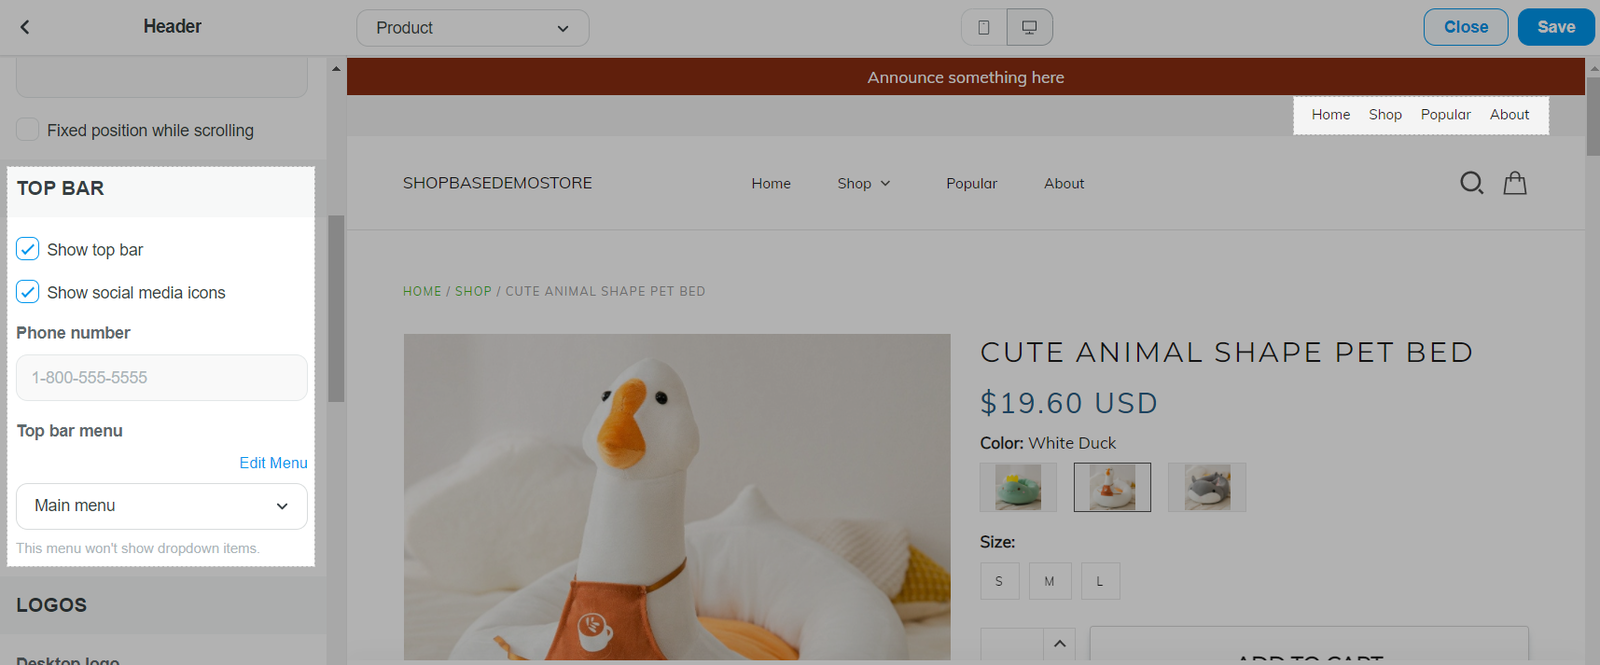
If you have the Customer Accounts enabled in Checkout settings, they will also show up here.
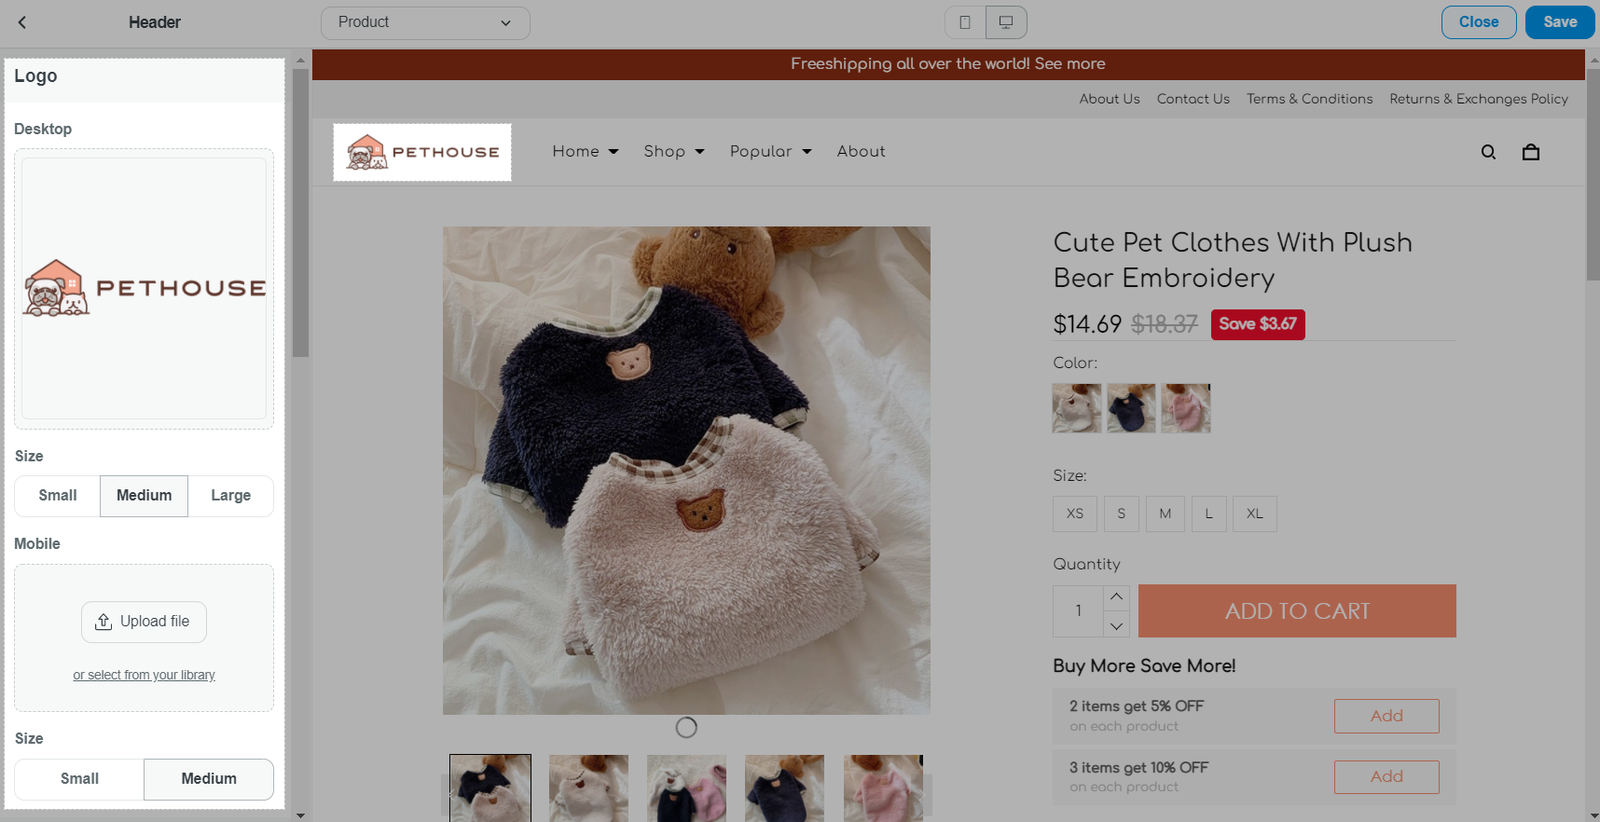
C. Logos
Roller and Inside theme allow you to upload two logo options: one desktop logo and one mobile logo. You can also adjust the logo display width on a slider which can be up to 180px. The recommended logo size is 180 x 48 px.
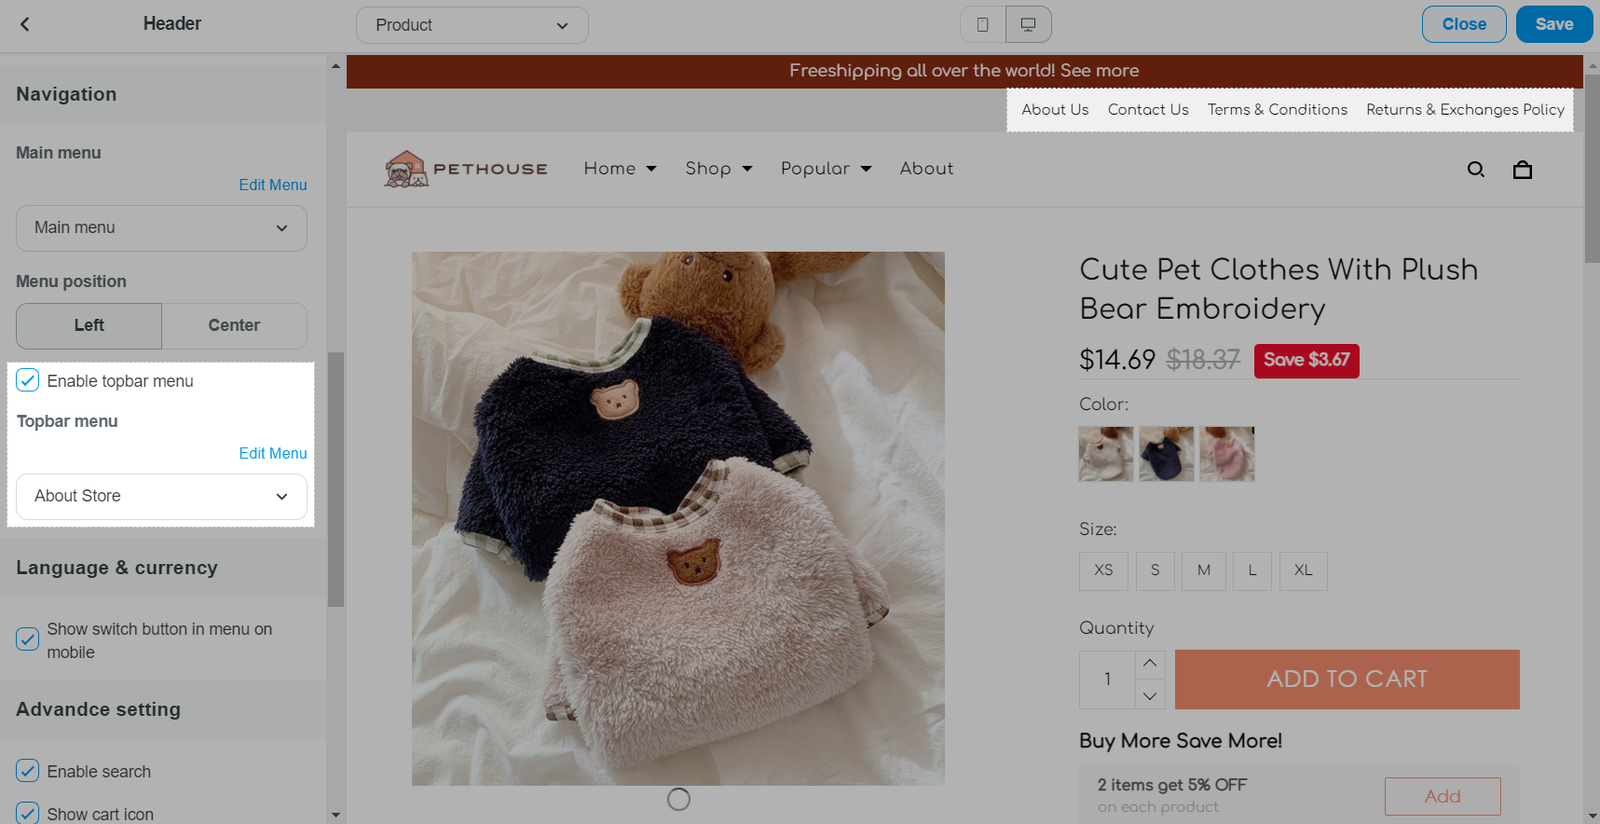
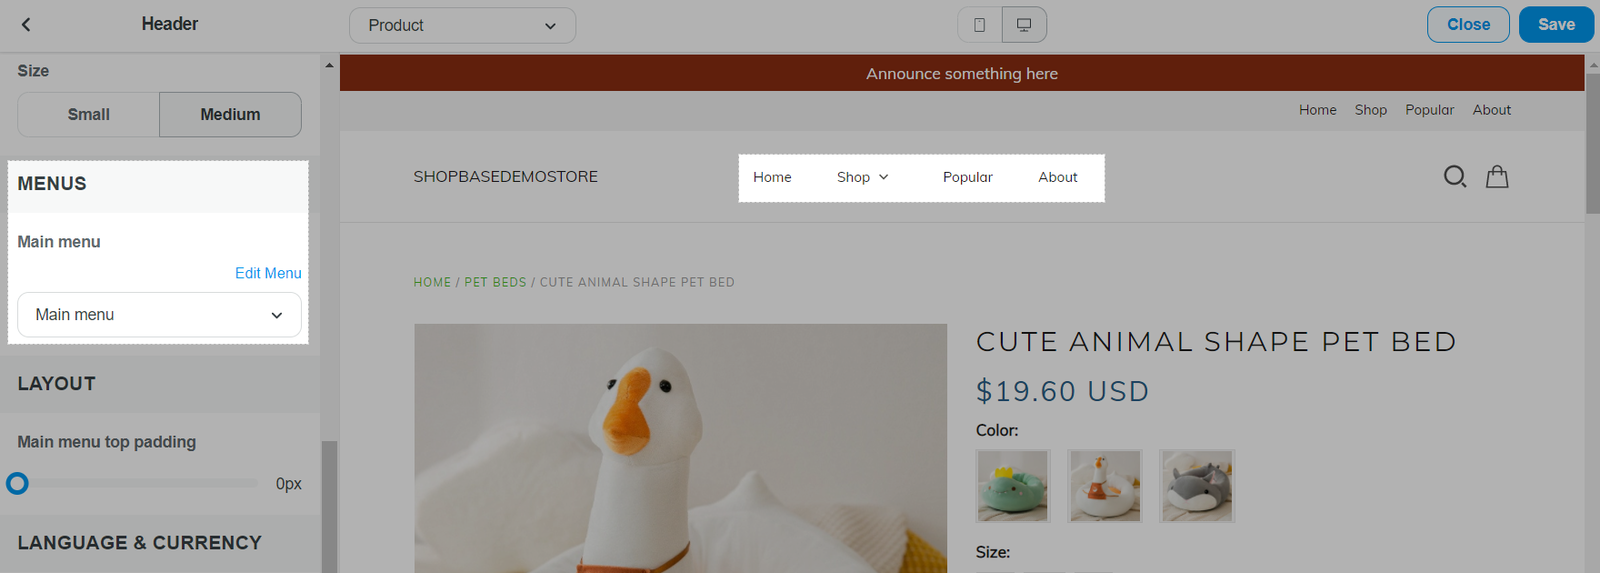
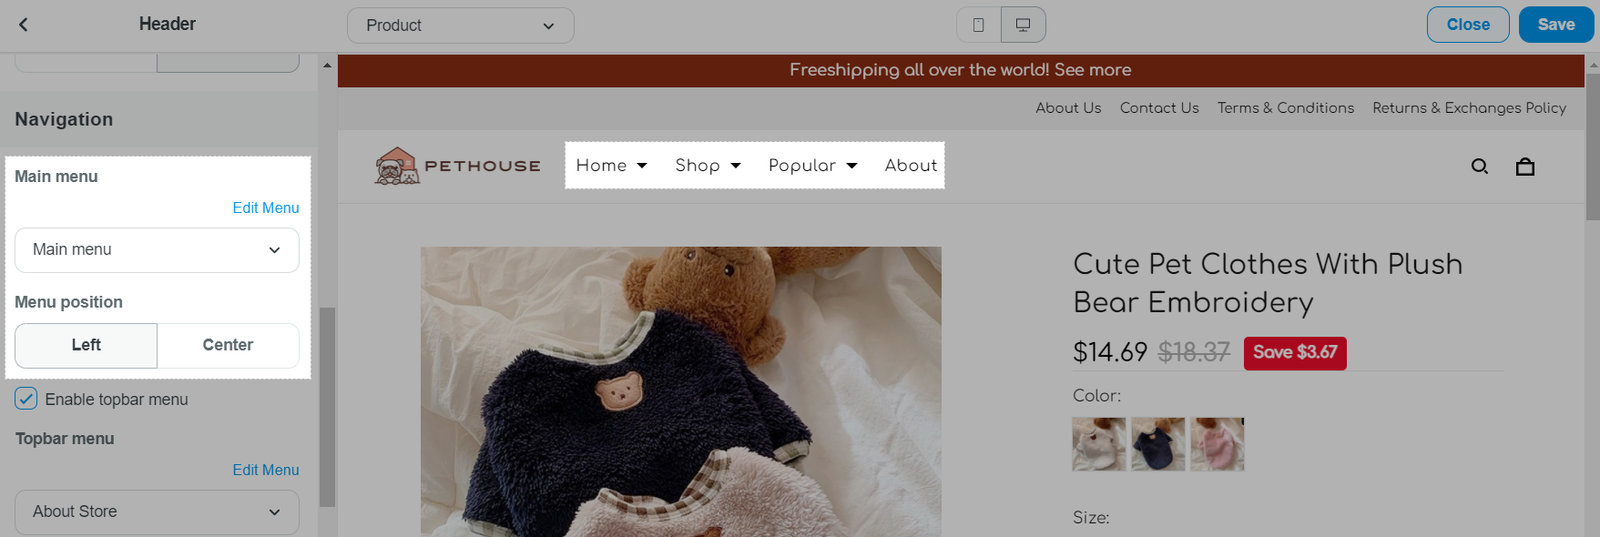
D. Menus
In the Header, you have the option to enable a Main Menu. For Inside theme, you will have more options to customize your menus such as:
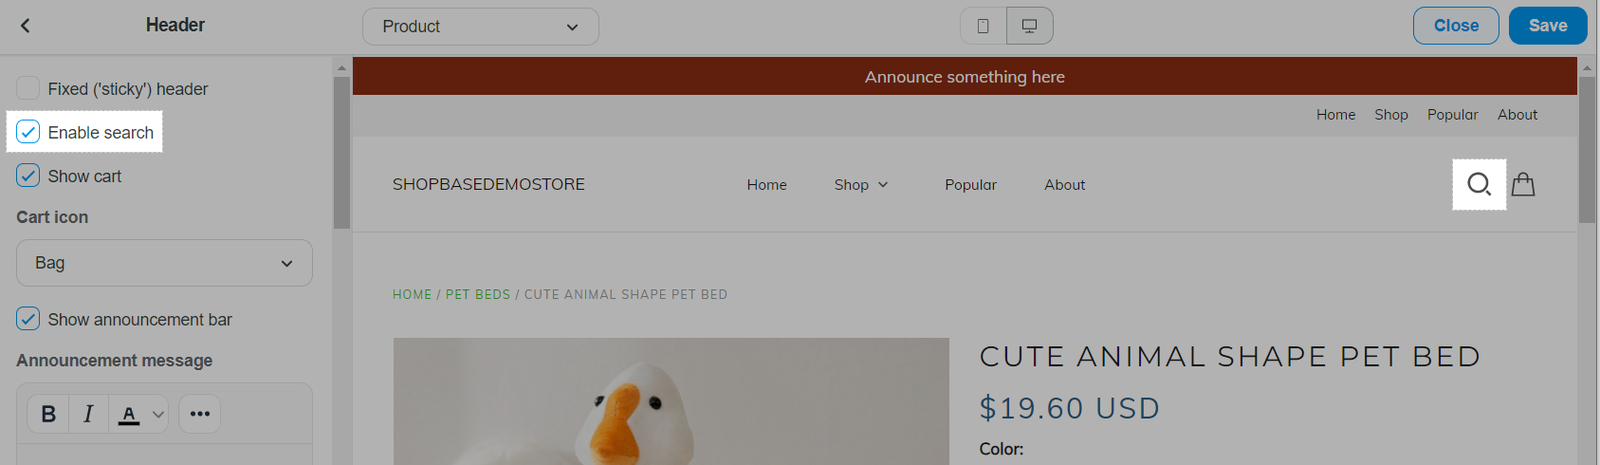
E. Search
In the Header, you can choose to enable the Search. Your Search results will be set to Products. On the desktop view, the Search input will show up as a search box. On mobile, the search box gets minimized to a magnifying glass which users can then click on:
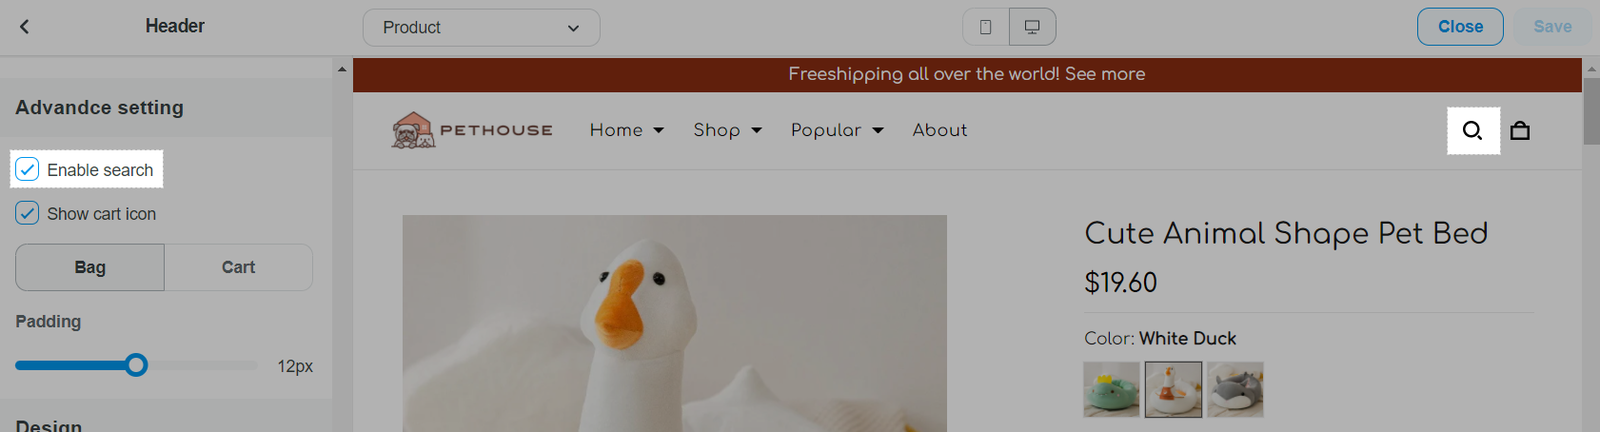
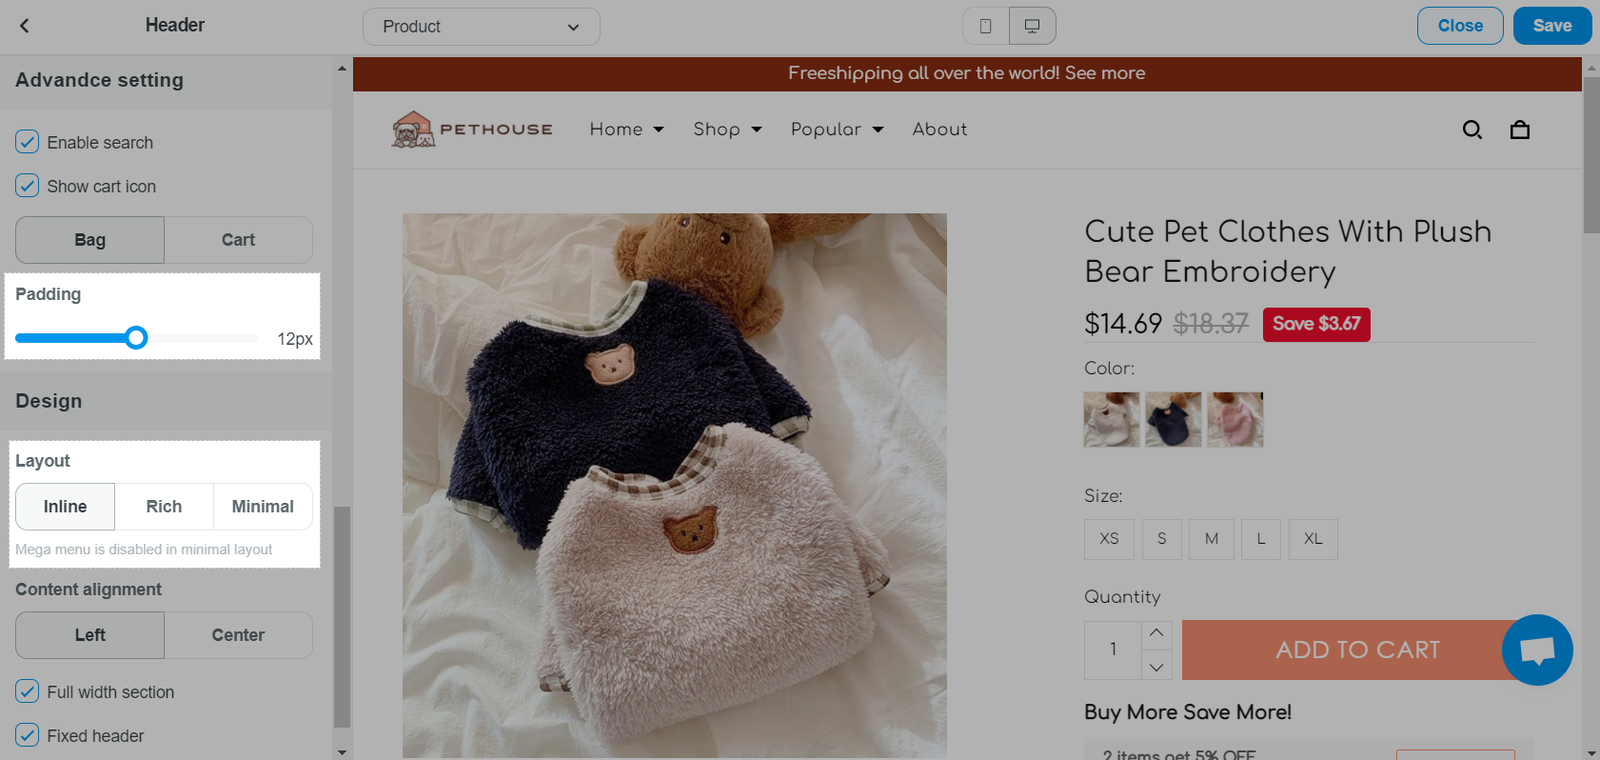
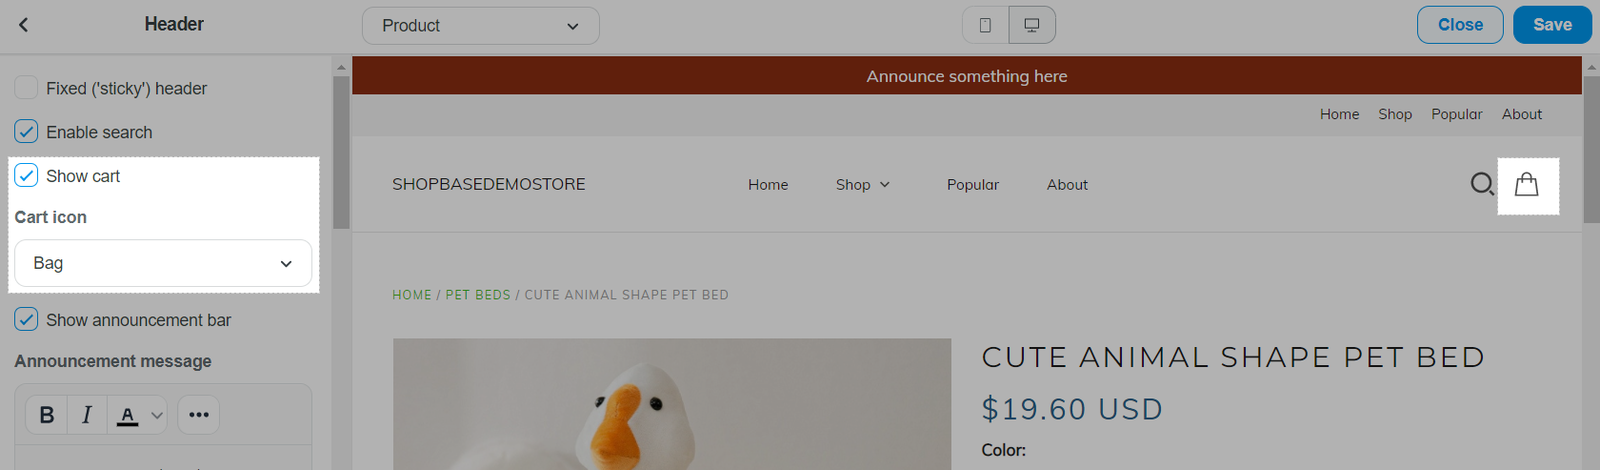
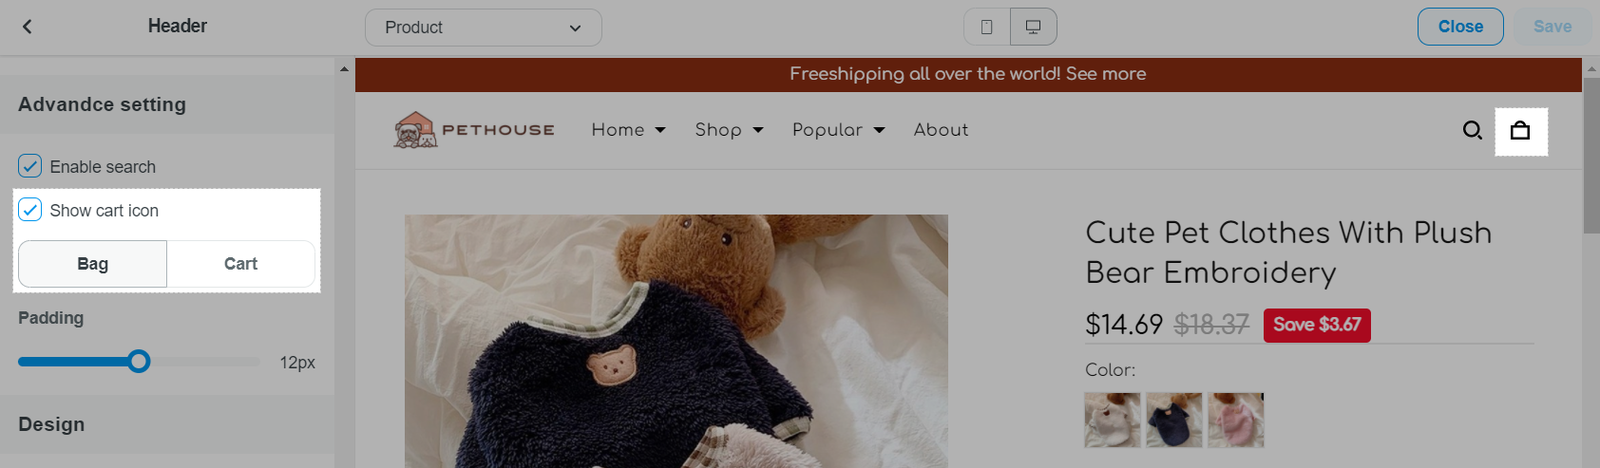
F. Cart icons
Enable the Cart and choose whether to display it as a Bag or Cart icon:
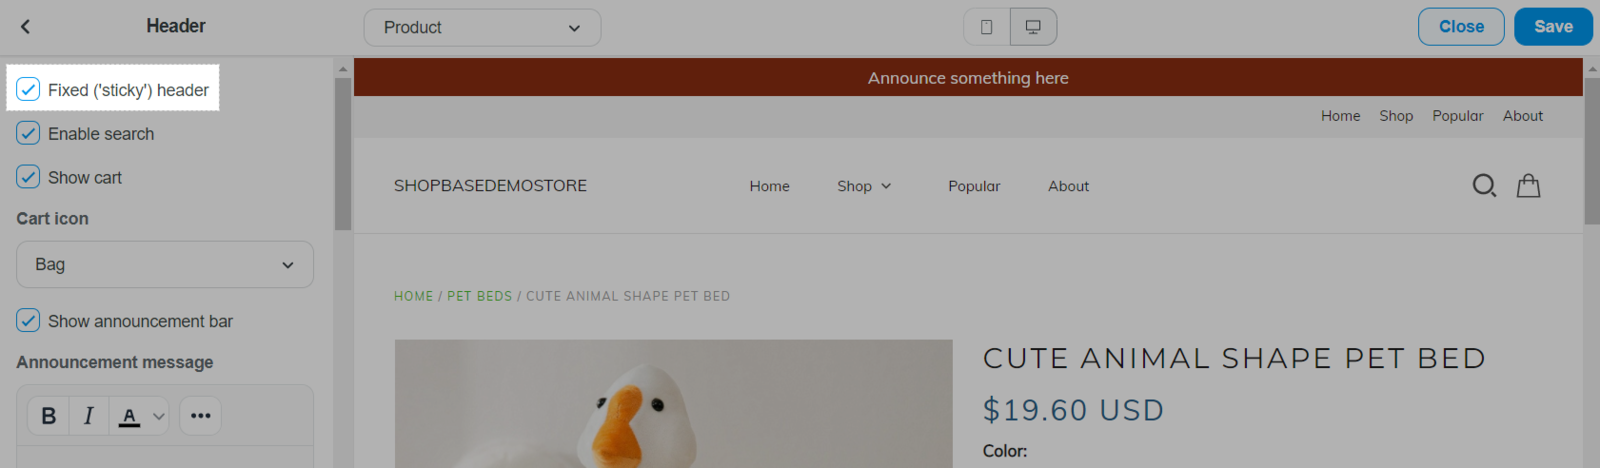
G. Fixed sticky header
Here, you have the option to enable the Fixed (sticky) header. This can be applied for both desktop and mobile. If you enable the fixed (sticky) header option, the header will drop-down and stay fixed once you start scrolling down your page.
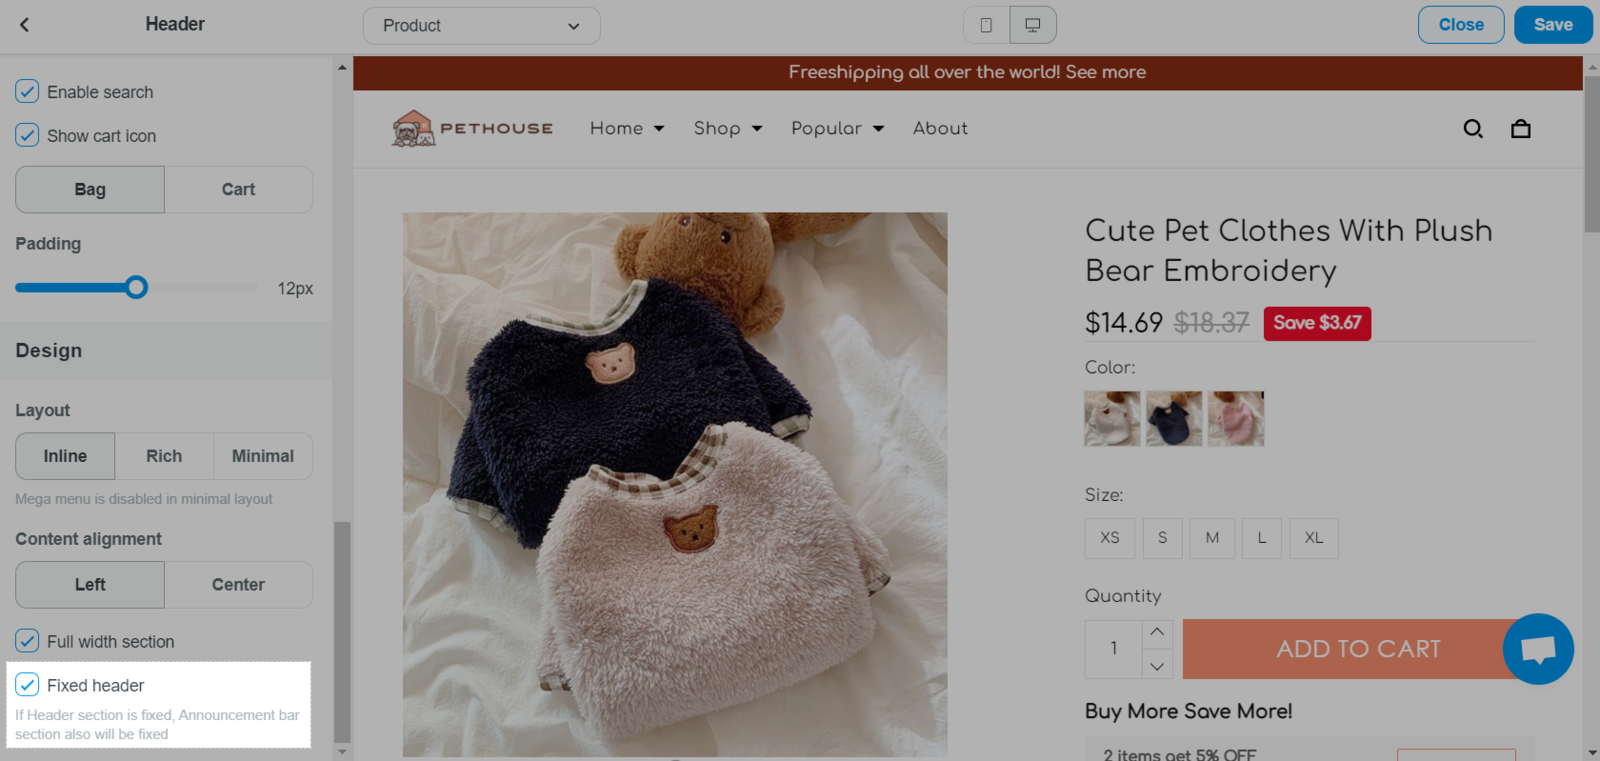
H. Layout & Padding