In this article, we will show you how to create templates for product, collection, or other pages with more flexible layouts that are suitable for each type of product, collection, and different page purposes.
In this article
A. Create a template
B. Preview a template
C. Assign a template to a product page
D. Assign a template to a collection page
E. Assign a template to other pages
A. Create a template
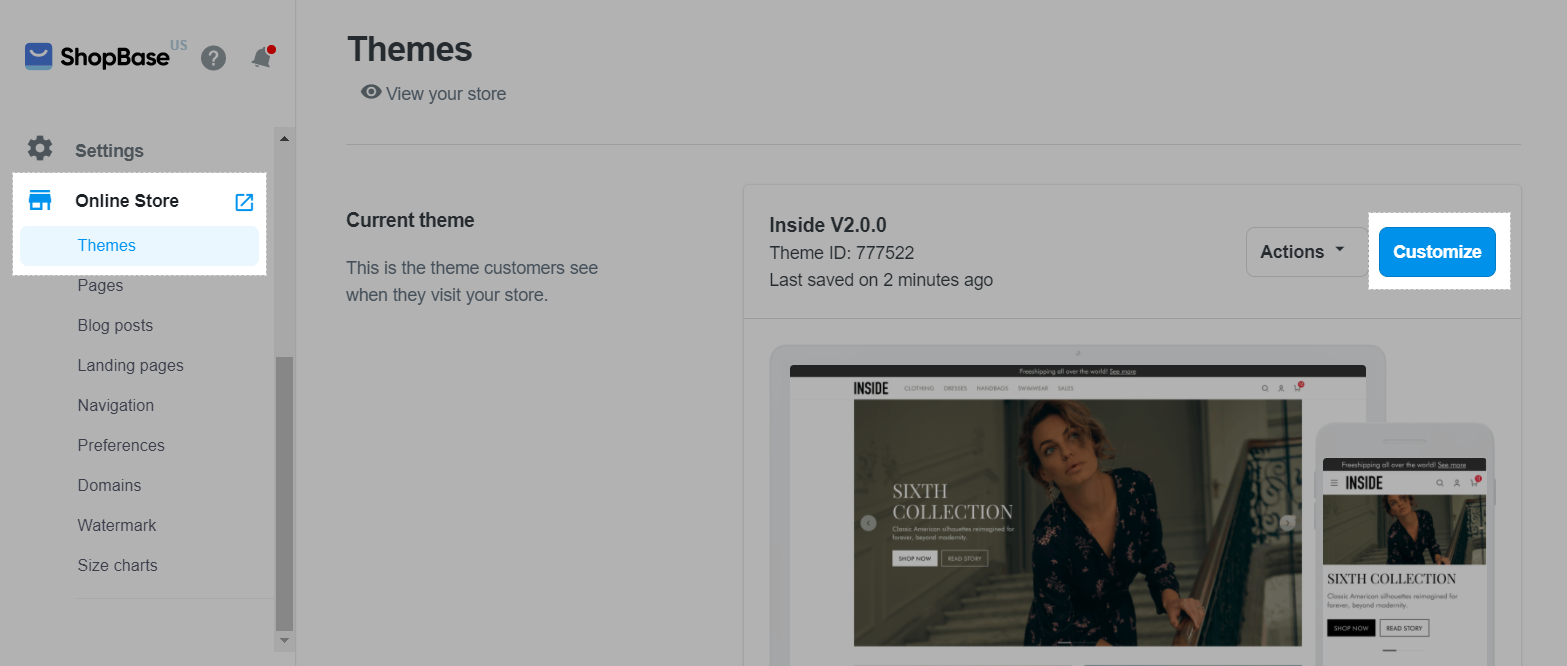
From your ShopBase admin, go to Online store > Themes and click on Customize of the theme you want to edit.
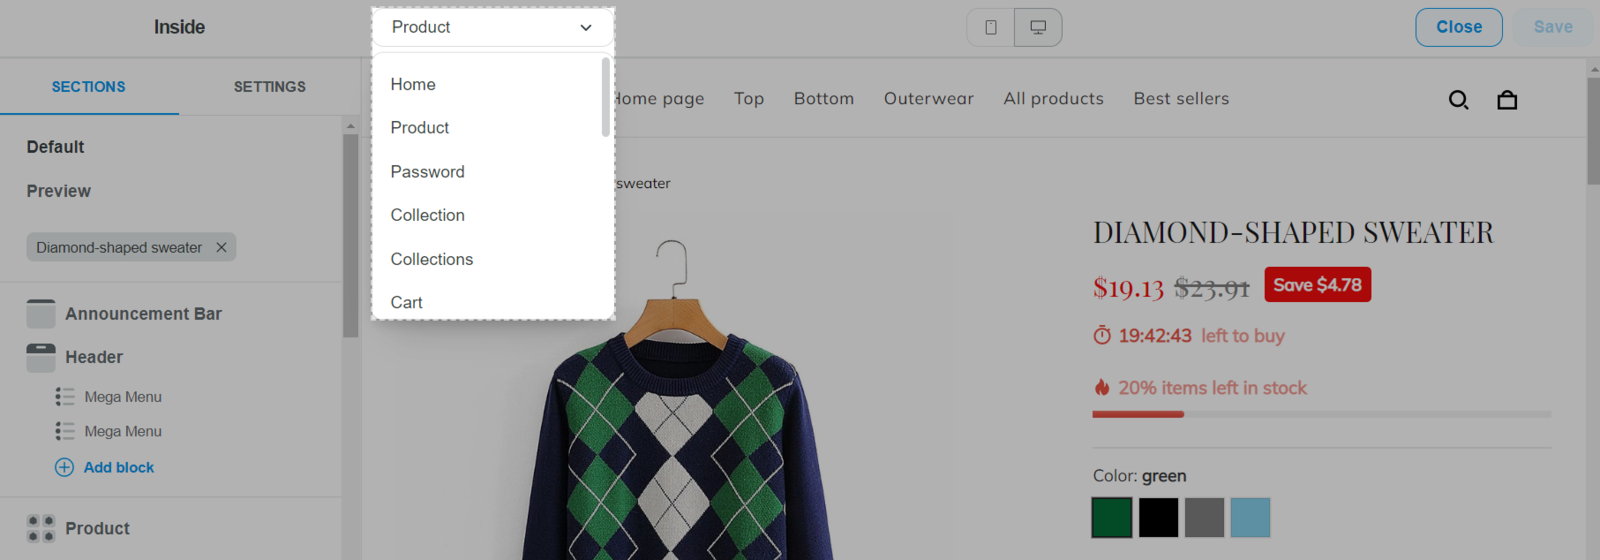
Click on the dropdown menu and select the page you want to create a template for.
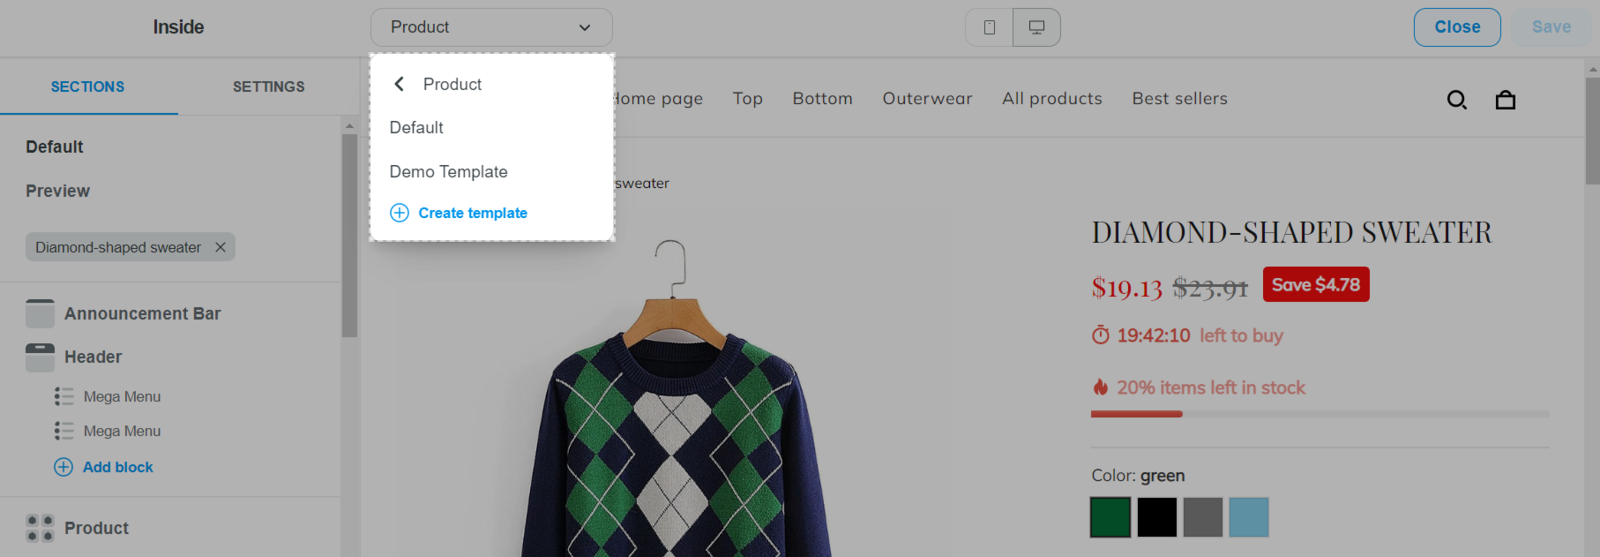
When you click on a page, a list of templates created for that page will be displayed, including the Default template created by ShopBase. Click on Create template to create a new one, or click on an existing template to edit it however you like.
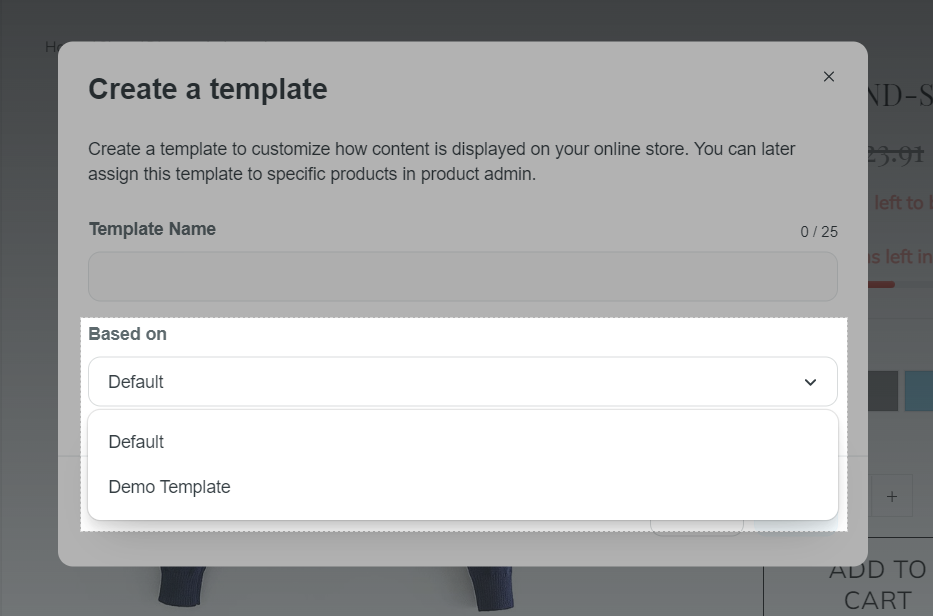
If you click on Create template, enter your Template Name on the dialog. This name can help you easily identify, manage, and assign this template to your designated product/collection/other pages in your store.
A template name should be in Latin characters without diacritics/accents.
In Based on, select a template that you want to use as the base for the new template that you are creating. The new template will have all settings of the base template, which you can further customize upon your wish. Here, you can select among the default template, or any other template you previously created.
Click Save once finished.
Templates can be created for: Product page, Collection detail page, and other pages that are created from Online store > Pages.
The total maximum number of templates (including Product page, Collection page, and other Pages) that you can create is 1000 templates.
B. Preview a template
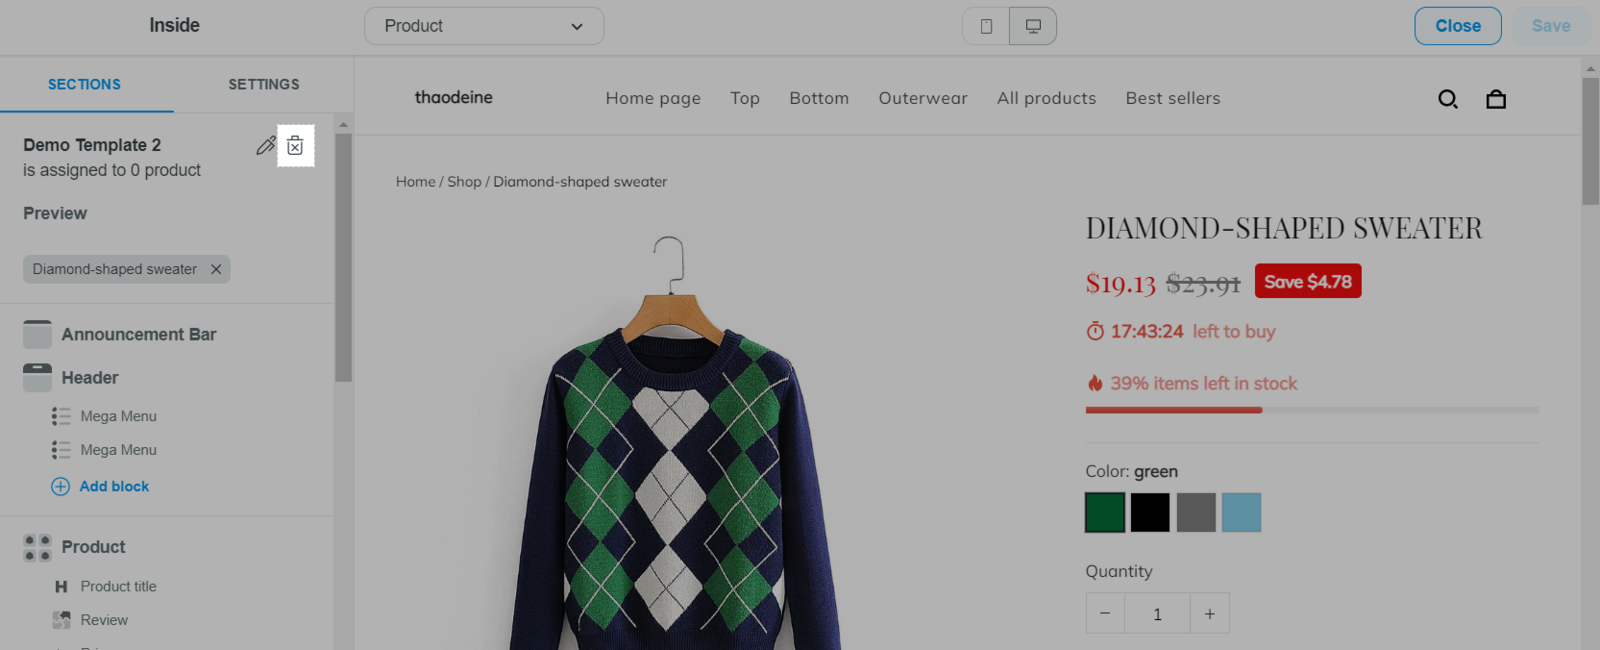
After creating a template, you can test and preview it with any product/collection/other page on your store before permanently assigning it to a specific page.
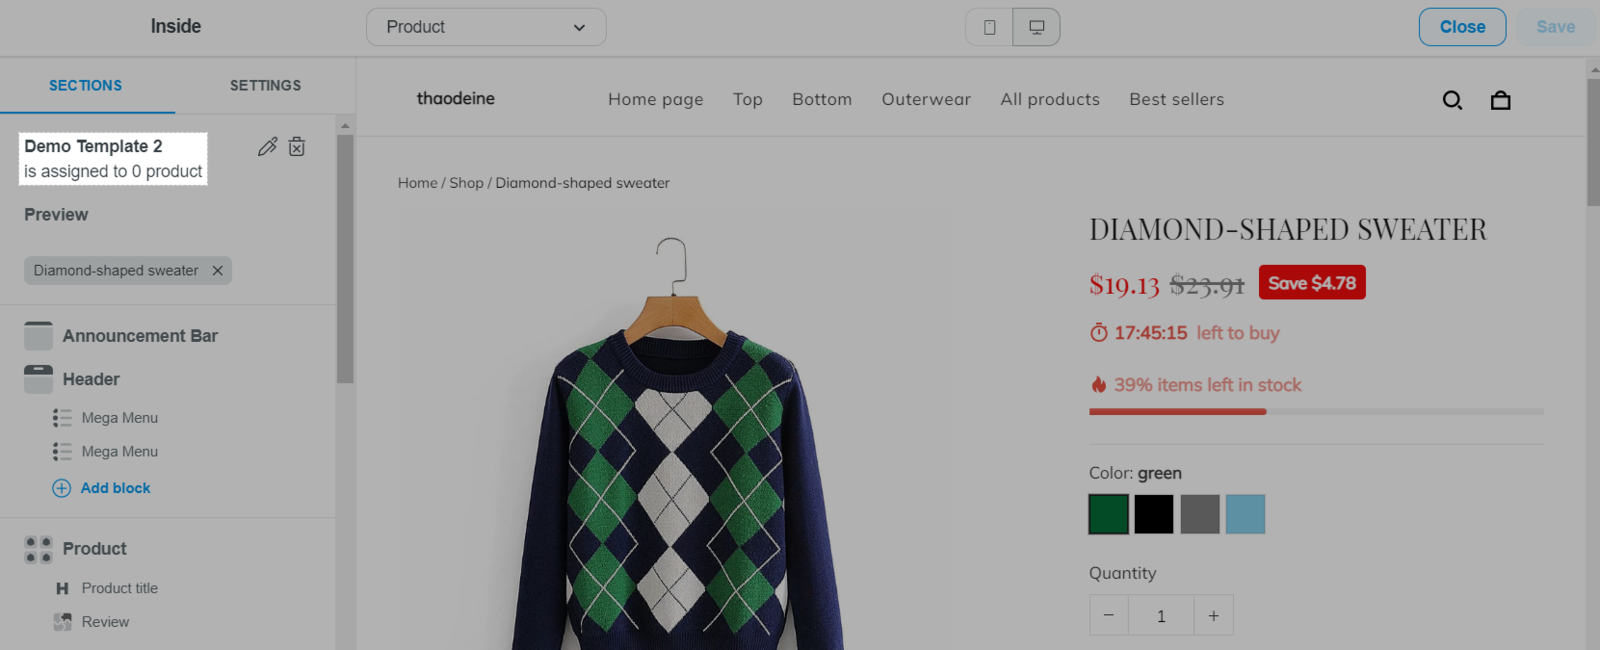
In the theme editor of the template you are editing, navigate to the Preview section and enter or select the name of the product you want to preview in the search box.
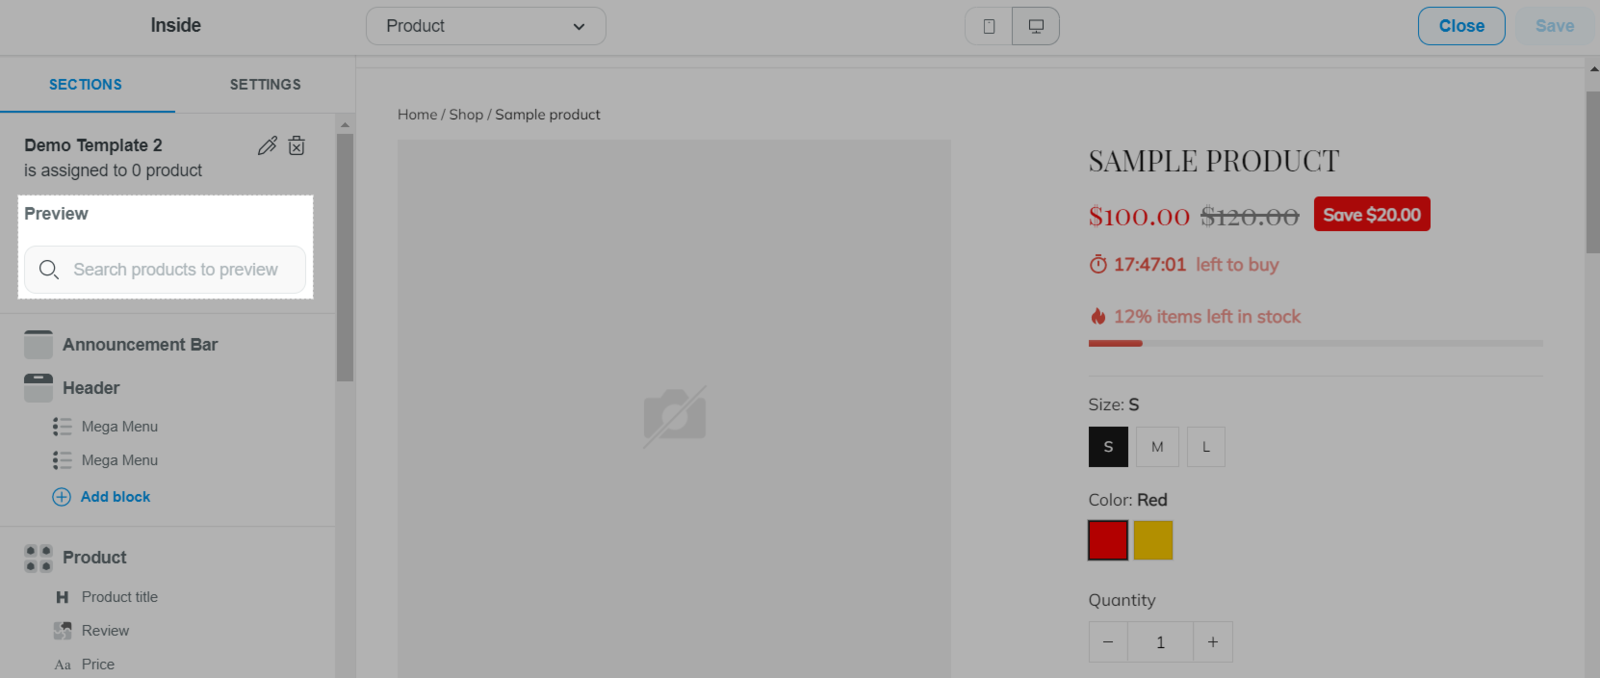
Here, you can also track the number of product that this template is assigned to.
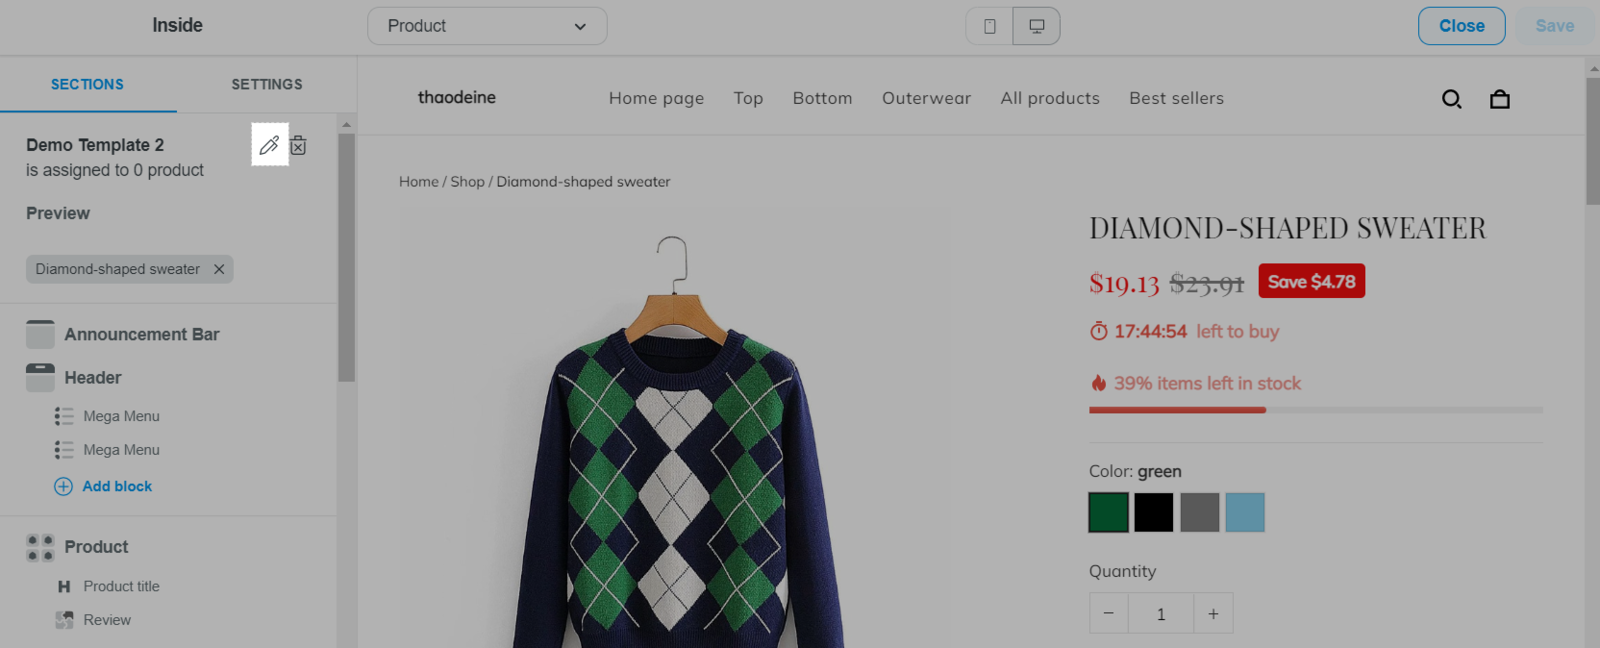
To rename a template, click on the pen icon and enter the new name in the dialog.
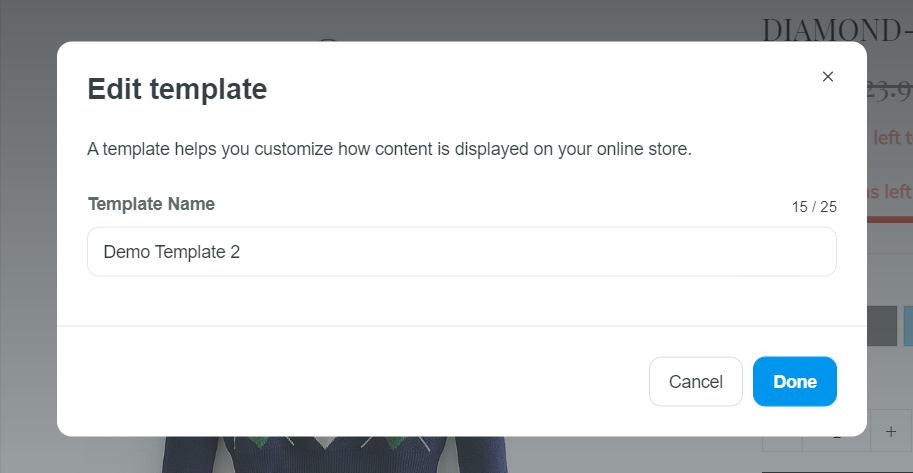
Each name of a page's template in your current theme must be unique.
To delete a template, click on the trashcan icon.
Click Save once finished.
C. Assign a template to a product page
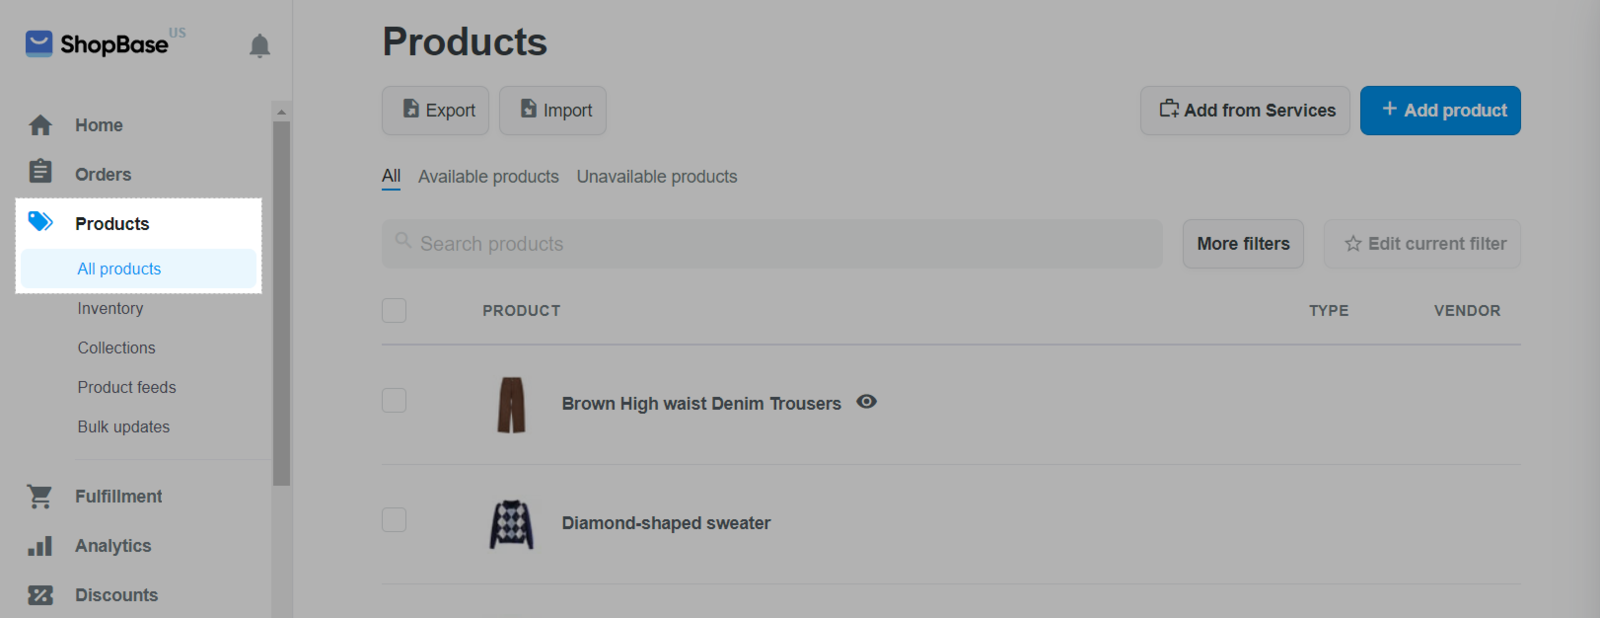
From your ShopBase admin, go to Products > All products and select the product you want to assign a template to.
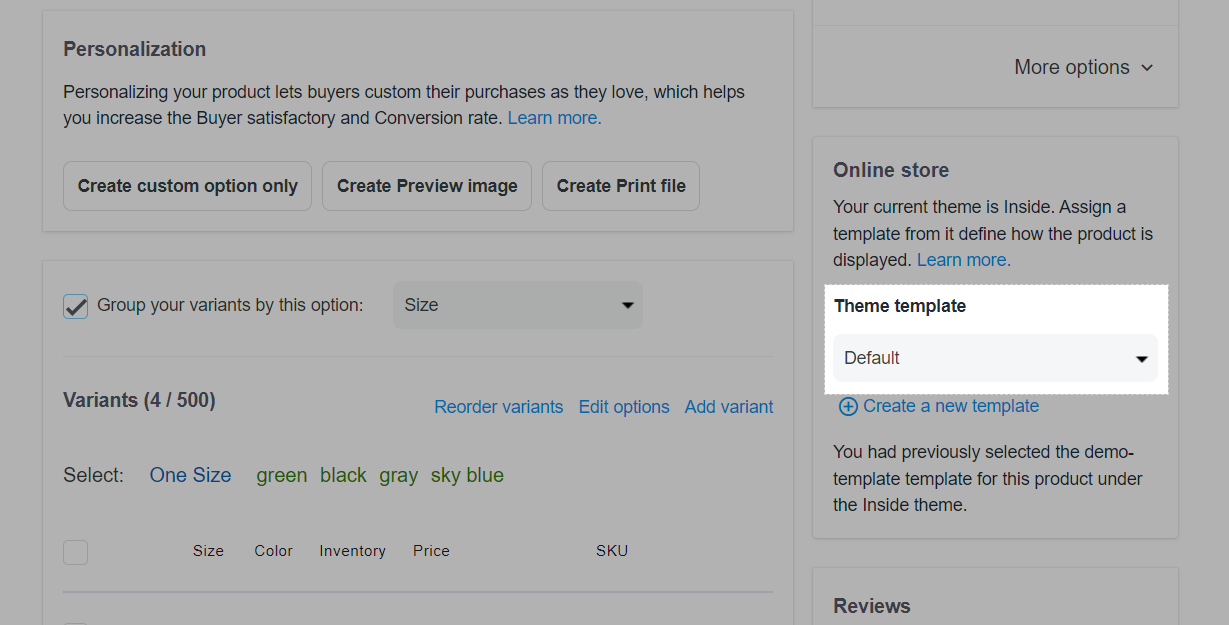
Navigate to Online store section. In Theme template, select the template that you want to assign to this product from the dropdown menu.
The dropdown menu will only show templates from the corresponding product page in your current theme.
You can also create a new template for this product page by clicking on Create a new template and repeat the steps in section A.
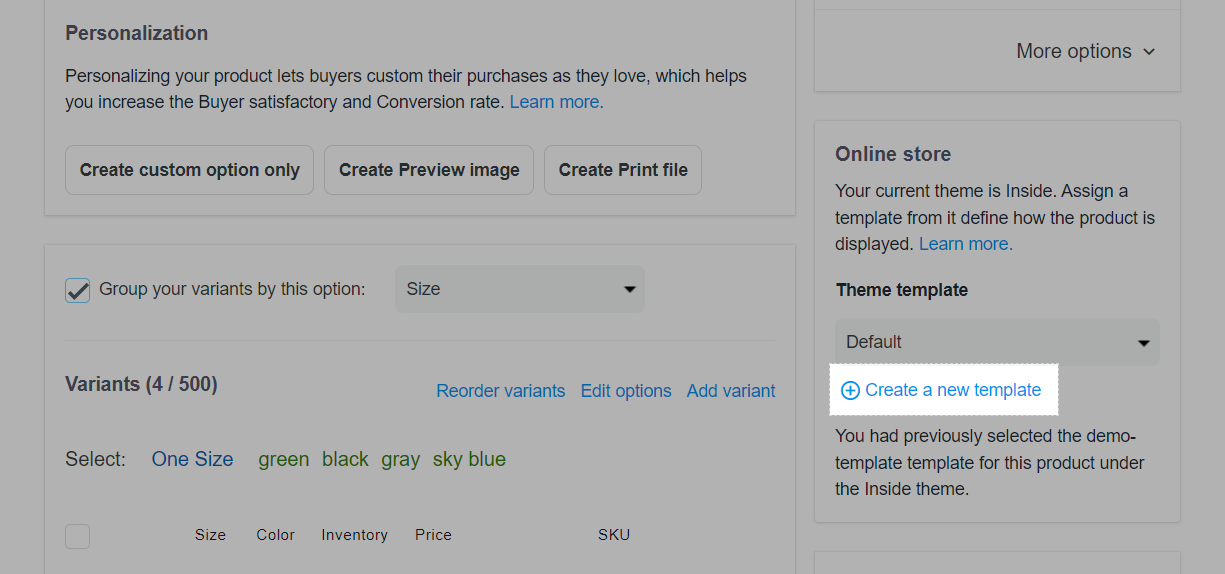
After selecting a template for your page, click Save changes. Then, the page layout set up in the template will be applied to your selected product page.
You can quickly assign templates to multiple products at the same time using 1 of the 2 methods below:
Using CSV files:
Export your products to a CSV file. Then, in the CSV file, enter the template name you want to assign for the product in the
Template column, separate each word using a
- and use lowercase characters only (For example, if your template name is Demo Template, enter
demo-template in the
Template column of the corresponding product). Then,
import the product CSV file to your store admin.

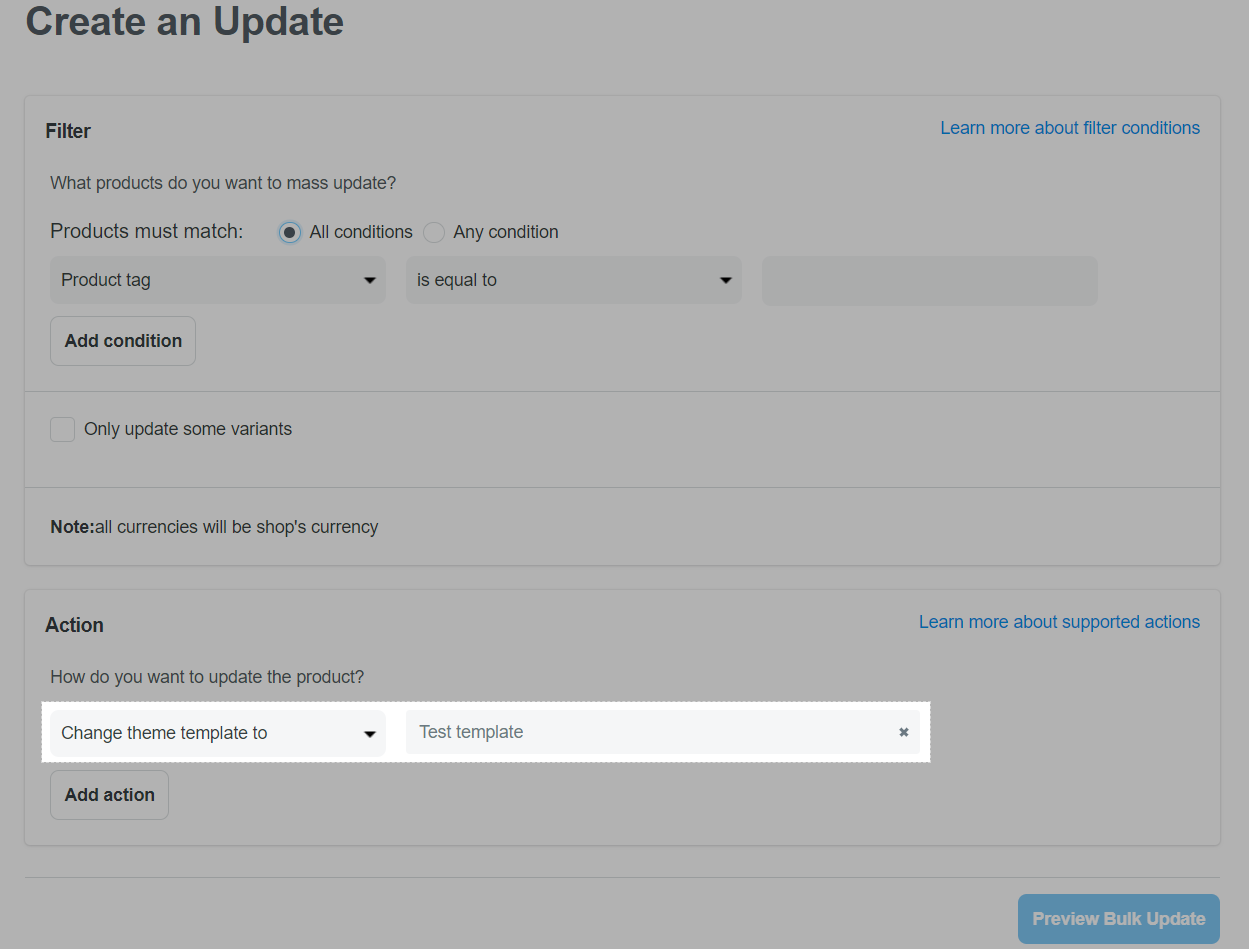
Use bulk update:
Create a bulk update to quickly assign a template to multiple products. You will need to filter out your products using conditions. Then, select the action
Change theme template to and select the template of your current theme.
When switching to a new theme, the system will detect and assign a new theme template with the same name as the current template to a product page. If no new templates with the same name are available, the Default template will be assigned to this product page.
When duplicating a product, the product page template will remain in the new products. However, when duplicating a campaign, or bulk duplicating a campaign, the Default template will automatically be assigned to new campaigns.
When cloning a product/campaign to another store, the system will detect and assign a template with the same name as the current template to the new product page in the new store. If no new templates with the same name are available, the Default template will be assigned to this product page.
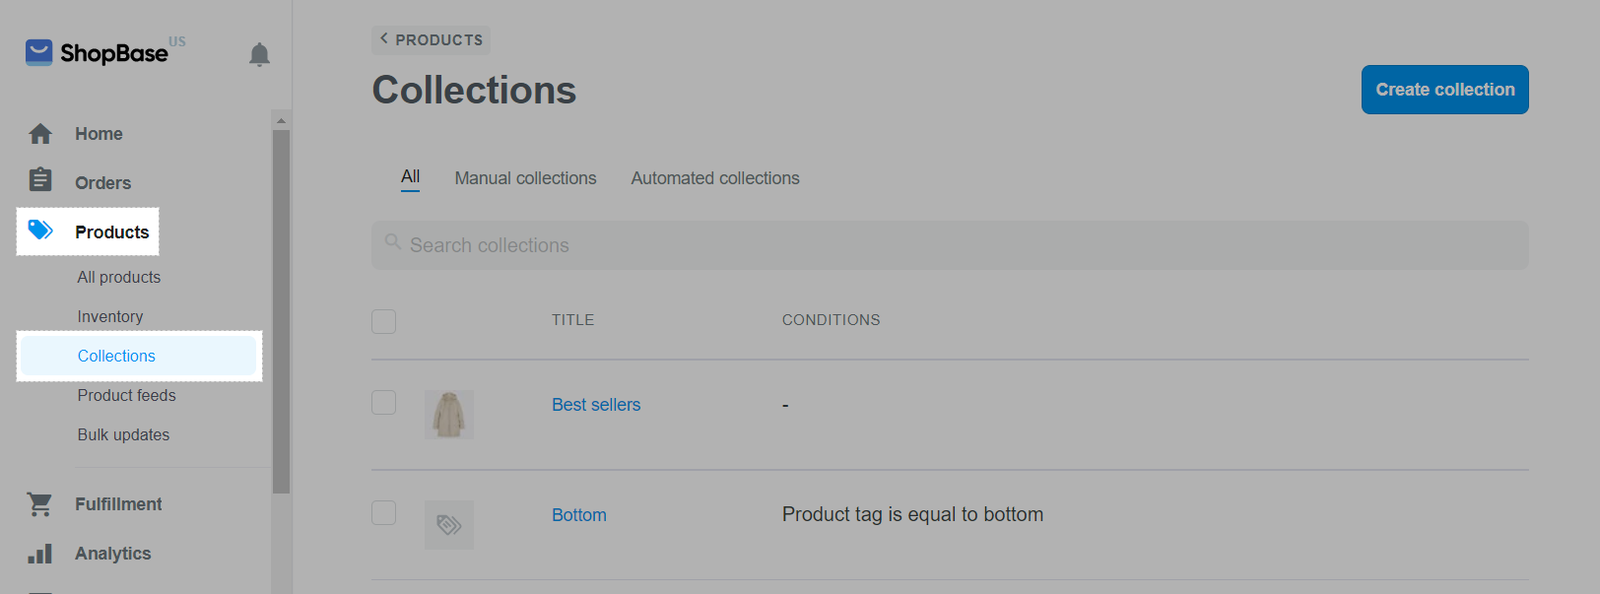
D. Assign a template to a collection page
From your ShopBase admin, go to Products > Collections and select the collection you want to assign a template to.
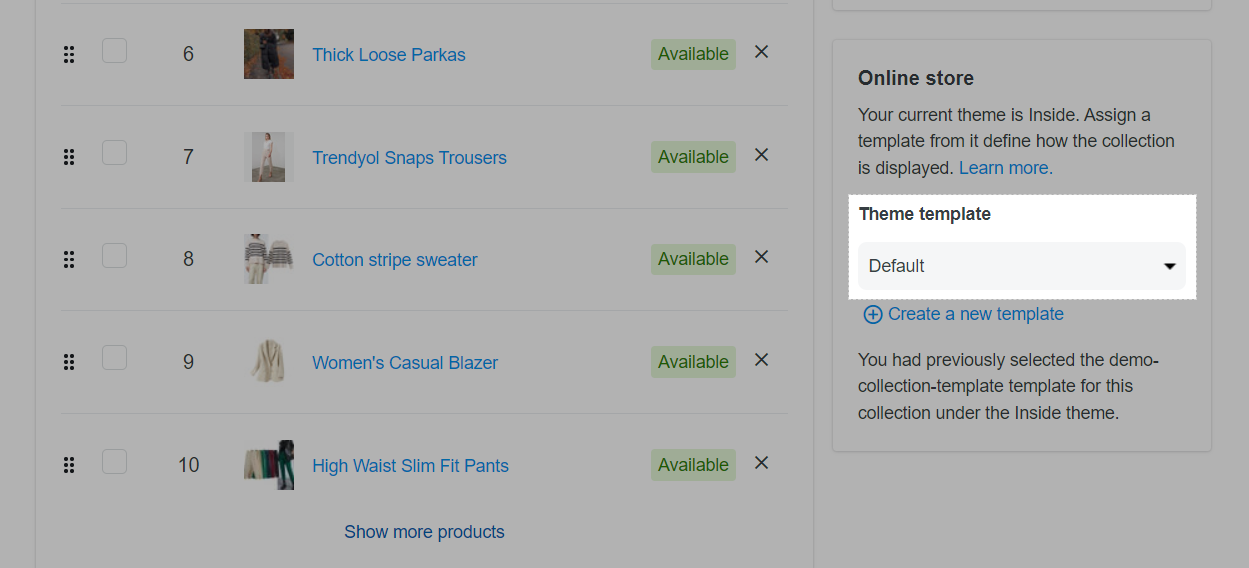
Navigate to Online store section. In Theme template, select the template that you want to assign to this collection from the dropdown menu.
The dropdown menu will only show templates from the corresponding collection page in your current theme.
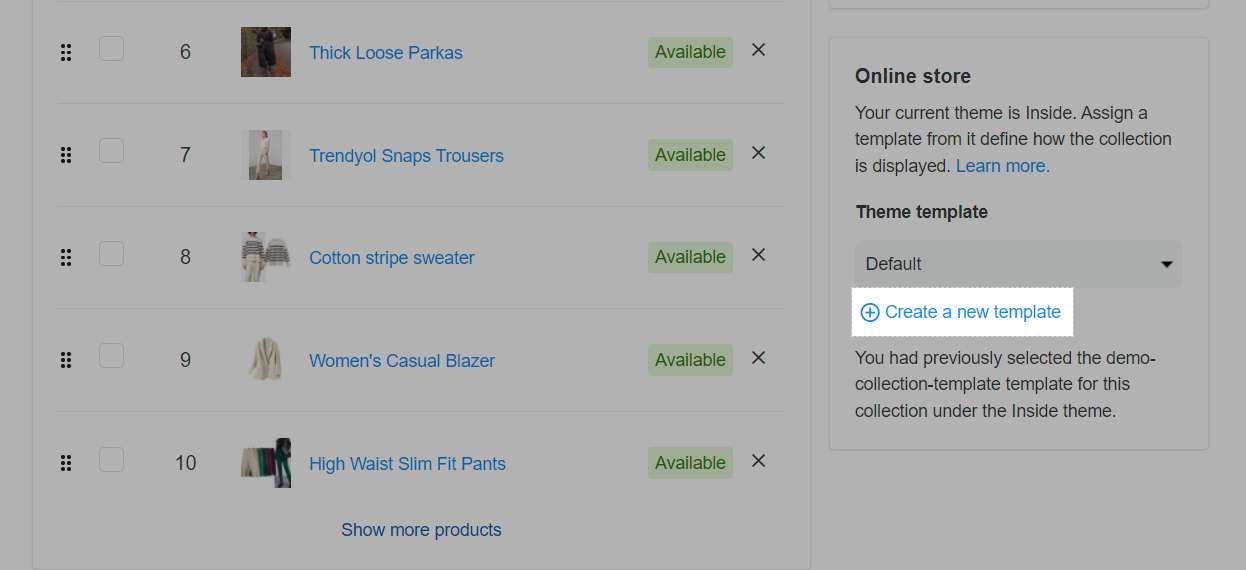
You can also create a new template for this collection page by clicking on Create a new template and repeat the steps in section A.
After selecting a template for your page, click Save changes. Then, the page layout set up in the template will be applied to your selected collection page.
E. Assign a template to other pages
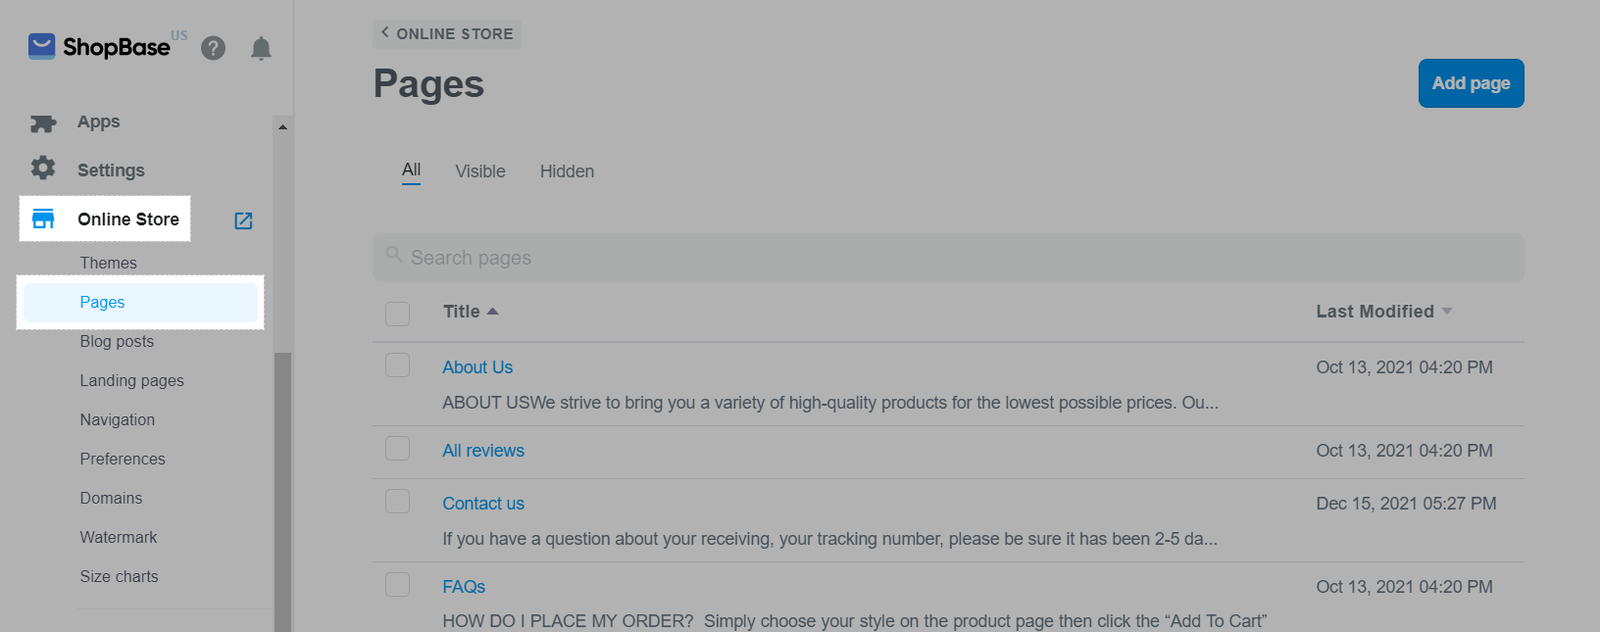
From your ShopBase admin, go to Online store > Pages and select the page you want to assign a template to.
In Template, select the template that you want to assign to this page from the dropdown menu.
The dropdown menu will only show templates from the corresponding page in your current theme.
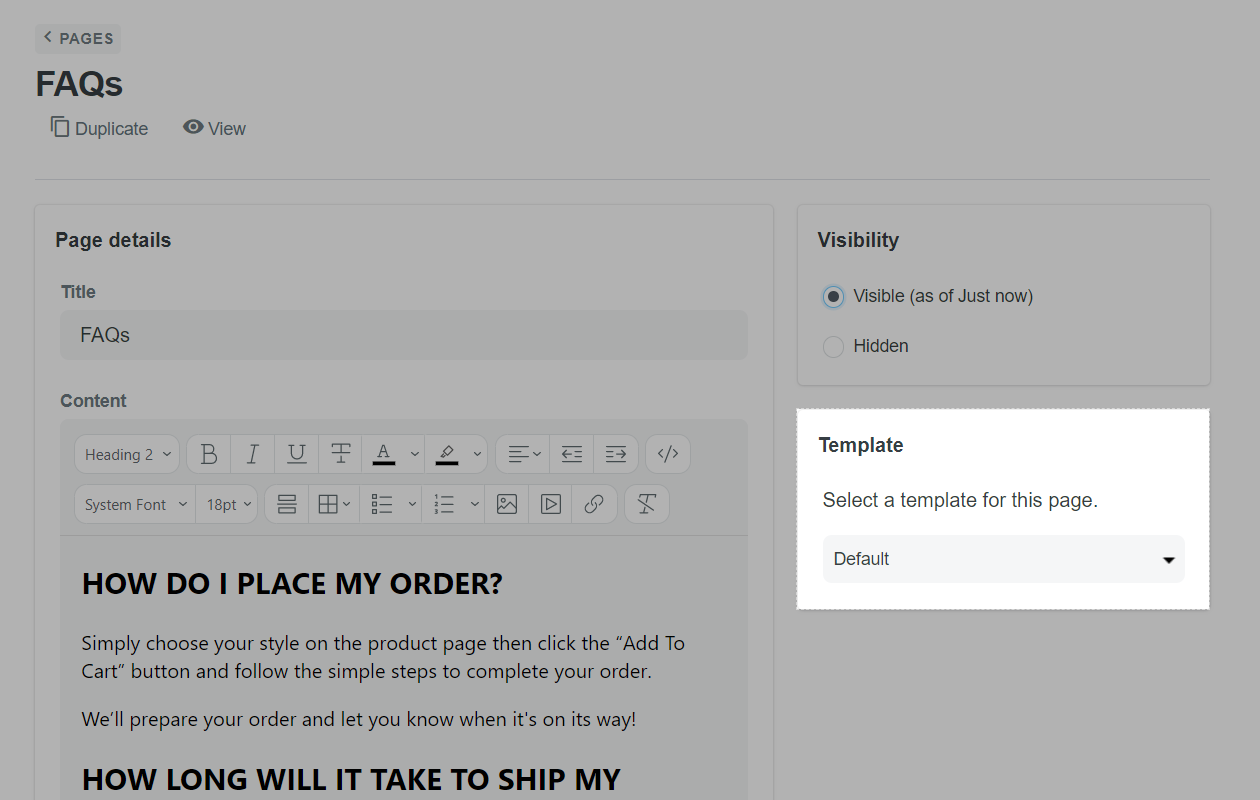
After selecting a template for your page, click Save. Then, the page layout set up in the template will be applied to your selected page.
Read more: Use product page template as an alternative to landing pages.
Related articles