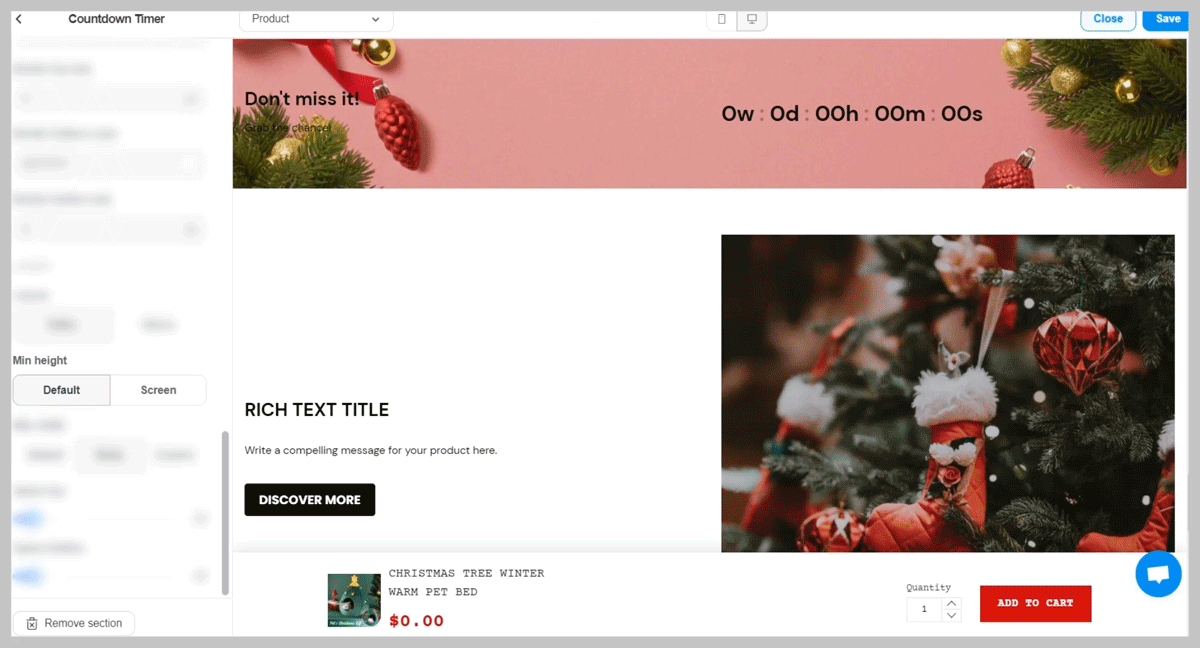
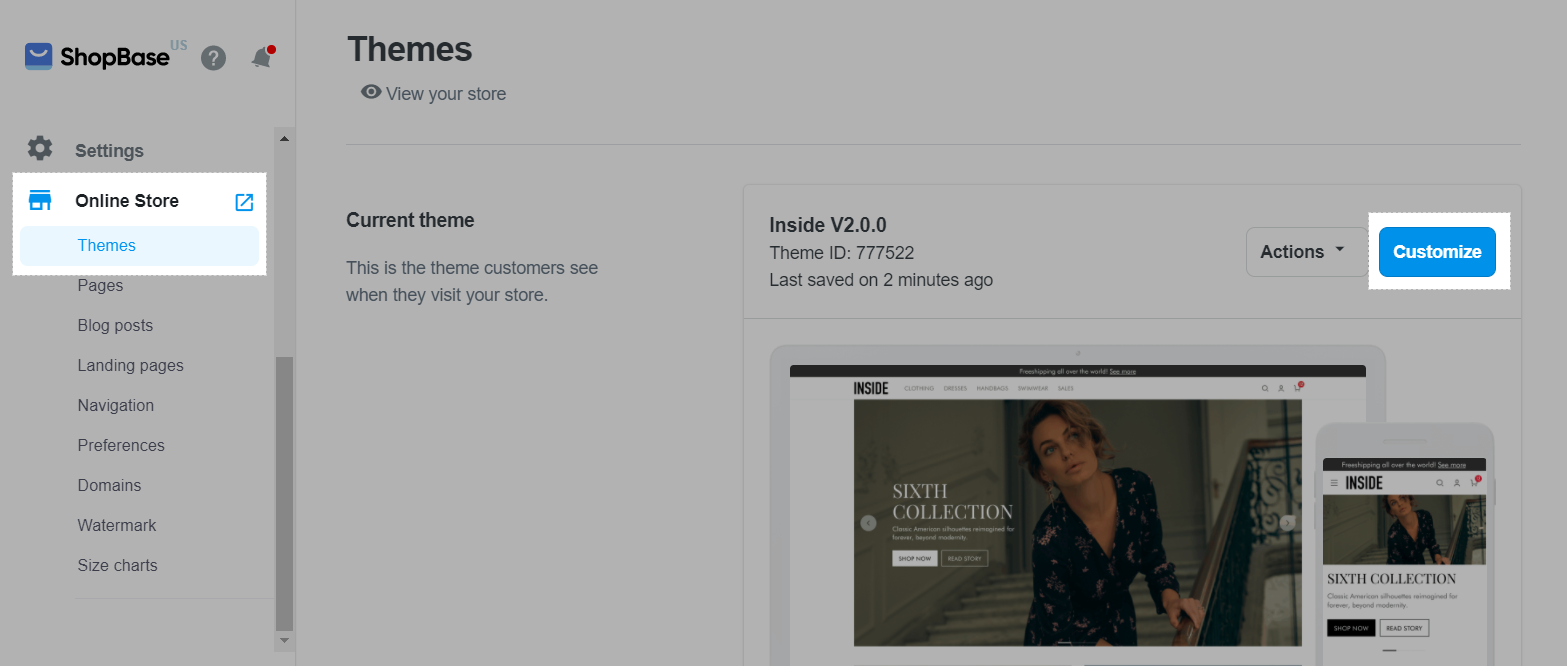
With global sections, you can add different content for specific purposes on your store. For example, you can create a contact form and immediately display it above the footer on your product page, or a countdown timer to motivate customer purchasing on the cart page. In this article, we will show you how to add and customize global sections on your store.
In this article
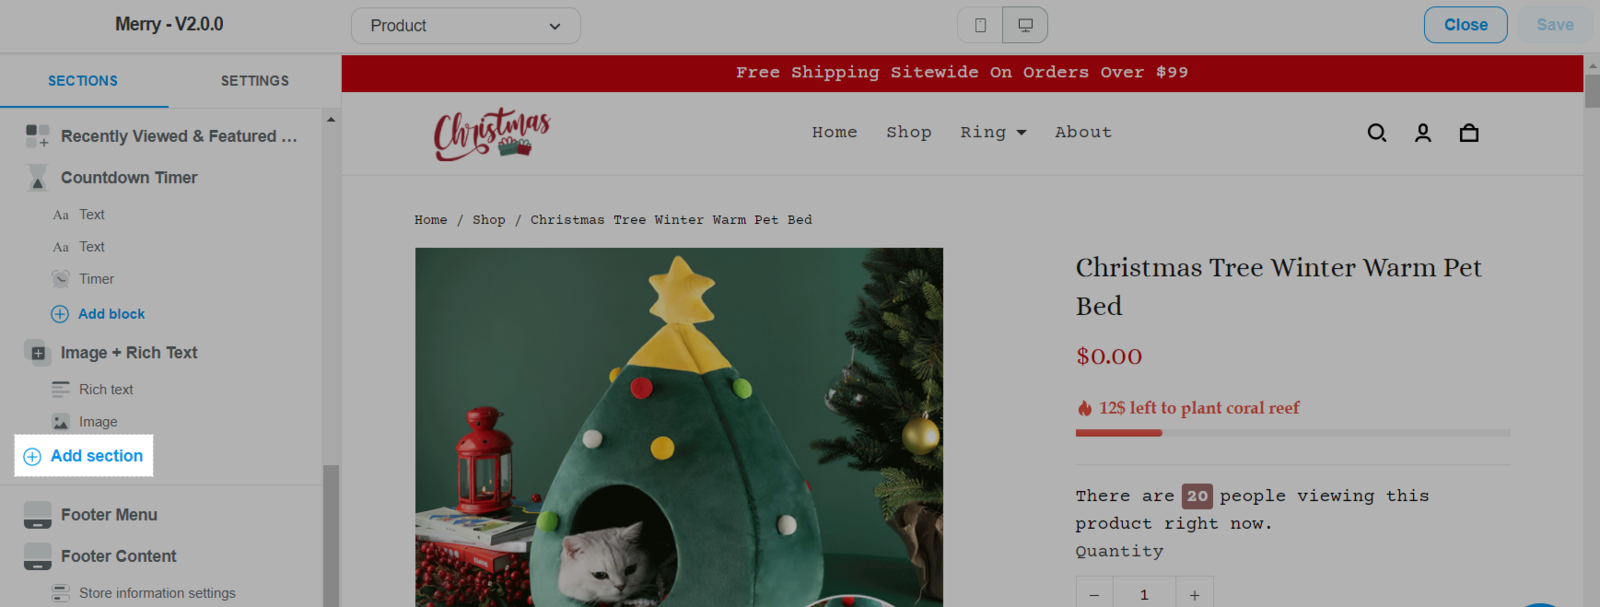
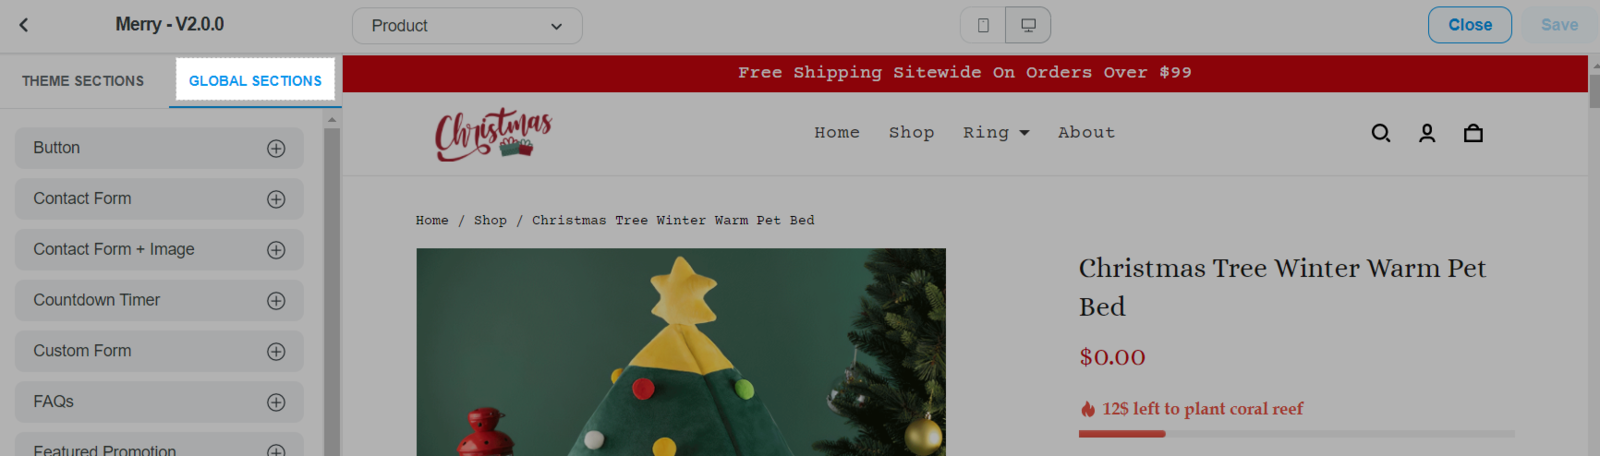
A. Add global section to your store
C. Customize a design settings
A. Add global section to your store
Global sections are only available on Inside themes (version 2.0), and Roller themes (version 3.0). You can refer to this article on how to upgrade your theme.
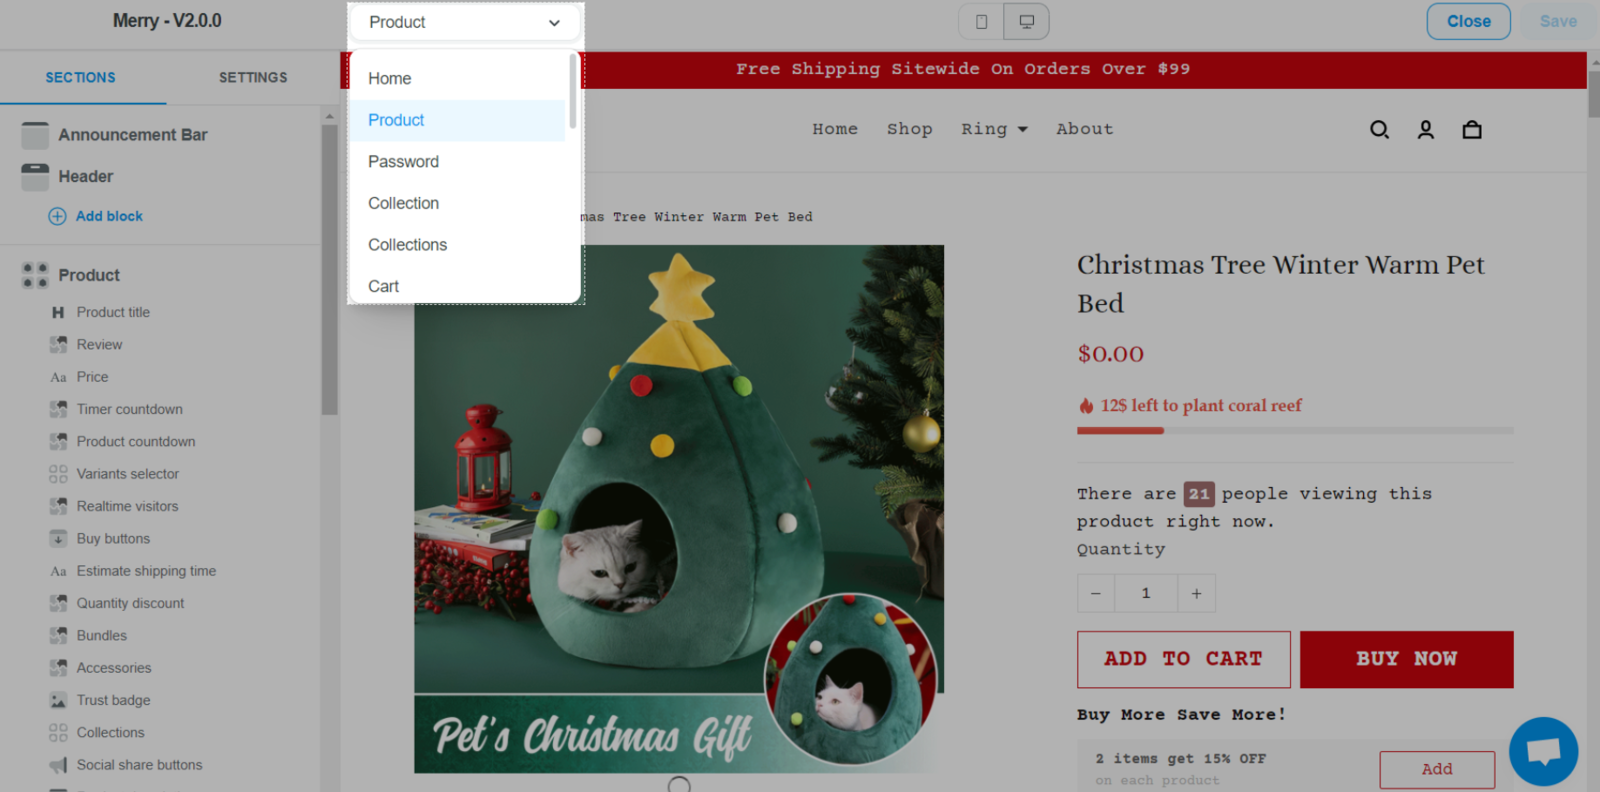
You can add Global sections to the following pages: Home page, Product page, Collection list page, Collection detail page, Cart page, Blog page, Blog post page, and other pages that are created from Online store > Pages.
You cannot add global sections that contain products (For example: a Featured Product global section, a Product + Image global section) to a Product page.
After adding a global section to your store, follow the steps in section B and C of this article to freely edit the Content and Design of each global section. Each global section are also divided into different blocks for further customization. You can customize the Content and Design of each block as well.
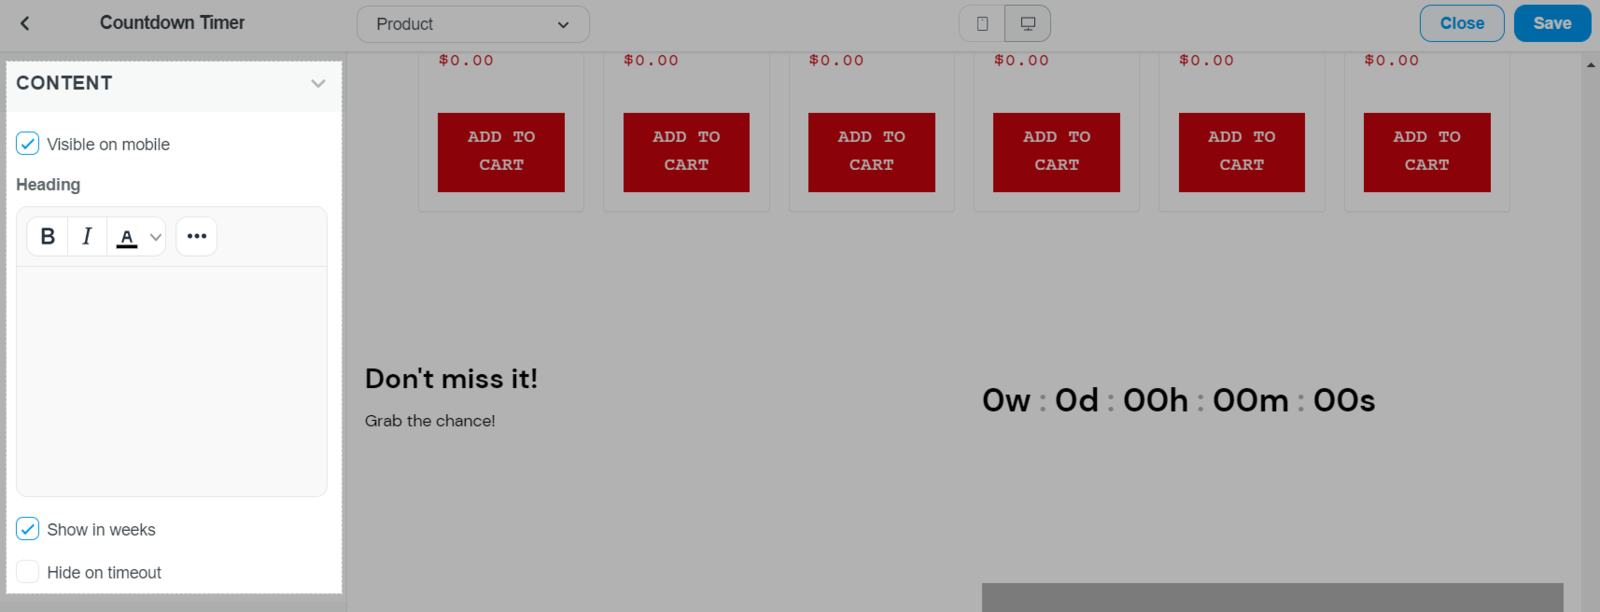
B. Customize content settings
Content Settings allows you to edit content displayed in the section, such as text, button name, video, etc.
Uncheck Visible on mobile if you only want a section to be visible on desktop devices and not mobile devices.
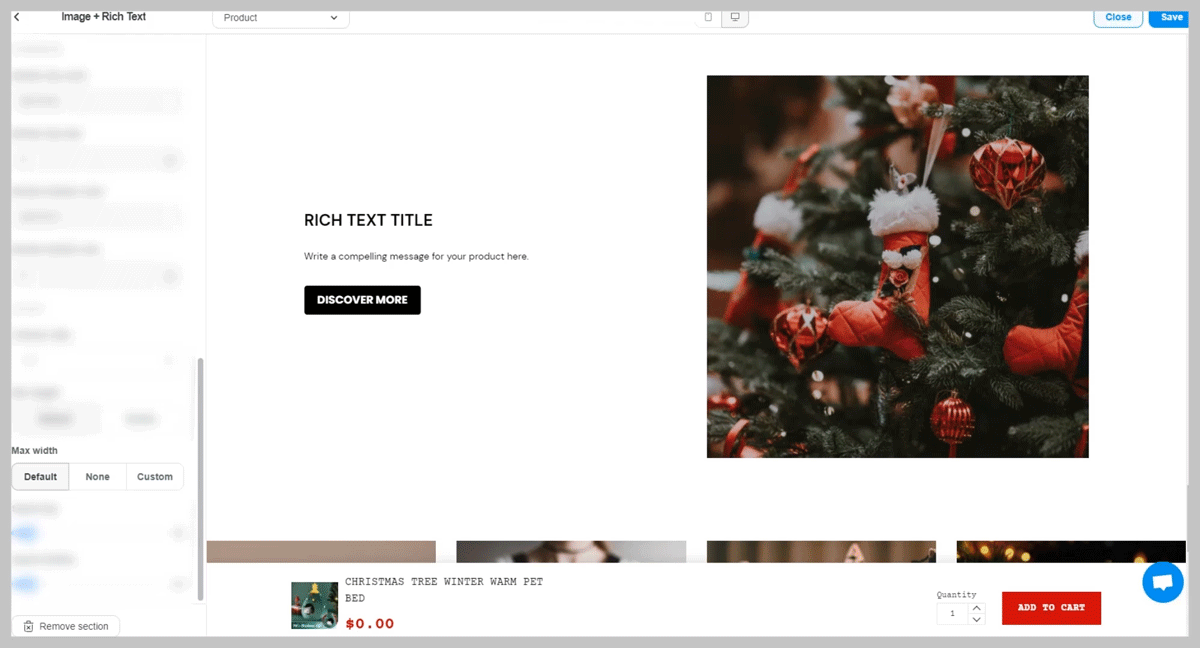
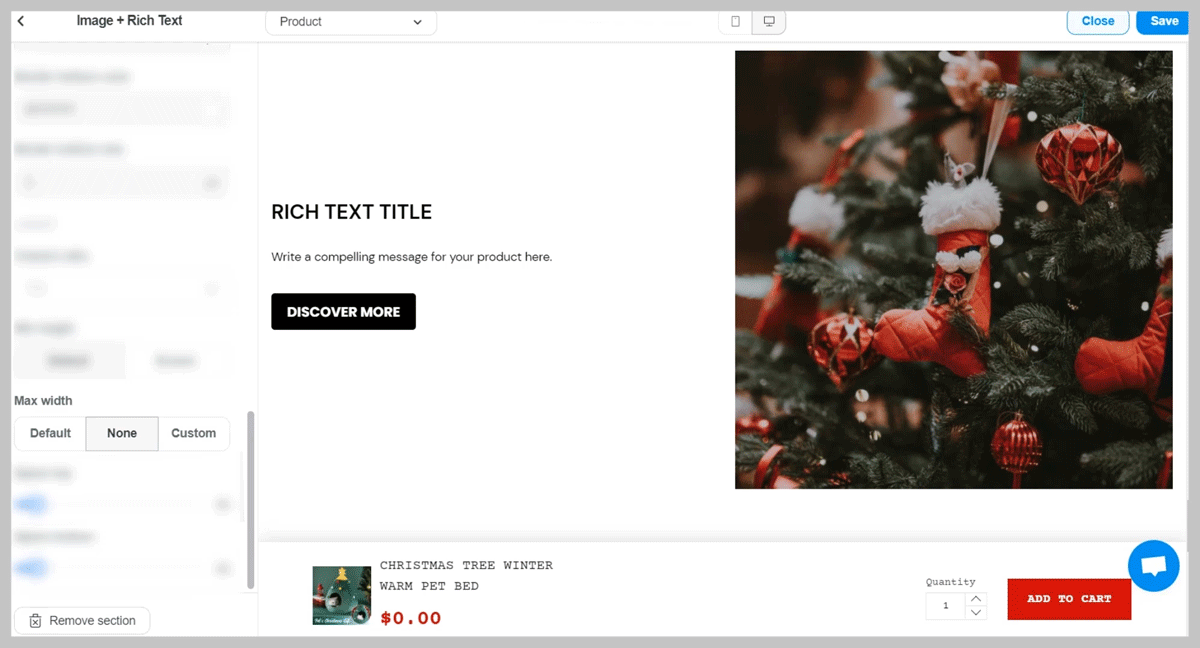
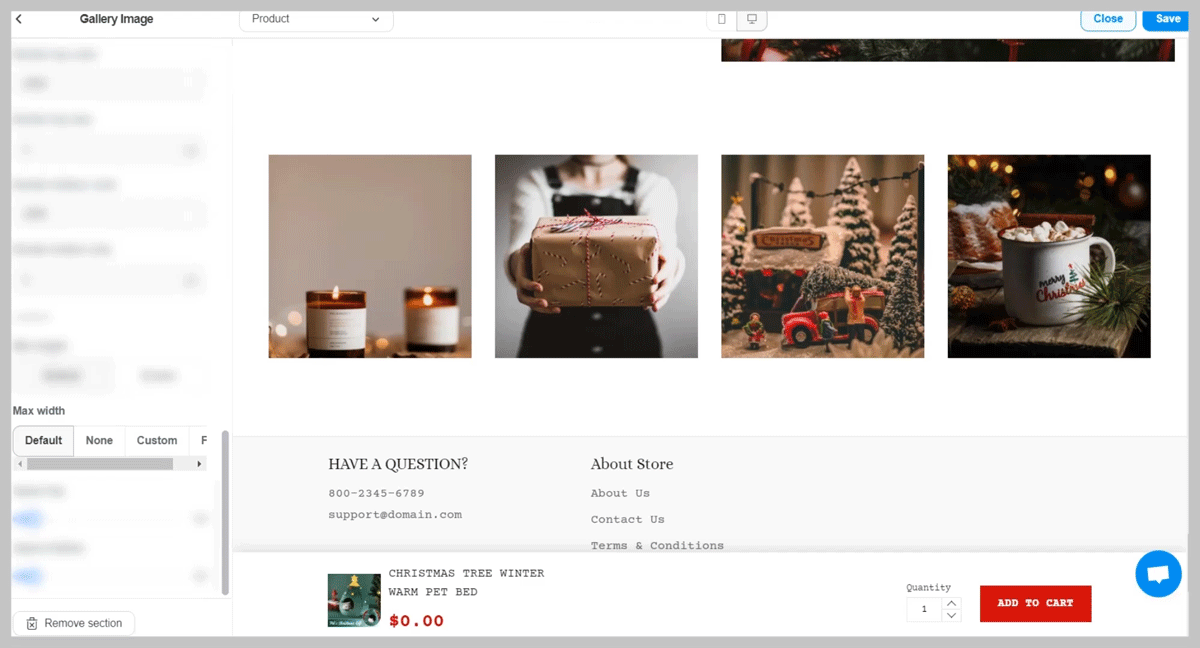
C. Customize a design settings
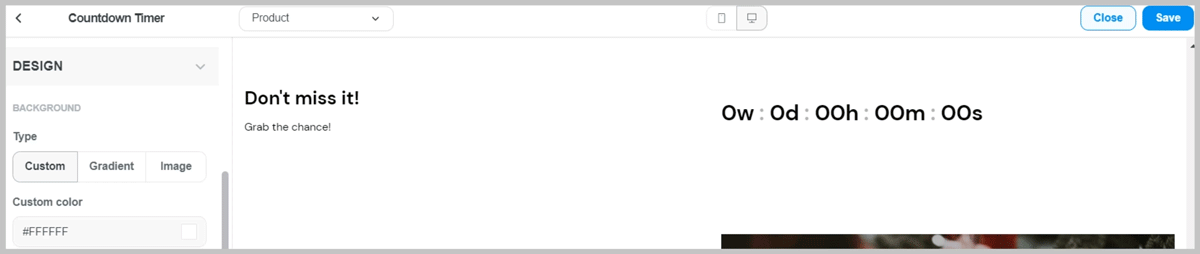
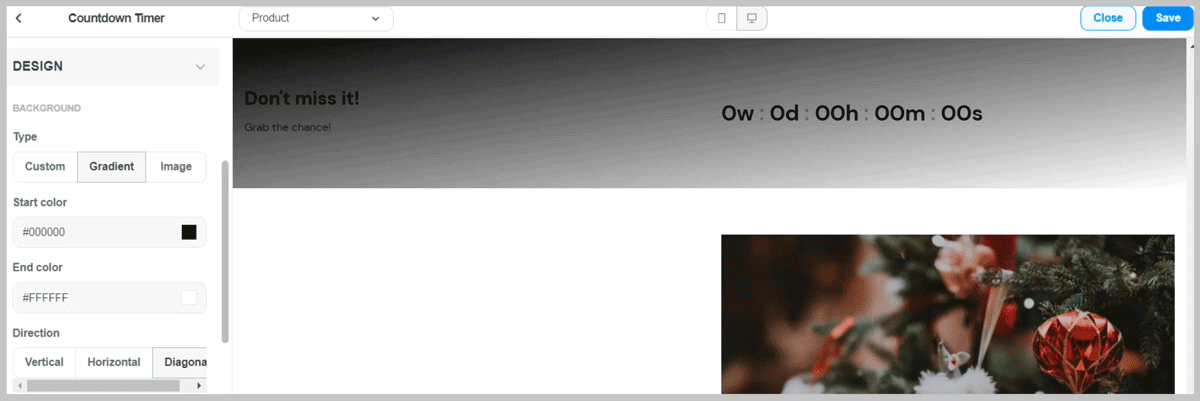
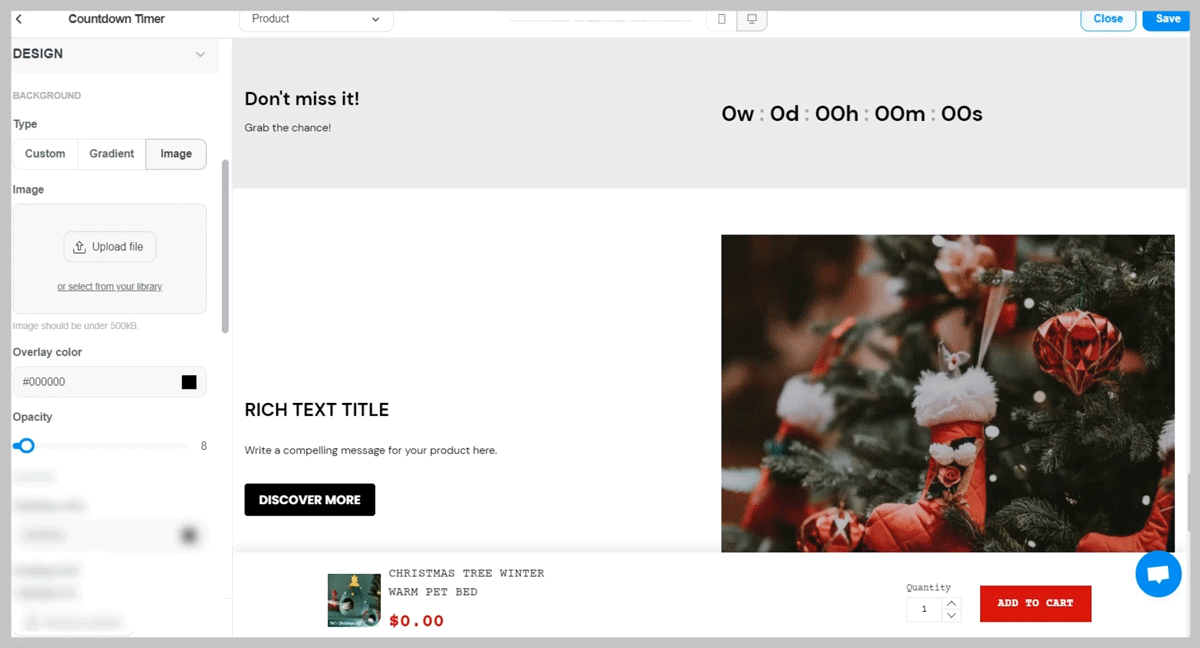
Design settings allows you to edit visual elements displayed on your page. For example, if a section contains text, buttons, links, images, etc., you can edit the visuals of each section independently and separately without affecting any other elements on the page.
You can edit the following elements of a section's visuals:
1. Background
There are 3 types of background:
2. Detailed settings
Elements from text (heading, title, body) to image, button, link can all be edited separately. The basic settings include color, font, size and alignment. In some cases, buttons and images will have additional roundness settings for you to adjust the corner radius.
3. Separator
Dividers can be used to separate sections, making it easier to keep track of information. You can add dividers and change their colors and sizes upon your wish.
4. Layout
In here, you can customize the overall layout of your landing page section.