You can integrate Twitter Pixel into your online store to help you understand more about customer behaviors and the traffic sources. This tag collects data about how customers are using your online store pages, so that you can more effectively plan your ad campaigns to find new customers.
In this article
A. Create Twitter Pixel ID
B. Get your Twitter Pixel ID
C. Create Twitter events and Twitter event ID
D. Install the Twitter Website Tag ID on ShopBase store
E. Verify your Twitter Website Tag
F. Troubleshoot duplicated events
G. Twitter Pixel events
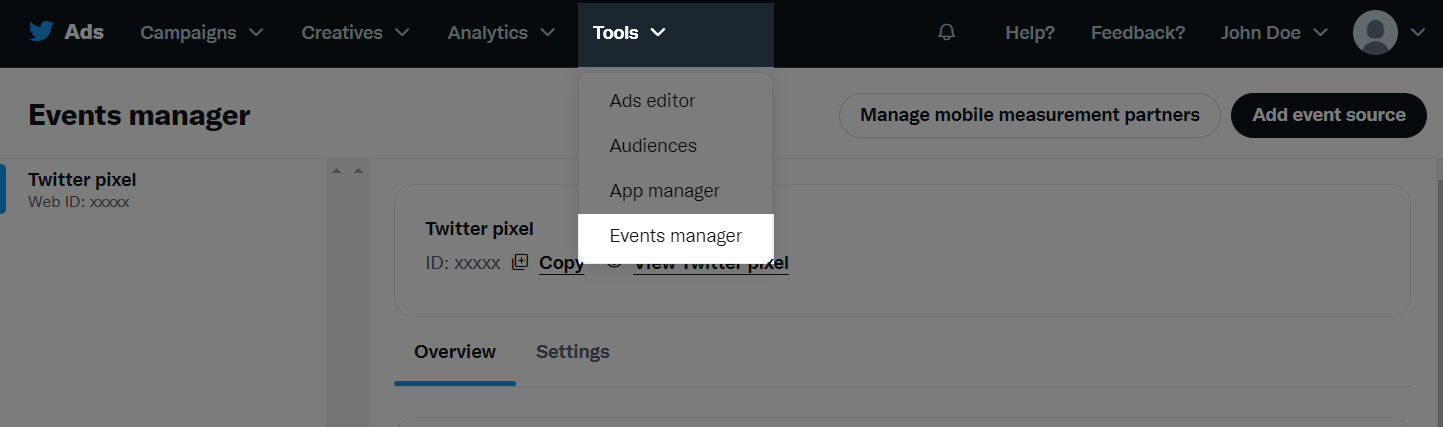
At the top of the window, click Tools > Events manager and select Add event source.


Click on I Agree.

If you already have a Twitter pixel, please proceed to part B to get your Twitter pixel ID.
Select Save once finished.
At the top of the screen, click Tools > Events manager and select your desired tag.

Select Copy to copy the tag ID.

C. Create Twitter events and Twitter event ID
At the top of the screen, click Tools > Events manager.
In Events, click Add events.

In Event details, set up your conversion event. You are recommended to follow this guideline to ensure your conversions are tracked correctly:
Name: Give your event a name (for example: Purchase).
Event type: Create 4 events in the following types - Content view, Add to cart, Checkout initiated, and Purchase.
Post-engagement attribution window: Choose the maximum period of time that allows Twitter to record a conversion after a guest clicks on the ads, for example some people click on the ad, 20 days later it will be converted.
Post-view attribution window: Choose the maximum period of time that allows Twitter to recognize viewers' interactions with the ad.

Then, click Next.
In Setup method, select Define event with code. Then, click Next.

In Event installation, select Install with Tag manager and copy your Event ID.

Click Save once finished.
From your ShopBase admin, go to Marketing & Sales > Sales channels and select Twitter.

Paste the Twitter Pixel ID and 4 Twitter Event IDs that you have previously copied in part B and C.

Click Save changes.
Go to any product pages on your online store, click on the icon to check if your tag is working correctly. For more information on this extension, please read
this article.
F. Troubleshoot duplicated events
Along with the above method, you can track your customer behaviors by manually adding the Twitter Pixel tracking script to Additional Script. However, if the two methods are applied simultaneously, each event will be sent more than once, leading to the data duplication.
To solve this problem, go to Preferences > Additional scripts and delete the Twitter Pixel script added before.
When an action happens on your online store after you've added a Twitter Pixel in ShopBase, Twitter counts the action as an event. You can use event data to learn more about how customers interact with your store.
After you integrate a Twitter Pixel with your online store, it automatically tracks 4 events, with their descriptions as follows:
Content view: When a visitor views a product page.
Add to cart: When a visitor adds a product to the shopping cart.
Checkout initiated: When a visitor clicks on the checkout button.
Purchase: When a visitor completes a purchase and views the thank you page in the checkout.
Updated about 1 year ago