Once Klaviyo is successfully integrated with your store, you can automate email delivery based on customer actions on the store using Flows. Optimizing automated email flows will help you increase sales in your store without spending too much on advertising. In addition to Klaviyo's available flows, you can start sending email campaigns to promote the best-selling products in your store or new products of your choice. This article will show you how to configure Klaviyo's essential features for sending emails to customers.
Step-by-step tutorial
Create Product Feed for Klaviyo: Please refer to this article on how to create product feeds.
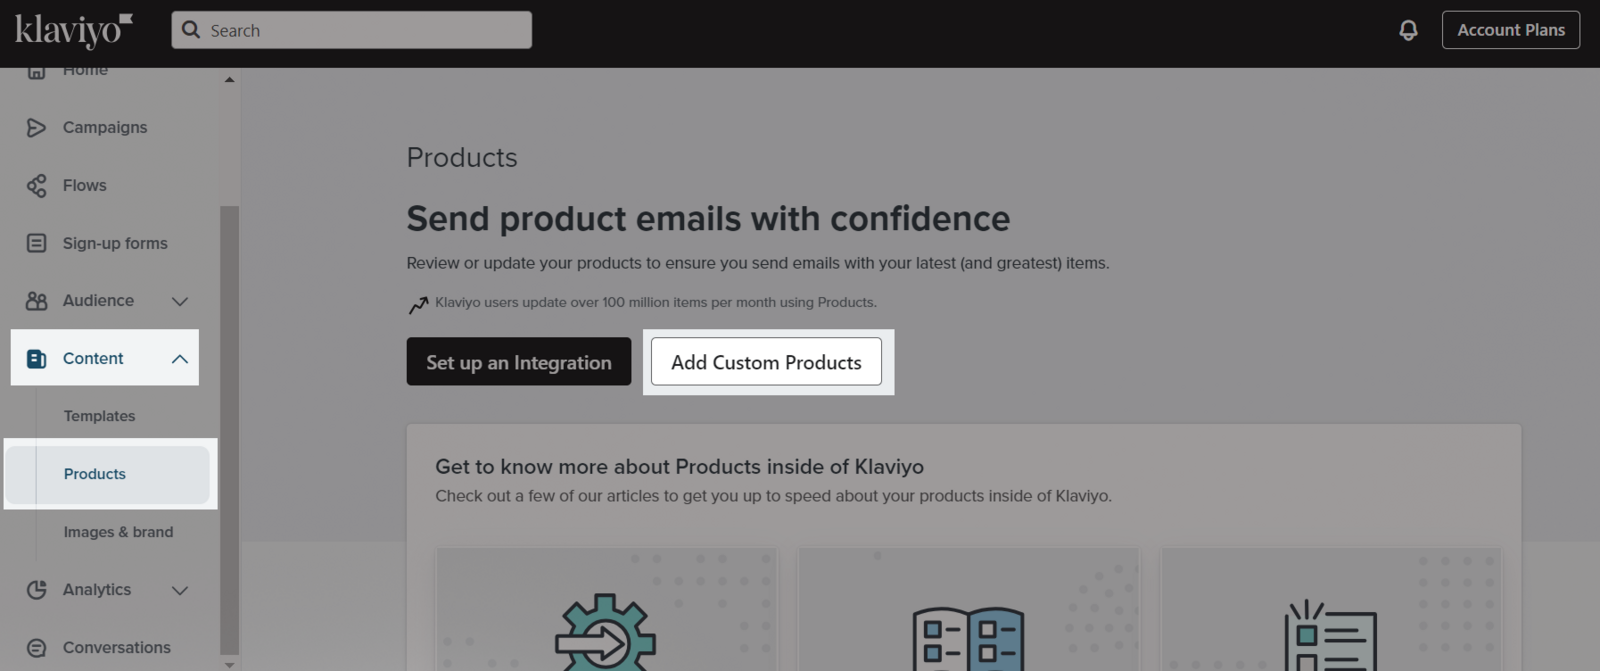
Log into your Klaviyo account. Then go to Klaviyo dashboard > Content > Products > Add custom products.
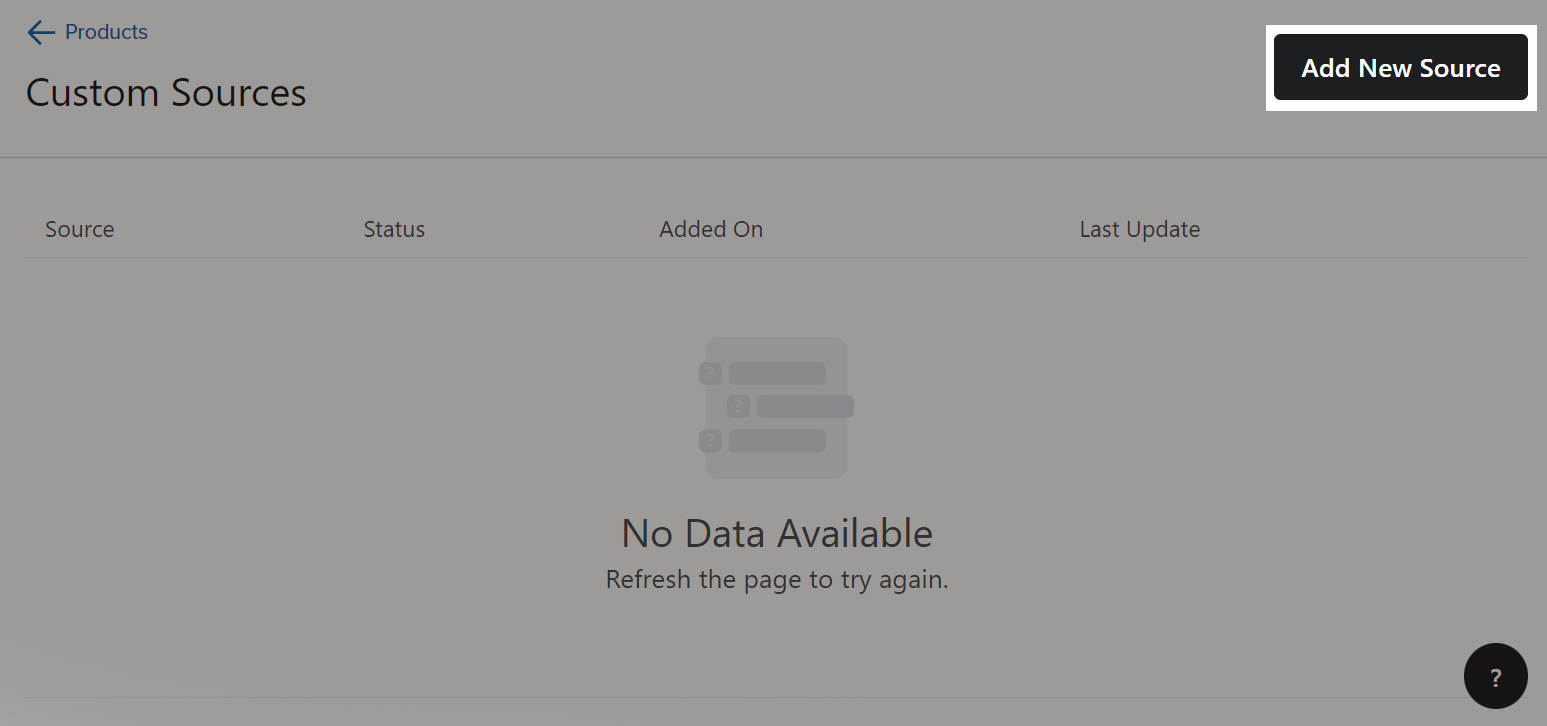
Click Add new source.
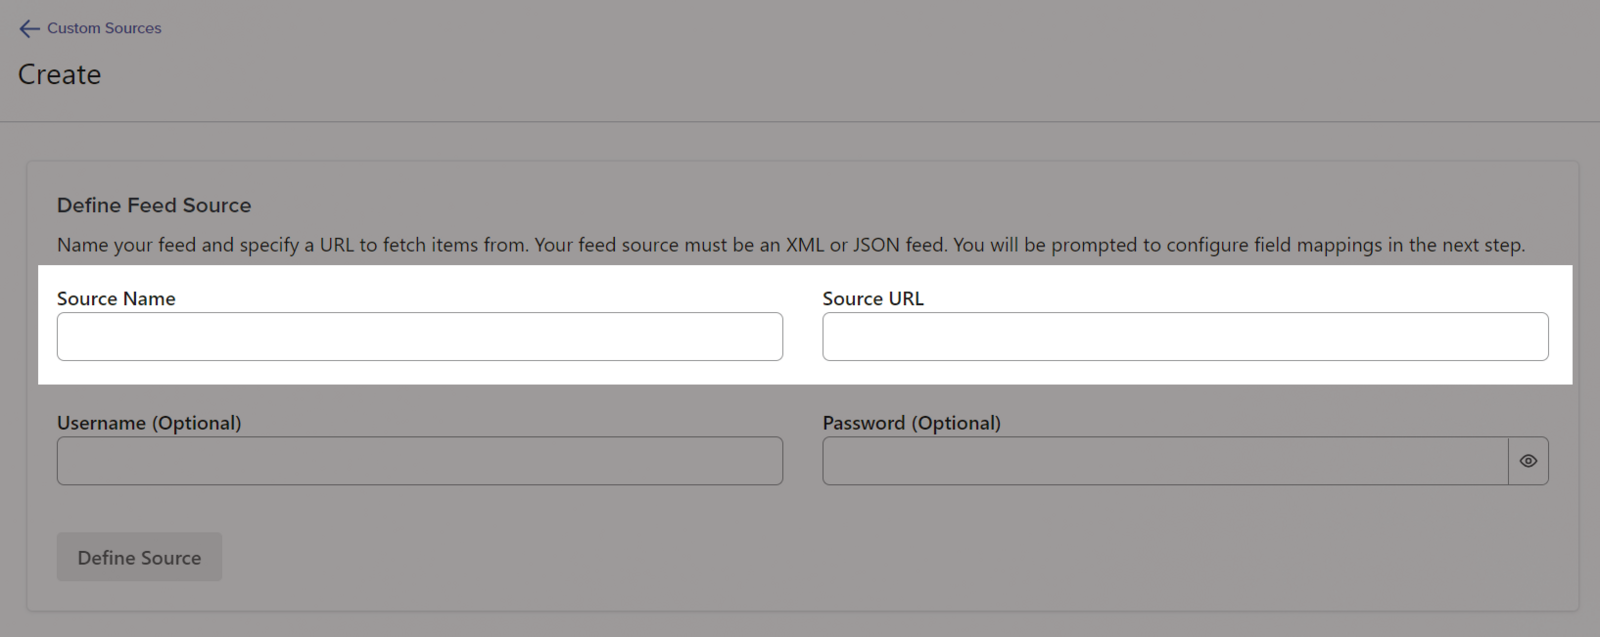
Enter Source Name, Source URL. The Source URL is Klaviyo feed URL created from the Step 1. It is optional to enter Username, Password.
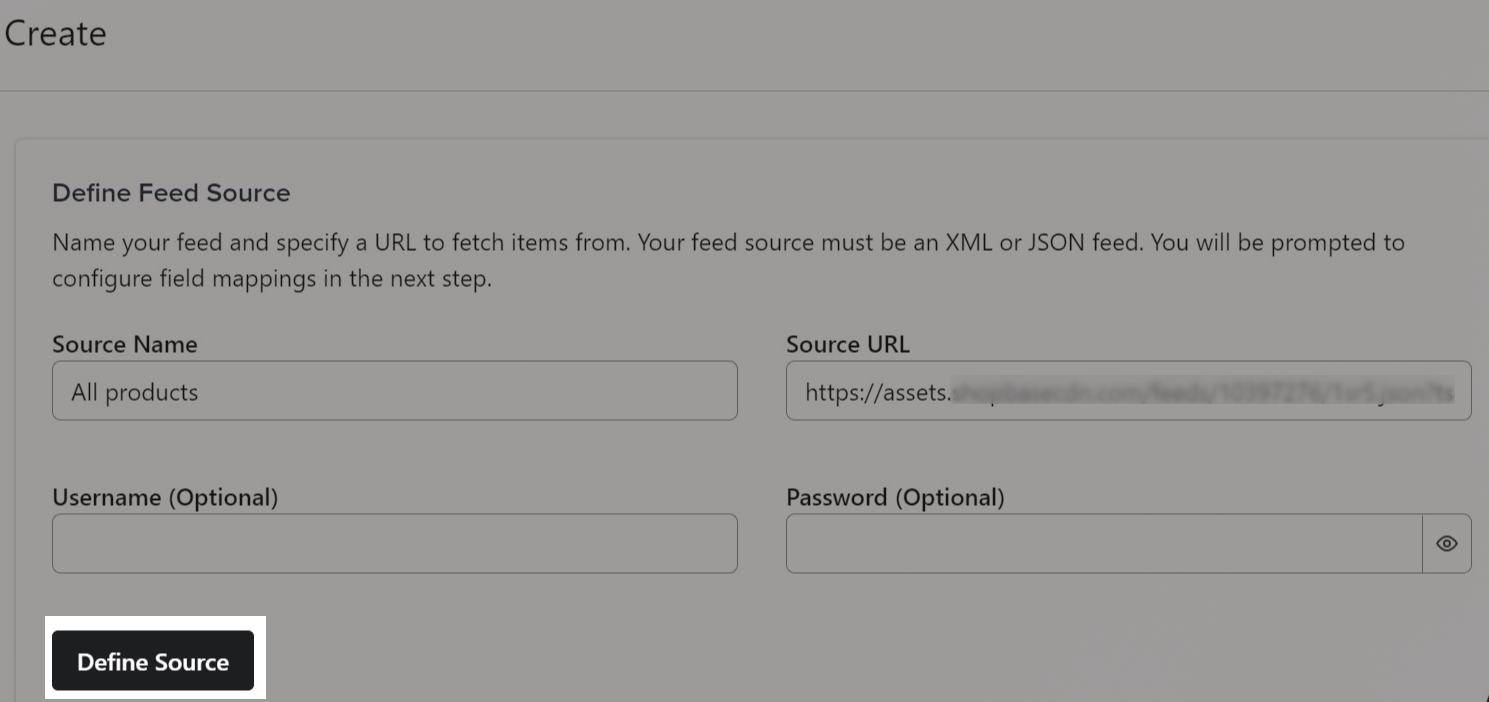
Click Define source.
Click on the feed source you just created and select Complete Feed Setup.
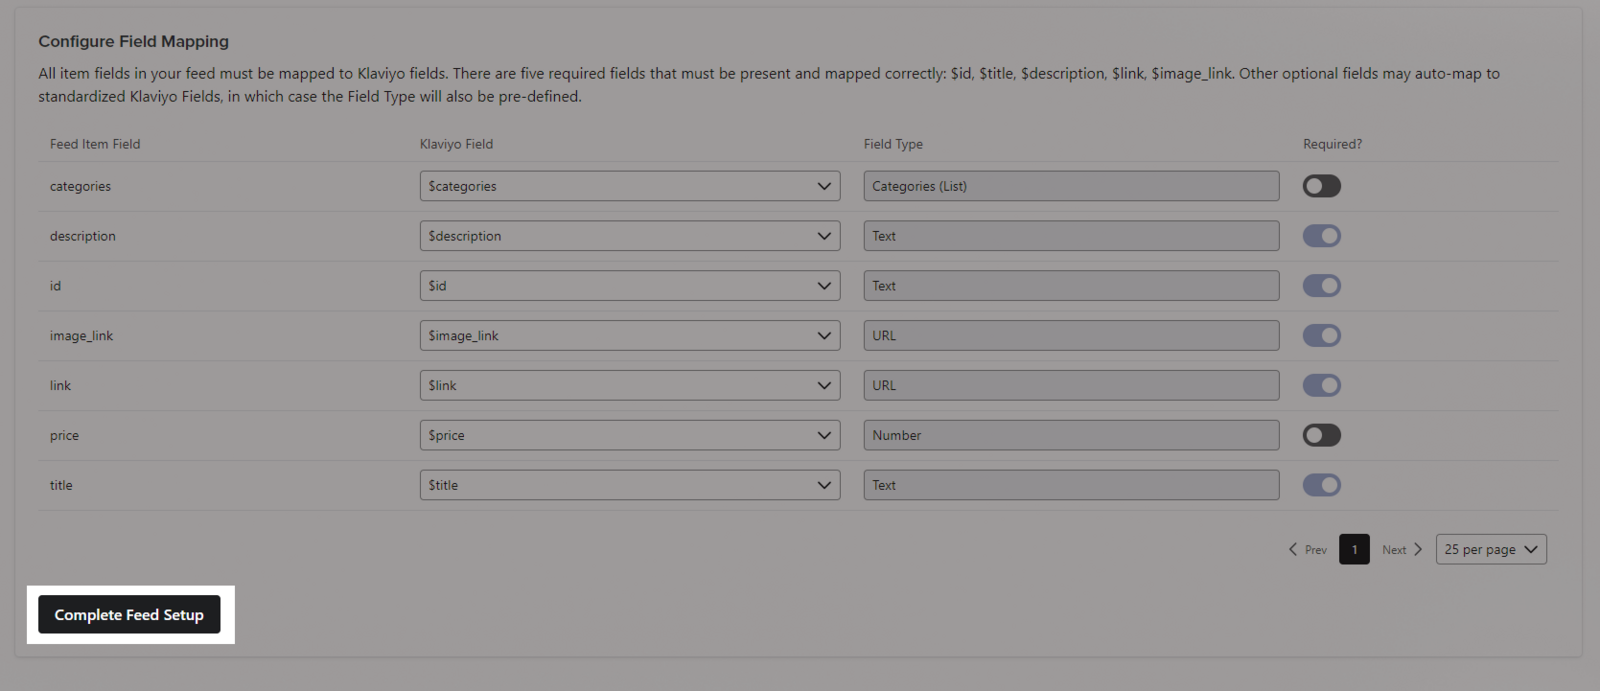
After adding the product feed to Klaviyo, you can configure feed settings. Please refer to this article for more information.
Updated 8 months ago