Klaviyo is an email marketing platform frequently used by e-commerce businesses thanks to its powerful SMS and email marketing automation. Similar to Facebook and Google, Klaviyo offers many powerful features to help with product promotion via email and SMS. To use these features, you need to add a product feed to Klaviyo. Products will be advertised in Klaviyo email as in the image below.
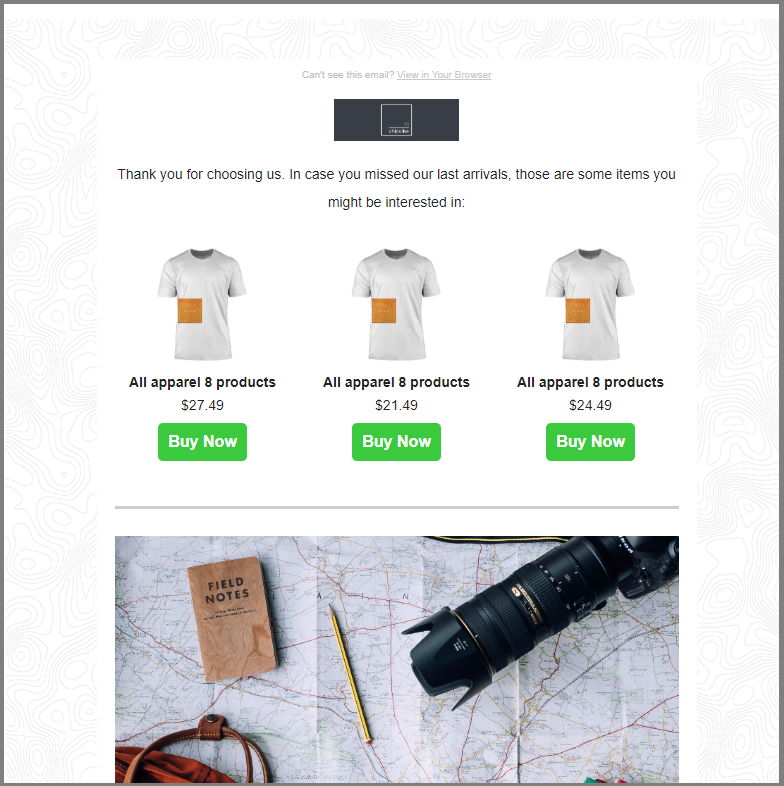
In this article, we will guide you on how to create Klaviyo Email campaigns using product feed.
In this article
A. Product promotion emails
B. Personalized emails
Make sure that you have set up essential features to send emails with Klaviyo as guided in this article before starting.
If you want to promote a particular product or collection in your store, you'll need to add these products in the body of your email. Please follow the steps below:
Go to Content > Templates on Klaviyo.
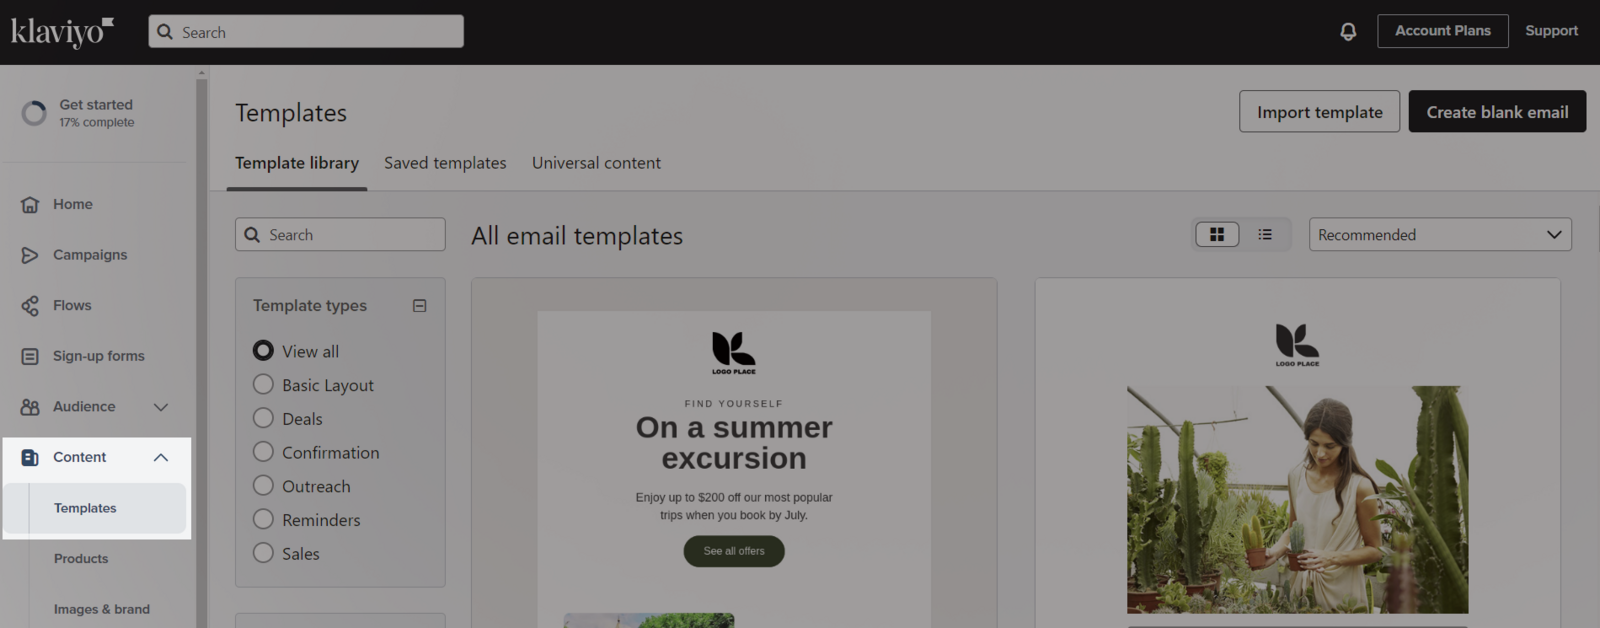
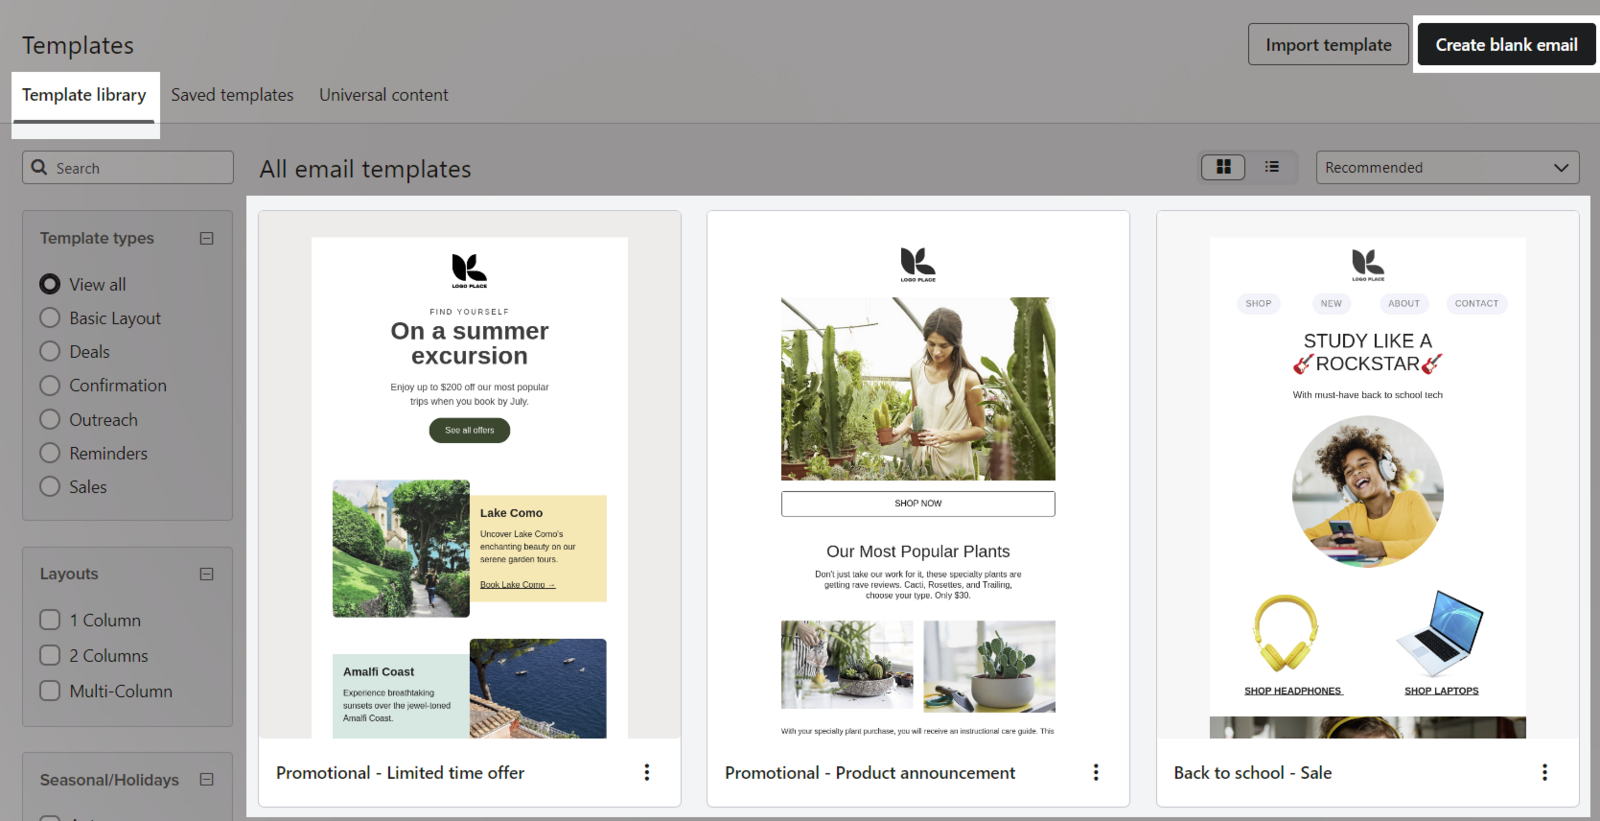
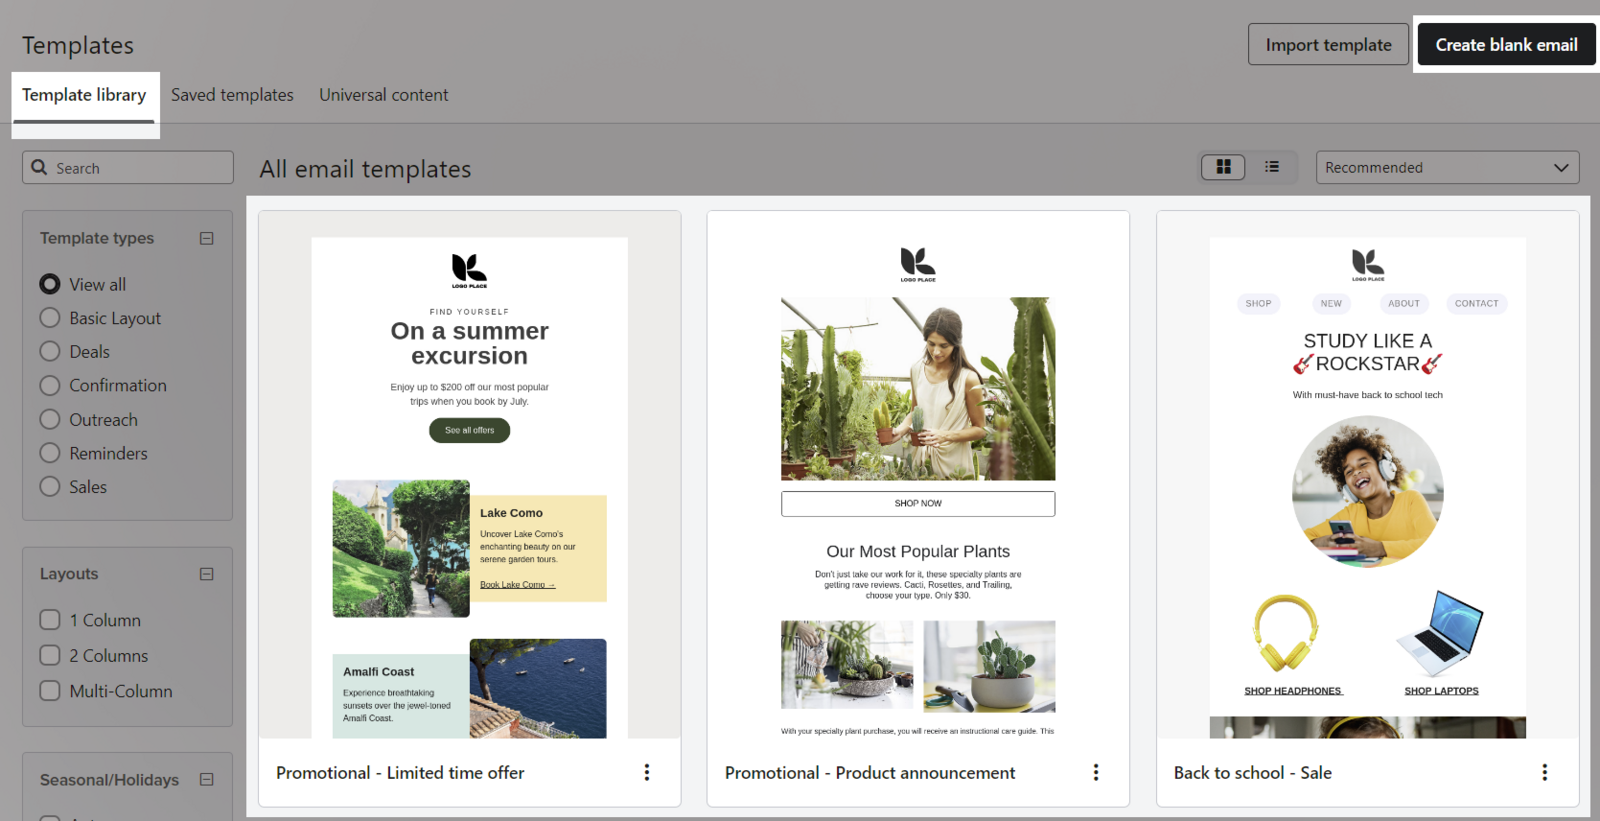
Open an existing Email template or choose Create blank email if you want to create a new one.
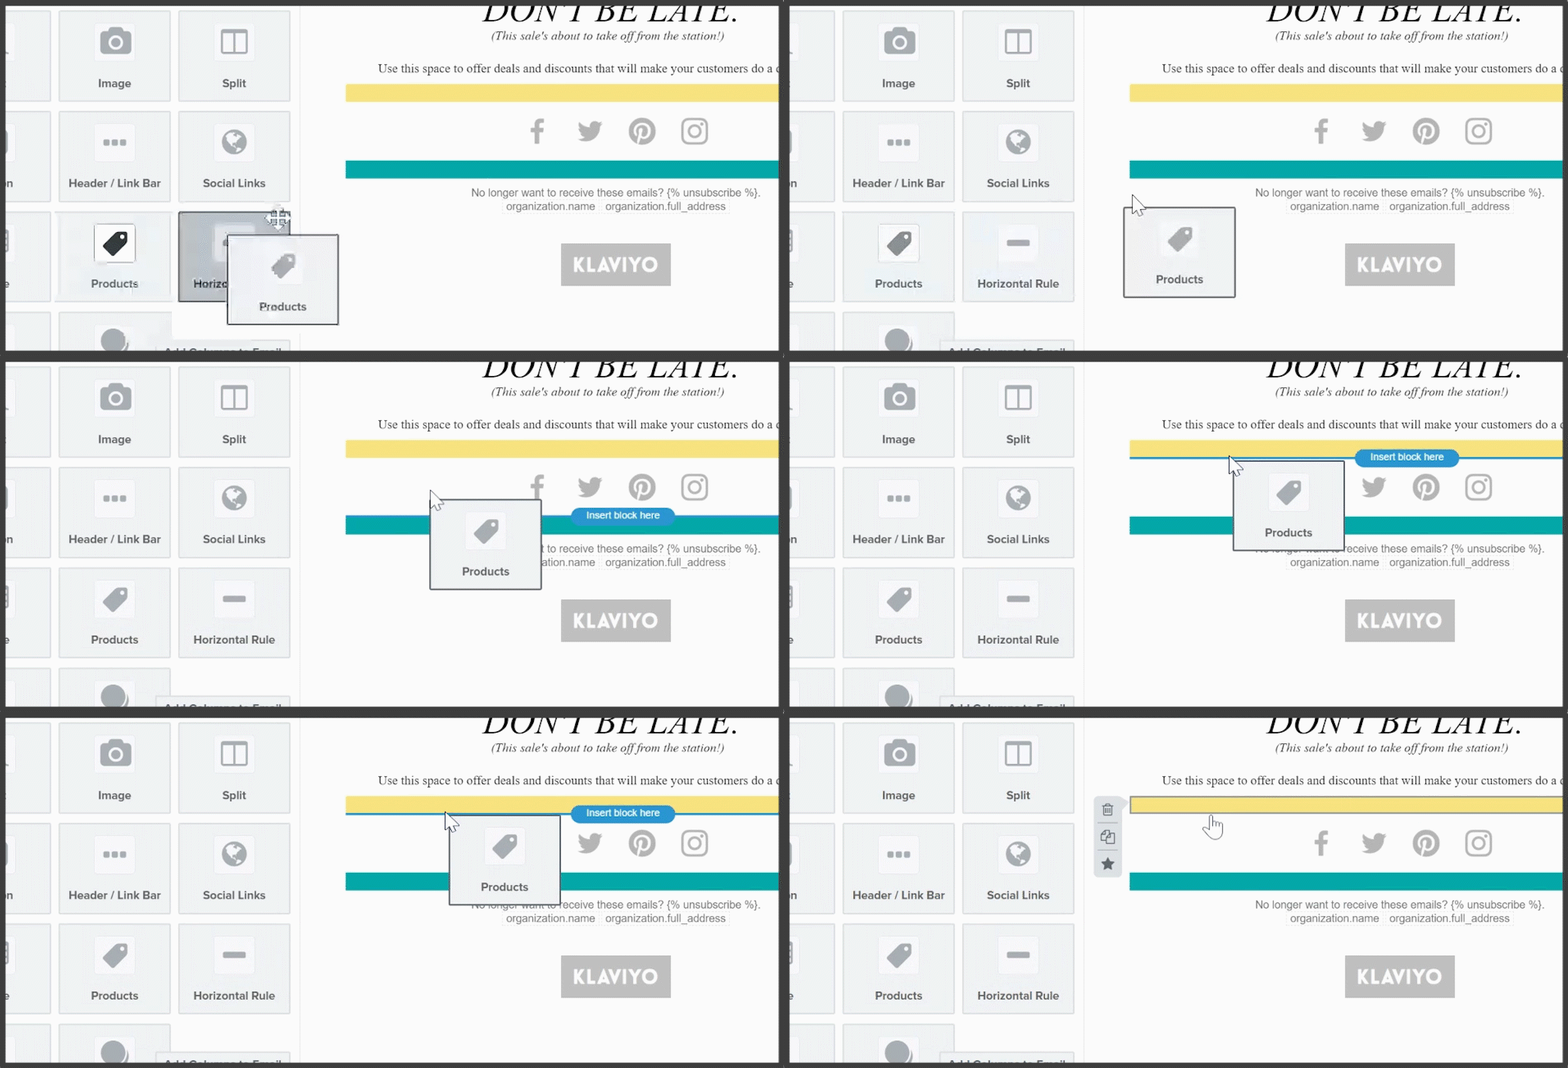
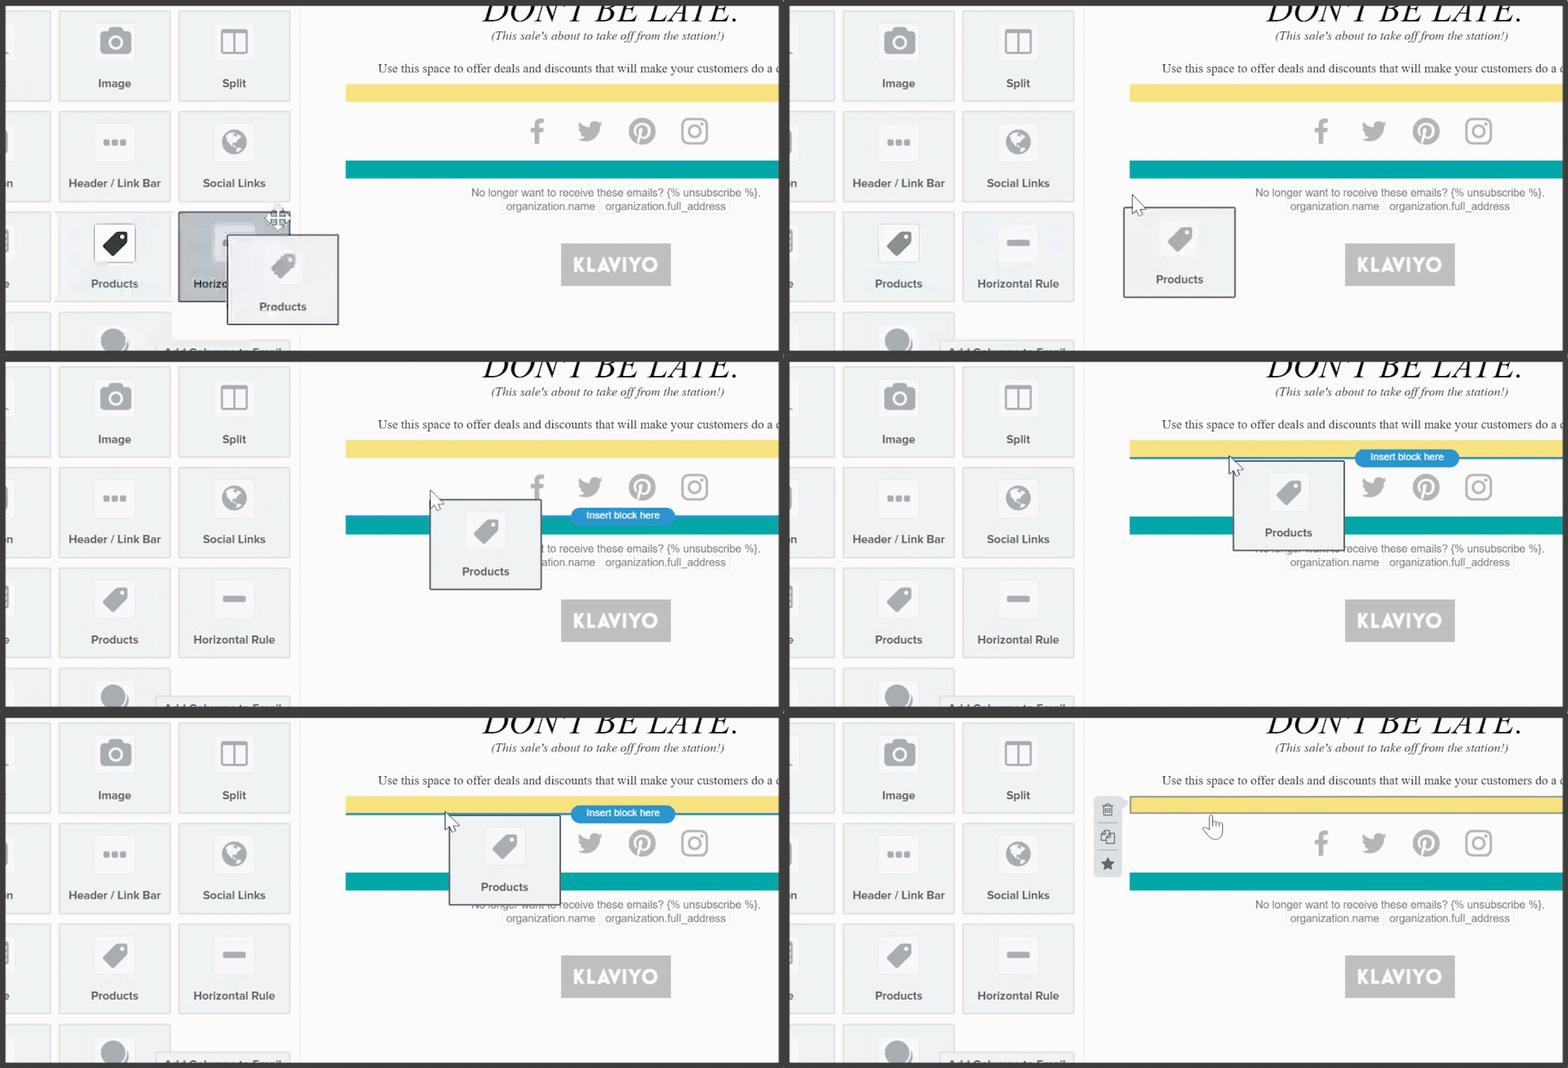
After selecting an email template, you will be directed to the email editor. Here, drag the Product Block from the left section to the email preview on the right.
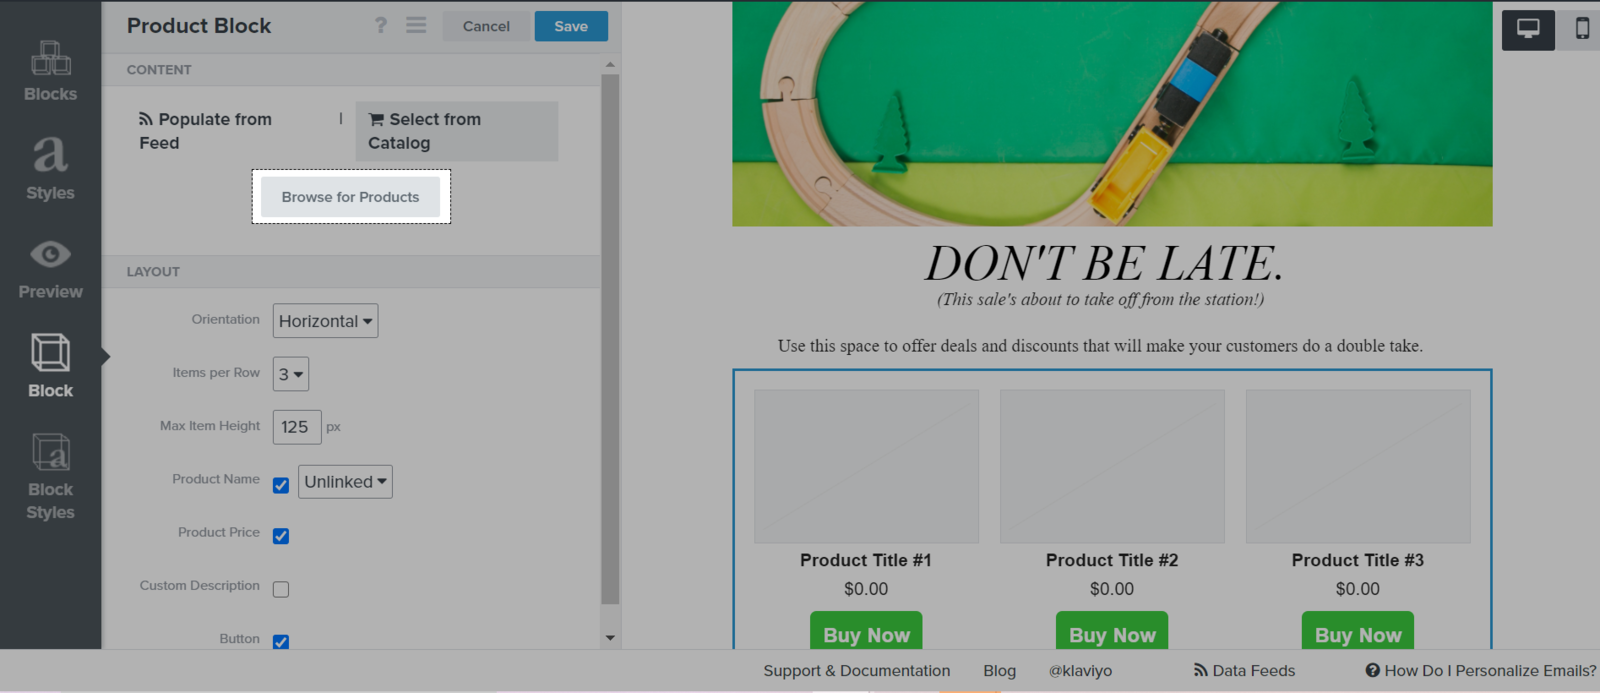
On the left side of the editor, choose Select from Catalog > Browse for Products.
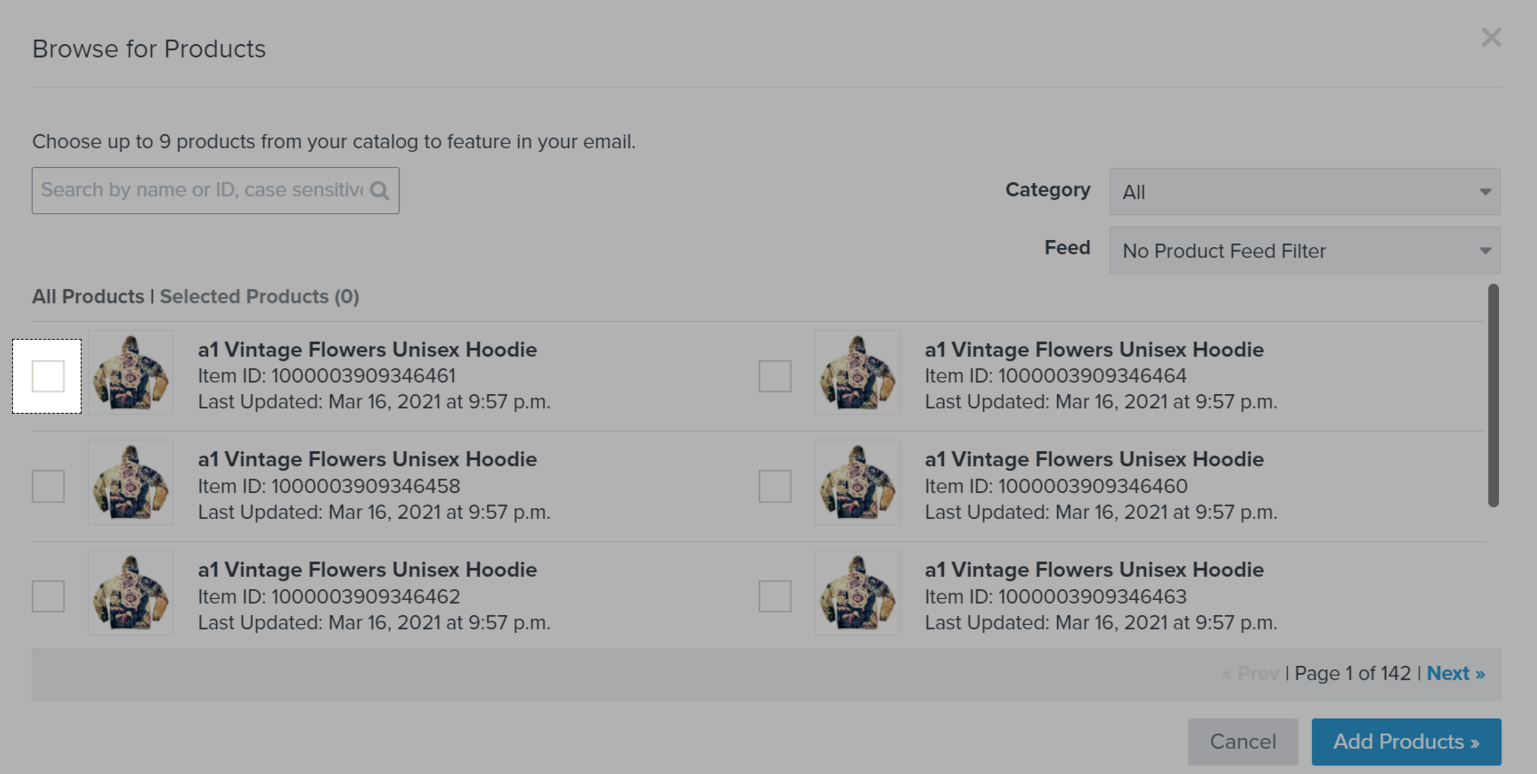
All products from the uploaded product feed to appear in the new dialog and you can choose among them. Then, select Add Products to add the products to your email.
You can checkout Klaviyo's guideline here on how to use the Product block feature in email designing.
B. Personalized emails
Klaviyo can automatically send personalized emails to recommend suitable products to each customer. Follow the steps below:
Open an existing Email template or choose Create blank email if you want to create a new one.
After selecting an email template, you will be directed to the email editor. Here, drag the Product Block from the left section to the email preview on the right.
On the left side of Product Block, select your feed name. Then, enable Personalize for each user.
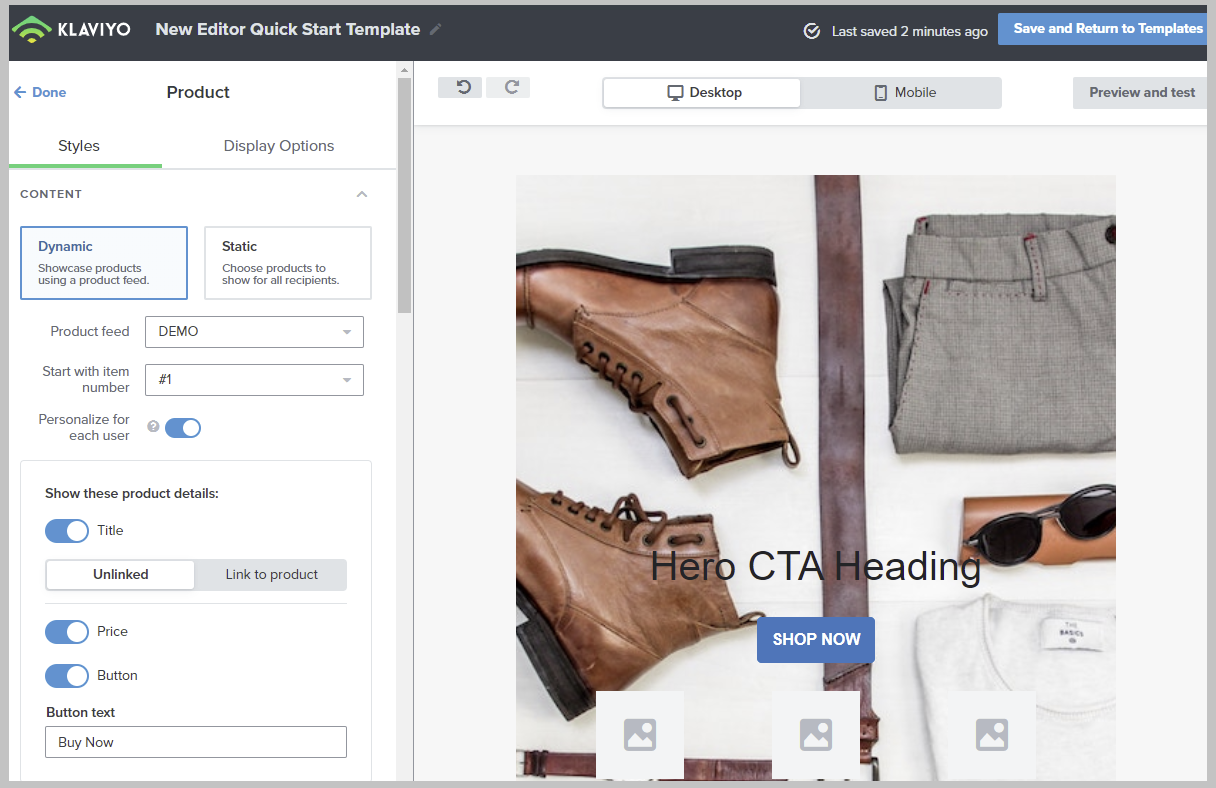
Make edits to your email as needed. Once finished, click Save and Return to Templates. Then, you can start sending emails to your customers.
Updated 8 months ago


