If this is your first time using Website Builder, we will assist you in getting started with building your amazing website, as well as familiarizing yourself with the interface and basic functions of Website Builder.
In this article
B. Overview of the Website Builder interface
C. Header bar
D. Web front
G. Layer panel
K. Insert panel
A. Access the Website Builder
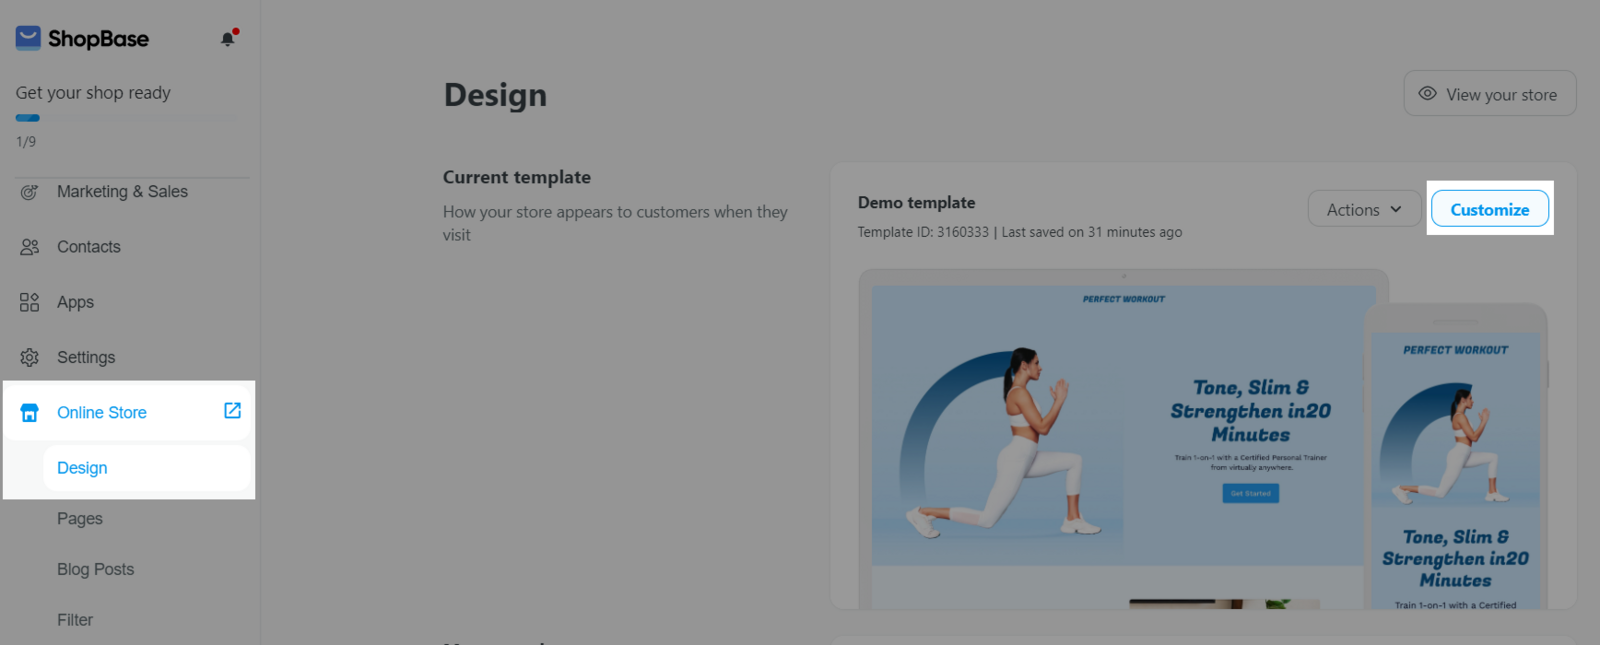
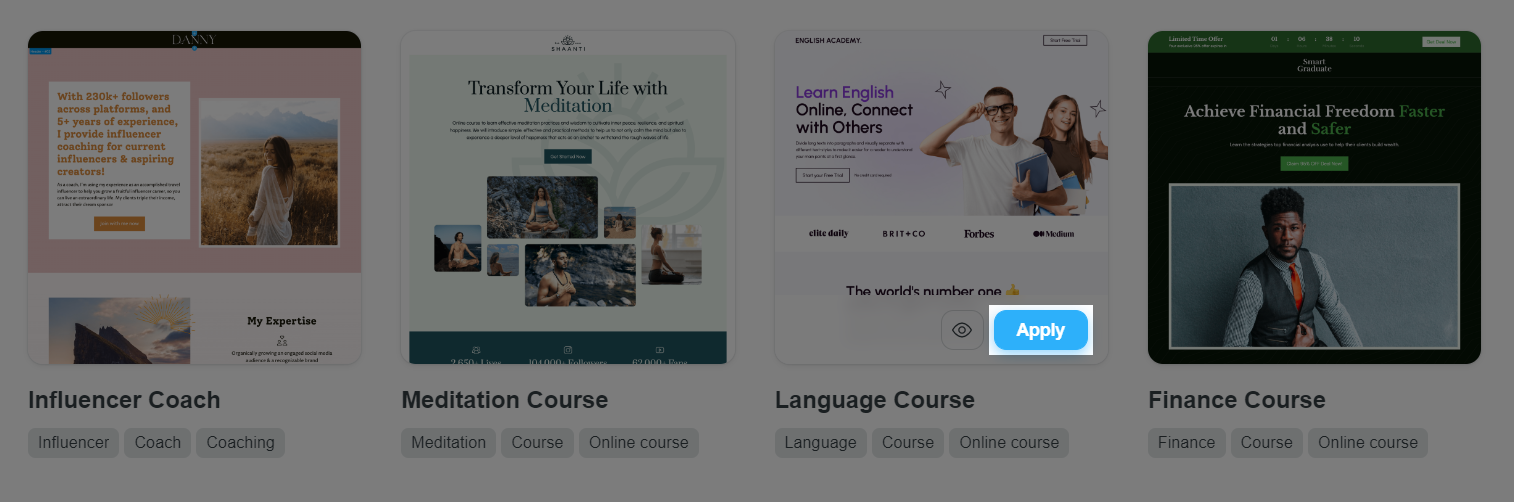
Please refer to this article for more information about template on Website Builder.
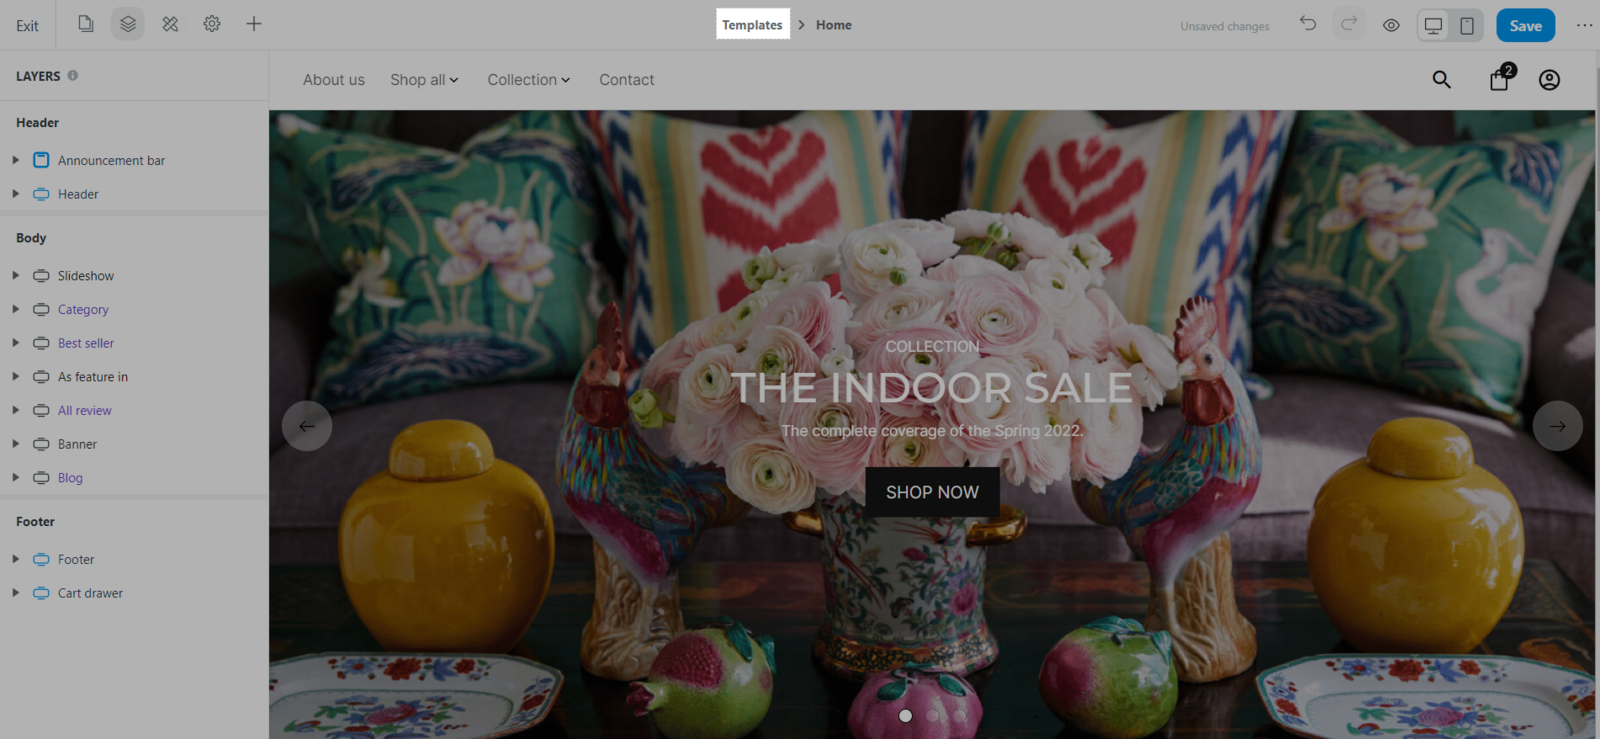
B. Overview of the Website Builder interface
The Website Builder interface can be divided into 3 main sections:
C. Header bar
Refer to the list below for all options on the Header bar.

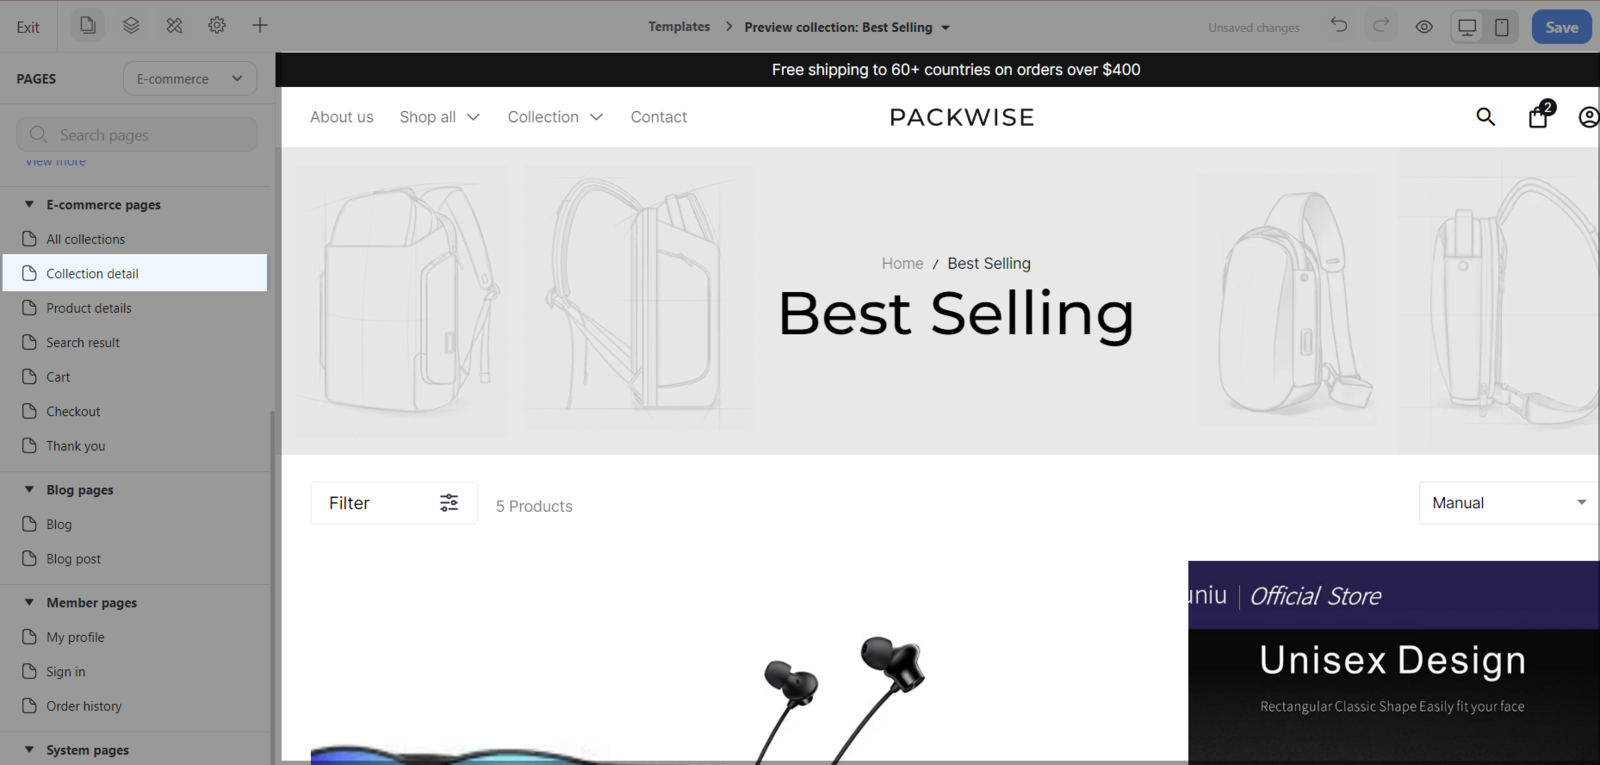
D. Web front

This section displays the complete website interface when your page is published. You can select to display it in desktop or mobile view for easy visualization.
You can click and drag each design block within the Web front section to rearrange them on your website.
When displayed on desktop and mobile, all content and values of each design block will be synchronized, but Website Builder also includes a function that allows customers to adjust different colors, styles, and sizes for each device type.
E. Side bar settings

This section includes page selector (1st icon), layer panel, styling settings, website settings and insert panel that allows you to easily set up the values and properties of each section, row, column and block.
Check out our guides to:
F. Page selector
This section includes every page in Websites pages, E-commerce pages, Blog pages, Member pages and System pages.
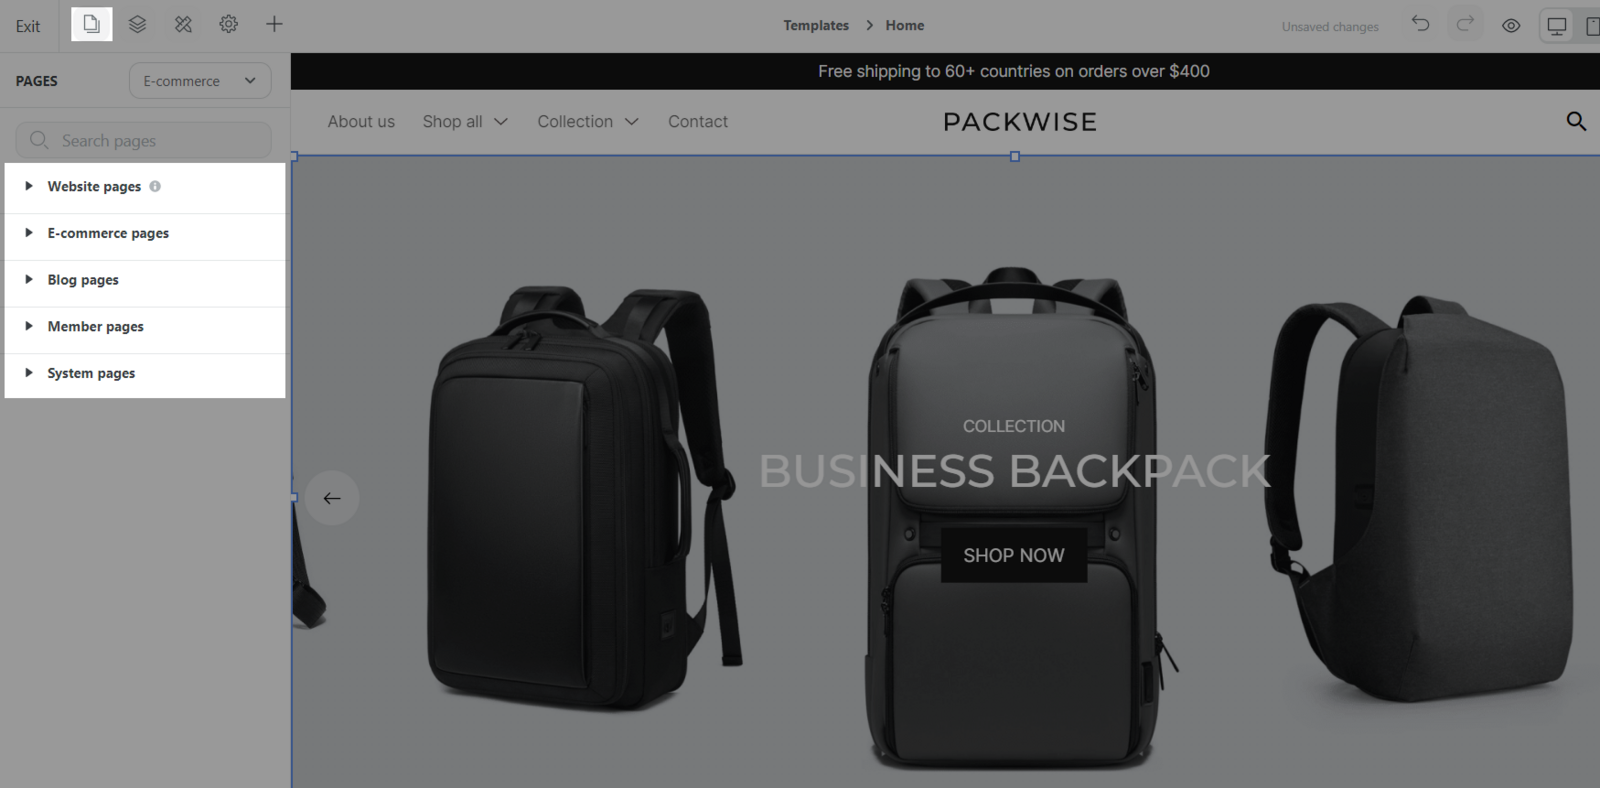
Once you click on the desired page, the preview page will show up on the right screen.
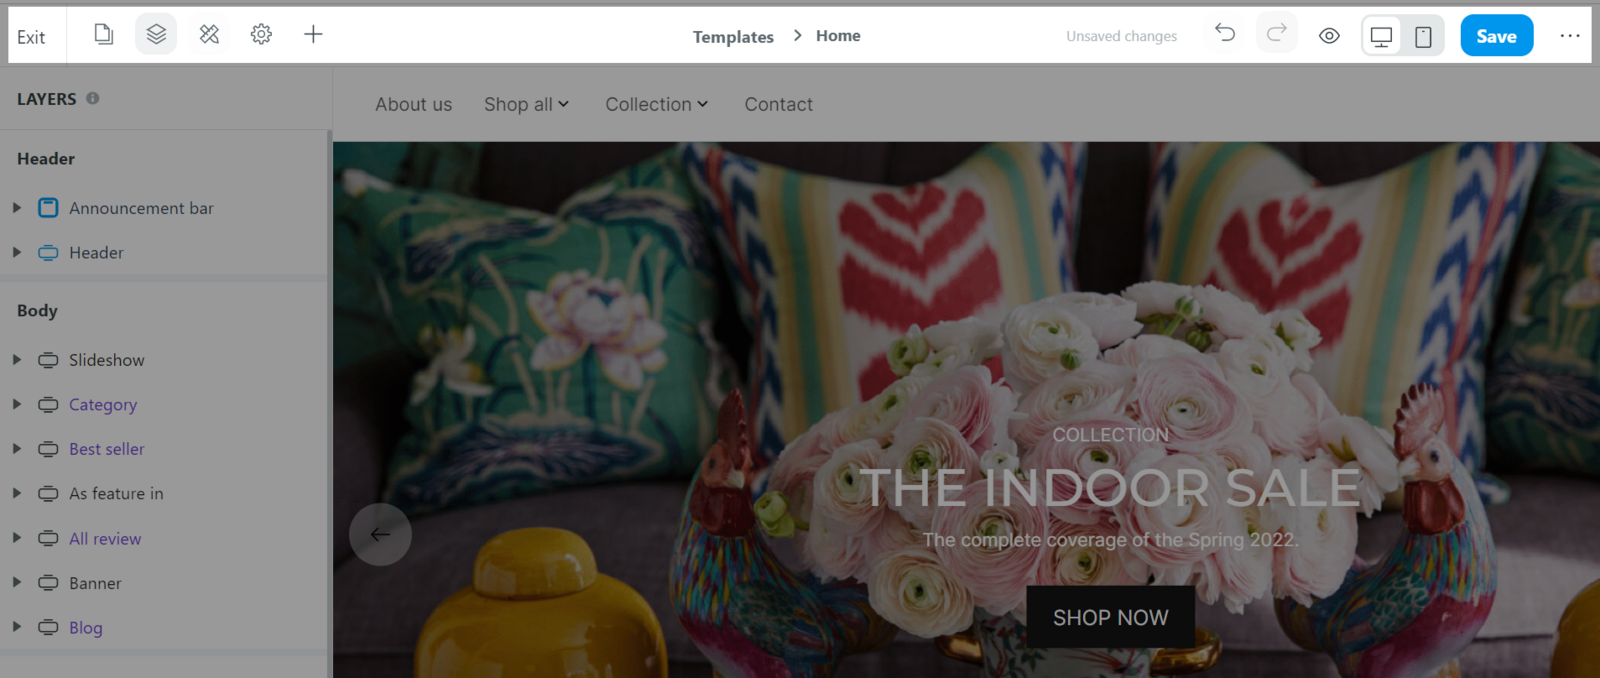
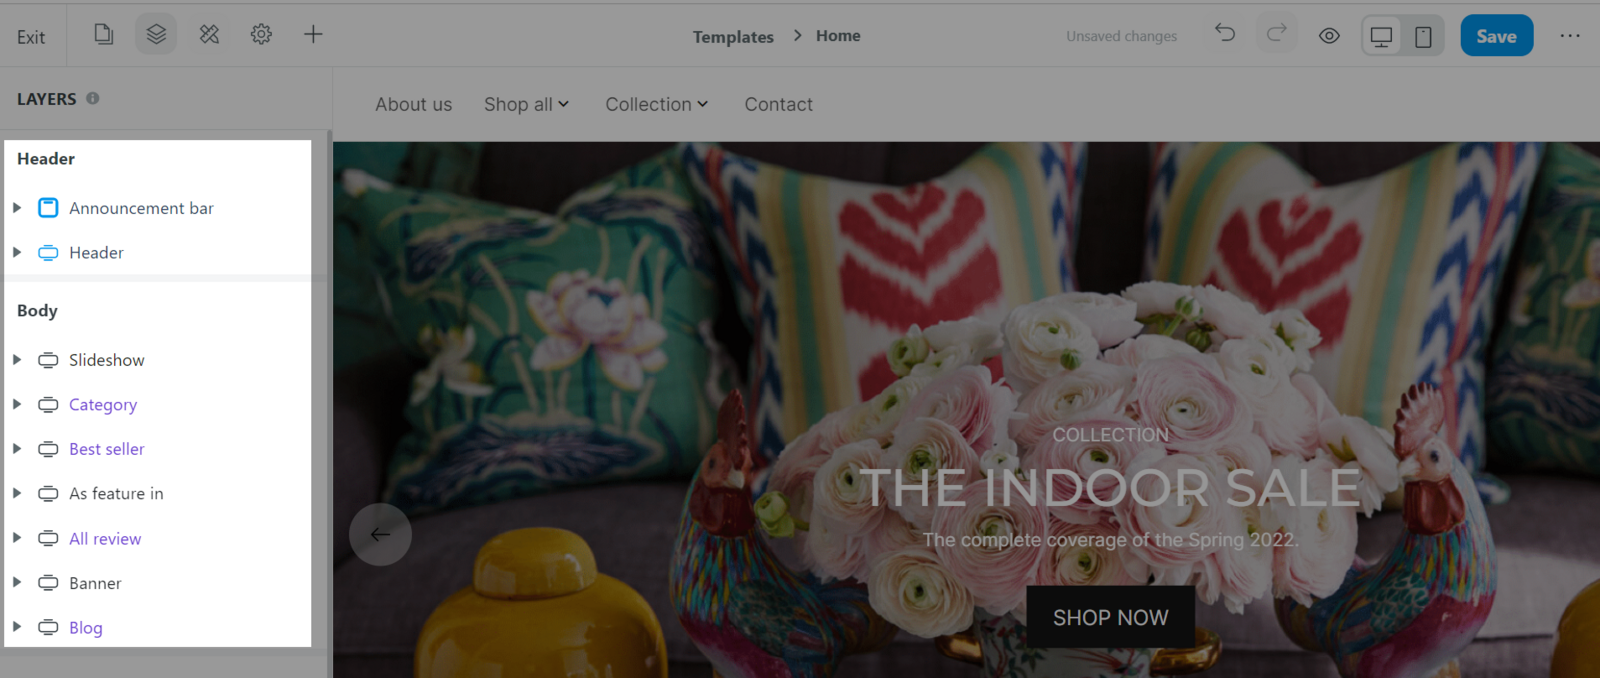
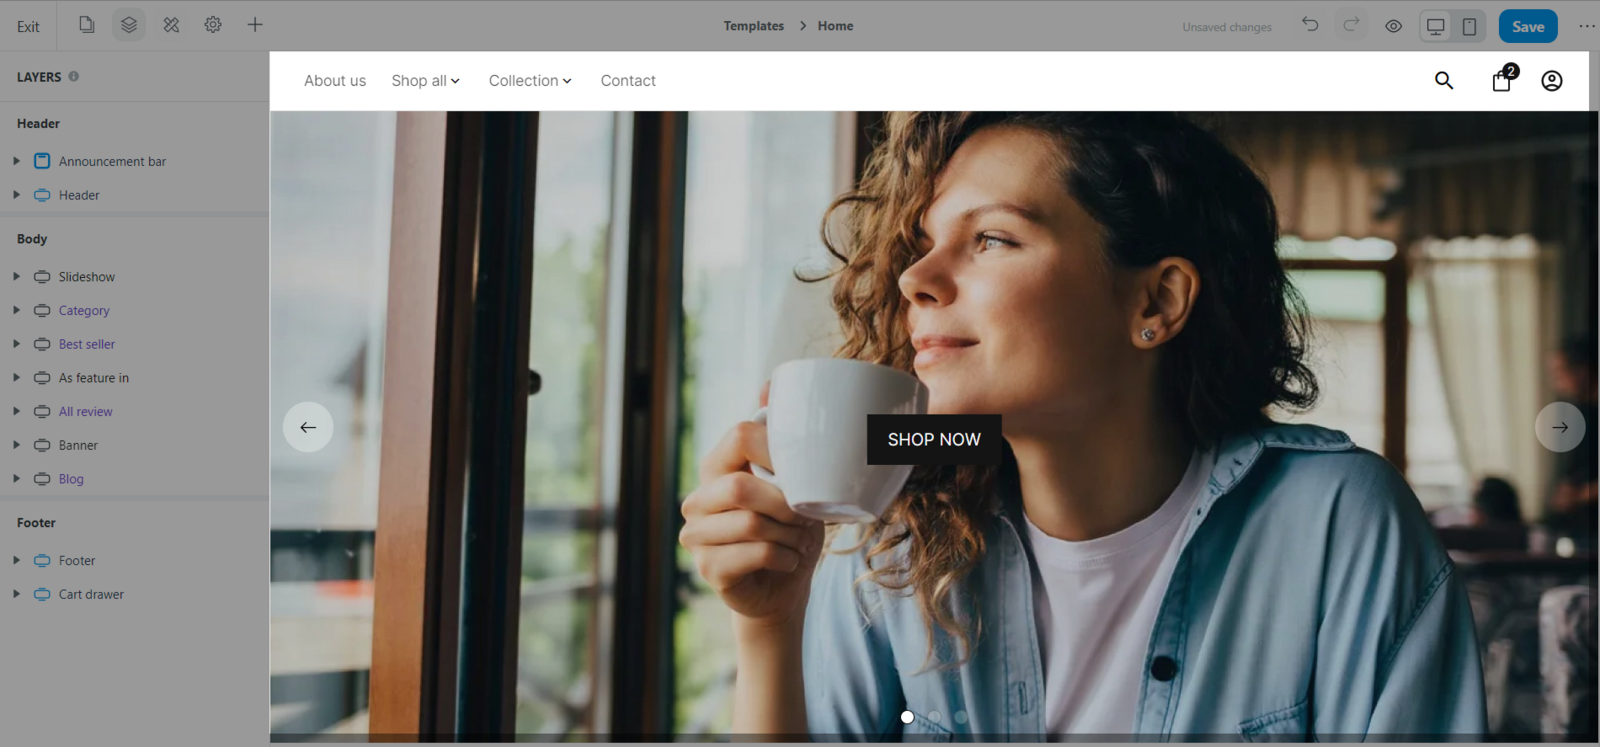
G. Layer panel
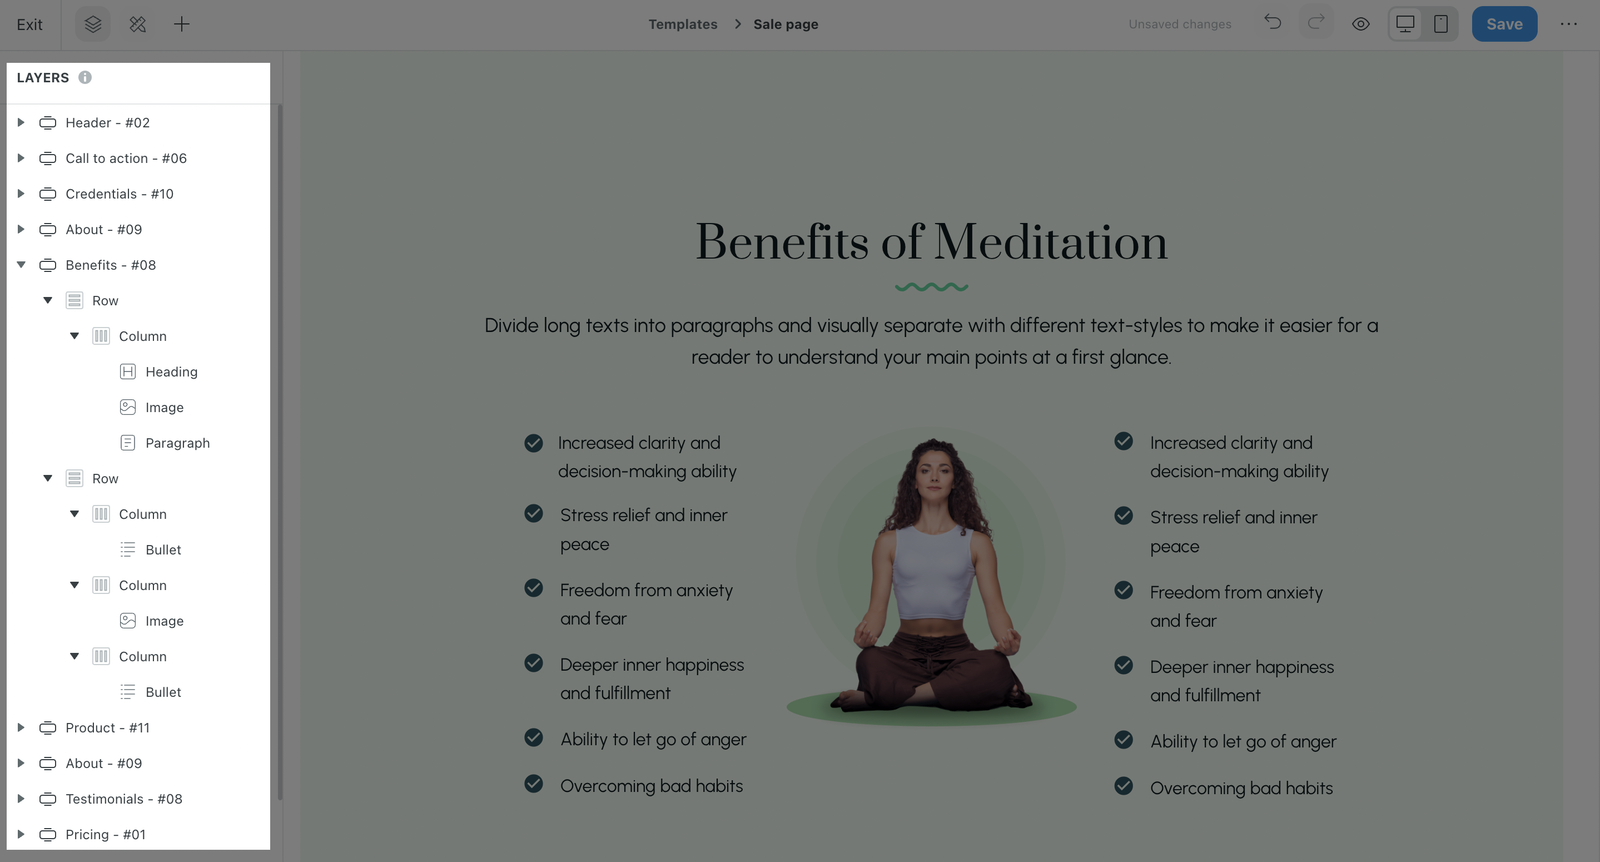
In the Layer panel, you can view the list of layers of the web page you are designing:

Check out our guides to:
H. Styling settings
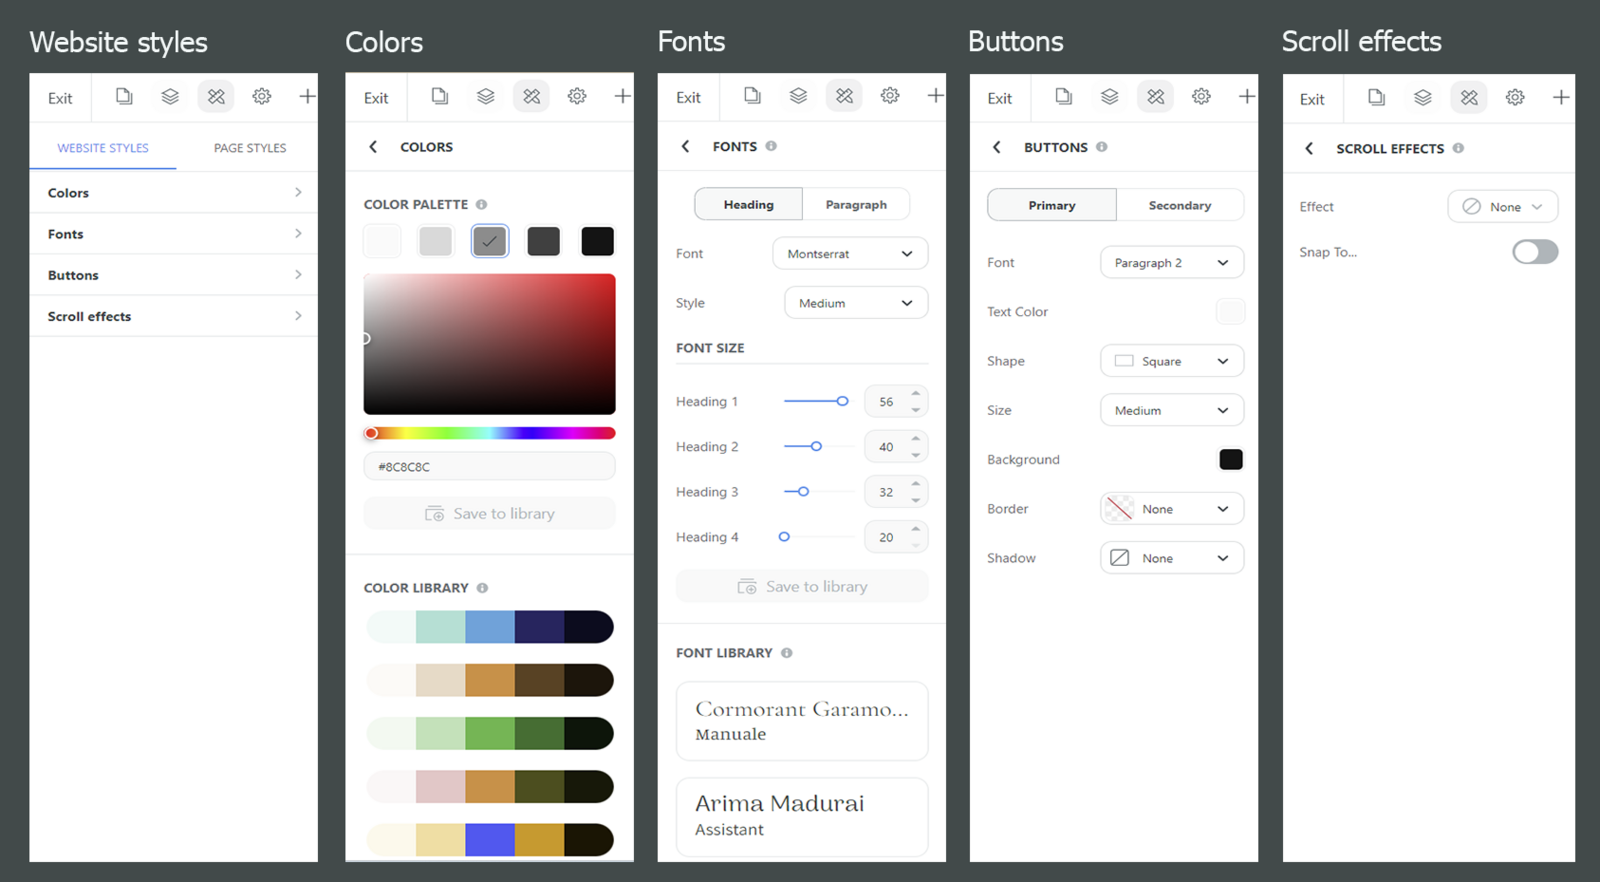
Styling settings, which includes Site styles and Page styles, allows customers to easily set the same color, font and button style for the entire Website. These settings helps the Website to have a uniform and consistent interface. Click on the Pencil and Ruler icon (Styling settings) or use shortcut Shift + S to open Styling settings.
When there is a need to design a Web page with separate styles and colors, you can use Page Style, the function will create a separate style for the current Page without affecting the overall style of the entire website.
After setting up a styling setting, you can also save it to your library for later use.
Check out our guide to:
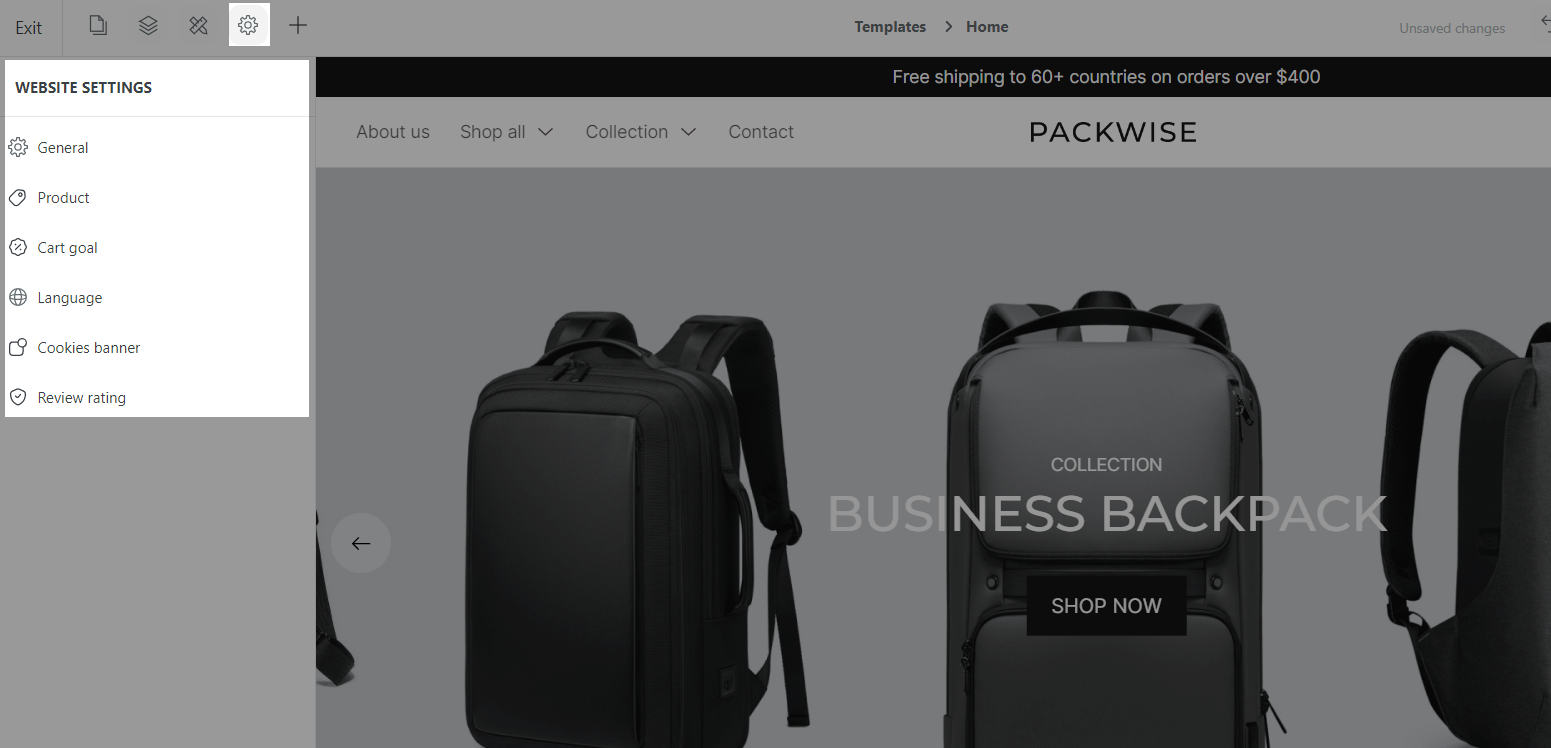
I. Website settings
This is where you can set up the general settings of the website, including: General, Product, Cart goal, Language, Cookies banner, Review rating. Please visit this article to learn more.
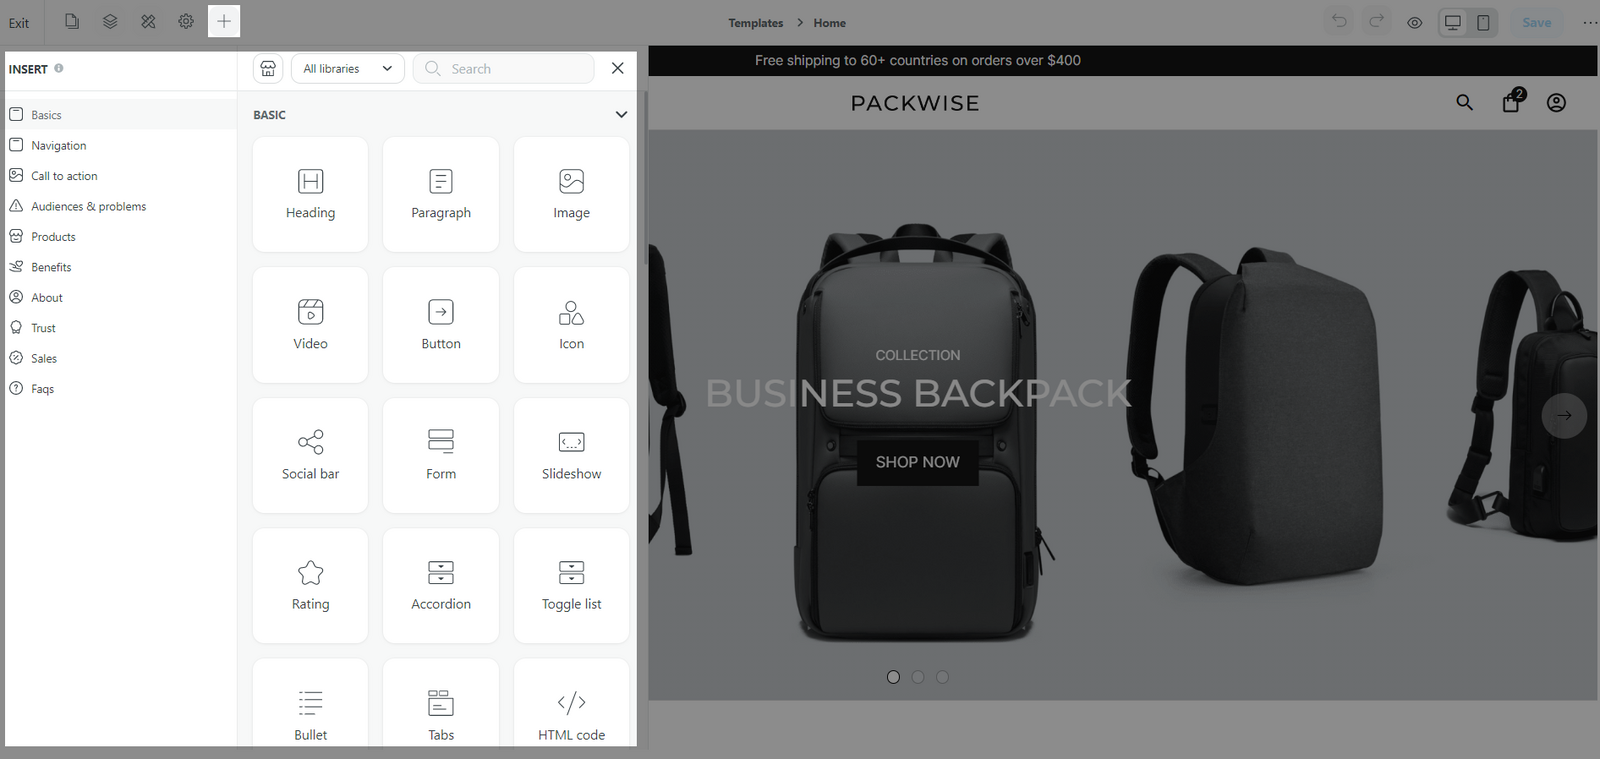
K. Insert panel
The Insert panel allows you to add more blocks and sections into your web page.
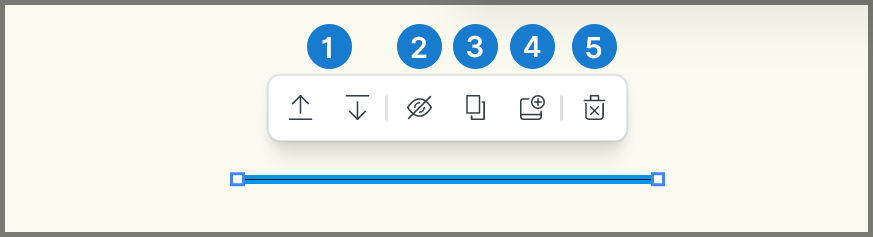
L. Quick bar settings
You can use the quick bar settings to quickly edit each element of your web page. Depending on the element's actual use and properties, different quick bar settings are available for them. Below is the list of the most common quick bar settings: