In this article, we will show you how to set up a page's section in Website Builder. Overall, Section is a tool to divide the page into different sections. Section contains Row and Row contains Column. There are Blocks and Container in Column. Container has Blocks.
Step by Step Tutorial
There are 2 ways to add a new section to your
web page,
Click the + button in the desired position and select Add section.
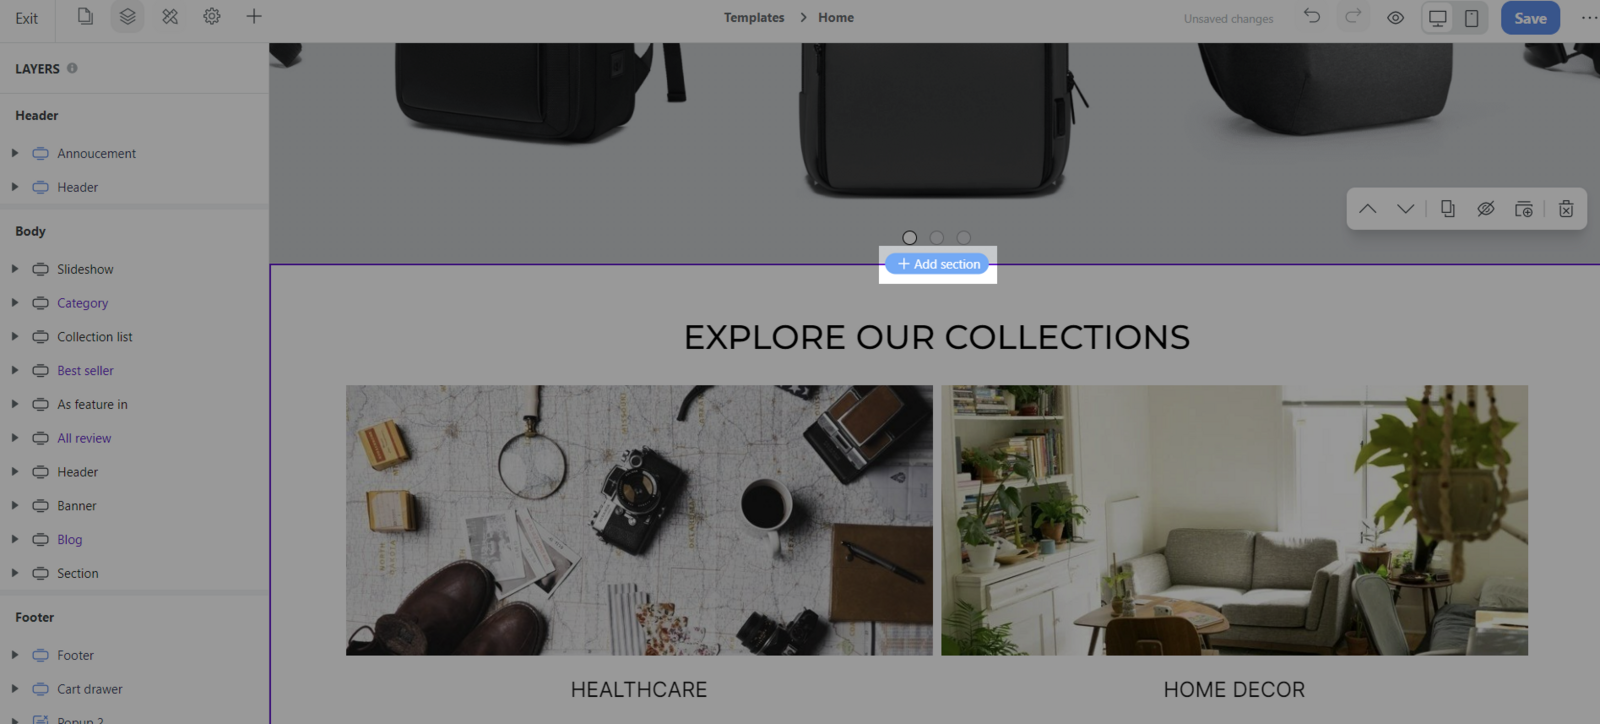
Or you can open the Insert panel. After that, drag a section into the desired position.
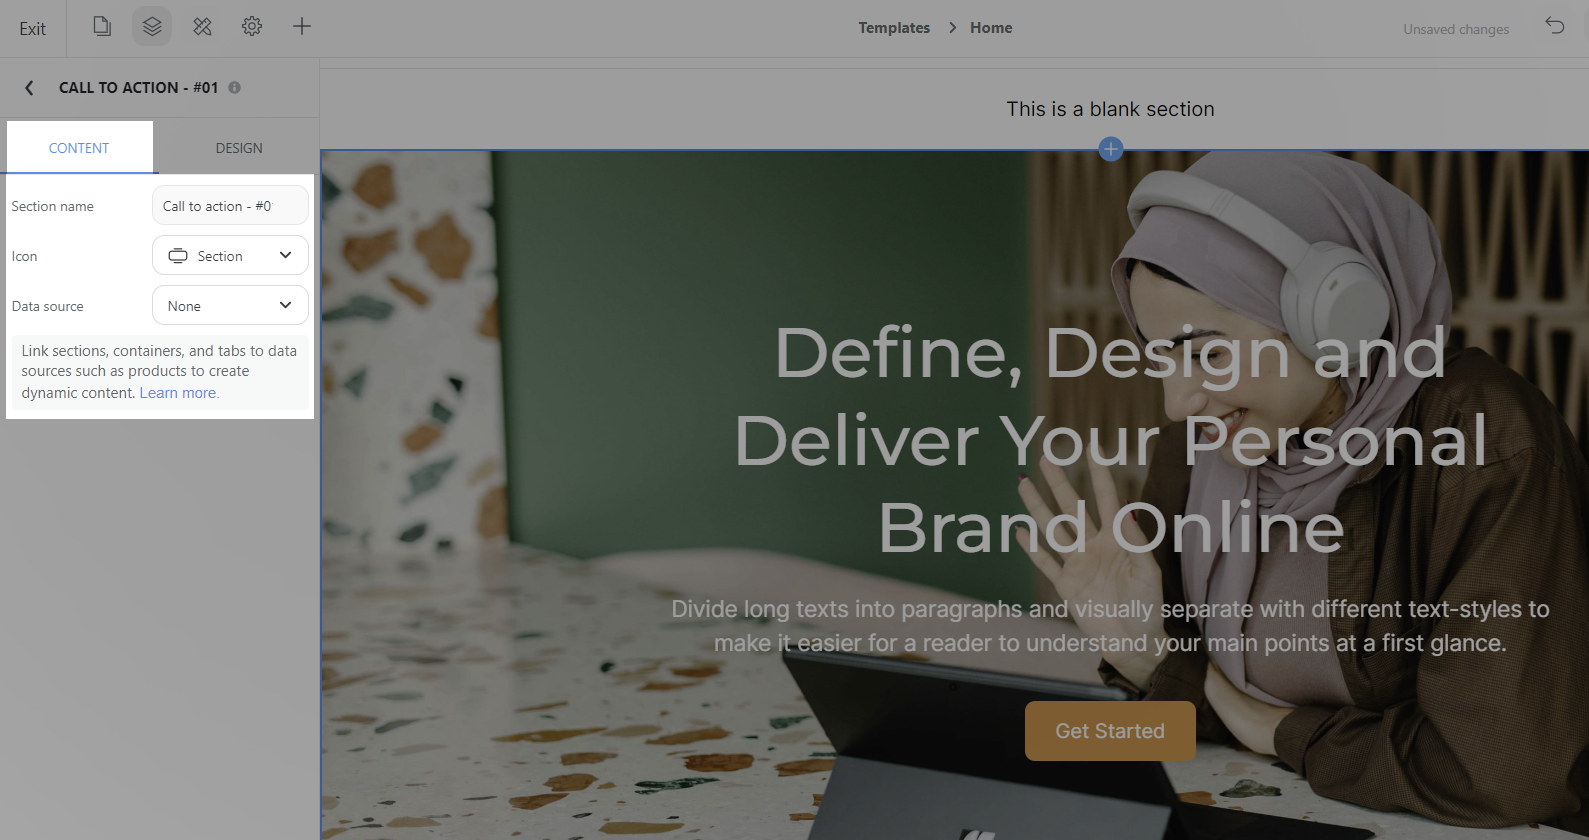
In the Side bar settings, you can customize the following elements of your section:
Tab Content: You can customize Section name, Icon and Data source. You can link sections, containers, and tabs to data sources such as products to create dynamic content.
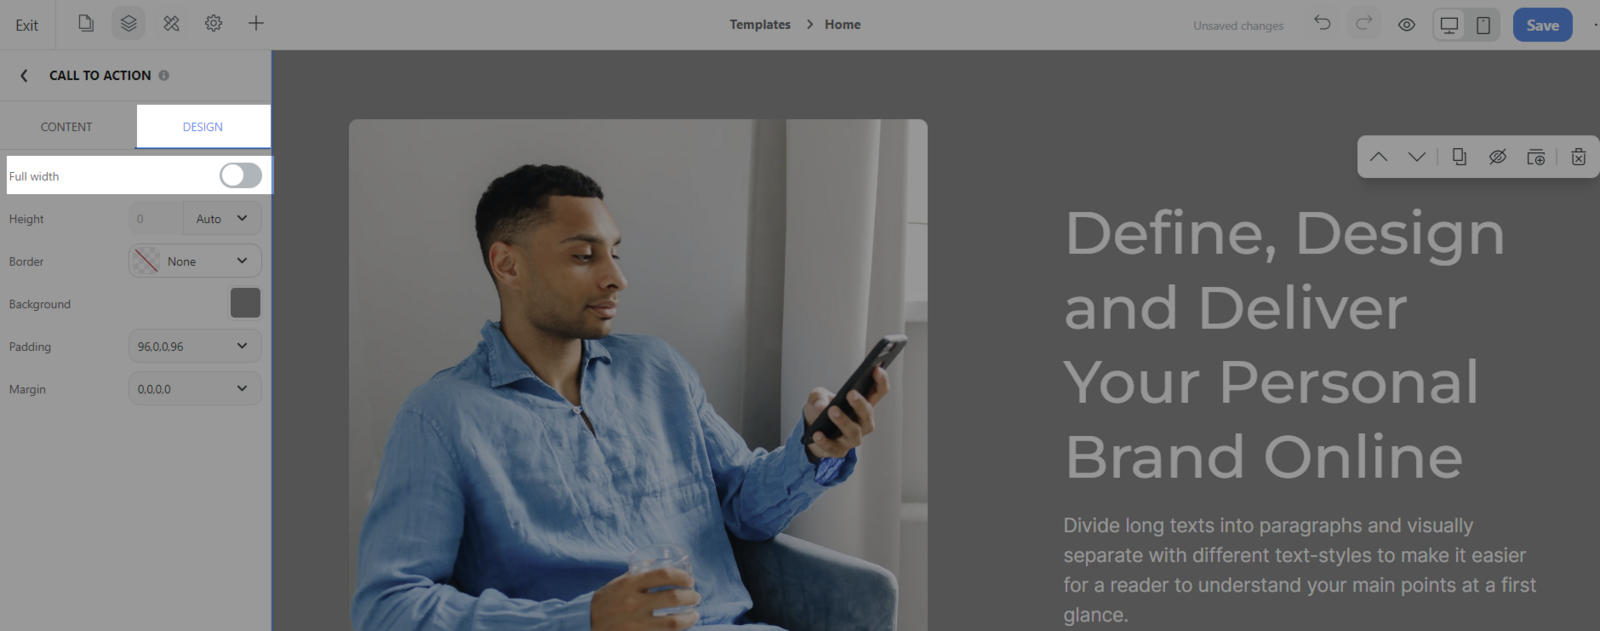
Tab Design: You can customize Full width, Sticky, Border, Background, Padding and Margin.

Full width: Select this option if you want the section's content to span the entire width of the browser. When this option is disabled, the section content is only displayed within the 1120px width.
Make sticky: Select this option if you want to fix the content when the customer scrolls the page.
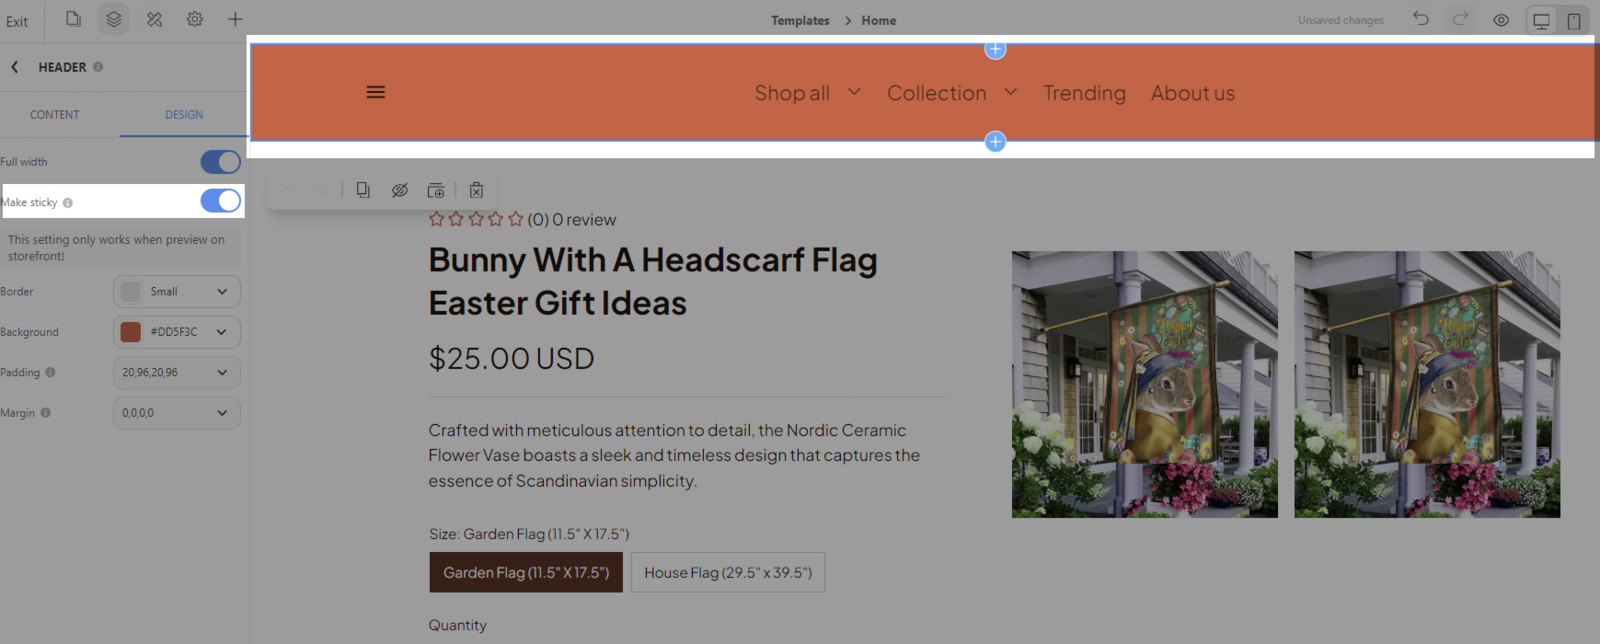
It is recommended to set the chosen sticky section is placed at the top and its background as non-transparent. This feature is ideal for sections intended to stay fixed in the website's header. Be careful to enable this setting for sections with excessive height, as they might obscure or overlap content of other sections while scrolling.
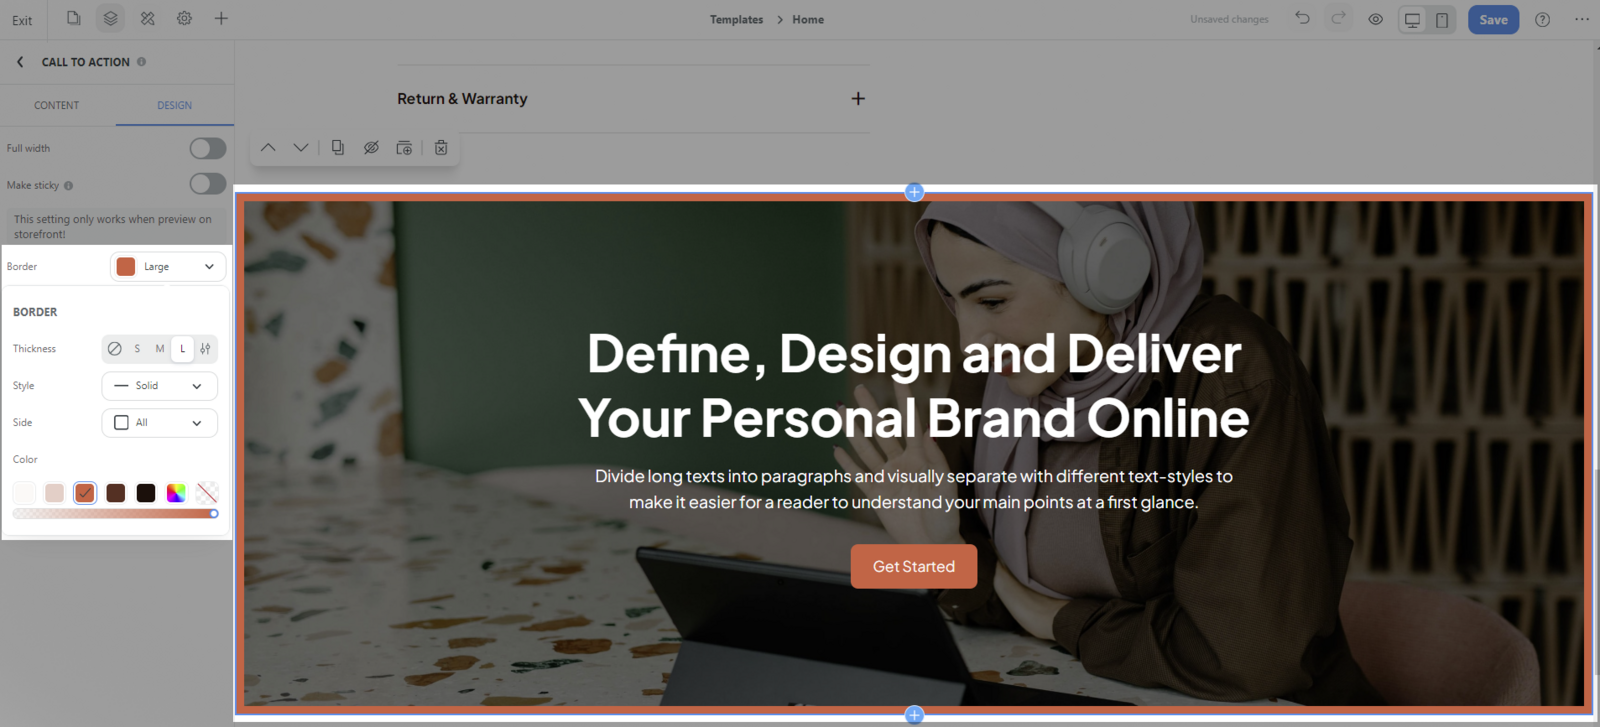
Border: Customize the border of your section. Here, you can adjust the thickness (none, small, medium, large, or custom) , select a color from the website/web page's color palette, or choose a custom color. If you don't want a border around your section, set its Thickness to None or its Color to Transparent.
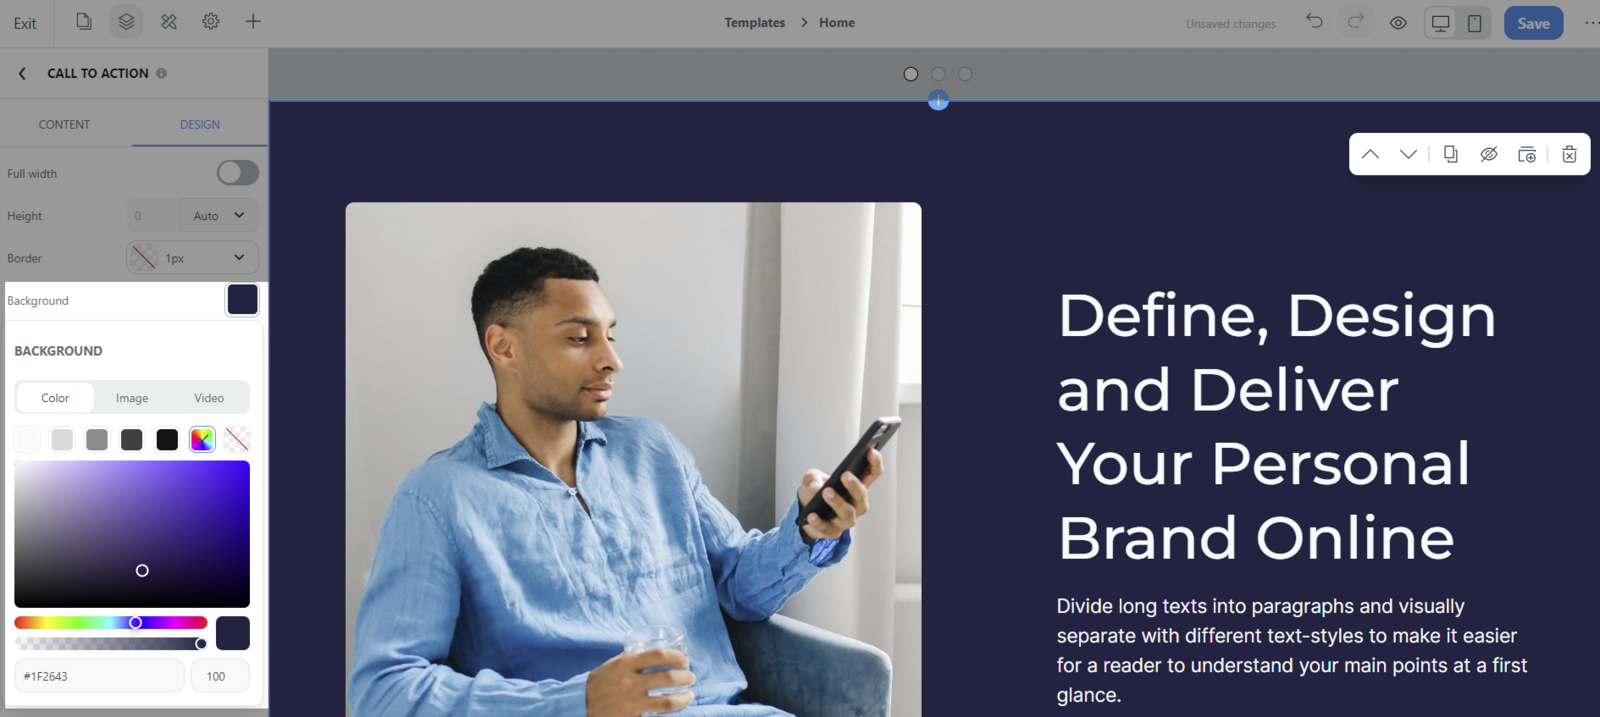
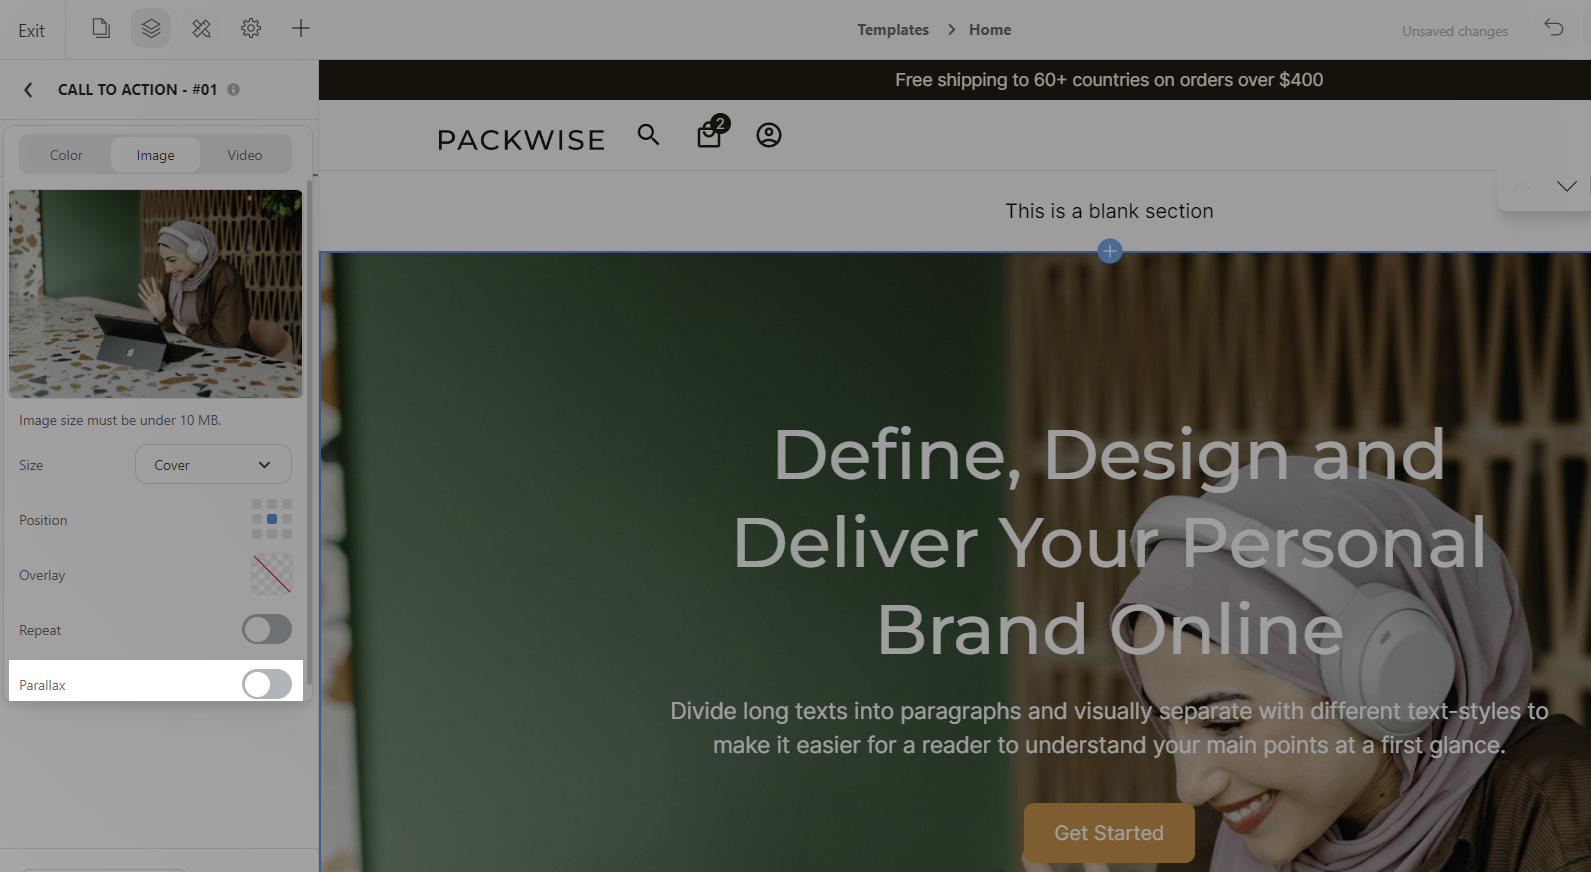
Background: You can choose Color, Image or Video for the background.
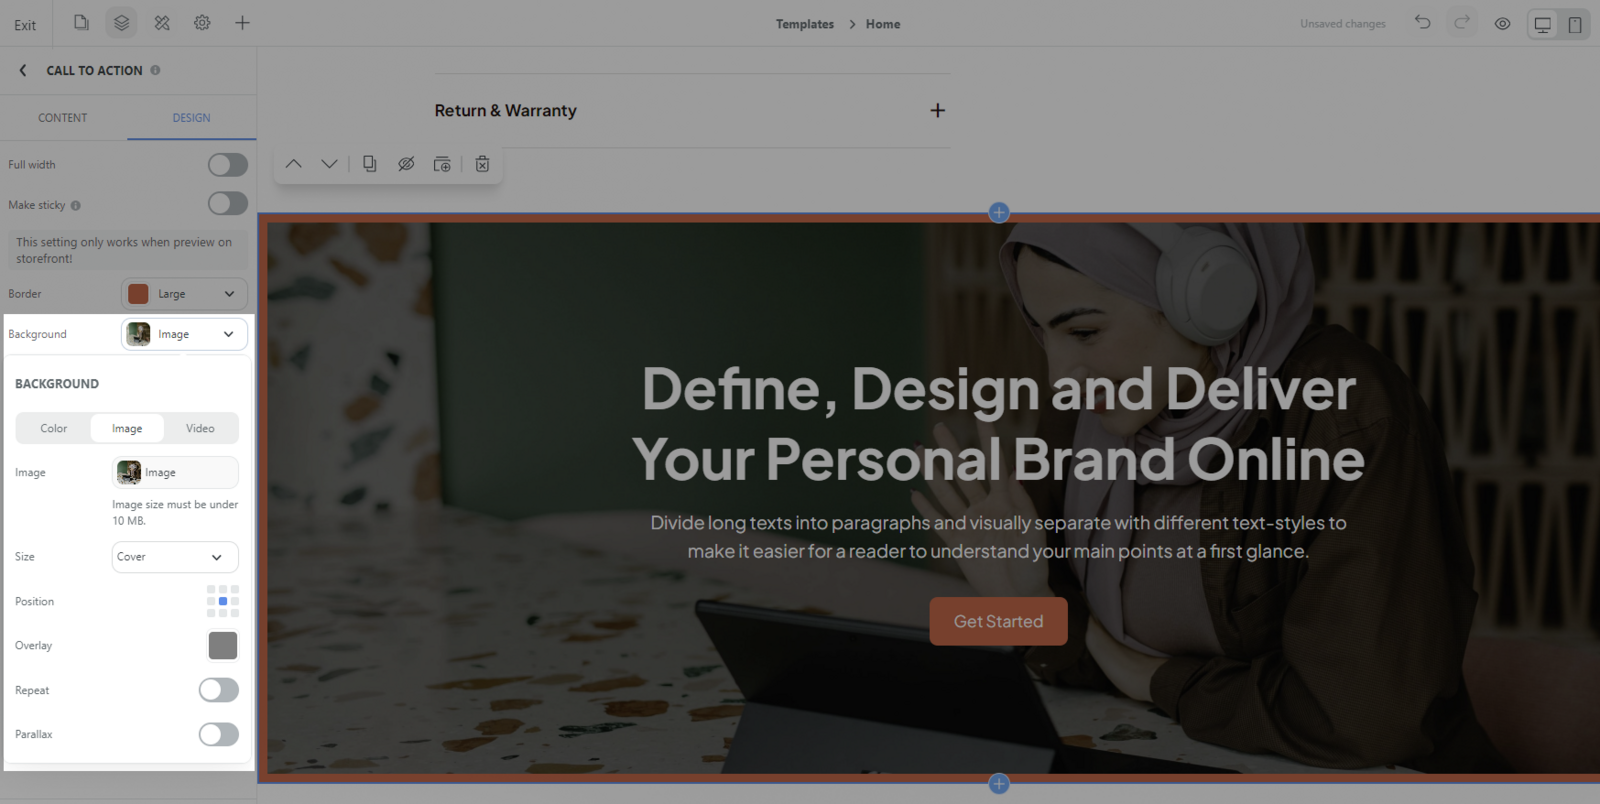
Select a color from the color palette, or choose a custom color for your section.
If you choose to upload Image or Video, there will be Parallax setting option.
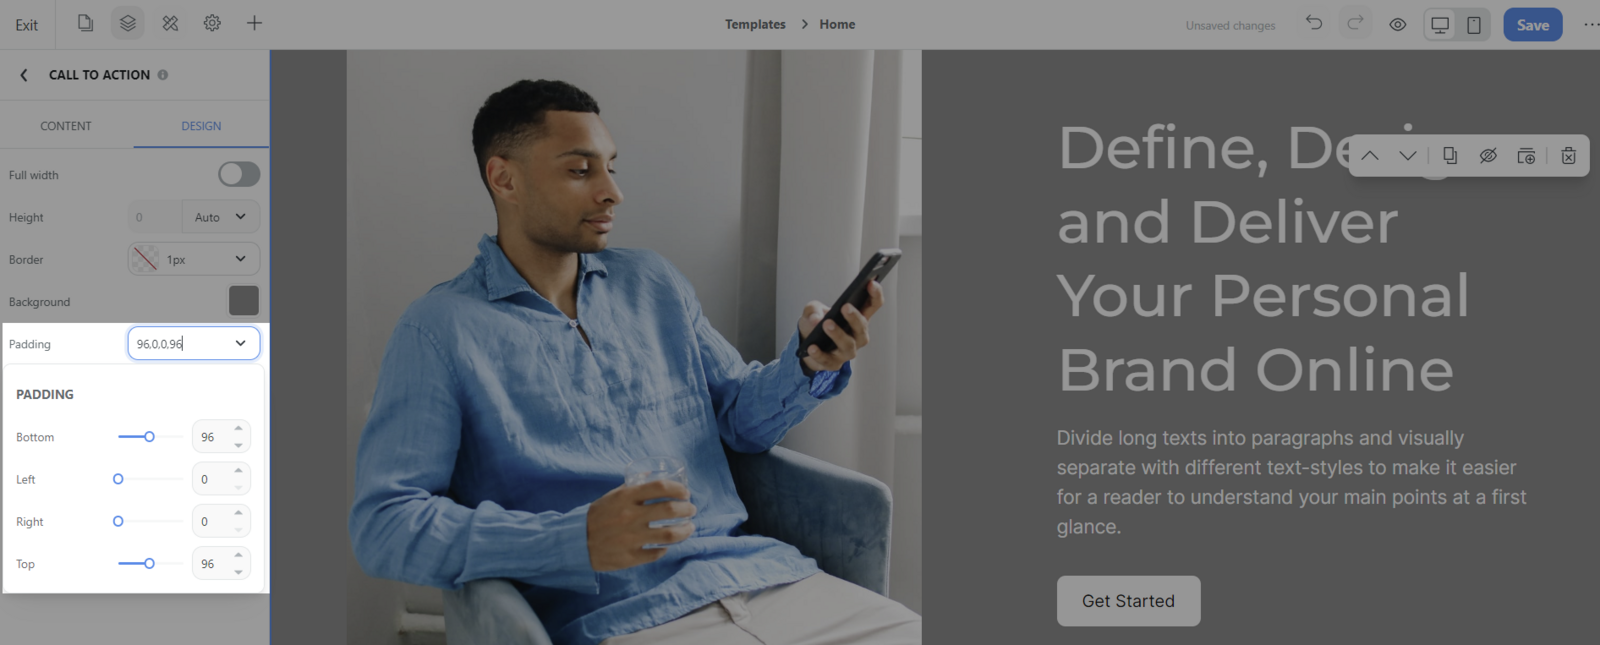
Padding: Padding is space around the content, inside of the element.
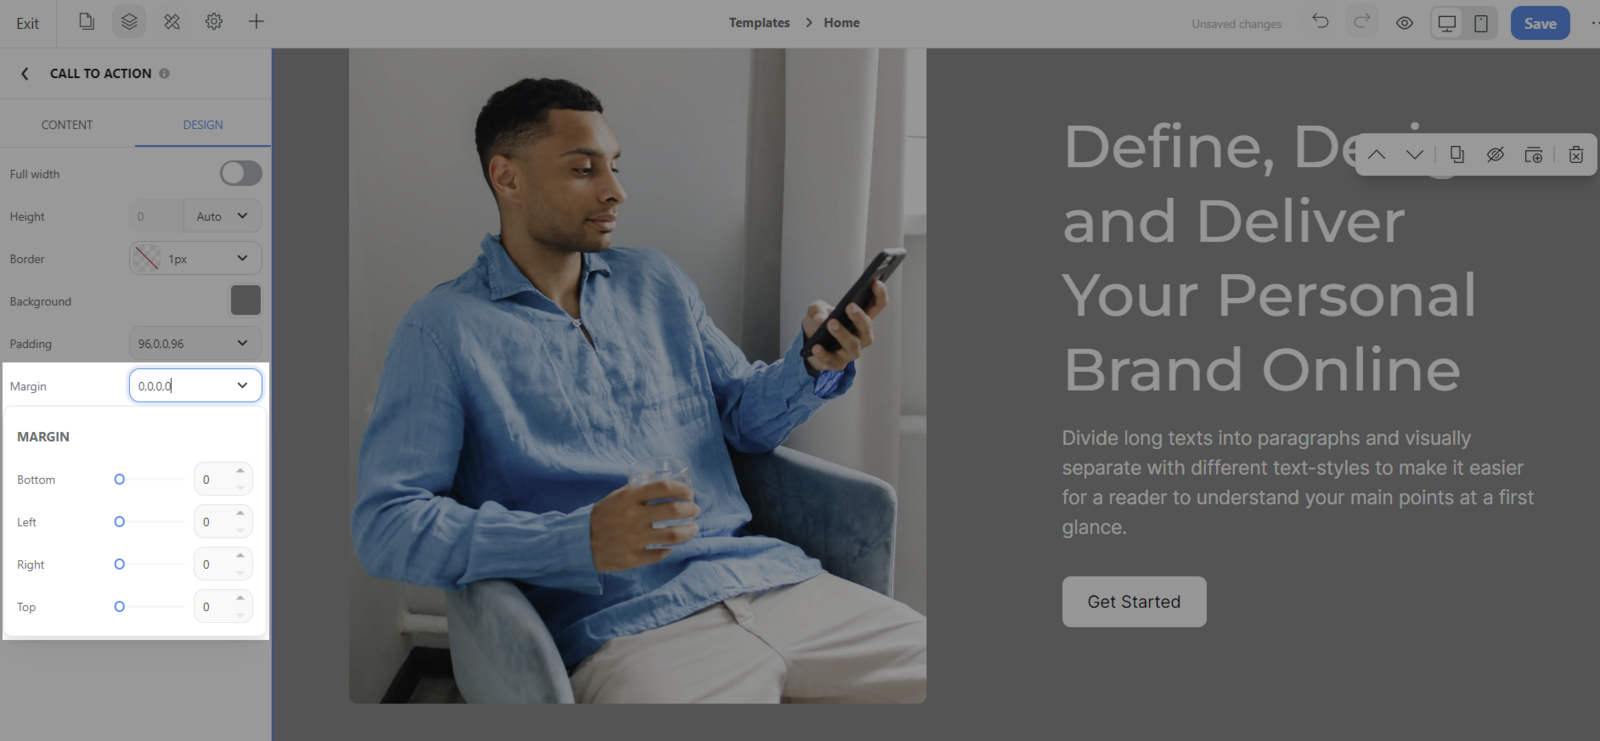
Margin: Margin is outside space of the element, between elements.
Add and customize Column:
Add Column: Click on the Column in the section > Click Add column.
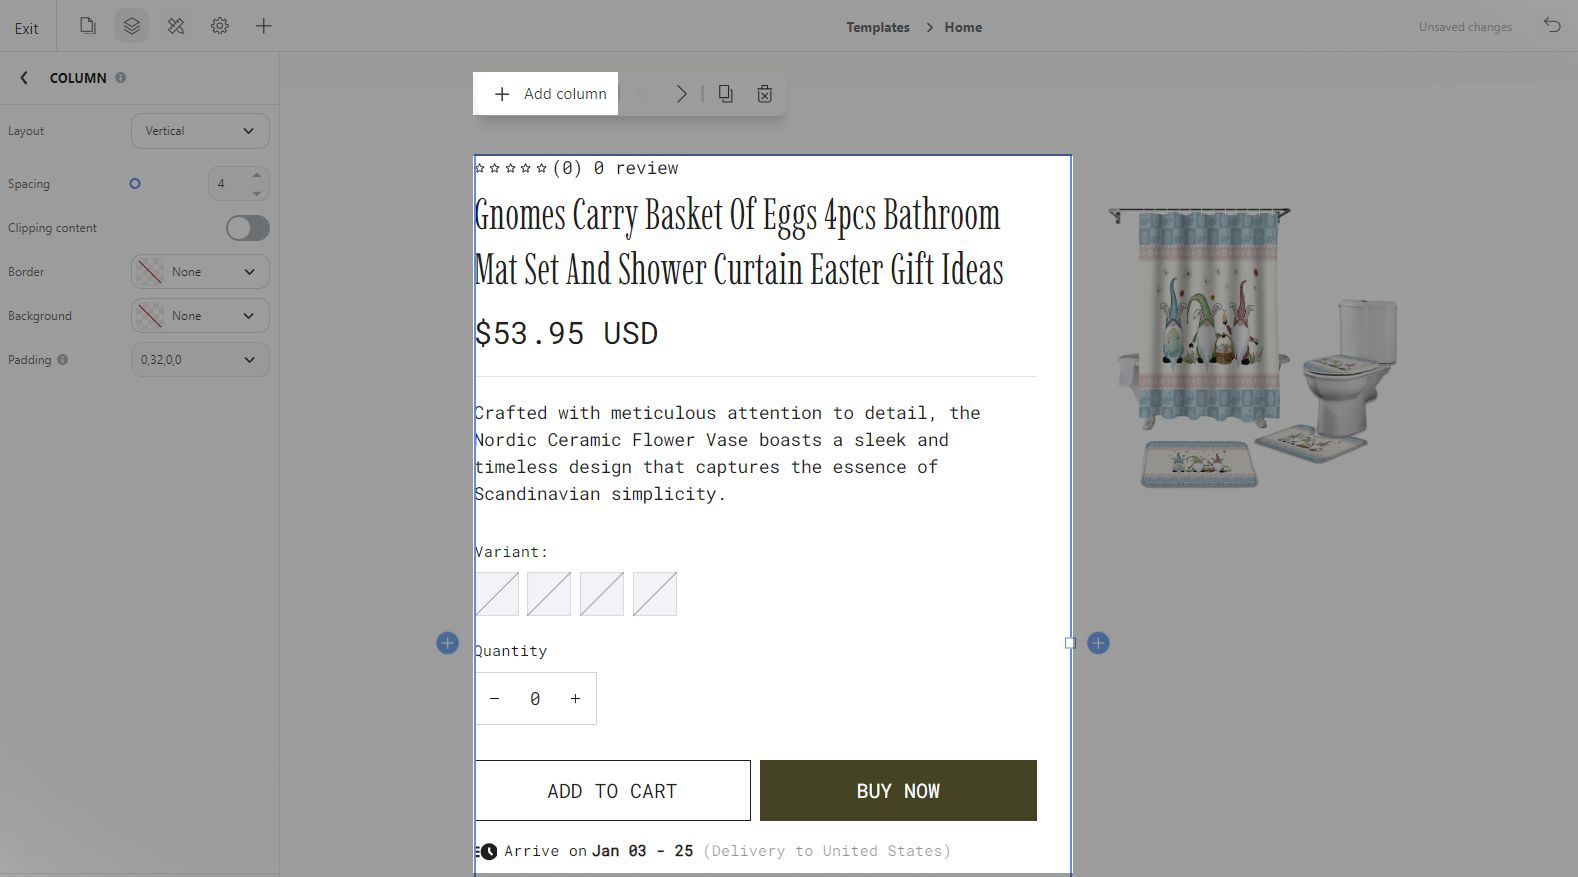
Customize Column: Click on the Column and customize its settings (Layout, Spacing, Clipping content, Border, Background, Padding and Margin).
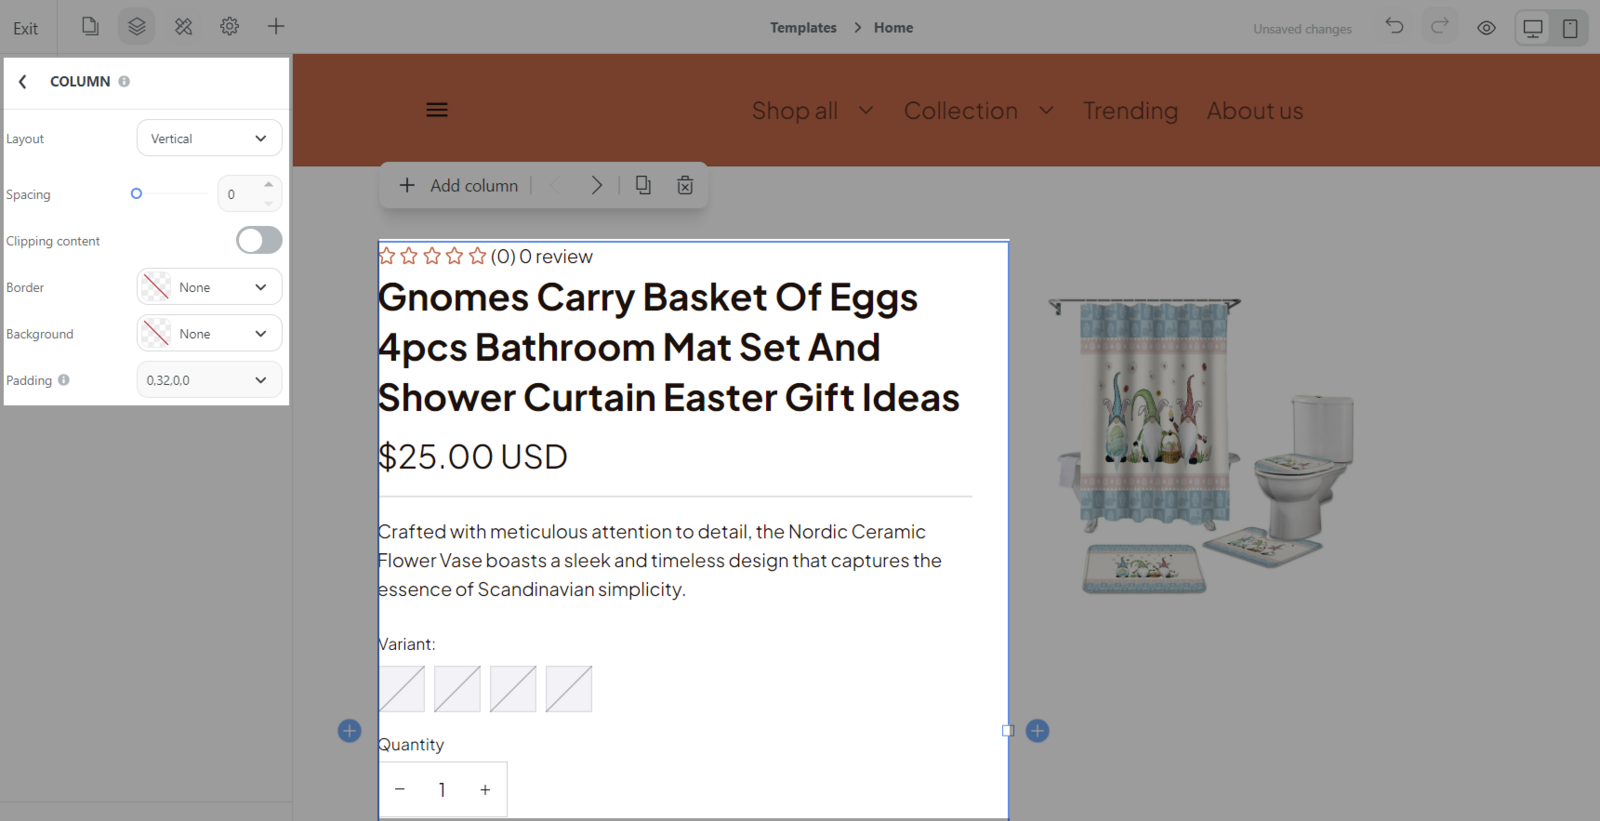
⯁ Customize Layout: You can choose the direction as (Horizontal or Vertical) and its align.
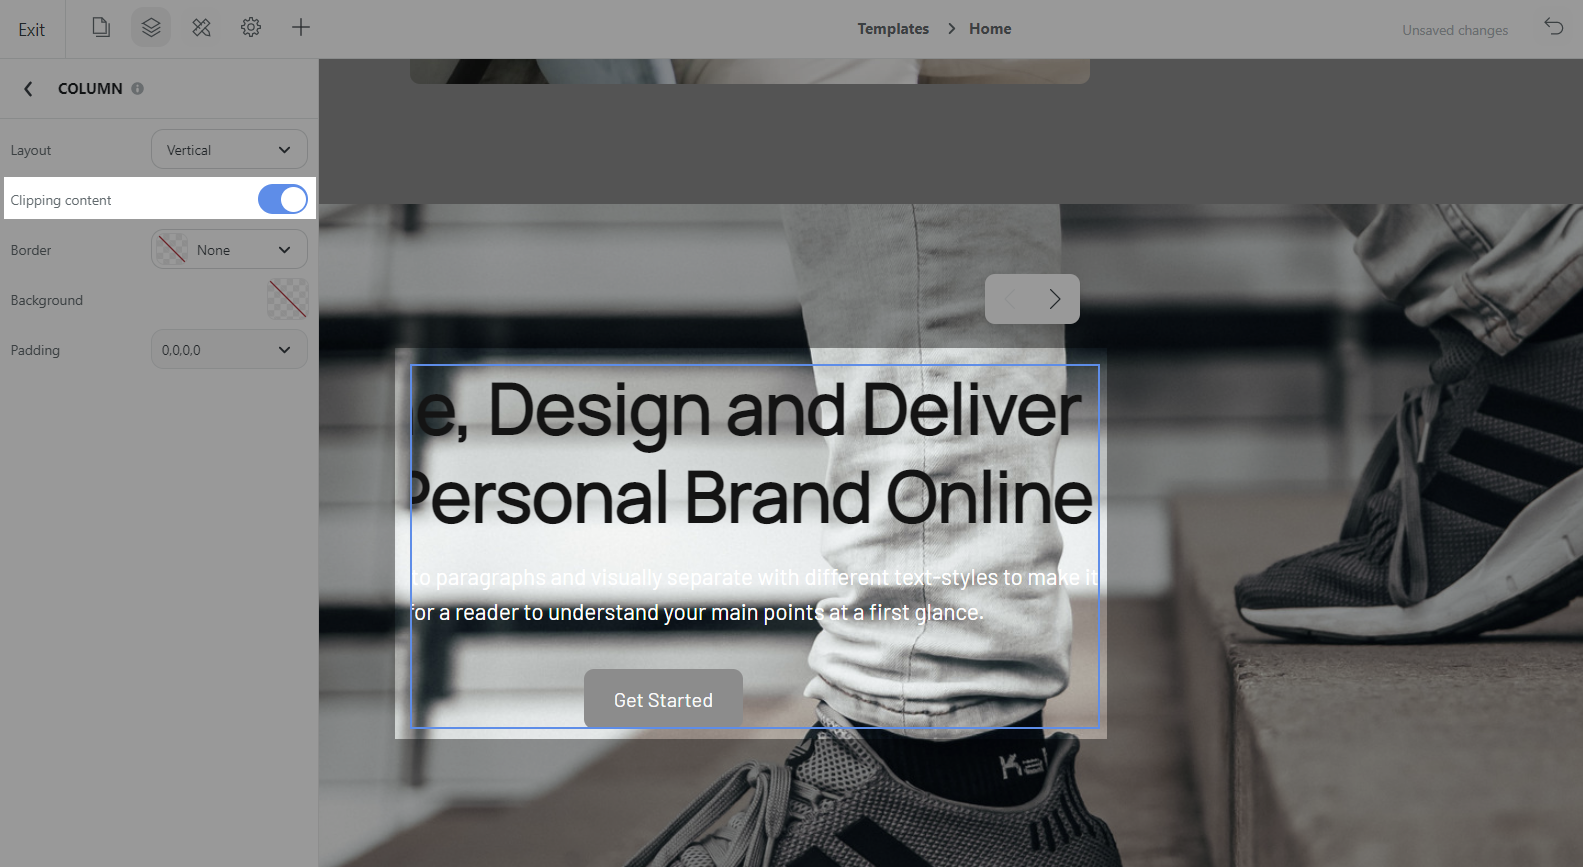
⯁ Customize Clipping content: Once you choose this, the content will be cut off to fit the column
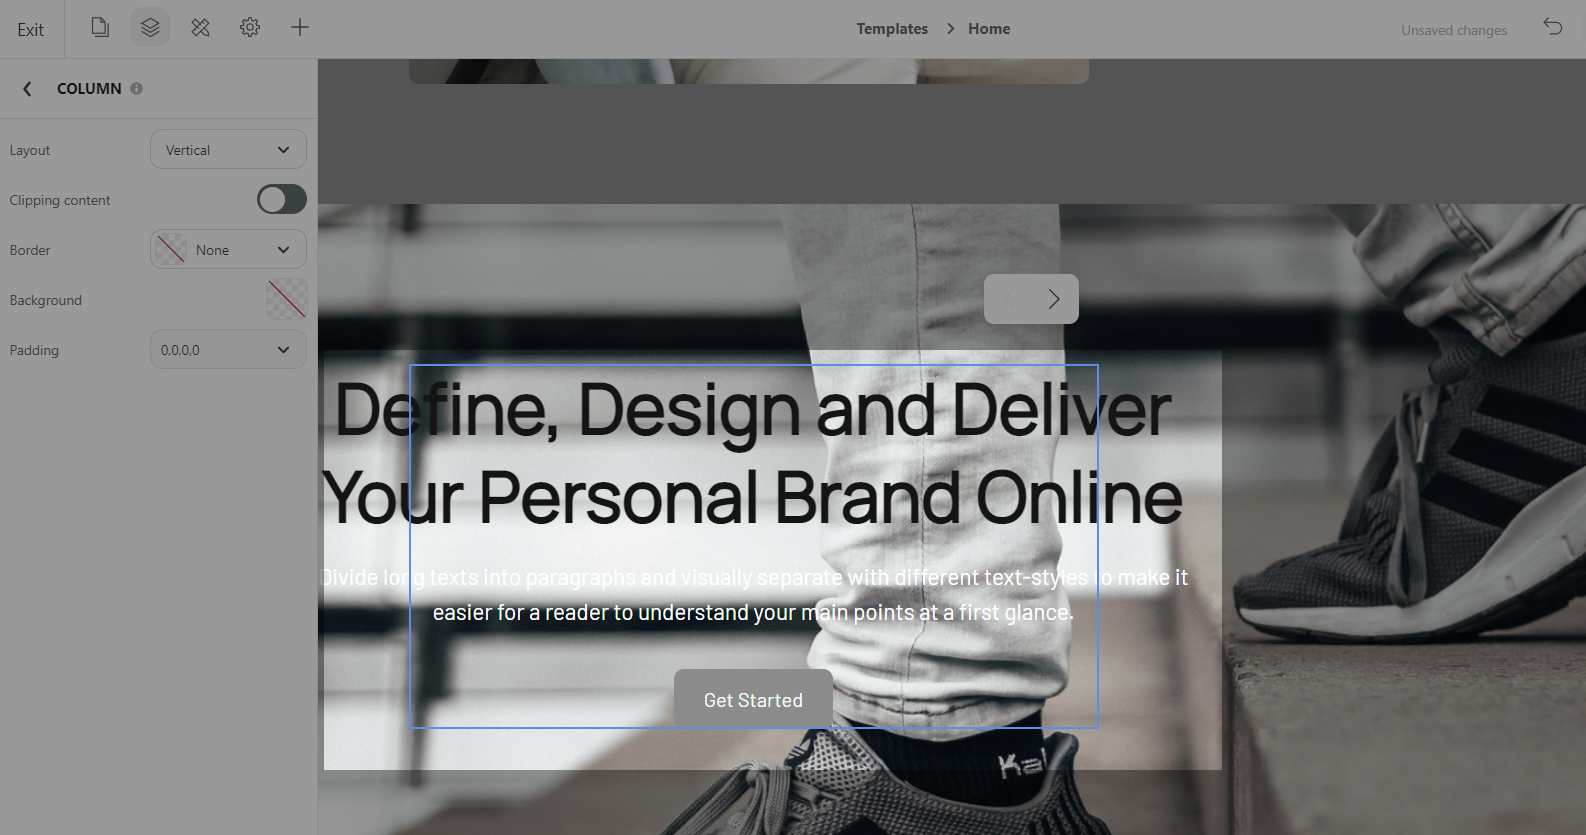
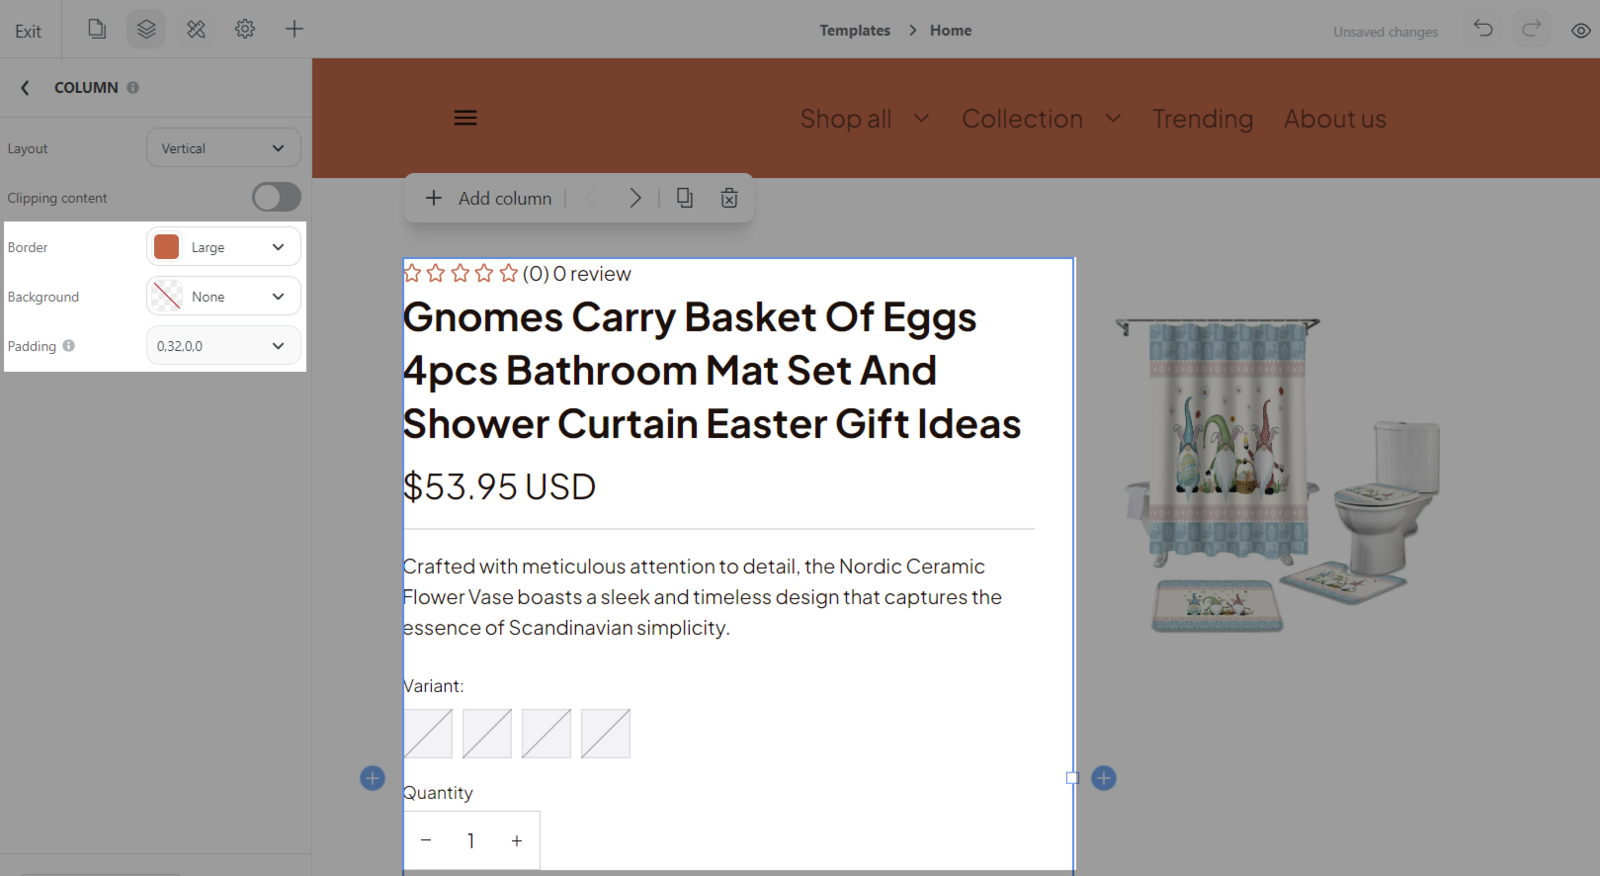
⯁ Customize other general settings: Border, Background, Padding.
Add and customize Row:
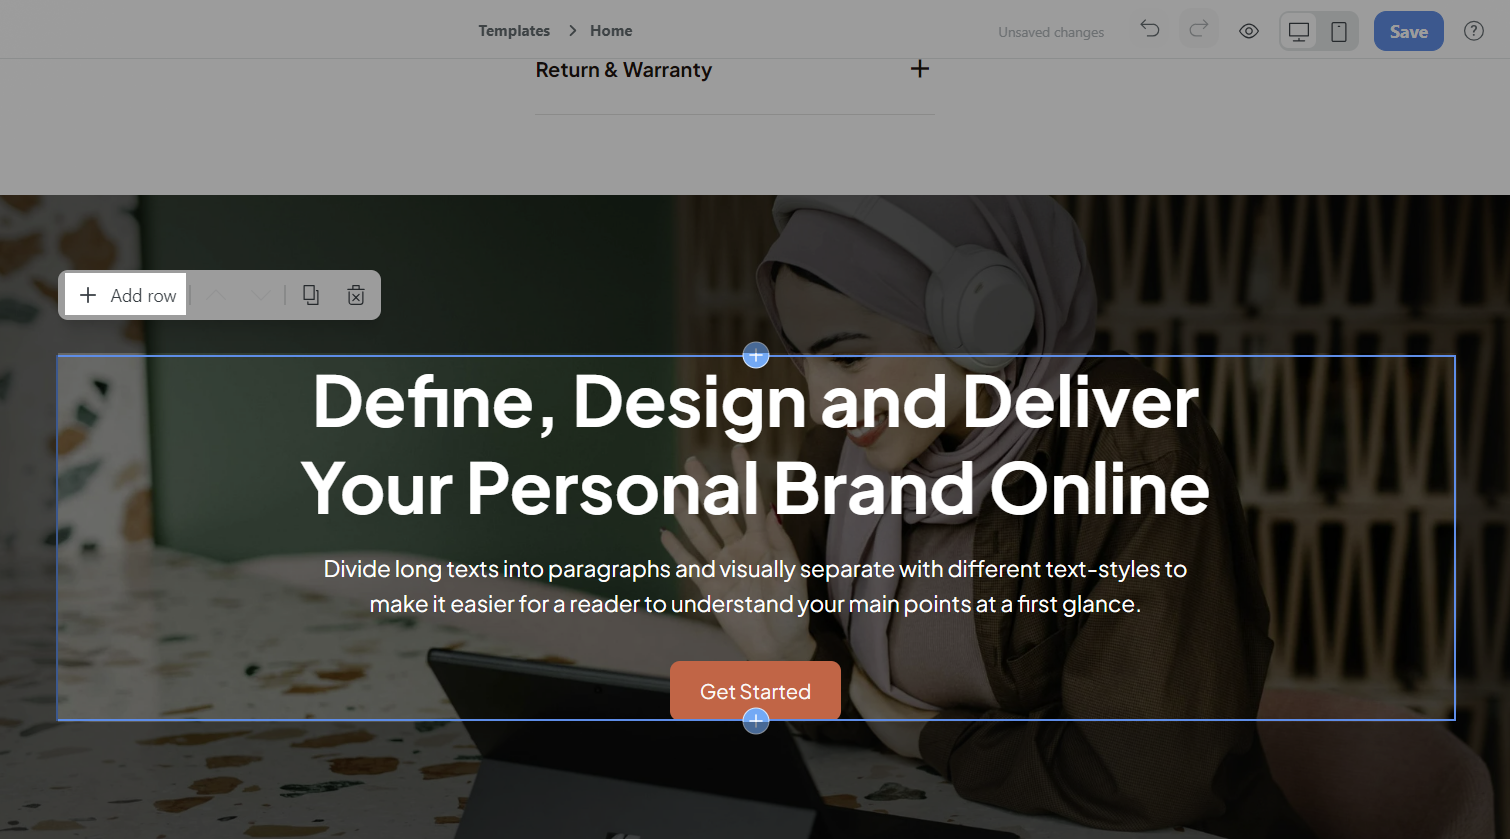
Add Row: Click on the Row in the section > Click Add row.
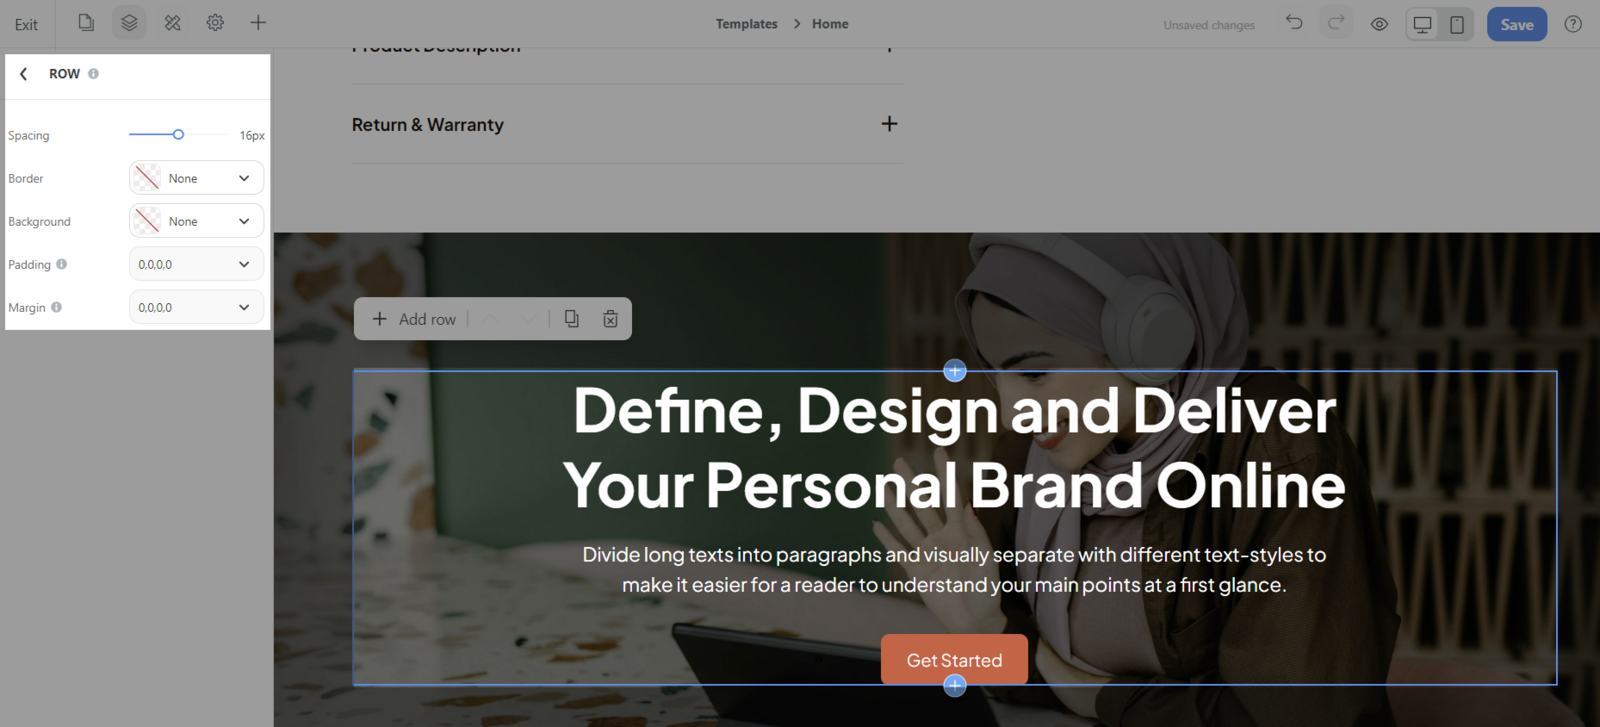
Customize Row: Click on the Column and customize its settings (Spacing, Border, Background, Padding and Margin).
Click Save once finished.
Related articles