For ShopBase orders with personalized items, you will need to create a print file containing the artwork of personalized products and custom option values. This print file can be sent together with order information to suppliers. In this article, we will guide you on how to create a print file of personalized products with ShopBase.

In this article
B. Generate print files for your orders
C. Edit a generated print file
D. Filter orders with print files
E. Export orders with print files
A. Set up your print file


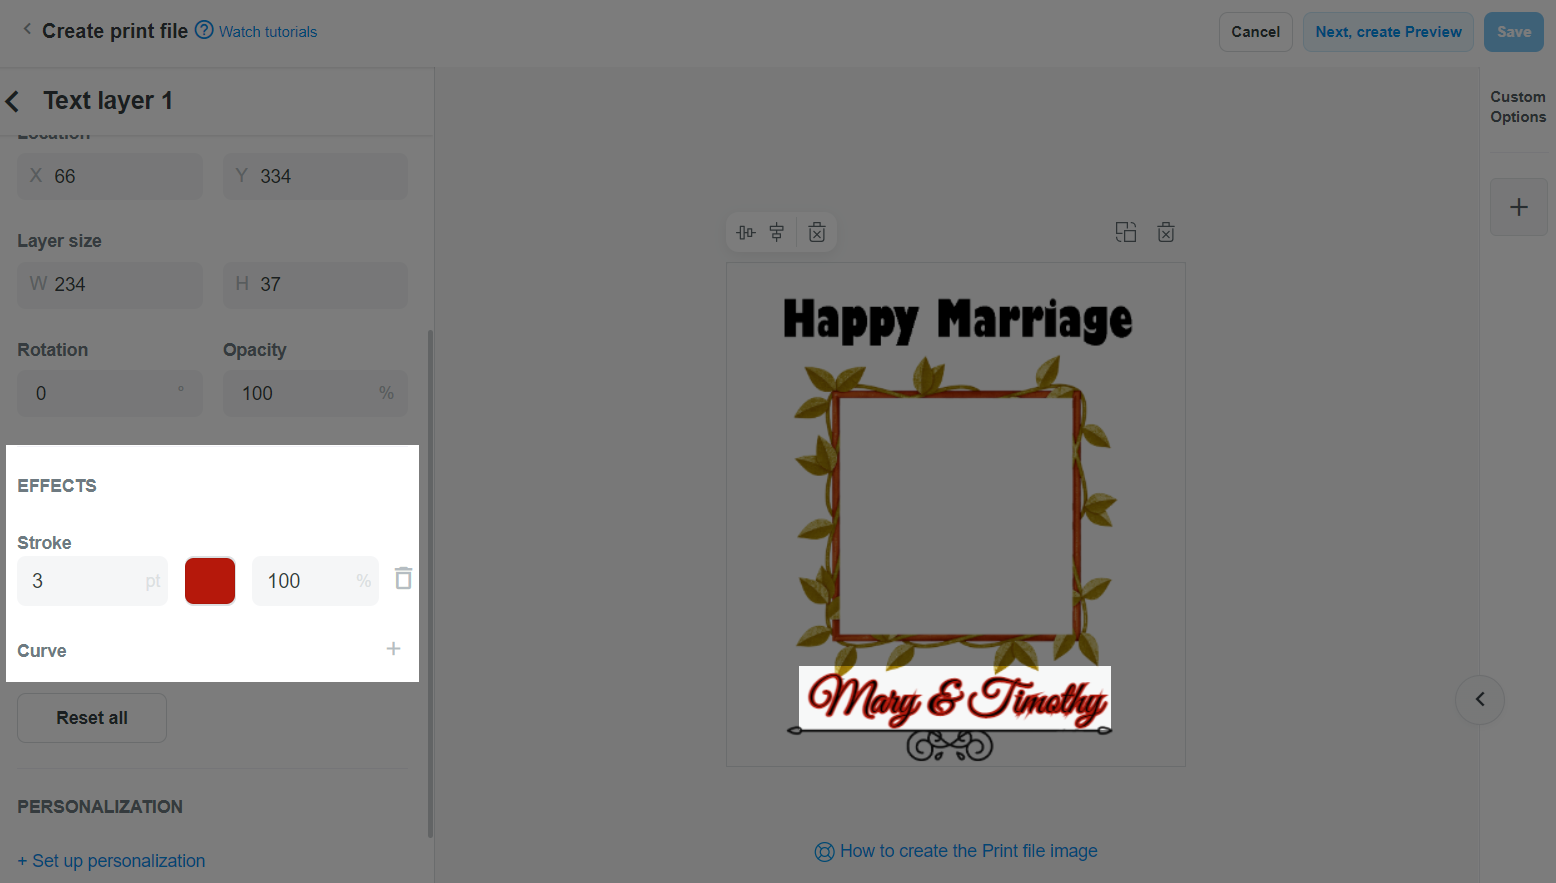
You can click on each text layer to edit Text, Size, Color, Location, Layer size, Rotation, and Opacity. You can select a font from ShopBase system, or click Add new fonts to upload a new font upon your wish.

You can apply Stroke and Curve effects on your text layer. Please refer to this article for more information on special effects on text layers.

You can click on each image layer to edit Location, Layer size, Rotation, and Opacity.

If layers have been set up previously in Create preview page, they will be automatically synced here, and vice versa.
When new layers are updated in your print file, you can quickly sync the new changes to your preview image by clicking on Update Preview. Then, the new layers will be scaled to fit the image while maintaining their relative positions, avoiding extensive editing in the preview image.

You can combine layers into different groups to easily organize and manage them, as well as to create products with multiple design versions for your customers to choose from. Please refer to this article for more information about layer groups.

+ button in Custom options and filling in all required conditions. Please refer to this article on how to create custom options for your products.
For the demo product of this article, two custom options with Text field and Image type should be created in this step.


Print file will also be automatically generated for unfulfilled orders of this product.
When duplicating a product or cloning a product to another store, any relevant print file will also be duplicated to the new product.
B. Generate print files for your orders
Automatically generate print file

After this setting is enabled, once a print file is available for a product, it will be automatically generated for orders containing that product when the order payment status is
Paid.


By default, this setting is automatically enabled. You are free to turn off this setting if you do not want print file to be automatically generated for personalized item in an order.
For orders with Cash on Delivery (COD) payment method, print files will need to be manually generated.

Manually generate print file
If the Generate Print file for the personalized products setting is disabled in Online store > Preferences > Print file generating, you will need to manually generate print files for personalized items in your orders.
If this setting is enabled, you can also manually generate print files before the order status changes to Paid or if the order payment method is Cash on Delivery (COD).


C. Edit a generated print file
You can edit an order's print file according to customer's request, or to make custom option values are displayed nicely on the product.
If a print file is successfully generated for an order, and is then updated in the Product detail page (such as renaming, adding, or deleting custom options), you can no longer edit it in the Order detail page.
... and select Edit.


D. Filter orders with print files

E. Export orders with print files
Please refer to this article on how to export orders in CSV format.


F. Print file fee
G. Frequently asked questions
The updated print file will be applied for orders with ungenerated print files. Print files that have already been generated prior to the changes will not be updated.
Following the change, print files will no longer be created for new orders. Orders with successfully generated print files will be kept as it is and the existing print files will not be removed.
If a print file is successfully generated for an order, and is then updated in the Product detail page (such as renaming, adding, or deleting custom options), you can no longer edit it in the Order detail page (Please refer to section C. Edit a generated print file for more details).
Fortunately, you are still able to re-generate a print file by removing the old print file and create a new one in the Product detail page, then select to generate a print file for the order.
All actions, which include updating or deleting a print file, and updating a generated print file are recorded in your Activity log page.