When you create custom options for a product, it means that you allow the buyer to customize some of the product's features before placing an order. This article guides you to create custom options for your product using a CSV file. This tutorial is especially useful when you want to create the same type of custom option option for many products similar to an existing product's custom option by exporting the products to a CSV file containing the custom option code. Edit and copy these codes to other products in the respective CSV file and upload to the system.
In this article
A. Export custom options from existing products
B. Import custom options to products
A. Export custom options from existing products
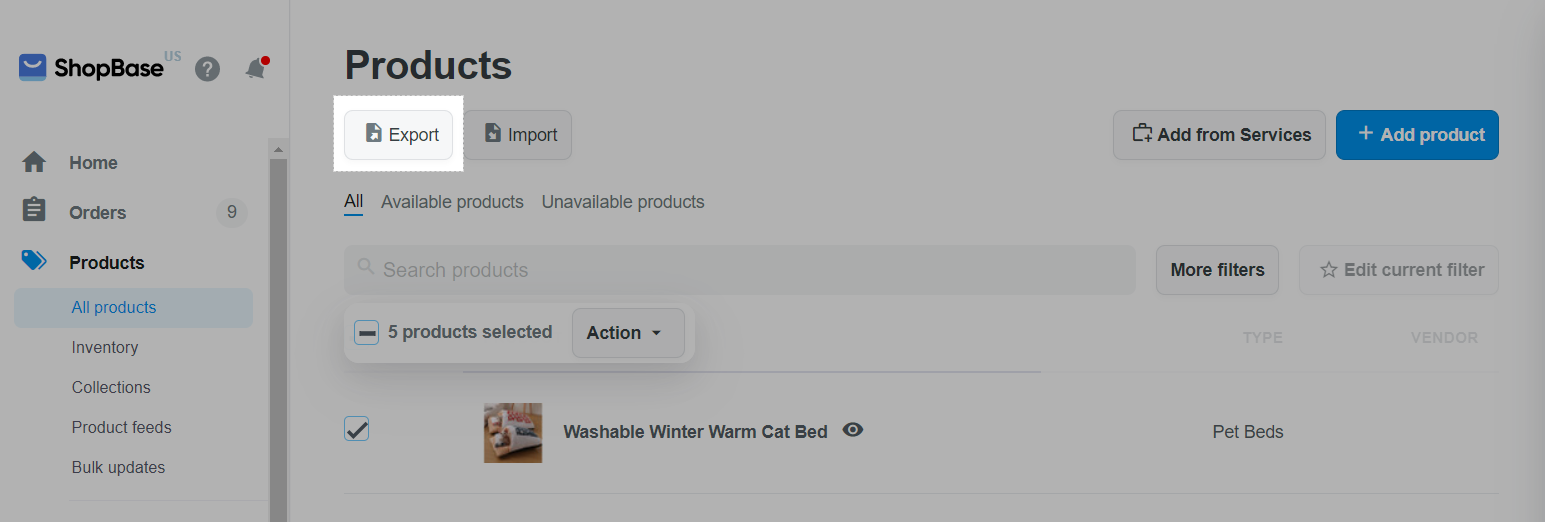
From ShopBase admin site, go to Products > All products, choose specific products with custom options you want to copy and click Export.
When Export products to CSV file window appears, choose Selected products. You can choose the suitable exported files in Export as:.
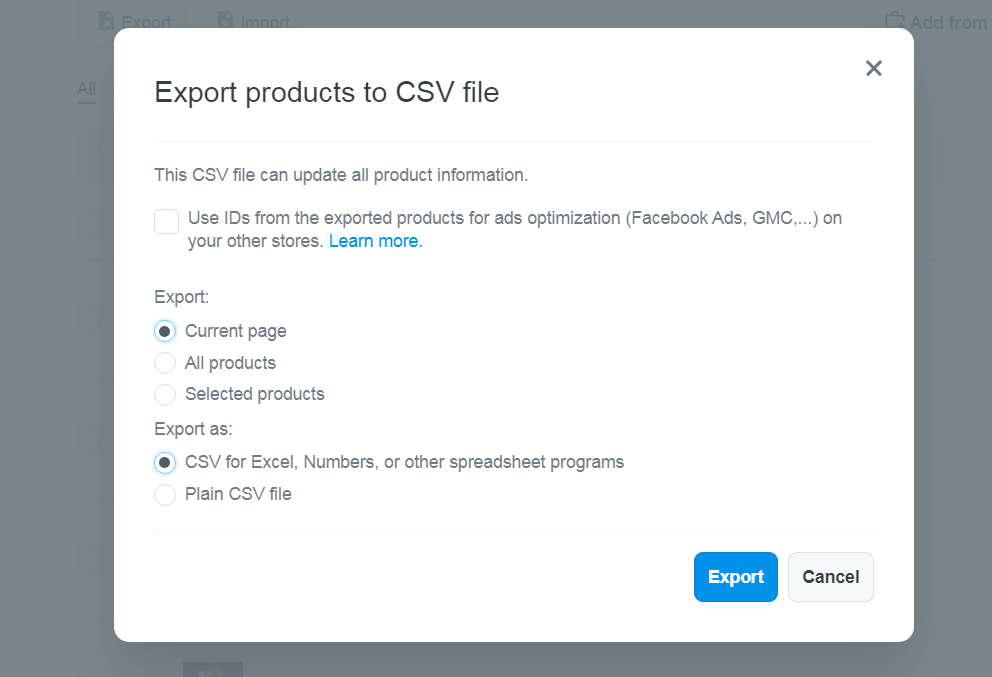
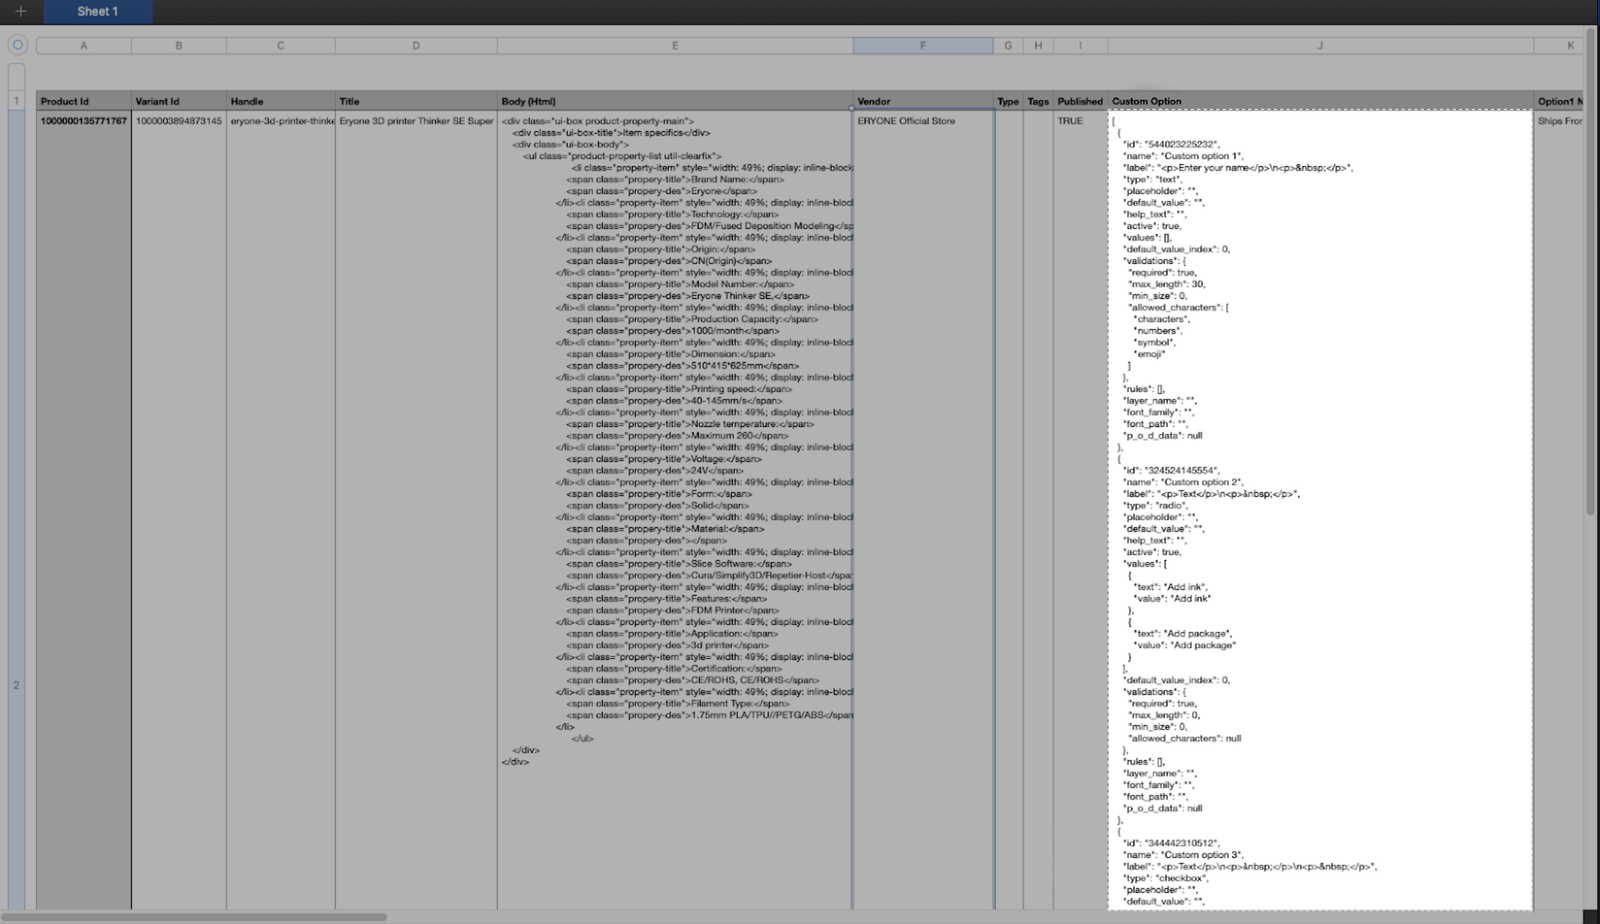
Click Export to finish and download the CSV file to your device. You can find the custom option code you want to copy in the Custom Options column corresponding to your product in JSON format. ShopBase recommends that you should not edit the content in this column to ensure it will function correctly when importing custom options to another product.
B. Import custom options to products
First, you need a CSV file with information of the product you want to customize.
Next, in this CSV file, copy the JSON code with custom options from original products (the code in step 3 section A) and paste it to Custom Options column of the product that needs adding custom options.

From ShopBase admin site, go to Products > All products and click Import.

In the Import products by CSV file window that pops up, click Choose file, select the CSV file to upload. You can check the box to select Overwrite any existing products that have the same product handle in order to overwrite the CSV file with any product in the store with the same link address. If you don't check Overwrite any existing products that have the same product handle:
In case the product in the CSV file has the same address associated with any other product in the store, the system will automatically skip that product, and do not enter information in the CSV file on the system.
In case the product in the CSV file does not match the address associated with any product in the store, the system will automatically create a new product with the same information as in the CSV file.
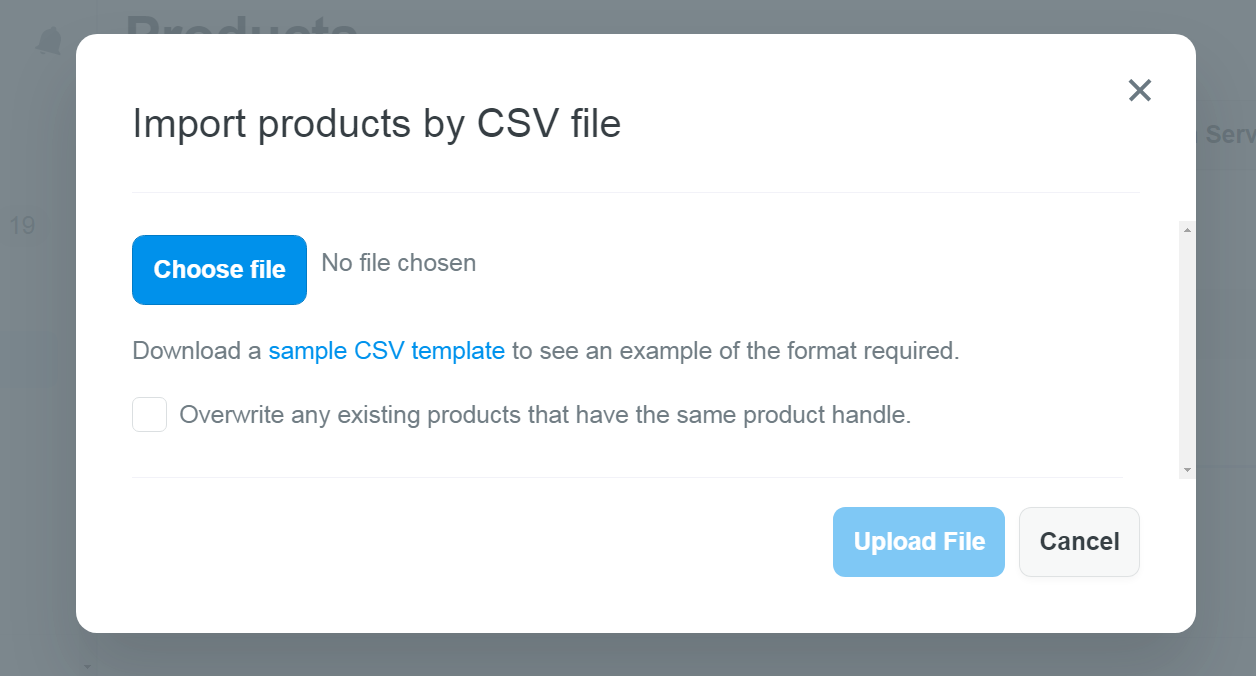
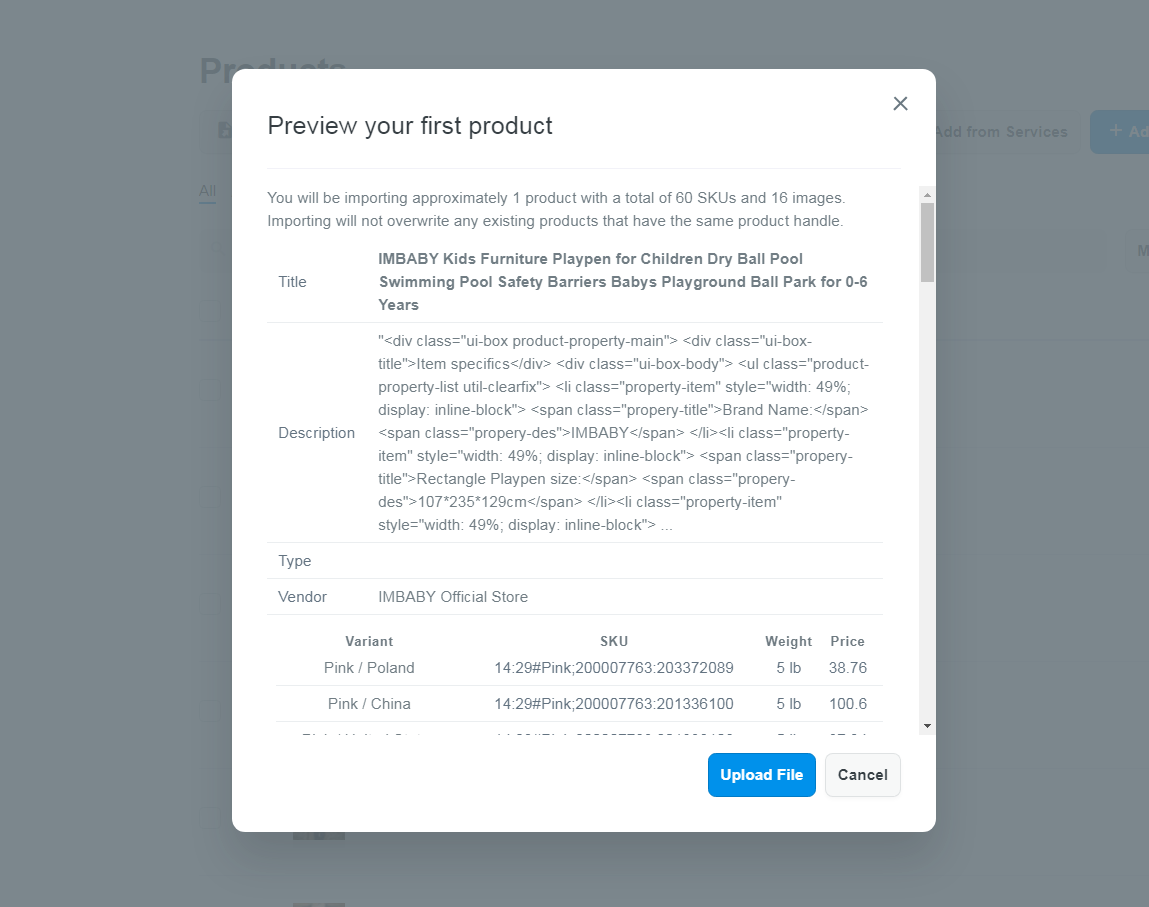
Click Upload file to start importing product information.
After importing product information successfully, product editing page in which custom options feature has just been created will appear in Custom options section that you created earlier.
Updated 8 months ago


