Create a personalized campaign with Custom Art
For some specific campaigns with complex designs such as this one with Van Gogh style painting of customer's pet, merchants need to edit different layers of personalization before fulfilling orders. This can be very difficult and time-consuming for merchants, especially when dealing with a large number of orders without a design team.

ShopBase (PrintHub), PrintBase, and PlusBase now have built-in features that allows merchants to create campaigns with Custom Art so that our design teams can assist merchants in re-designing the artwork. This can help merchants create campaigns with more appealing designs to attract more sales. In this article, we'll show you how to set up a campaigns with Custom Art and explain how it works.
In this article
A. Import campaigns with Custom Art from ShopBase sample library to your store
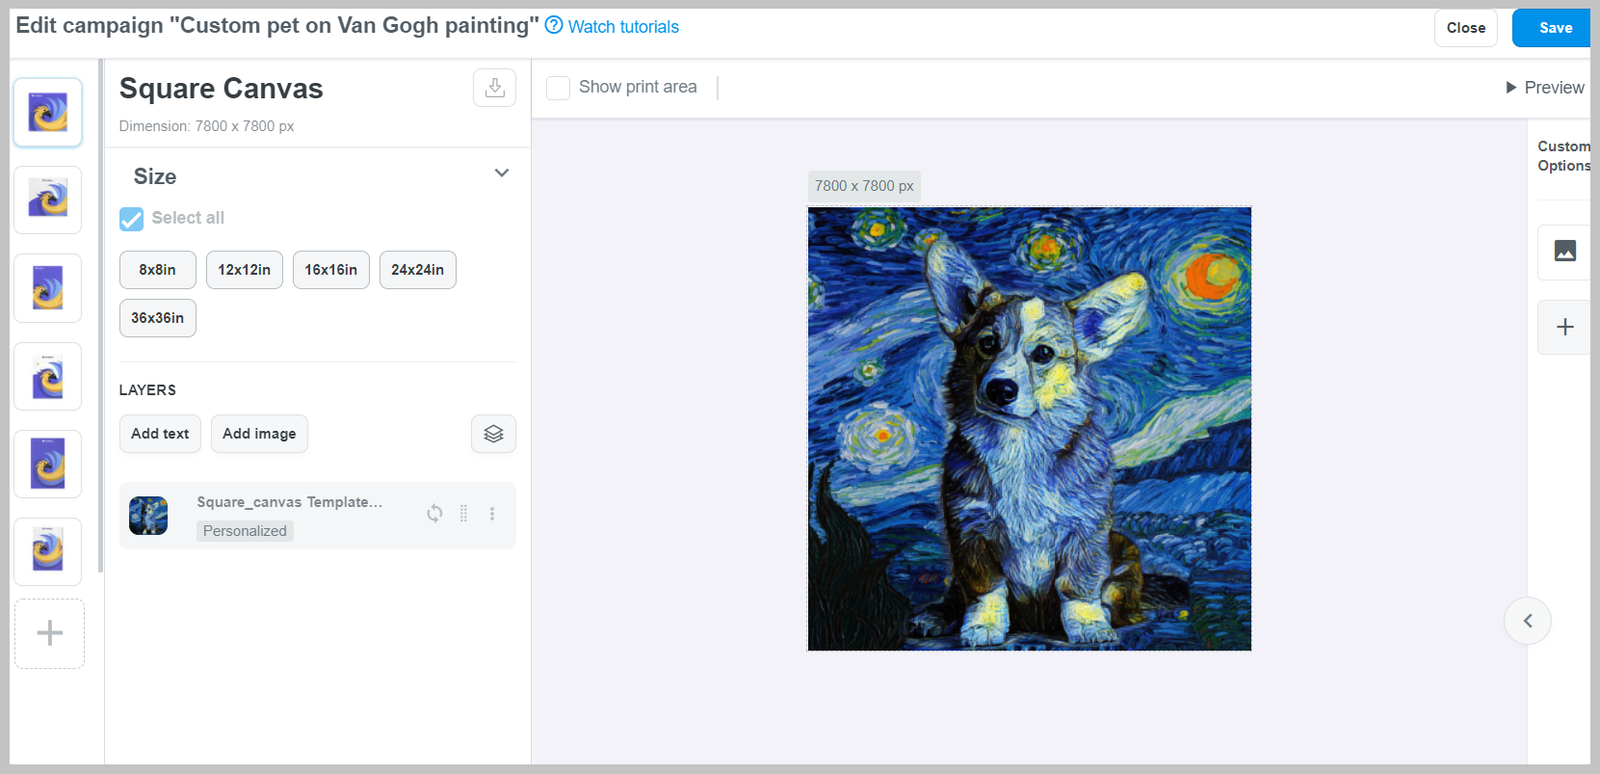
B. Edit a campaign with Custom Art from samples
C. Request Custom Art for your campaign
D. Edit details of Custom Art before launching
A. Import campaign with Custom Art from ShopBase sample library to your store
ShopBase (PrintHub), PrintBase, and PlusBase offer a variety of pre-designed sample campaigns that you can directly import into your store and sell on your online store.

If you are using ShopBase (PrintHub), from your ShopBase admin site, go to Apps > PrintHub > Library > Custom Art.

If you are using PlusBase, from your PlusBase admin site, go to POD products > Custom Art.


Click View demo to see how campaign with all photos and personalization features is displayed.


B. Edit a campaign with Custom Art from samples
You can also make changes to our pre-designed samples by following the steps below:

If you are using ShopBase (PrintHub), from your ShopBase admin site, go to Apps > PrintHub > Library > Custom Art.

If you are using PlusBase, from your PlusBase admin site, go to POD products > Custom Art.


Click View demo to see how campaign with all photos and personalization features is displayed.


Please refer to this article on how to edit your campaign's design.
In case you update a new design, please send us the design file in the Additional material section. We will carefully review the materials to make sure the campaign works well on your store.

C. Request Custom Art for your campaign
You can also request a Custom Art for campaigns that you create, or add more materials for design of campaigns edited from samples by following the steps below. By adding more guided materials of the campaign's design, you can help reducing the design time, and your order will be quickly fulfilled.
If you are editing campaigns from our samples and want to add more materials, please skip to step 3.


In this section, please enter as many details for the design as possible, such as your design file or Adobe Photoshop action file of your design process, to provide our design team with the intention of each material file. This will help avoiding confusion when re-designing, production delays, or even campaign refusal.

Supported file formats: .ATN (Adobe Photoshop action file), .PSD, .PNG, .JPG, .JPEG, .DOC, .DOCX, .PDF, and .TXT.
An .ATN file is built to record steps or actions in Photoshop, and then played back by our design team to automate those same steps or actions when designing. If you don't have an .ATN file, you can upload other image files with ready-made templates for our design team to easily follow.
You can write detailed explanations of the campaign's concept and design instructions to our design team in text files (.DOC,.PDF, and .TXT).


D. Edit details of campaigns with Custom Art before launching


Please visit this article for a guide on different campaign statuses.
To ensure seamless operation of your stores, a quota will be set for campaigns created, duplicated and bulk duplicated daily on a store. Please refer to this article for more information.
The Personalization Preview mode is NOT available for campaigns with Custom Art.