Insert product image in CSV file for fulfillment
This article will show you how to convert product images from product image links in CSV files to make order fulfillment more time-efficient and accurate. When processing numerous orders at the same time, instead of having to open each order detail page in your ShopBase admin to view images of the products or product variants, by inserting product images in the CSV file, you can check accurate product information more quickly and conveniently.
In this article
A. Export your orders with Line item image link in CSV format
B. Convert image URLs link to actual images
A. Export your orders with Line item image link in CSV format


+ button corresponding to the information fields. After being selected, these fields will be displayed in the Fields To Export column as shown below.
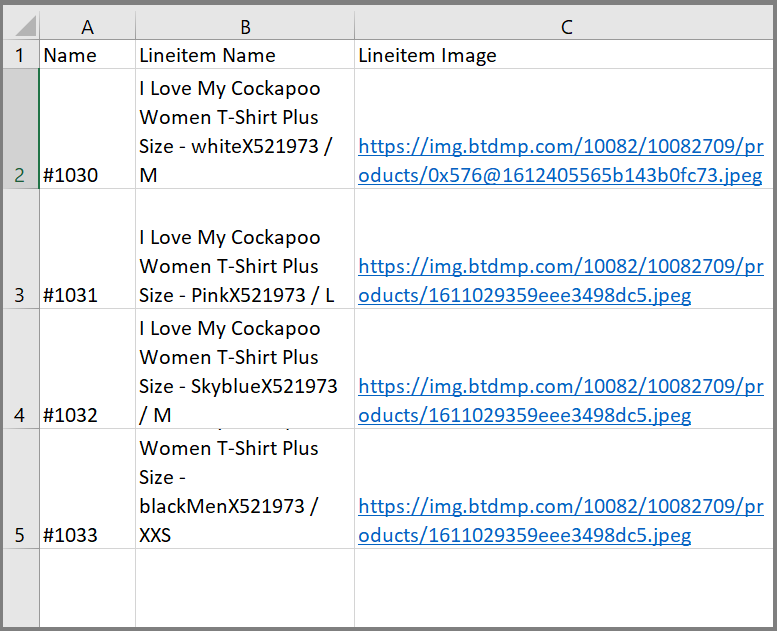
Please double-check to ensure the information fields in each column are clearly separated to avoid errors when converting from product image links to product images.
B. Convert image URLs link to actual images


The Devloper tab will display on Microsoft Excel as below.


Sub URLPictureInsert()
Rows("2:7").RowHeight = 60
Dim Pshp As Shape
Dim xRg As Range
Dim xCol As Long
On Error Resume Next
Application.ScreenUpdating = False
Set Rng = ActiveSheet.Range("C2:C7")
For Each cell In Rng
filenam = cell
ActiveSheet.Pictures.Insert(filenam).Select
Set Pshp = Selection.ShapeRange.Item(1)
If Pshp Is Nothing Then GoTo lab
xCol = cell.Column + 1
Set xRg = Cells(cell.Row, xCol)
With Pshp
.LockAspectRatio = msoFalse
If .Width > xRg.Width Then .Width = xRg.Width * 2 / 3
If .Height > xRg.Height Then .Height = xRg.Height * 2 / 3
.Top = xRg.Top + (xRg.Height - .Height) / 2
.Left = xRg.Left + (xRg.Width - .Width) / 2
End With
lab:
Set Pshp = Nothing
Range("A2").Select
Next
Application.ScreenUpdating = True
End Sub
In the code above, you can customize the values the Rows ("2: 7") to define the scope of all product information lines in the CSV file (in this example, lines 2 through 7), RowHeight = 60 to resize the row height in the CSV file (in this example, 60 pixels), and ActiveSheet.Range ("C2: C7") to define the range that contains product image links (in this example, from cell C2 to C7).
With this code, you can not specify the size of the extracted images.
The code above can only extract the images into the cells in the right column of the Lineitem Image column. You cannot specify which cells should be used to generate the images.


Please allow some time for the code to complete. This will depend on the number of rows in the file. A 650-line file takes about 10 minutes to process.
Save your file in.xlsx format to ensure that it works properly when sent to others.
Then, all the images converted from the product image links will be immediately displayed in the right column of the Lineitem Image column corresponding to each product as shown below:
