This article shows you how to build Menu with Website Builder to create a clear navigation to your store.
In this article
B. Set up menu items and sub menu items
A. Create a menu
Click the + icon on the toolbar or use the shortcut Cmd + I (on macOS), Ctrl + I (on Windows) > Search block Menu > Drag and drop the block to the desired position.
B. Set up menu items and sub menu items
Set menu items and submenu items:
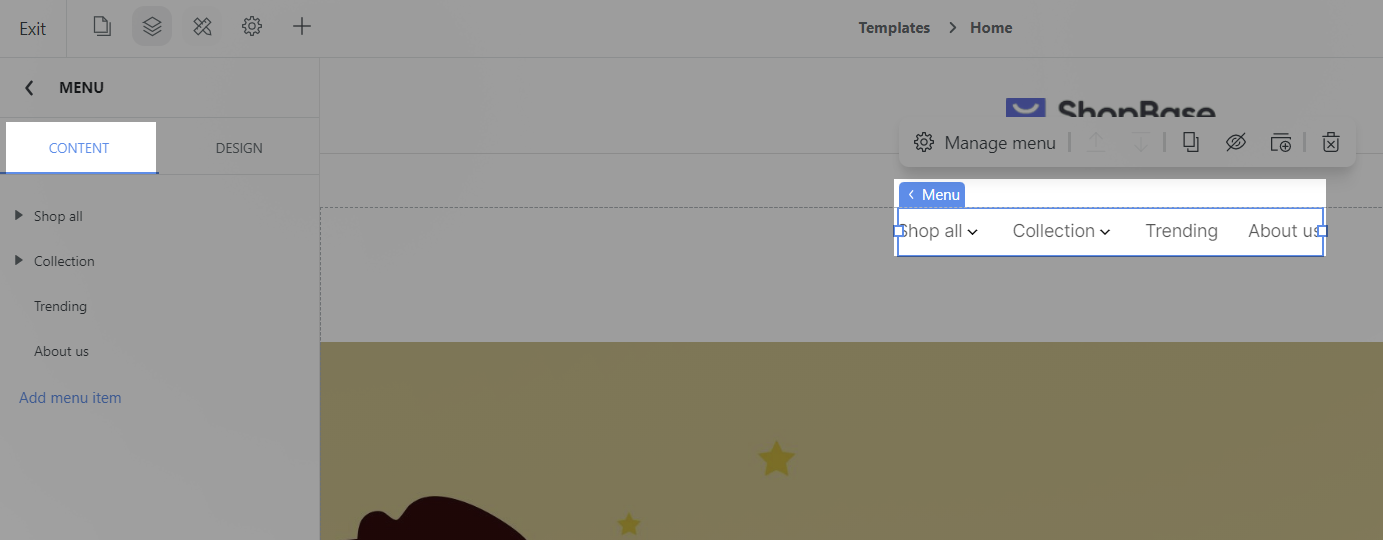
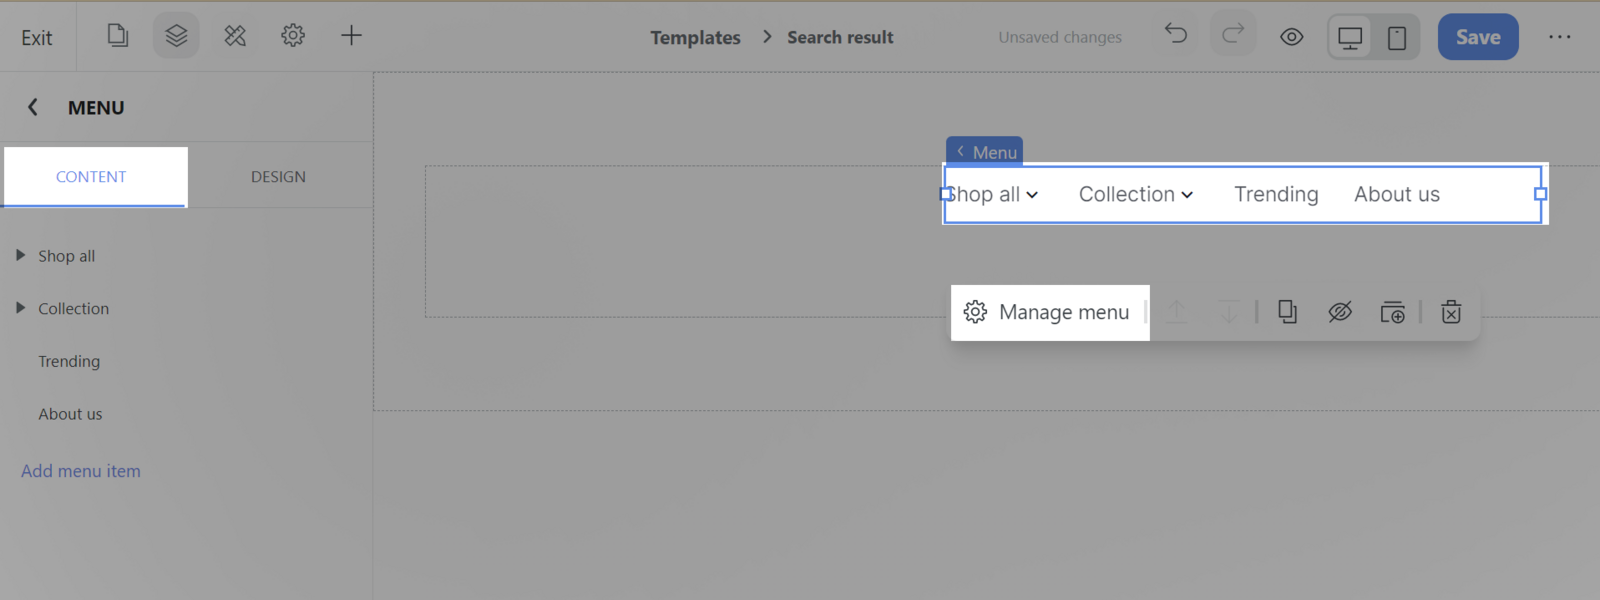
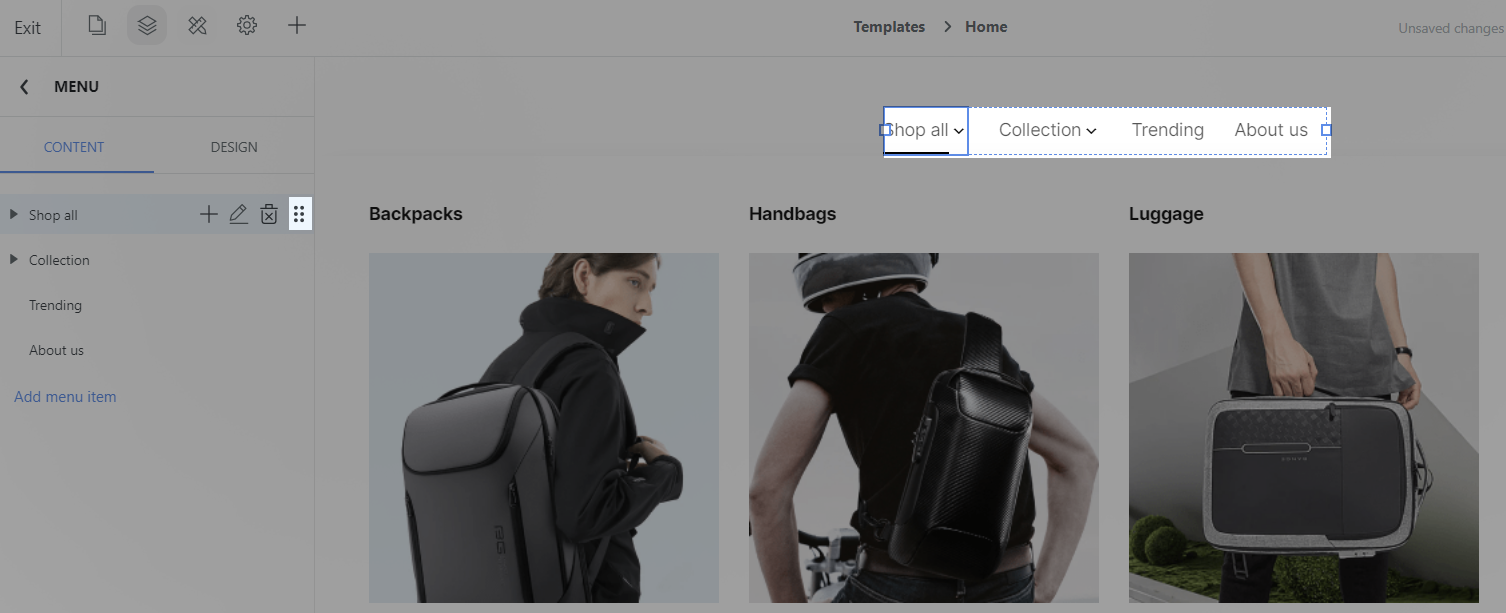
Click on Menu block > Content tab or Click on Menu block > Manage menu > Content tab.
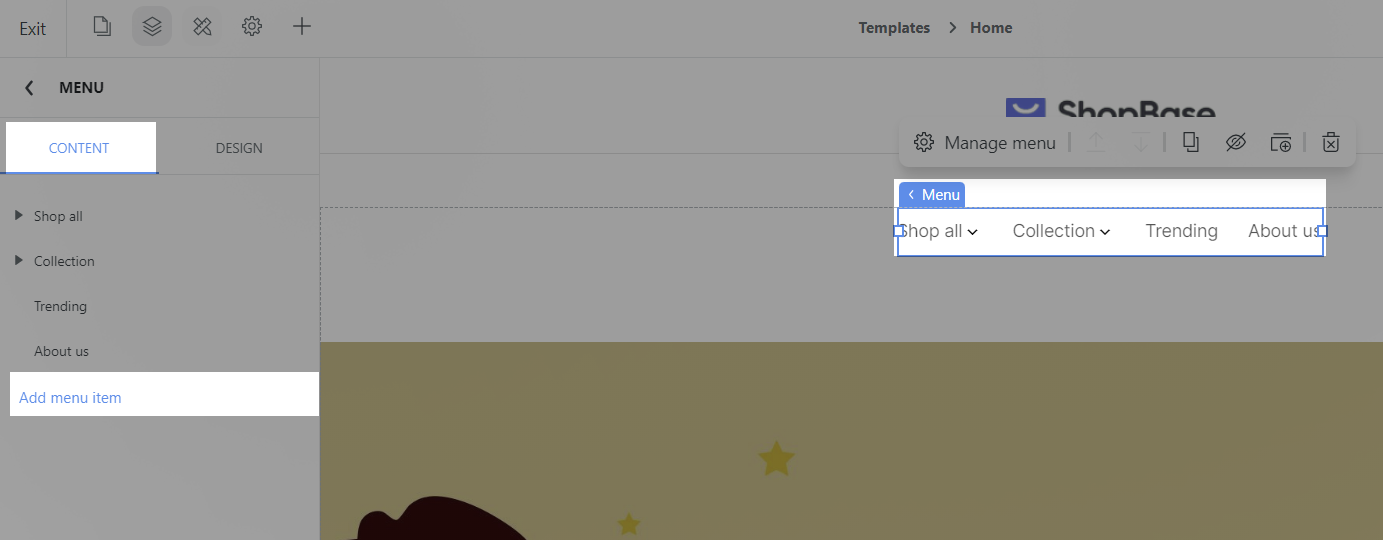
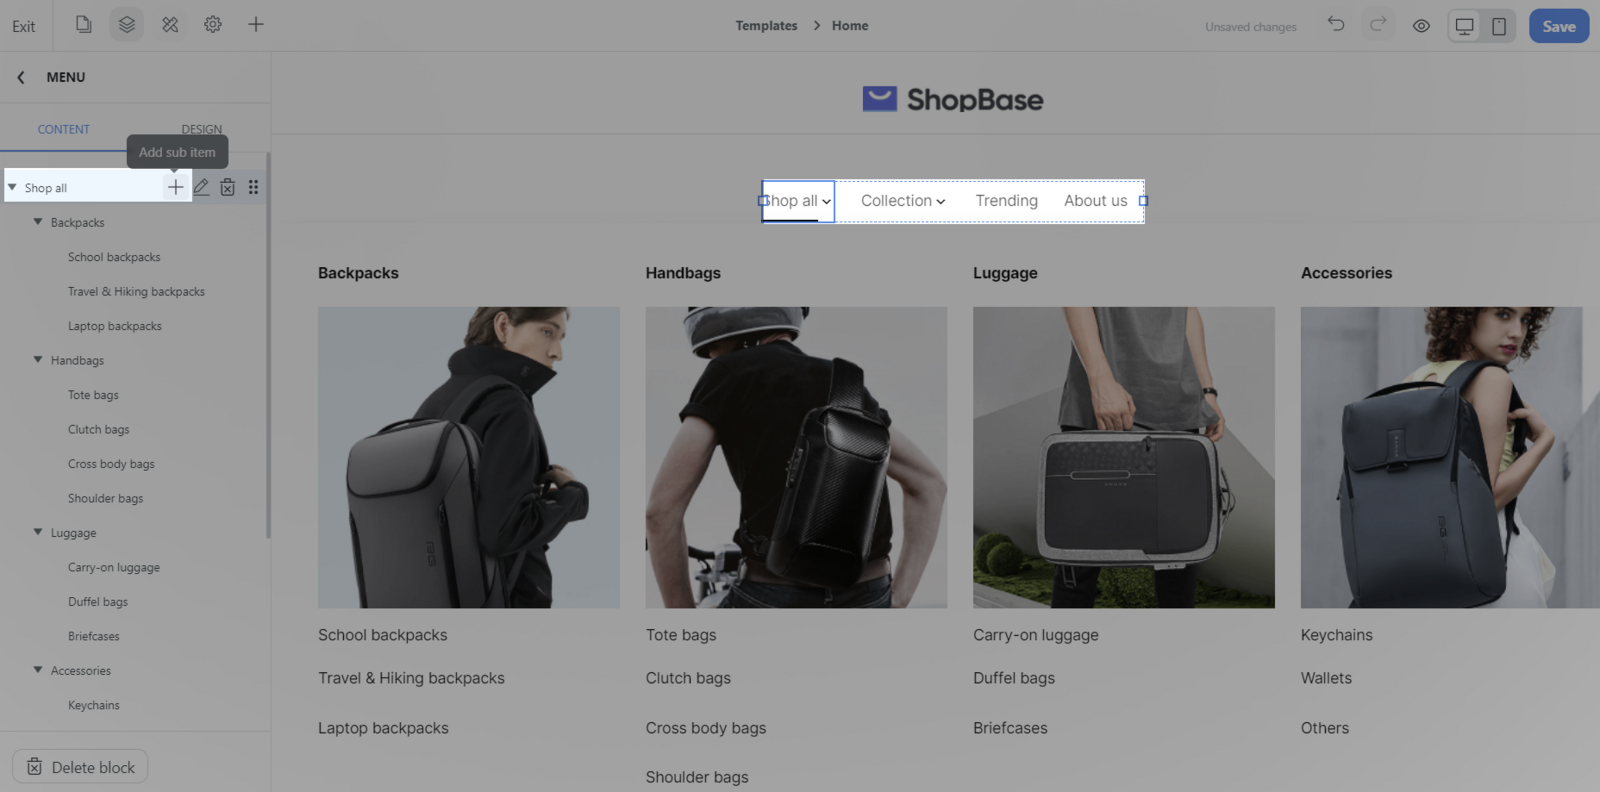
Click Add menu item to add menu item.
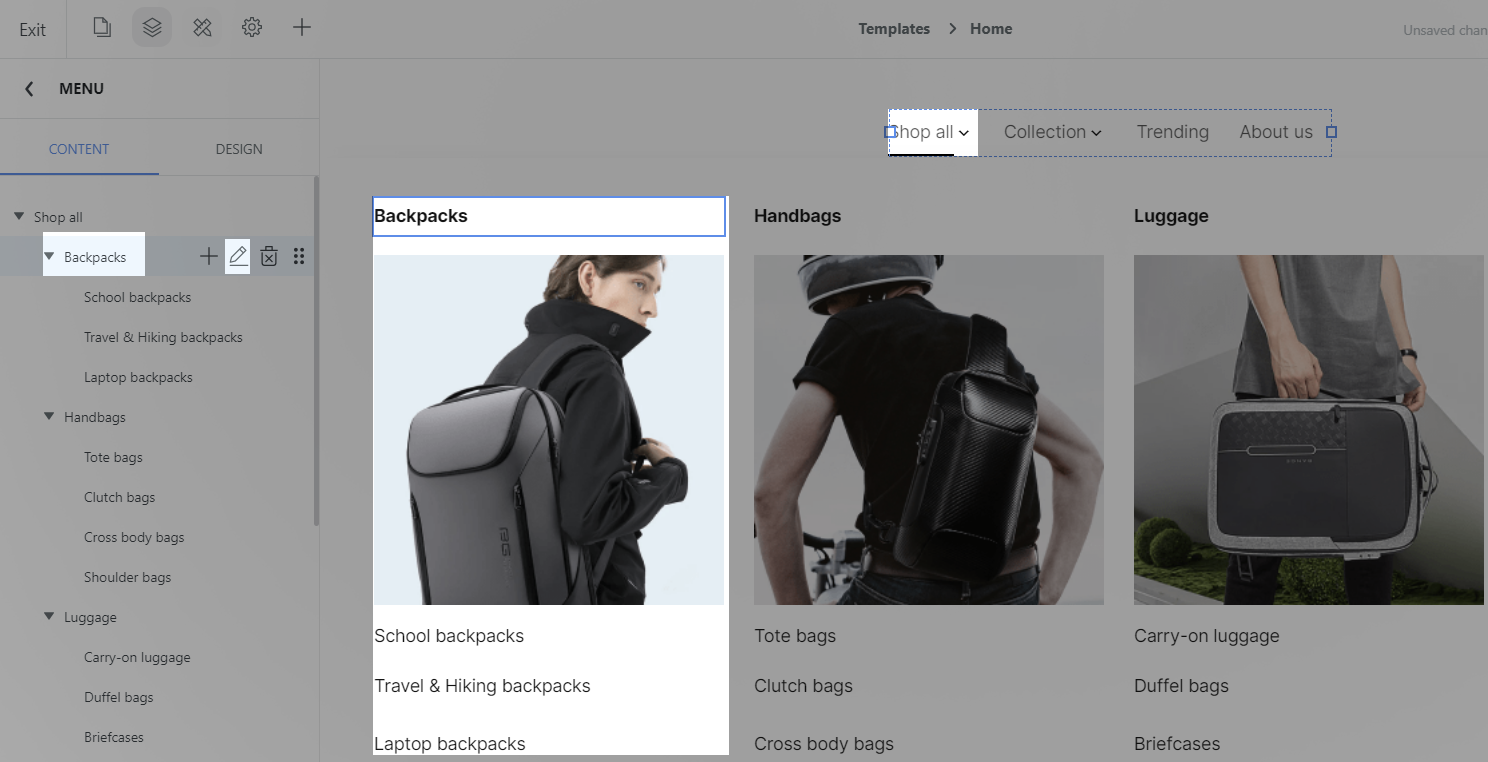
Add sub item: Hover to menu item and you can add sub menu item. In each sub item can add 1 more sub item level.
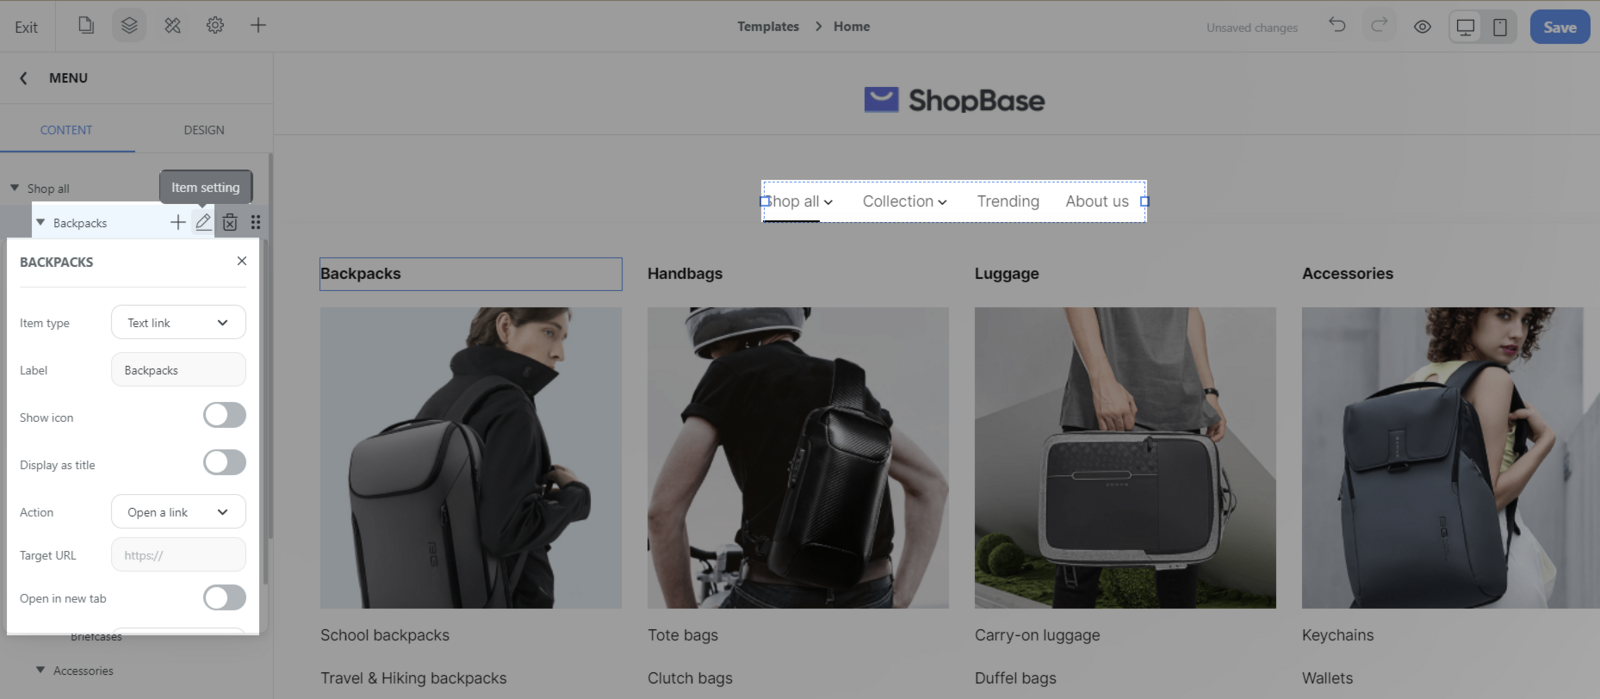
Item setting: Hover on sub item and click Item setting to edit setting of sub menu item.
Item settings: Hover on a menu item on the Content tab and click Item setting to edit the settings of a menu item. The web front preview menu will also open for the merchant to see the changes.
In Badge setting, if you set the value to Color 1, Color 2, Color 3, the color of the badge will follow the corresponding color in the website style. After choosing the color, you need to enter the badge label, the new badge will be displayed.

Remove item: You can remove menu items, submenu items if needed.
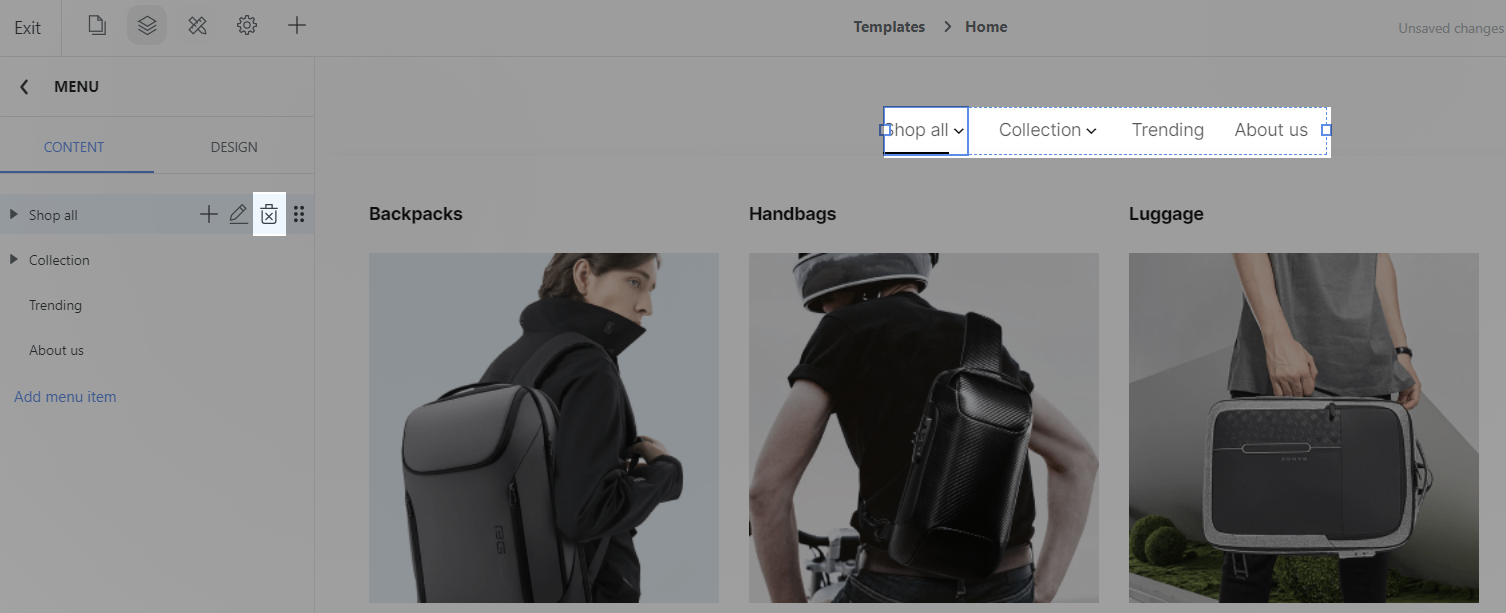
Drag: You can drag icon to adjust the position of menu, submenu items.
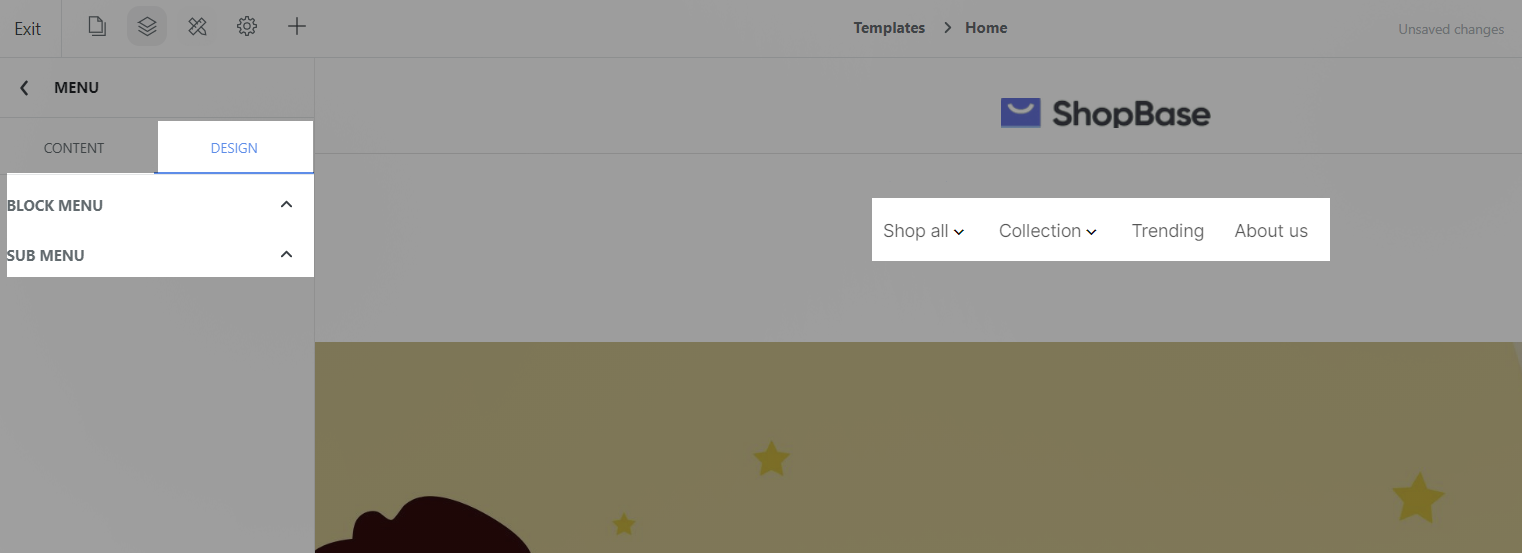
Set up Menu design:
Select Menu > Design tab, this area is divided into 2 parts: Block menu and Sub menu.
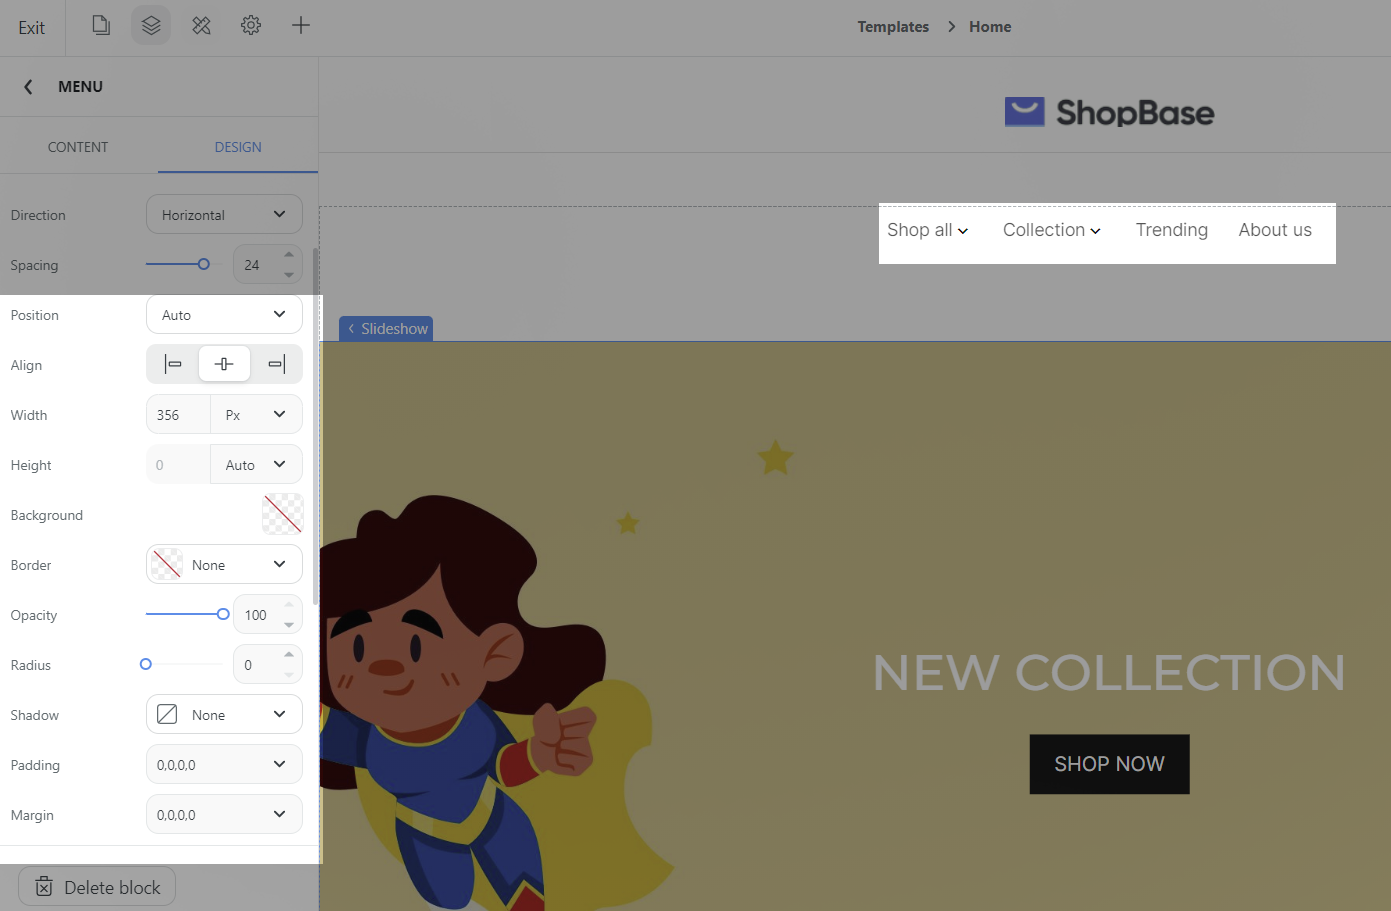
Setting of the Block menu includes:
Text: text color.

Direction: Direction of menu items, this could be Horizontal or Vertical.

Spacing: Spacing between menu items.

Other settings: Please visit this article to understand more about common settings.
Setting of the sub menu includes
Text and Background: Text and background color in submenu.

Spacing: Spacing between submenu items.
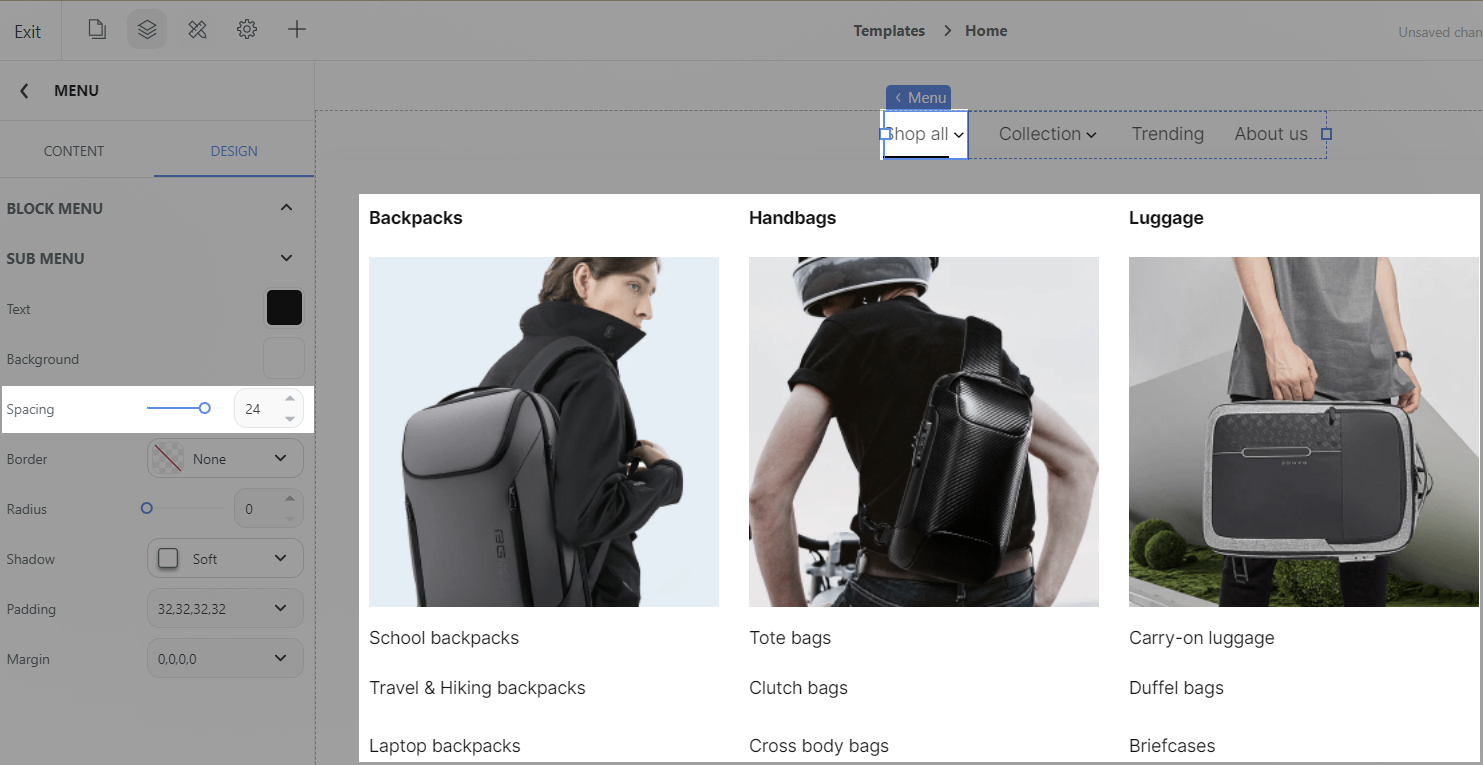
Other settings: Please visit this article to understand more about common settings.
