Create layer group and use it in personalization
When creating new campaign using our Editor, you can combine layers into different groups so that:
In this article, we will show you how to create layer group in just a few easy steps.
In this article
A. How to create a layer group
B. Use layer group to create personalized campaign with multiple design versions
A. How to create a layer group


B. Use layer group to create personalized campaign with multiple design versions
An artwork for your campaign can have multiple design versions. By creating different design versions of your artwork, you can offer a more diverse selection to your customers when shopping on your store.
For example, you can create a campaign that allows your customers to select the number of pets (1, 2, or 3) to print on the product. To do so, you need to create 3 design versions of this campaign's artwork: One version with 1 pet, one with 2 pets, and one with 3 pets.
Example of campaign with multiple design versions.
Step by Step Tutorial
This is a general guide to creating a campaign with multiple design versions. You can refer to this article for detailed step-by-step instructions on creating a campaign with multiple design versions of pets using our resource package along with a demo campaign.
Step 1: Prepare your design

You can utilize the Duplicate button to quickly create layer groups.
To show or hide a group layer, use the eye icon. This allows you to see how the layers of a group are displayed on the design.
Step 2: Synchronize the layer groups to all base products
In case your campaign includes multiple base products, you can sync all layer groups so that they appear in all base products.
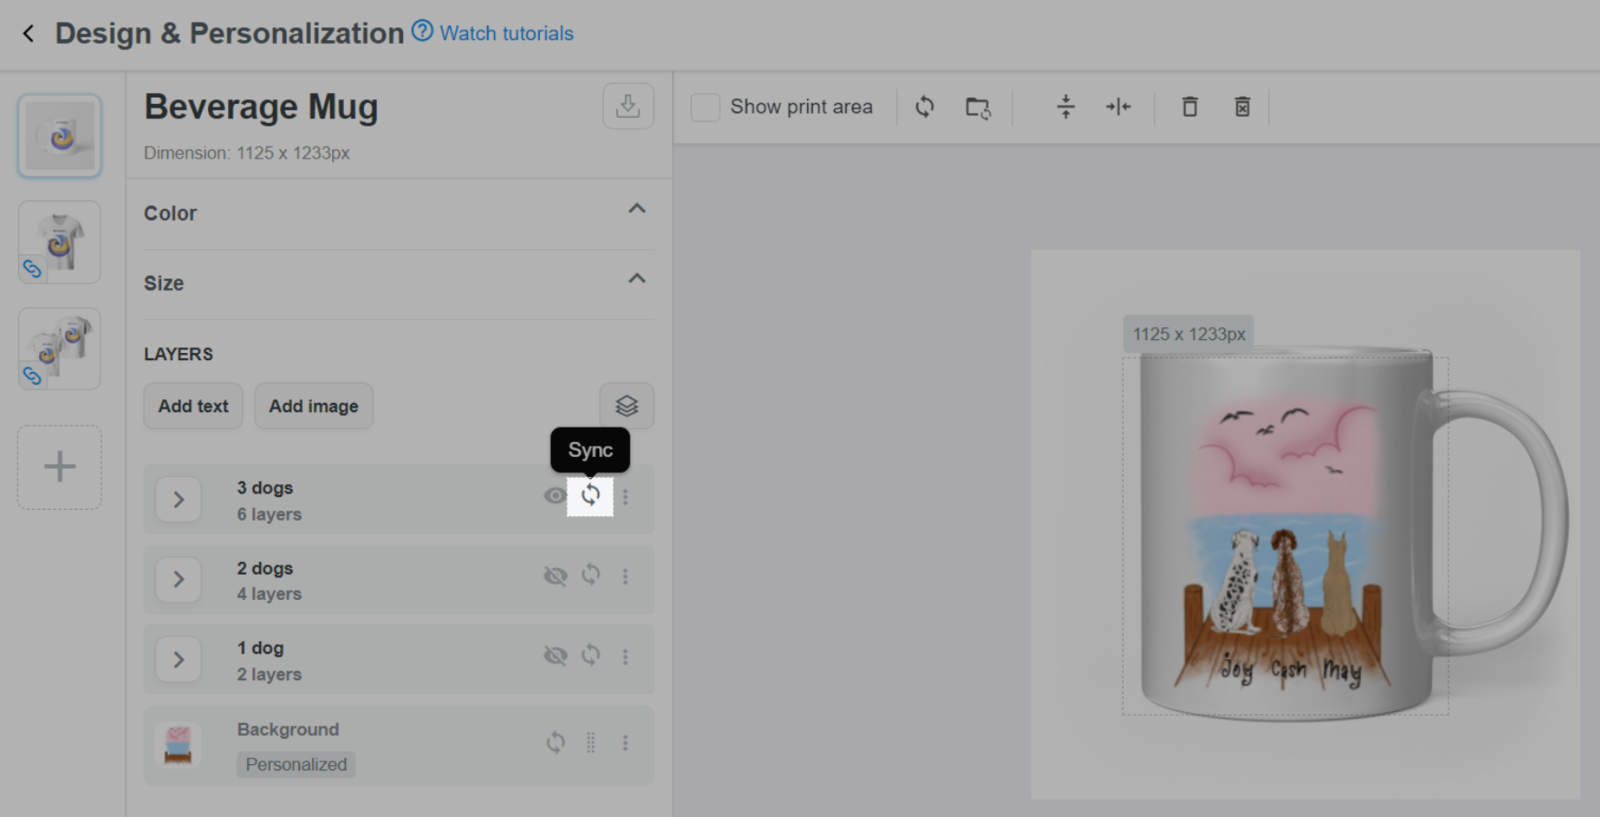
For 2D products of the same campaign, layers will be automatically synchronized with the same content, quantity, and sorting order. They will share a Link button as in the photo below. Please refer to this article for more information.

You only need to sync layer groups that are used for your customers to choose the design version. You can set up custom options for these groups in step 3.
Once a group is synced, any changes to the group (such as renaming, adding/removing layers, deleting, and so on) will be updated to all base products that this group is synced to.
Step 3: Create custom options to customize layer groups
This will help your customers select which design version they want for their product.
< button in Custom Options section.


The selected layer group will be automatically displayed on the product's mockup, even if it is hidden in the layer list.

Step 4: Create custom options for other layers
You can create custom options for each artwork layer by following the instructions in this article.

You can create custom options for a layer in or out of a group as you see fit.
Custom options can be reordered, but keep in mind that custom options for layers in a group must be placed under the custom options used to customize that layer group.
If there are layers that serve the same purpose in different layer groups, you can give them the same name, or select all of them as the target layers when creating custom options so that the custom option can be applied.