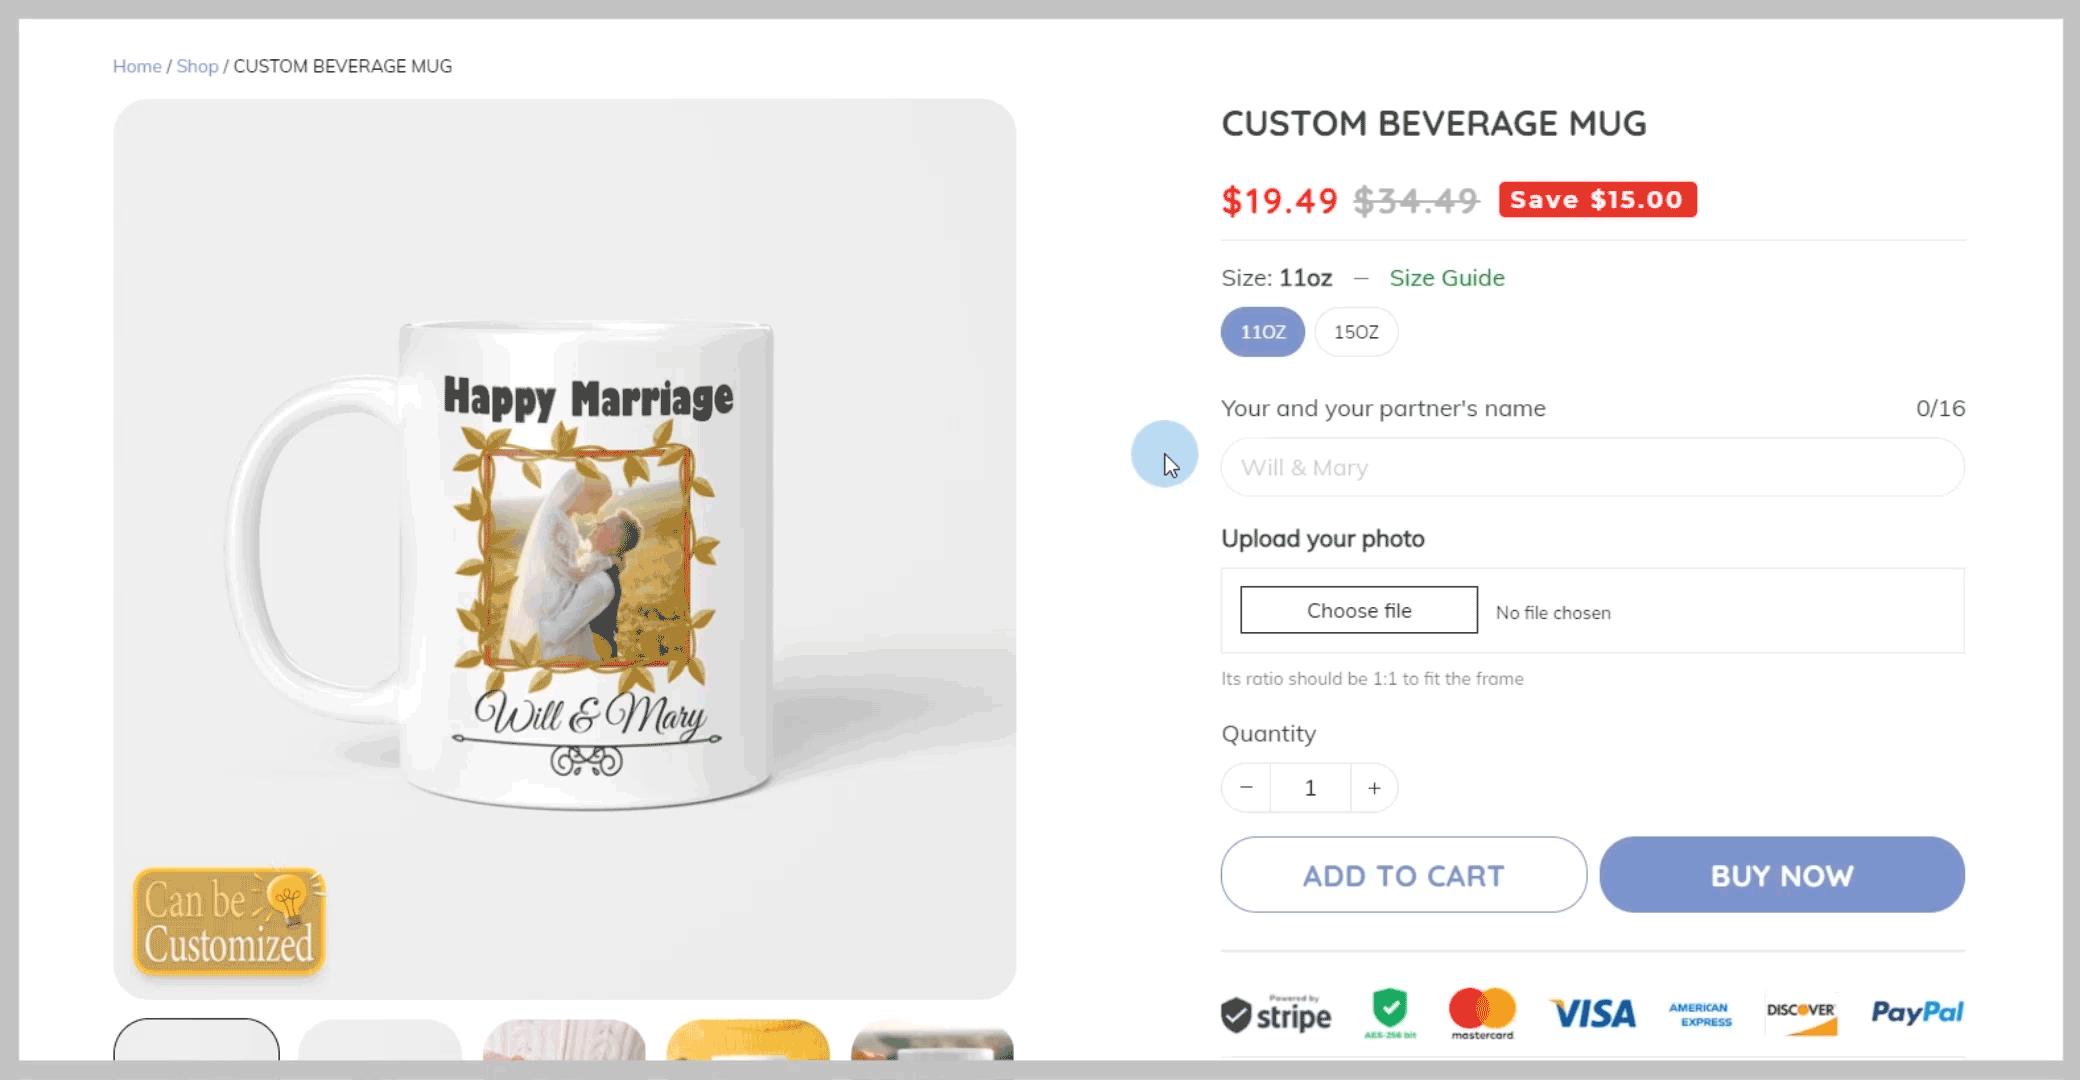
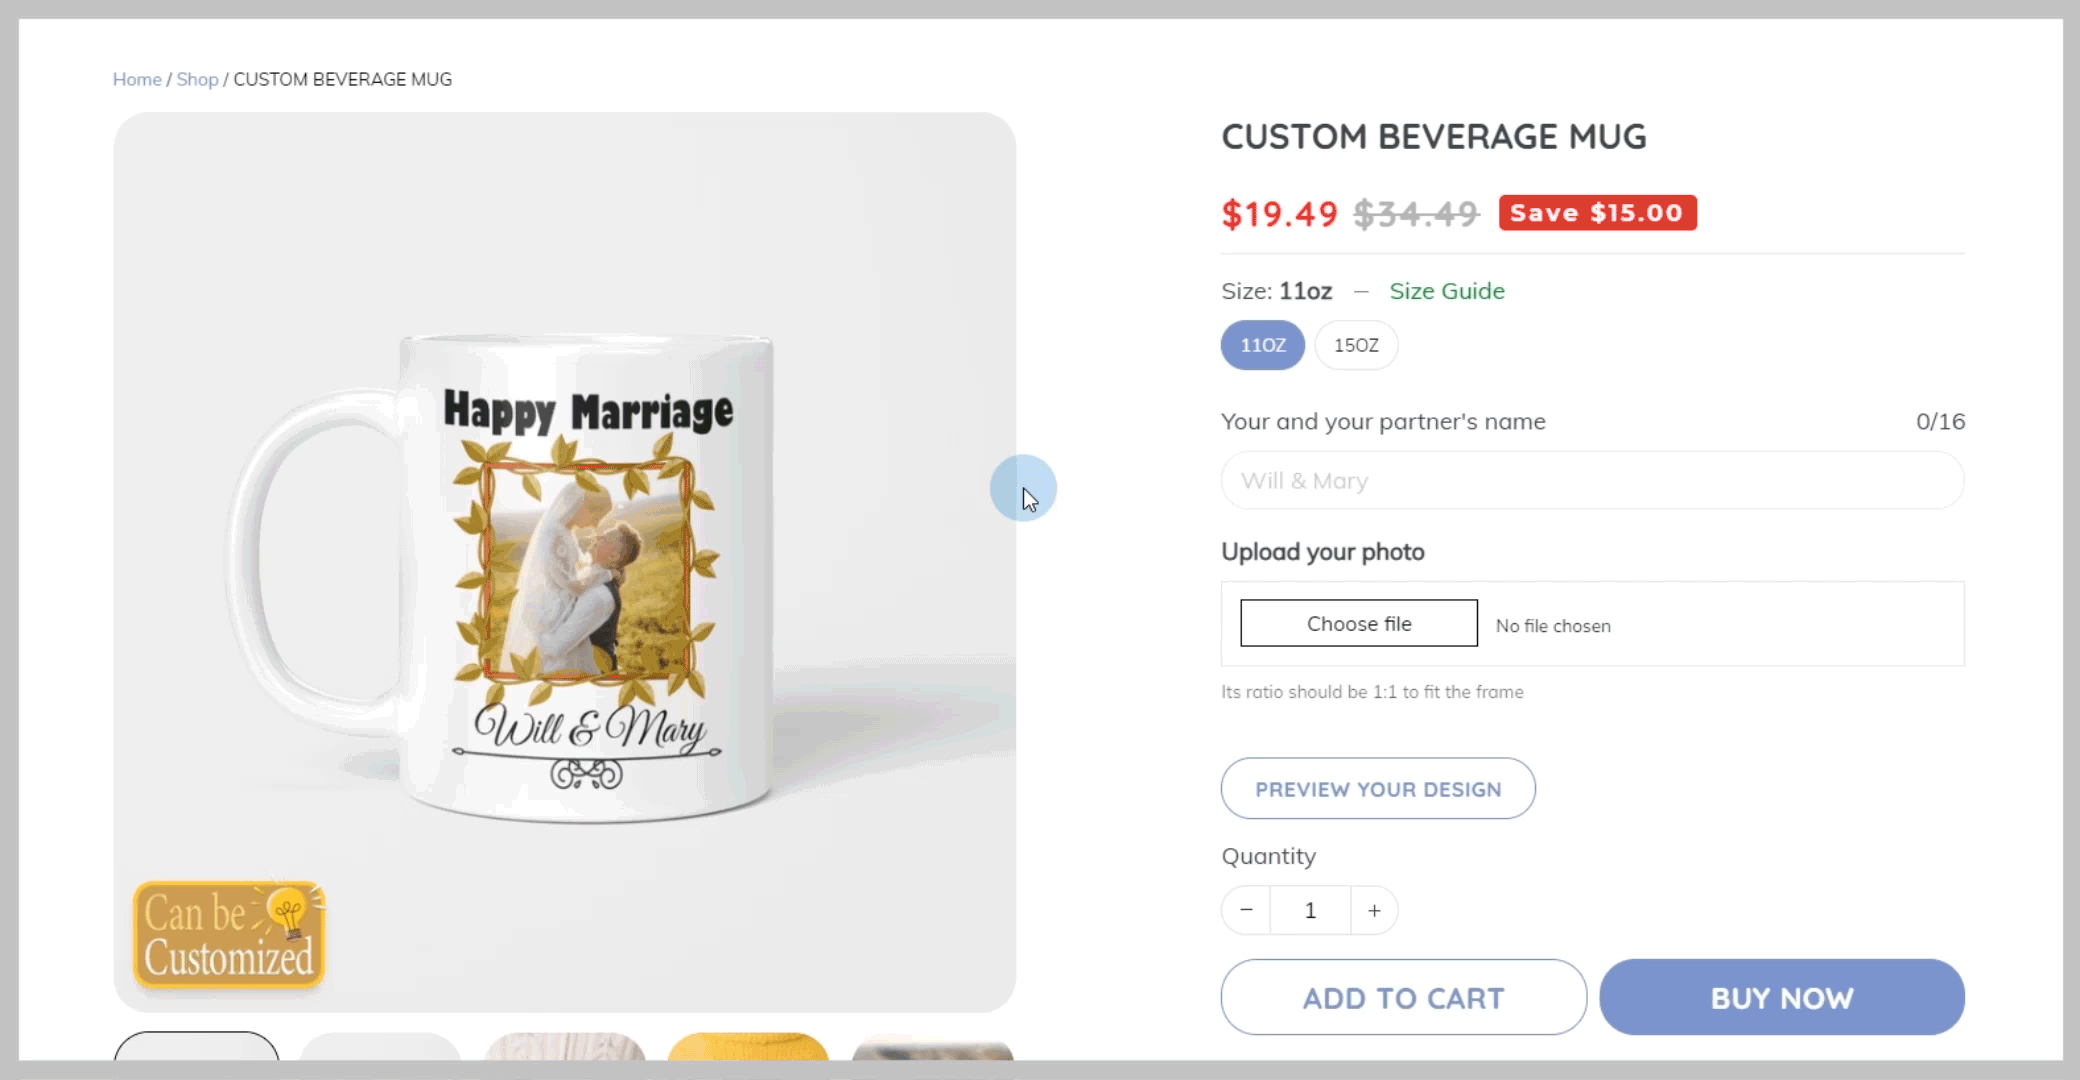
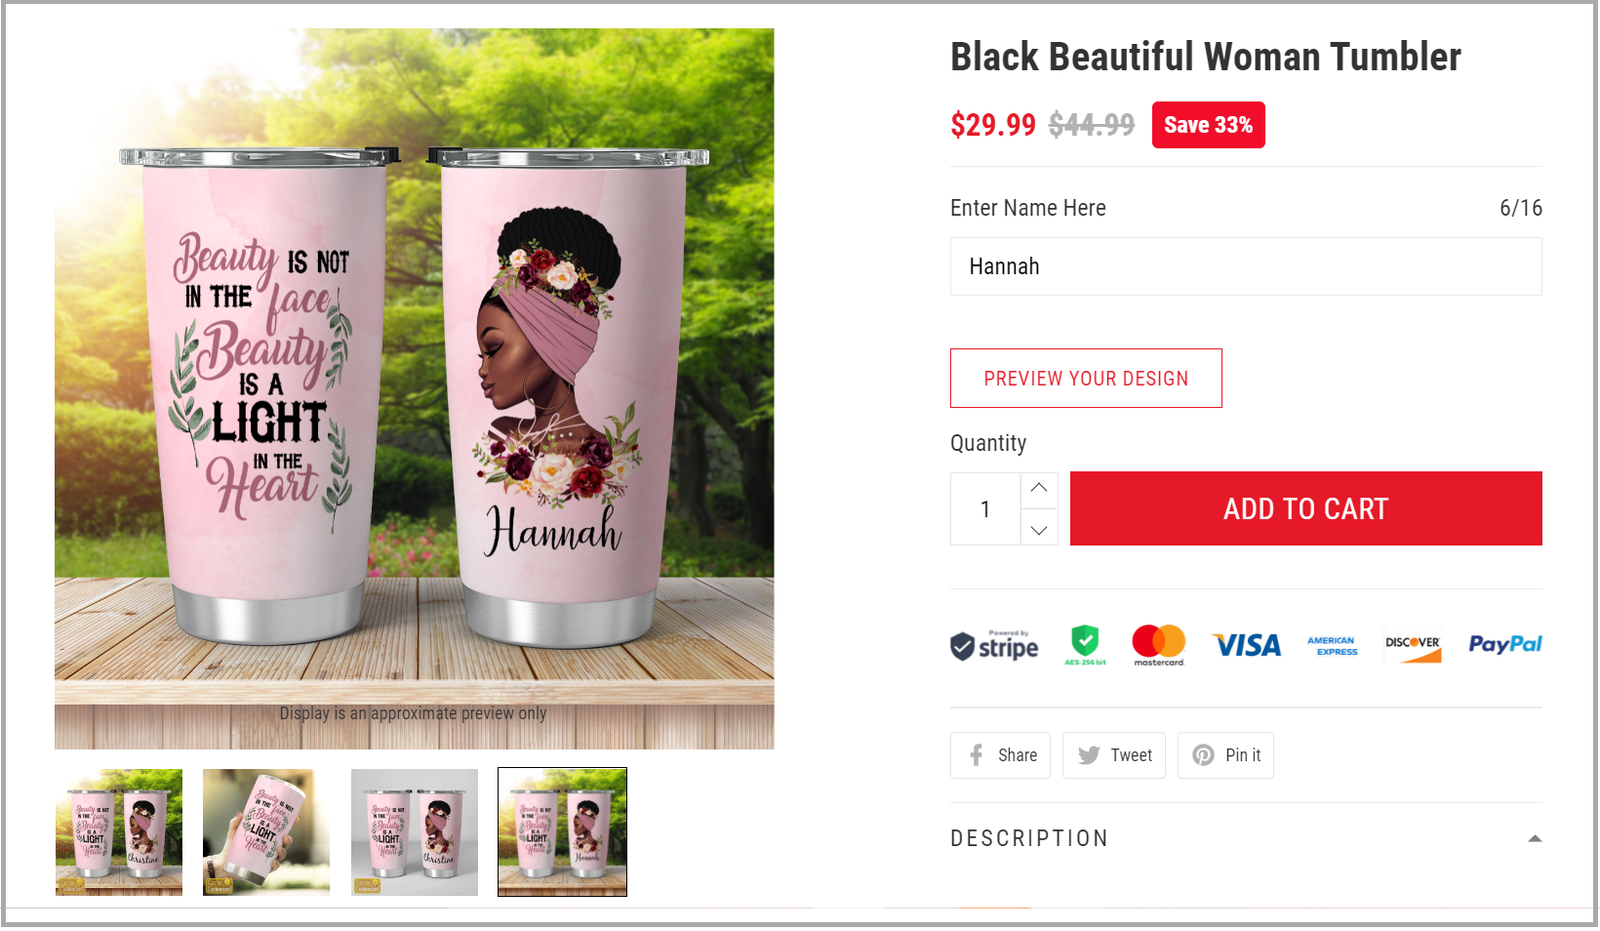
For products with personalization, preview setting will help customers visualize how changes will be reflected on the actual product. This will encourage customers to buy more products, helping to increase conversion rates for the store. In this article, we'll walk you through setting up previews for products with personalization.
In this article
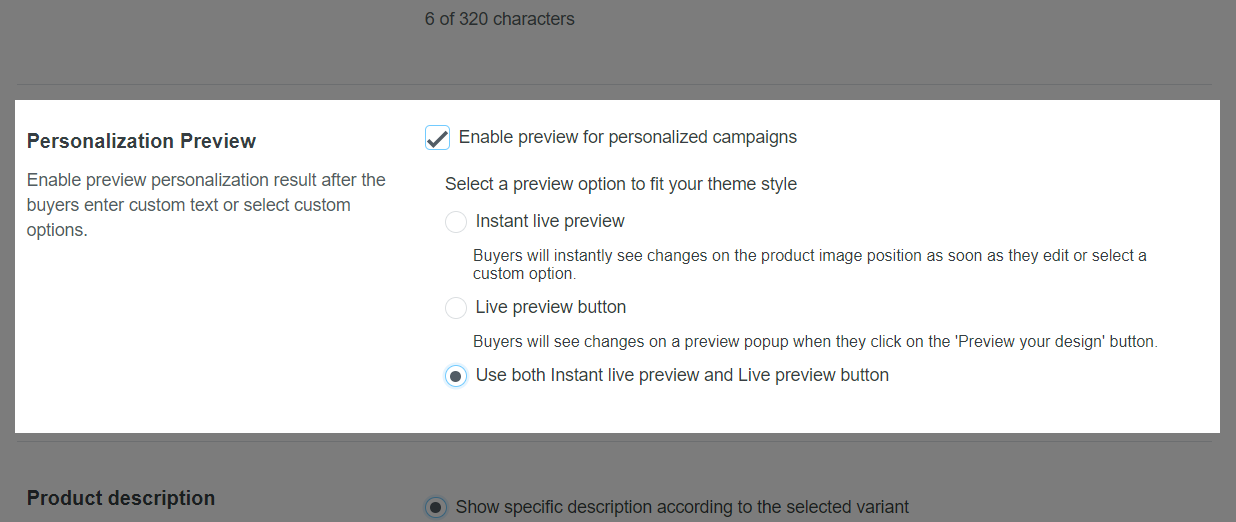
A. Modes of personalization preview
B. Set up personalization preview mode
C. Enable preview for each campaign
D. Notice for preview of personalized campaigns
A. Modes of personalization preview
There are two modes of personalization preview for products with personalization features:
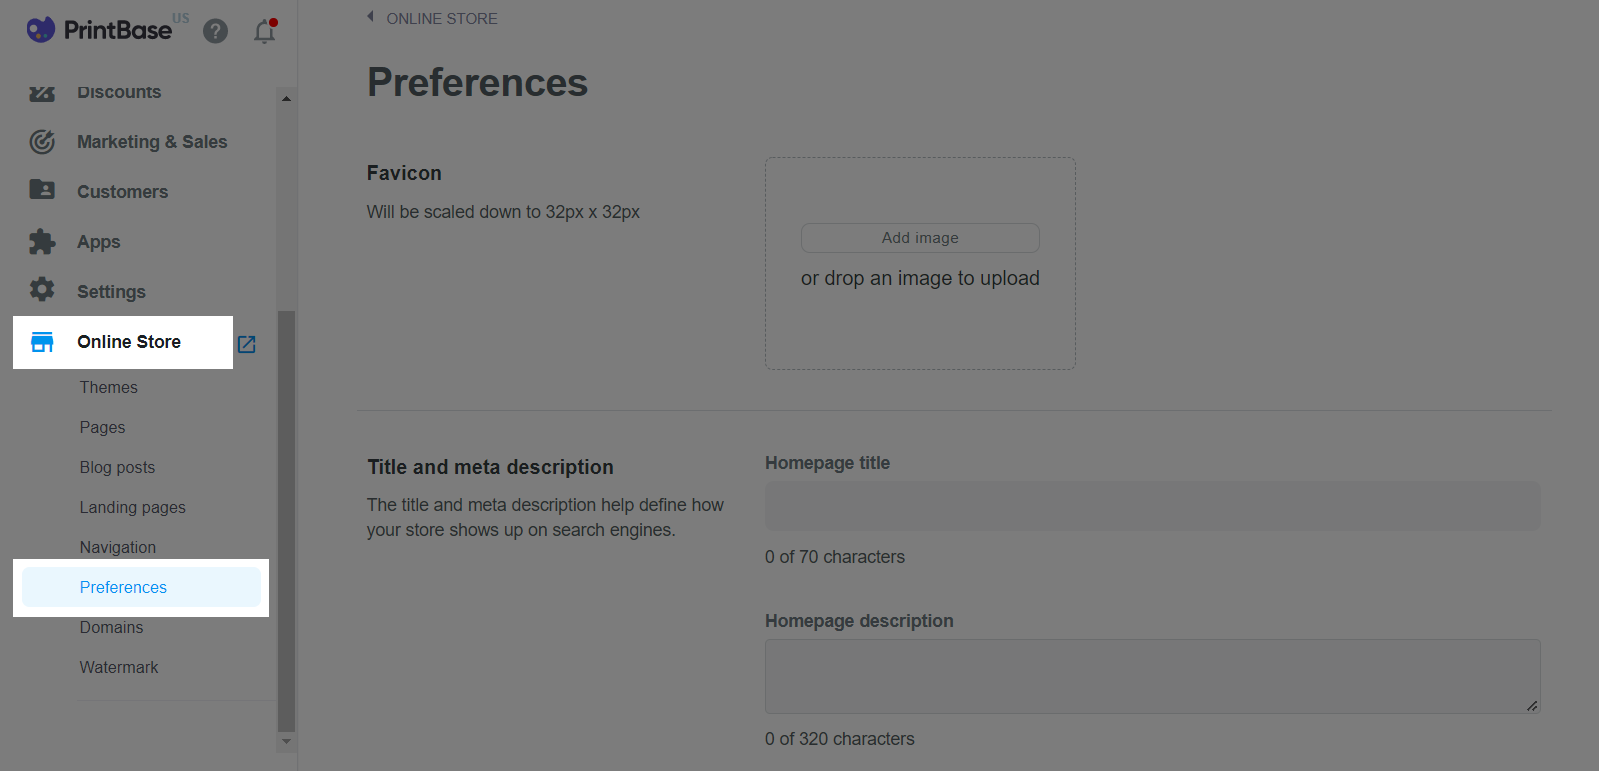
B. Set up personalization preview mode
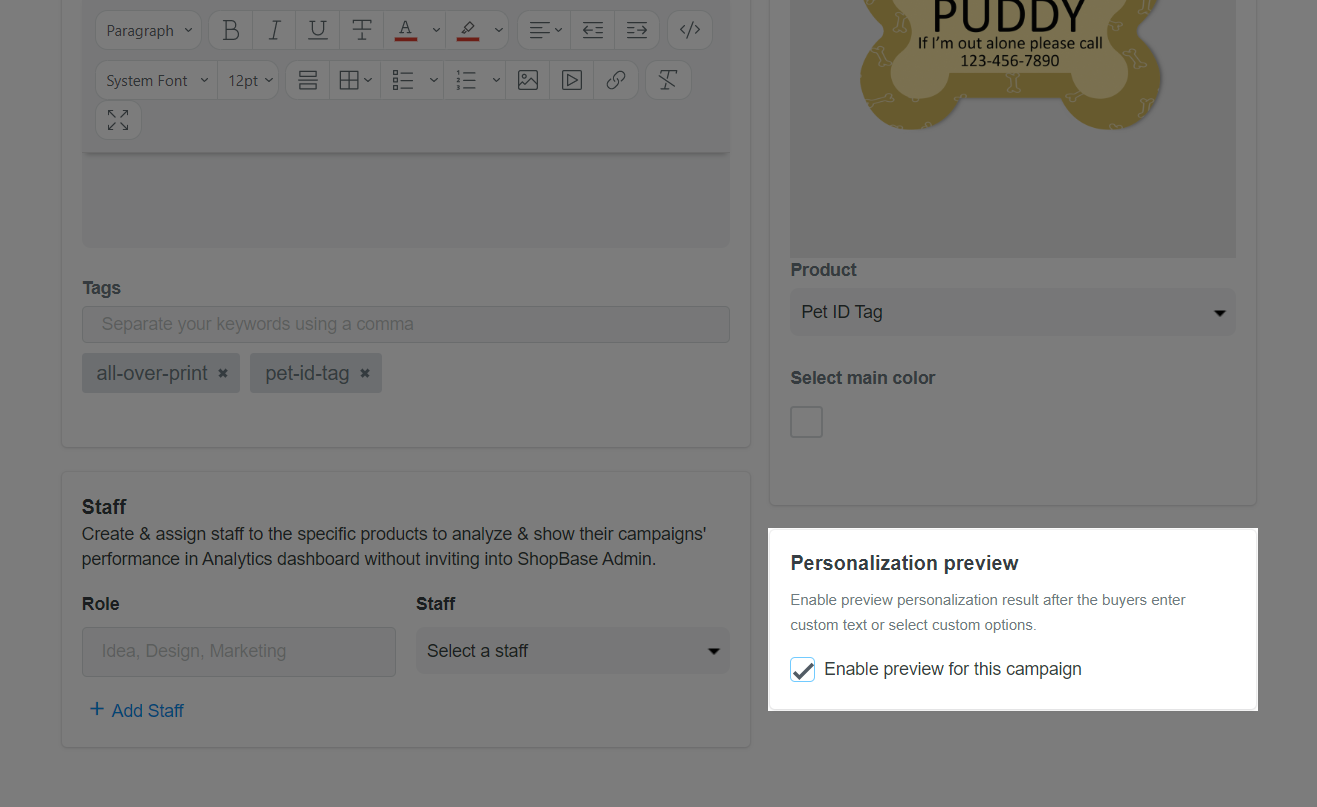
C. Enable preview for each campaign
You can enable and disable the personalization preview mode for each campaign on your store in 2 ways.
1. When launching a new campaign
This option is enabled by default when creating a new campaign.
2. When editing an existing campaign
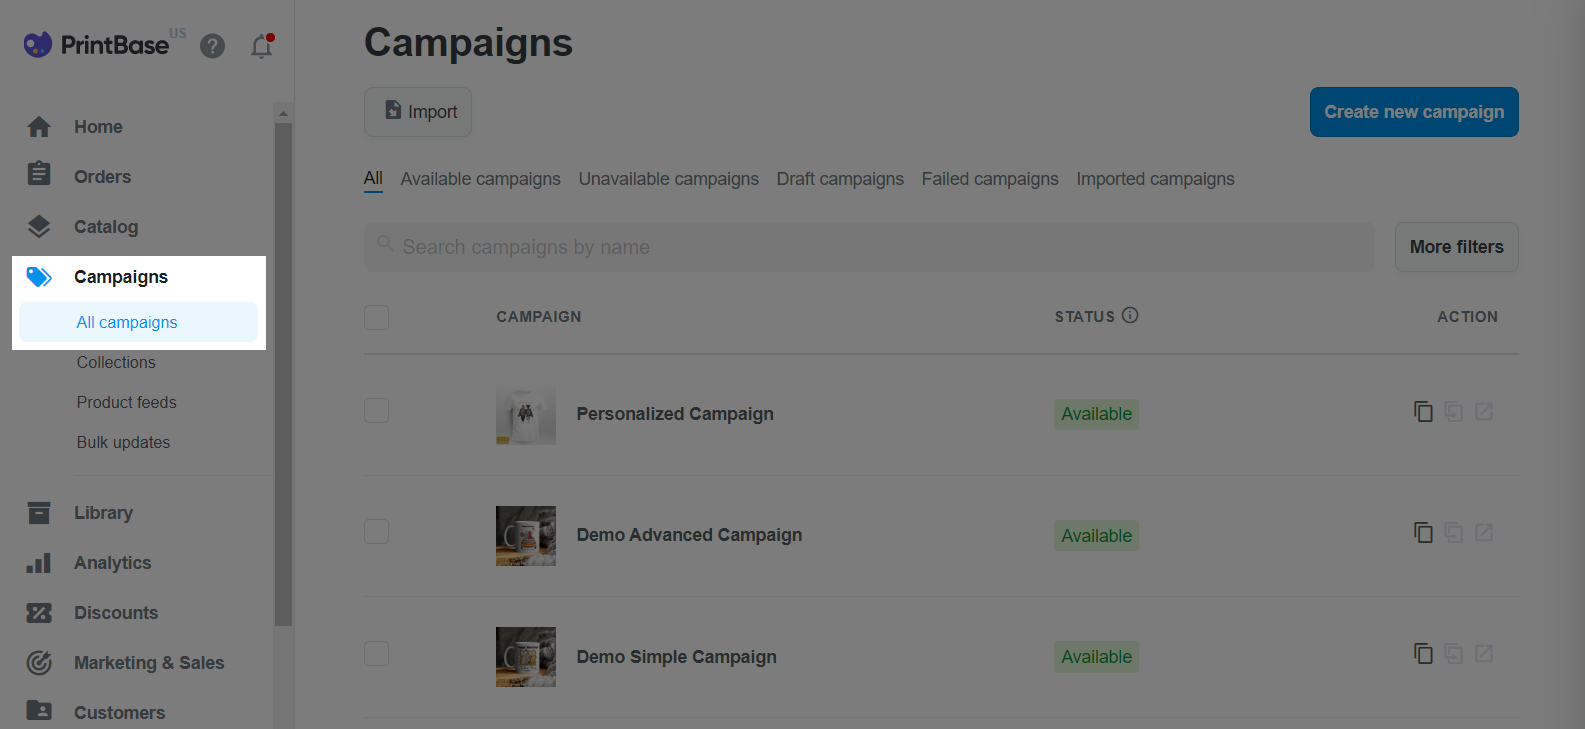
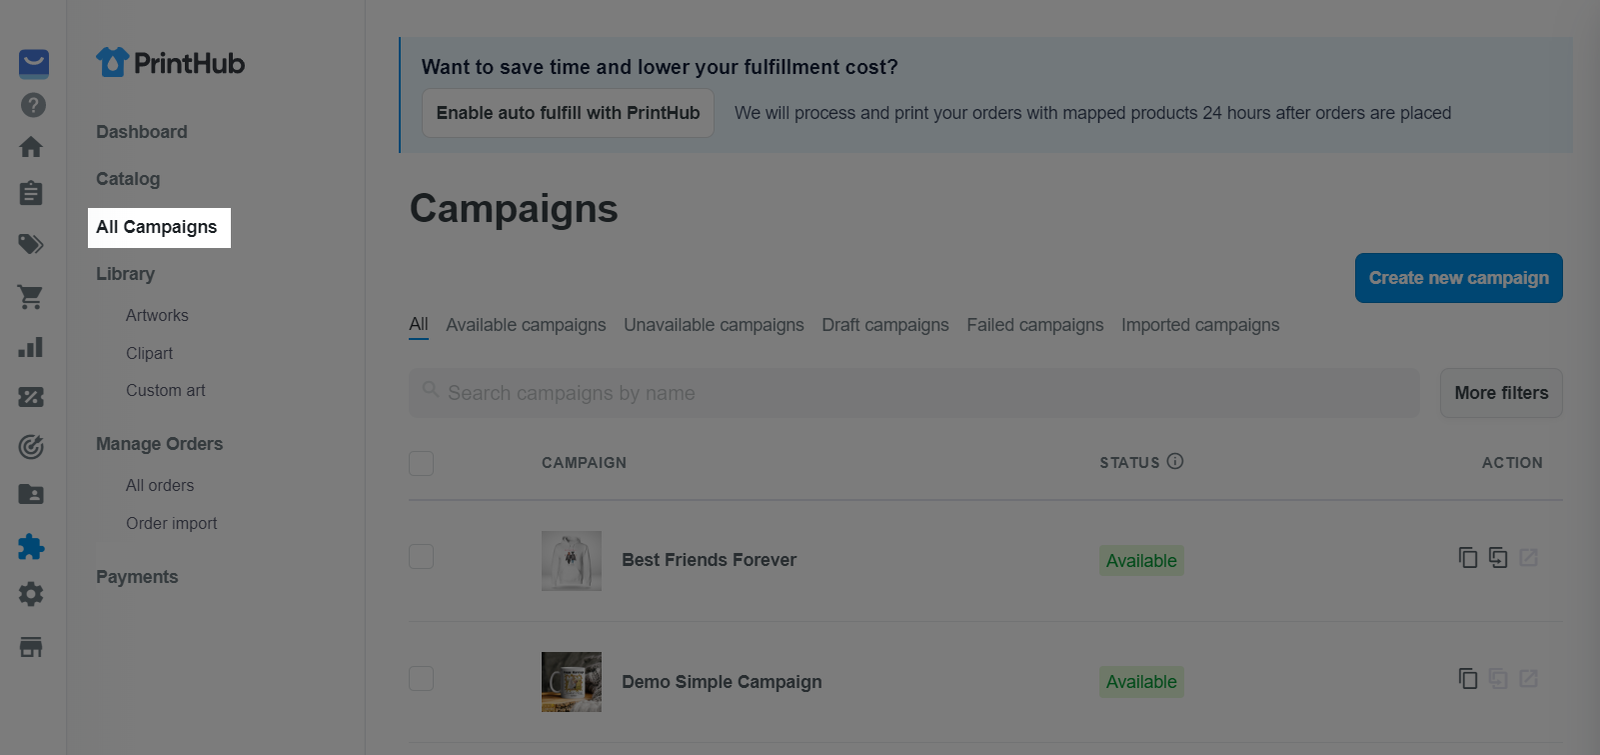
If you are using PrintHub by ShopBase, from your ShopBase admin, go to Apps > PrintHub > All Campaigns and select the campaign you want to edit.
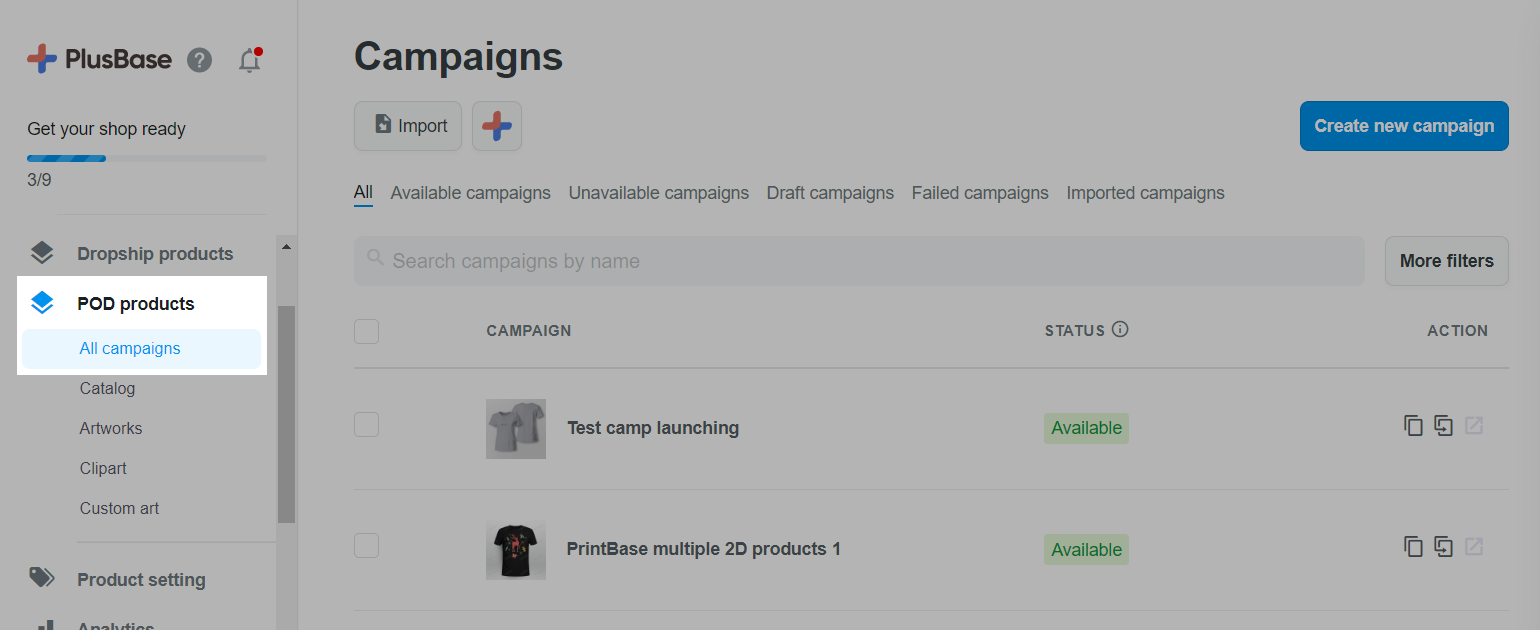
If you are using PlusBase, from your PlusBase admin, go to POD products > All campaigns and select the campaign you want to edit.
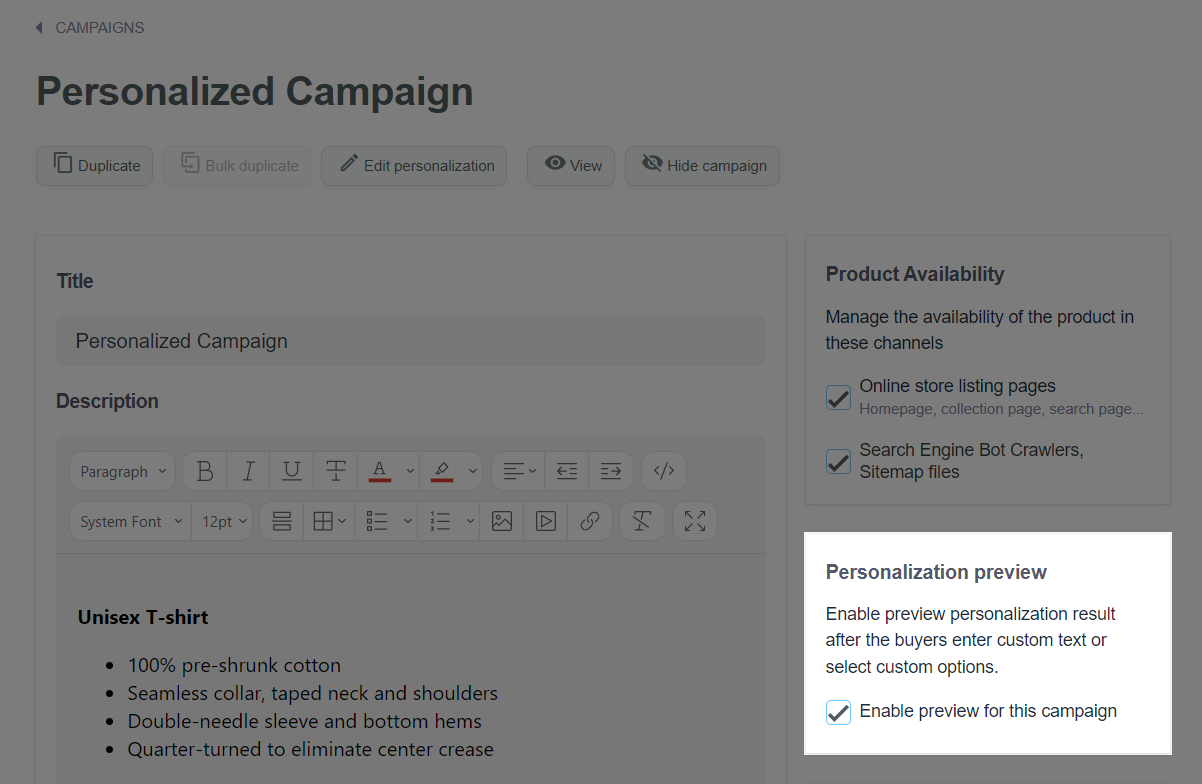
This option is enabled by default.
The personalization preview mode will be available for your campaign if the Enable preview for personalized campaigns option in Online store > Preferences is enabled for your store in general (as guided in section B), and the Enable preview for this campaign option is enabled for this campaign in particular. If one of the above options is disabled, the personalization preview mode for your campaign will be unavailable.
D. Notice for preview of personalized campaigns
PSD files can be used to create campaigns in PrintBase, PlusBase, and ShopBase (PrintHub). If the PSD file of the campaign uses complex effects that web technology does not support such as curved texts, mask patterns, texts that is not exactly 100% in horizontal or vertical scale, etc., the live preview feature will not be enabled for that campaign. Therefore, if you want to have the preview feature enabled, features such as Layer text with effects, Rotated image, Layer text with type options, and Horizontal or Vertical Re-scaling on Texts must not be included in your design.