A clipart image is a set of pre-made images that buyers can select as they wish. This article will guide you to create, edit, and set up clipart images for your PrintBase and ShopBase personalized campaigns.
From your PrintBase admin site, go to Library > Cliparts.
If you're using PrintHub on ShopBase, from ShopBase admin site, go to Apps > Print Hub > Library > Cliparts.
Click Create folder.
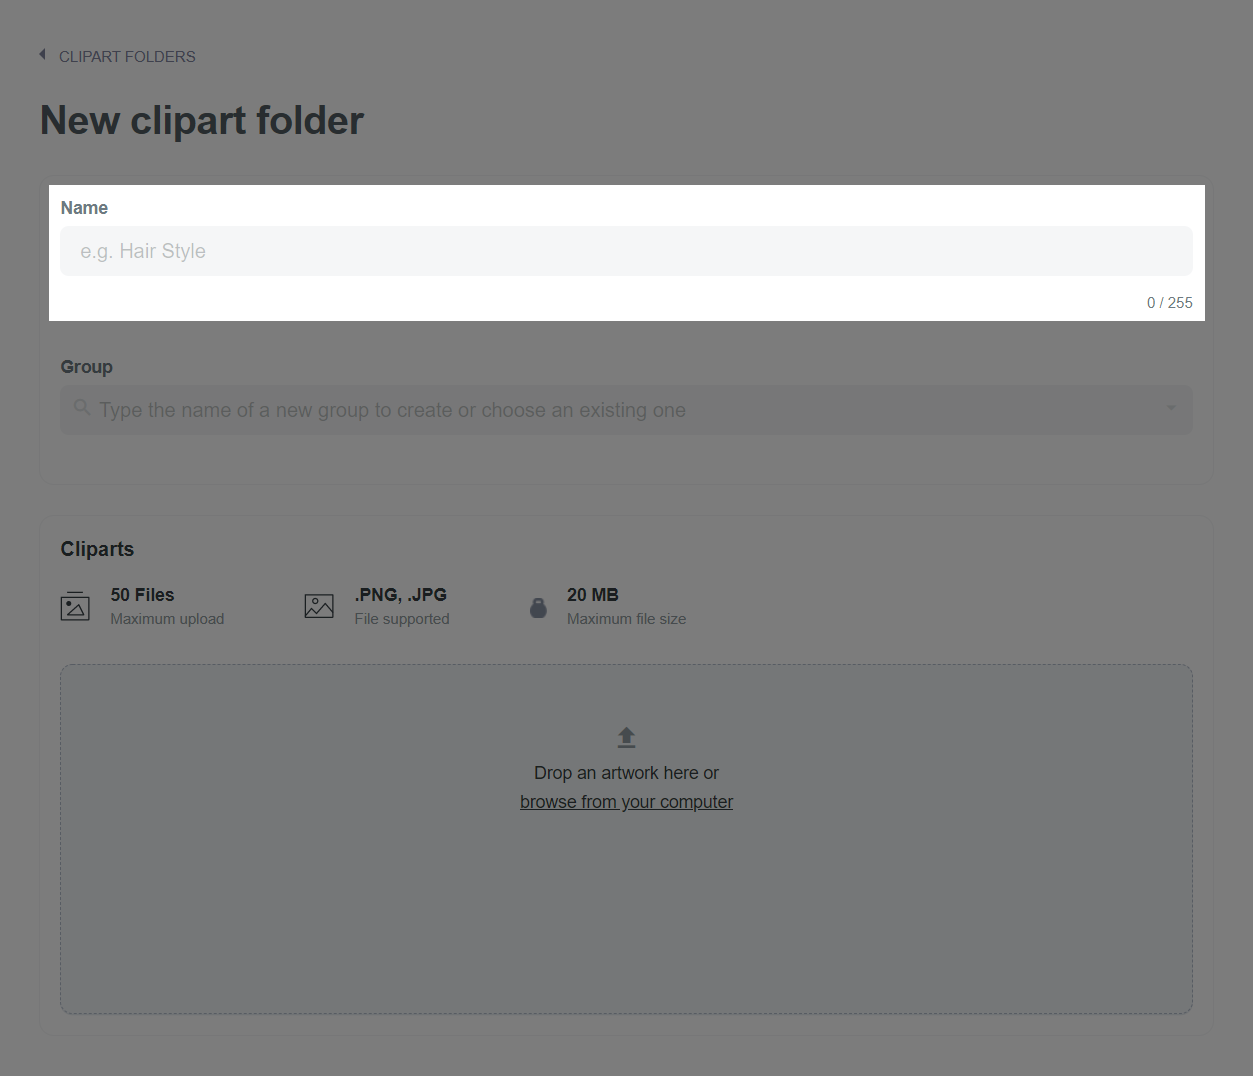
In the New clipart folder page, enter the name of your clipart folder.
If you want to classify your clipart folders into different groups, type a new group name or choose an existing one. You can also easily create and manage clipart groups by following the instructions in section C.
If you want to upload hairstyle clipart images and categorize them, create or choose Hairstyle group and enter the name of the hairstyle, such as Long hairstyle or Black hairstyle.
Drop your artworks in the Cliparts section or browse from your computer.
Click Save changes.
You can also create clipart folders in your Campaign editor page. In Custom options > choose Picture choice type > Select a Clipart folder > Add a clipart folder.
B. Edit your clipart folder
You can edit your clipart names and change their thumbnails.
From your PrintBase admin site, go to Library > Cliparts.
If you're using PrintHub on ShopBase, from ShopBase admin site, go to Apps > Print Hub > Library > Cliparts.
Click on the clipart folder you want to edit.
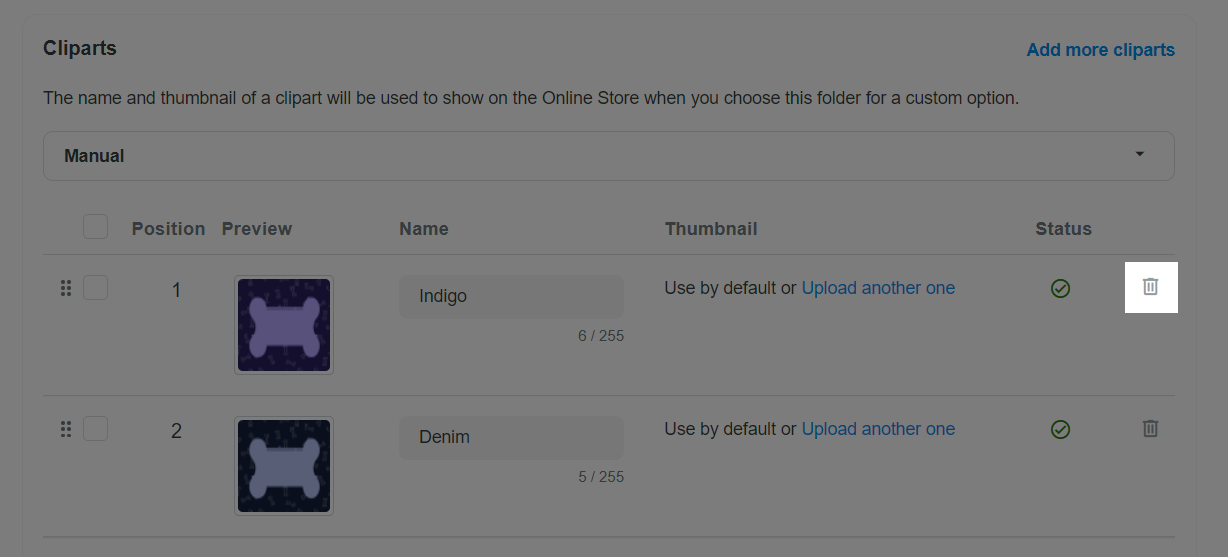
In the new page, change the name, group of the clipart folder, of the names of clipart images as you wish.
Click Add more cliparts to upload more images for your clipart folder.
Click on the drop-down menu to quickly sort your clipart images. There are 5 ways to sort your clipart images: Manual, Clipart title A-Z, Clipart title Z-A, Newest, and Oldest. This sorting order will be also applied on your storefront.
You can also arrange your clipart's order by clicking and dragging the clipart to your desired position. By doing so, your clipart images will be automatically sorted as Manual.
You can also select clipart images, click Action and choose:
Move to top to move your selected clipart images to the top of the list.
Move to bottom to move your selected clipart images to the bottom of the list.
Move to position and enter the position number to move your selected clipart images to the desired position.
In your product page, clipart images will be displayed from left to right in the corresponding order from top to bottom in your store's admin.
In the Thumbnail section, click Upload another one to change the thumbnail of your clipart.
Click the trash can button to delete a clipart image.
Click Save changes to finish.
C. Manage your clipart groups
From your PrintBase admin site, go to Library > Cliparts.
If you're using PrintHub on ShopBase, from ShopBase admin site, go to Apps > Print Hub > Library > Cliparts.
Go to Clipart groups tab.
Here, you can create a new clipart group by clicking on Create group.
In the New clipart group page, enter the name of your clipart group.
Click Select existing clipart folders to add an existing clipart folder to your new clipart group.
In the dialog, all clipart folders that have not been sorted into a group will be displayed. You can look up the name of your clipart folder in the search bar. Then, check the box to add a folder to your group.
Click Add new clipart folder to create a new folder. Repeat the steps in section A to create your new clipart folder. After you click Save changes, the newly created folder will be automatically added to your clipart group.
Click on the drop-down menu to quickly sort your clipart folders. There are 5 ways to sort your clipart folders: Manual, Clipart title A-Z, Clipart title Z-A, Newest, and Oldest. This sorting order will be also applied on your storefront.
You can also arrange your clipart's order by clicking and dragging the clipart to your desired position. By doing so, your clipart images will be automatically sorted as Manual.
You can also select clipart images, click Action and choose:
Move to top to move your selected clipart images to the top of the list.
Move to bottom to move your selected clipart images to the bottom of the list.
Move to position and enter the position number to move your selected clipart images to the desired position.
Click the trash can button to remove a clipart folder from your group.
In the list of clipart groups, you can delete one or more groups by selecting them and clicking Action > Delete clipart groups.
Click on a clipart group to edit it. Then, repeat steps 4 to 9 to edit it upon your wish. Once finished, click Save changes.
D. Set up clipart for your campaign's custom options
Before you start, please complete all the necessary steps in section A and B of this article to create a campaign with PrintBase and ShopBase (PrintHub)
After you have selected your base products, upload your designs, and make changes to them as instructed in section A and B of this article, create a new custom option in Picture choice type and fill in the required information.
In the Cliparts, choose between Show all cliparts in a clipart Folder or Show a droplist of clipart Group to let buyer choose first.
In the How to show cliparts, choose between Show with Thumbnail images if you want buyers to see the clipart images before choosing them or Show a droplist with Clipart names if you only want to show their names.
In the case you want to show all available options on your store as follows:
Select Show all cliparts in a clipart Folder in Cliparts section and search or select the folder you want to show.
In the case you have too many picture choices, which can make your product page lengthy, you can either
Select Show a droplist of clipart Group to let buyer choose first in Cliparts section to show clipart group. Then choose the clipart group for your custom option, or click Add a clipart folder to create one.
Select Show all cliparts in a clipart Folder in Cliparts section and search or select the folder you want to show. Then click Show a droplist with Clipart names in How to show cliparts section to show your options as a droplist with Clipart names .
Make sure you choose the same group for all clipart images that will show up in the group.
When the campaign is ready, click Continue to set up other information about your campaign (e.g.: sale price, campaign description, title, tag, etc.), and launch your campaign. Read section D and E of this article for a step by step guide.