Articles on: Artwork Library
This article is also available in:

Wooden Custom Ornament's design guideline

Design guideline is an instruction to help you easily design product's artwork using PrintBase's available product templates. This set of guidelines not only walks you through the design process, but also includes our design samples for you to refer to.

This article will provide you with the guideline for Wooden Custom Ornament product, which is in high demand during the Christmas season.

In this article


A. Product's template
B. Design guideline
C. Sample design file

A. Product's template


Kindly visit this link to download the artwork template for Wooden Custom Ornament.


There are 2 ways to design this product's artwork:

Directly design on the product's template when creating new campaign using our Campaign Editor.
Download the product's template from our Catalog and design using Photoshop.

Please note the following details in the template:

Dimension: 1098 x 1284 px.
Resolution: 300 dpi.
The area enclosed by the green square represents the product's artwork alignment area. This is where you should place and size your artwork. Please keep in mind that the product can be up to 9x9 cm in size.
The blue circle indicates the hole which is threaded with gold string for easy hanging.
The gray vertical line can be used as a guide to center your artwork on the template.

B. Design guideline


Using Campaign Editor


Kindly follow the instruction in this article on how to edit your campaign's design in the Campaign Editor.

Using Photoshop


Add artwork to the template: You can either copy and paste your artwork to the Your design layer in the template, or click and drag it from your folder to this layer.


Place your artwork inside this group
Adjust your artwork:


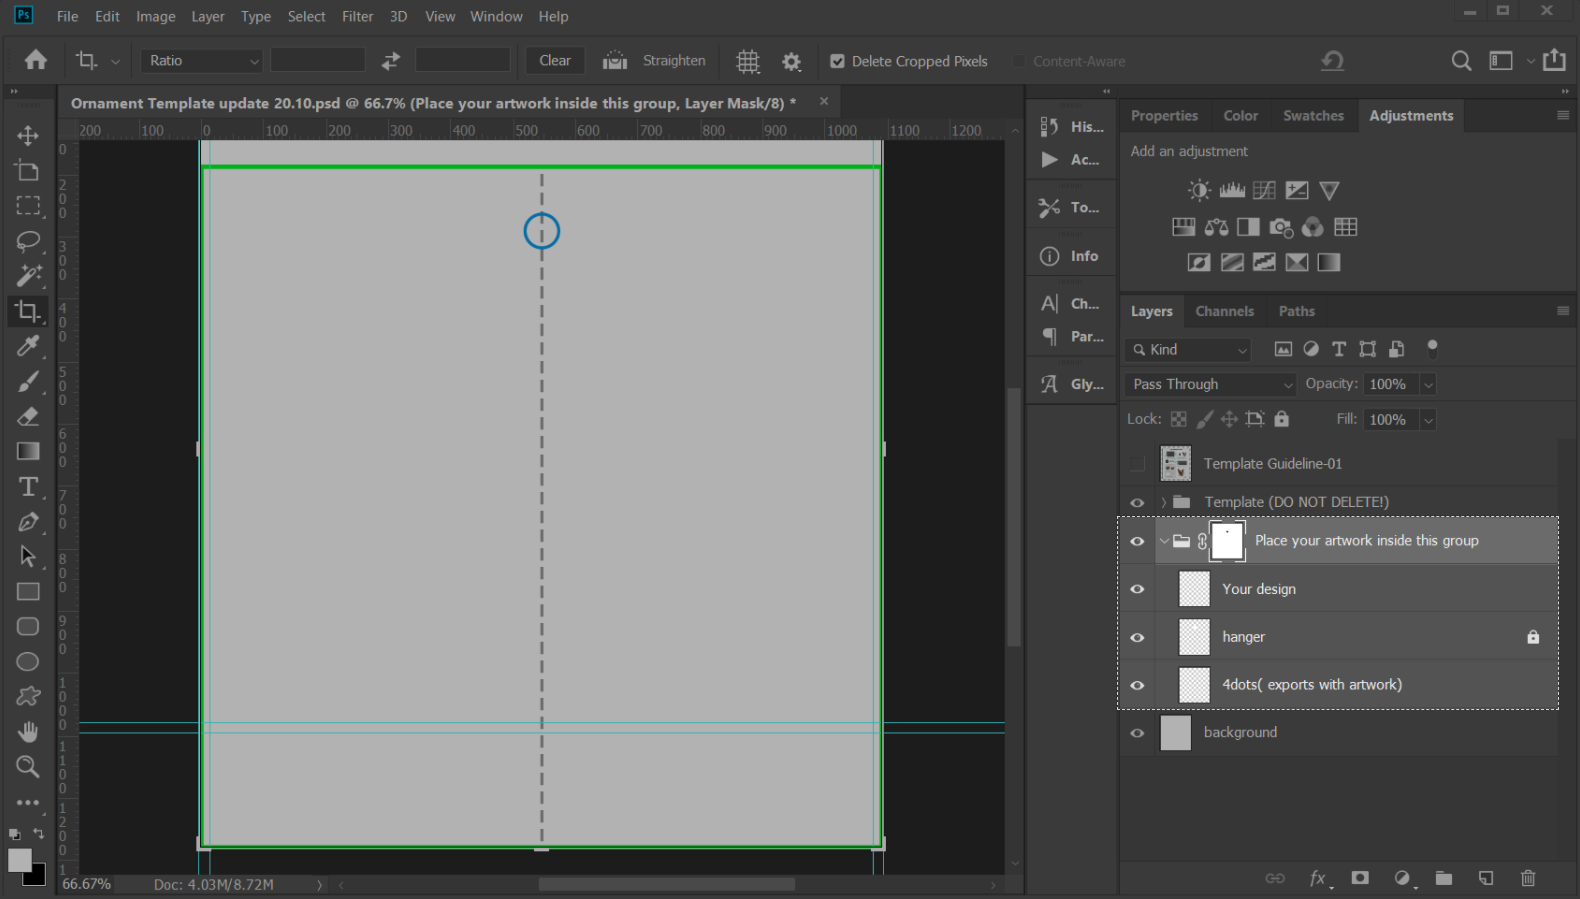
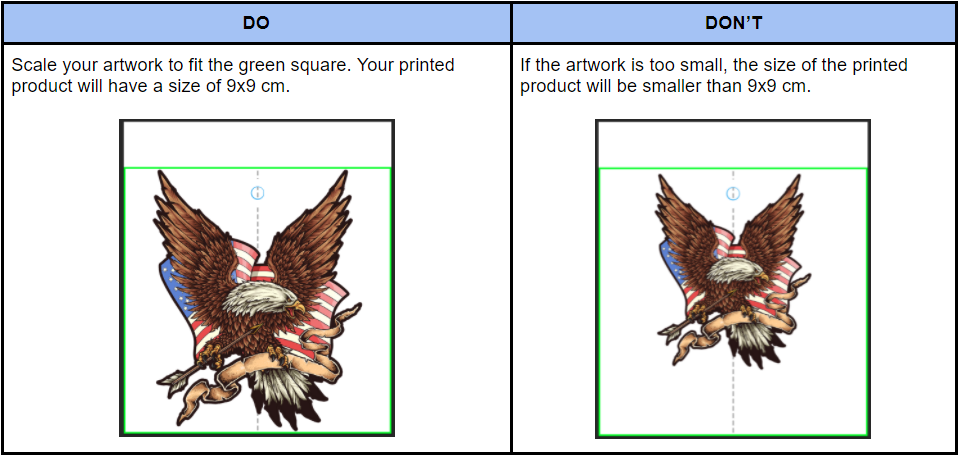
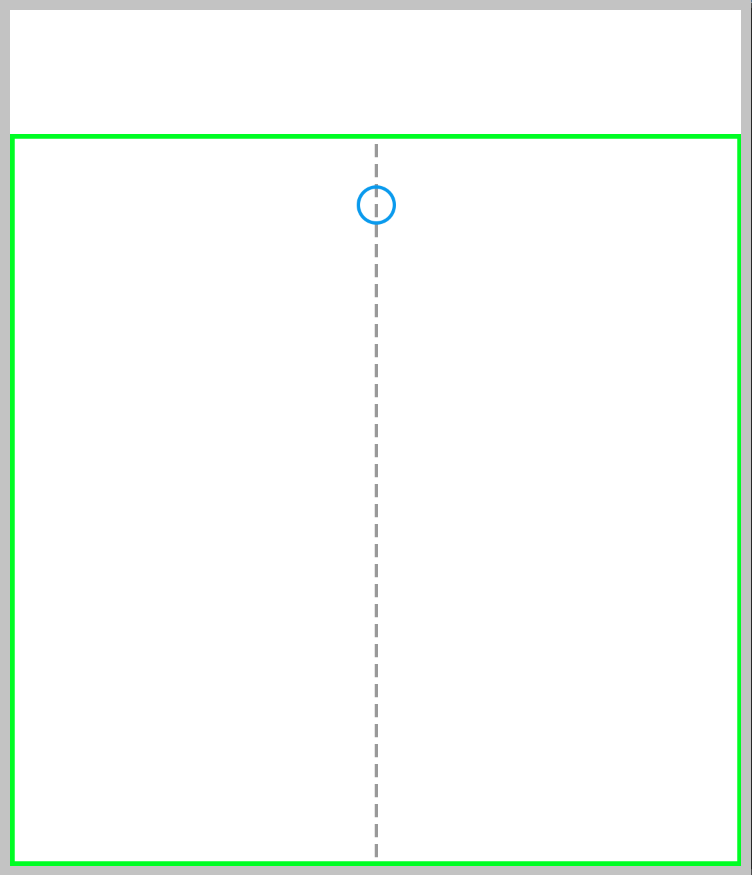
The green square is for size measurement and alignment only. It does not indicate the product's print area. The print area of this product is the artboard area of 1098 x 1284 px.
Design the ornament's hole for hanging:

Method 1 - The hole is in the artwork: To avoid having the hole appear in the wrong position on your artwork, drag your artwork to cover the blue circle in the desired area.


Method 2 - The hole is outside of the artwork: If you want the ornament to have a separate round hole for the hanger, drag your artwork to lightly touch the blue circle.


Save your file in .PNG format: After completing the above steps, hide the Template and Background groups, keep the Place your artwork inside this group group in your Photoshop file. Then click Save As or press Ctrl + Shift + S) and save the artwork in .PNG format.

Hide the Template and Background groups


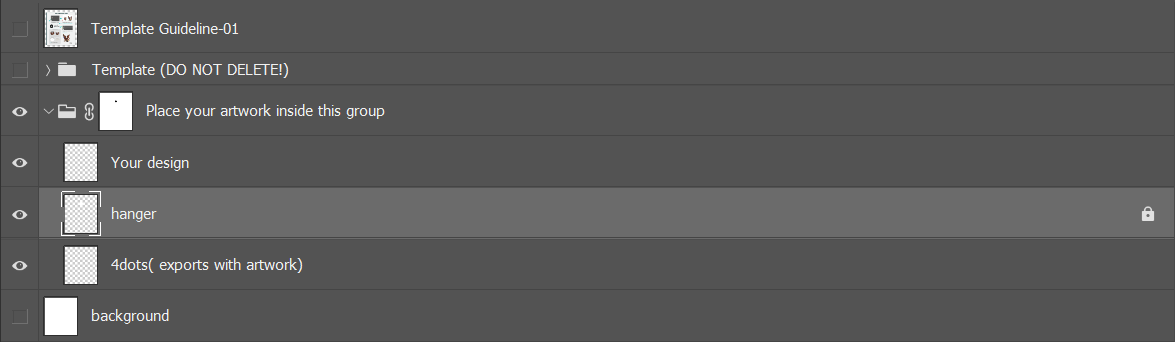
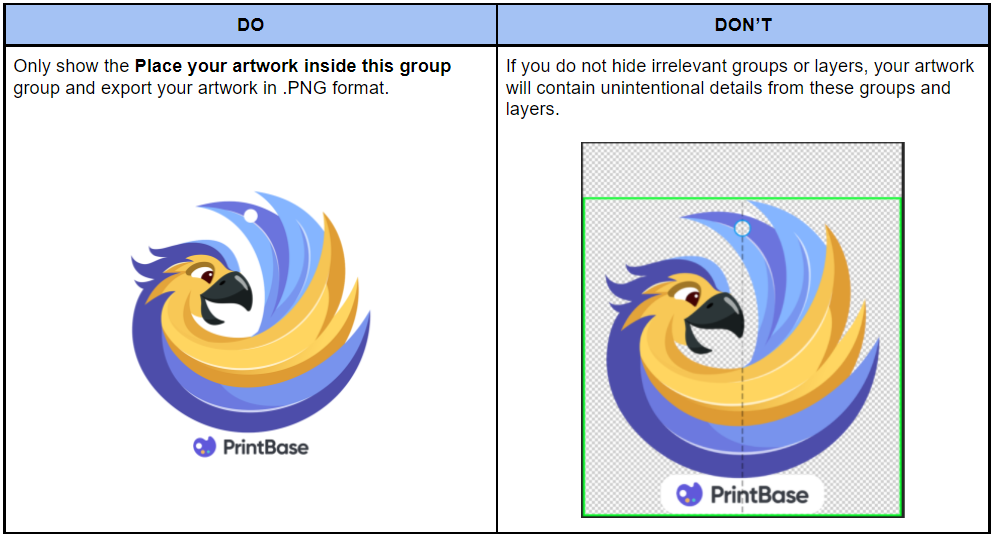
Those are all the steps to design your artwork for Wooden Custom Ornament. Then, you can upload this artwork and launch new campaigns by following the instructions in this article.

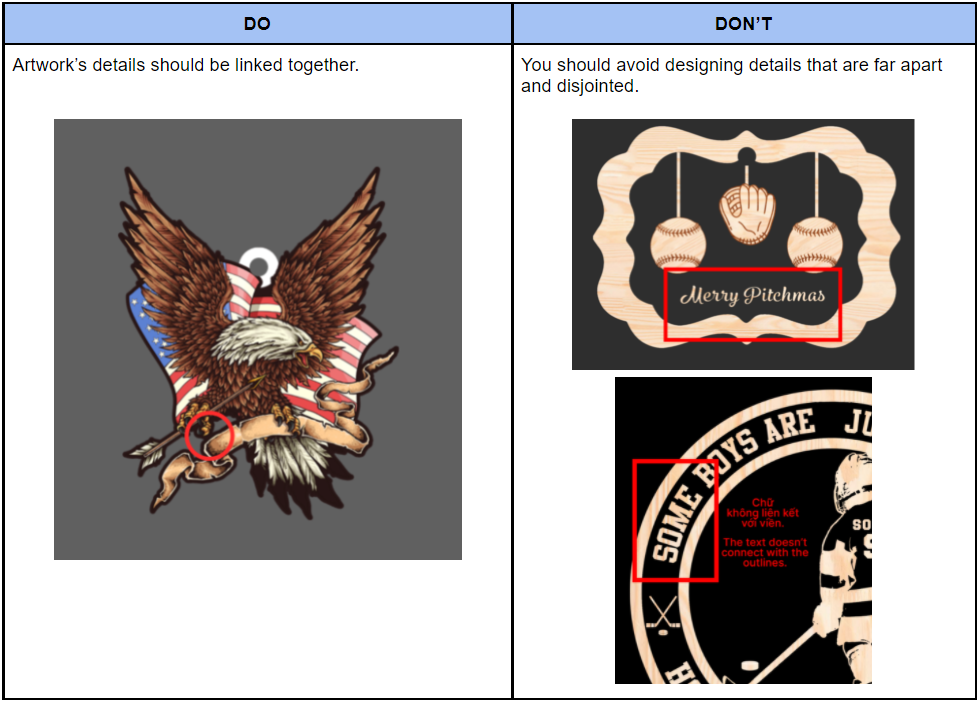
To avoid broken and disjointed details, the minimum thickness of the artwork's detail is 5mm.


C. Sample design file


Please visit this link to our sample design and this link to view our demo campaign of this product.

By following the steps outlined in this article, you can also see how your designs will appear on product mockups.


Overview of Campaign in PrintBase & ShopBase
Create new campaigns with PrintBase & ShopBase
Use POD Product Mockups

Updated on: 23/08/2022

Was this article helpful?

Share your feedback

Cancel

Thank you!