How to set up the checkout process
You can catch visitor's interest and get them to click on your product, but the sale is not final until the checkout is completed. By providing a high-quality checkout experience for your potential members, you can complete your sales and increase your conversions. This article will walk you through all of the steps required to set up and complete the checkout process on your website.
A. Payment method
By default, we will support every ShopBase Creator store with our own built-in payment methods which accepts debit/credit card payments. You can start selling your digital products without any worries about payment. With paid plans, we also allow you to connect your Paypal to the store.
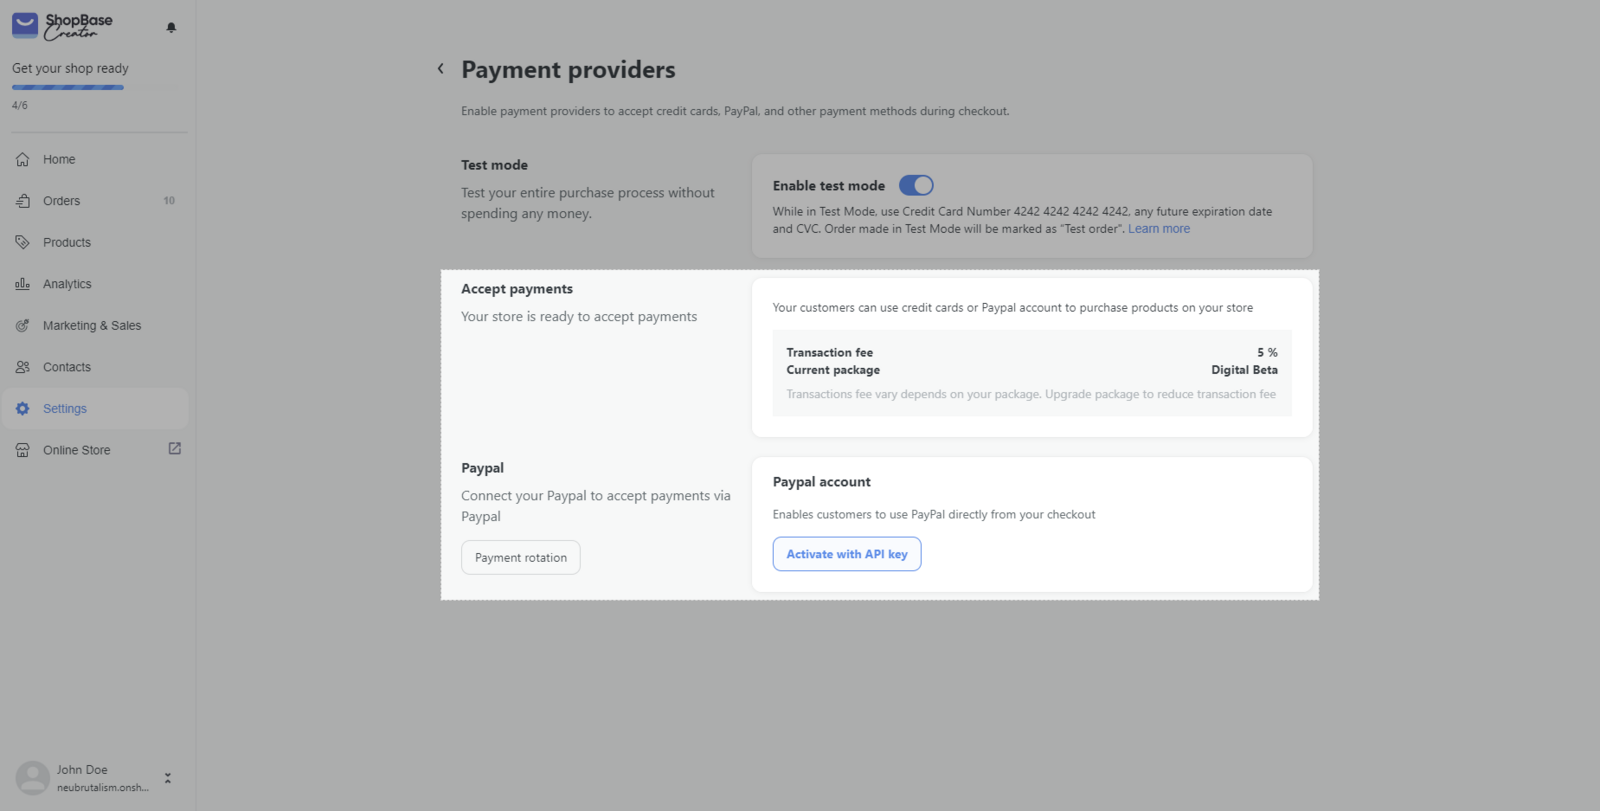
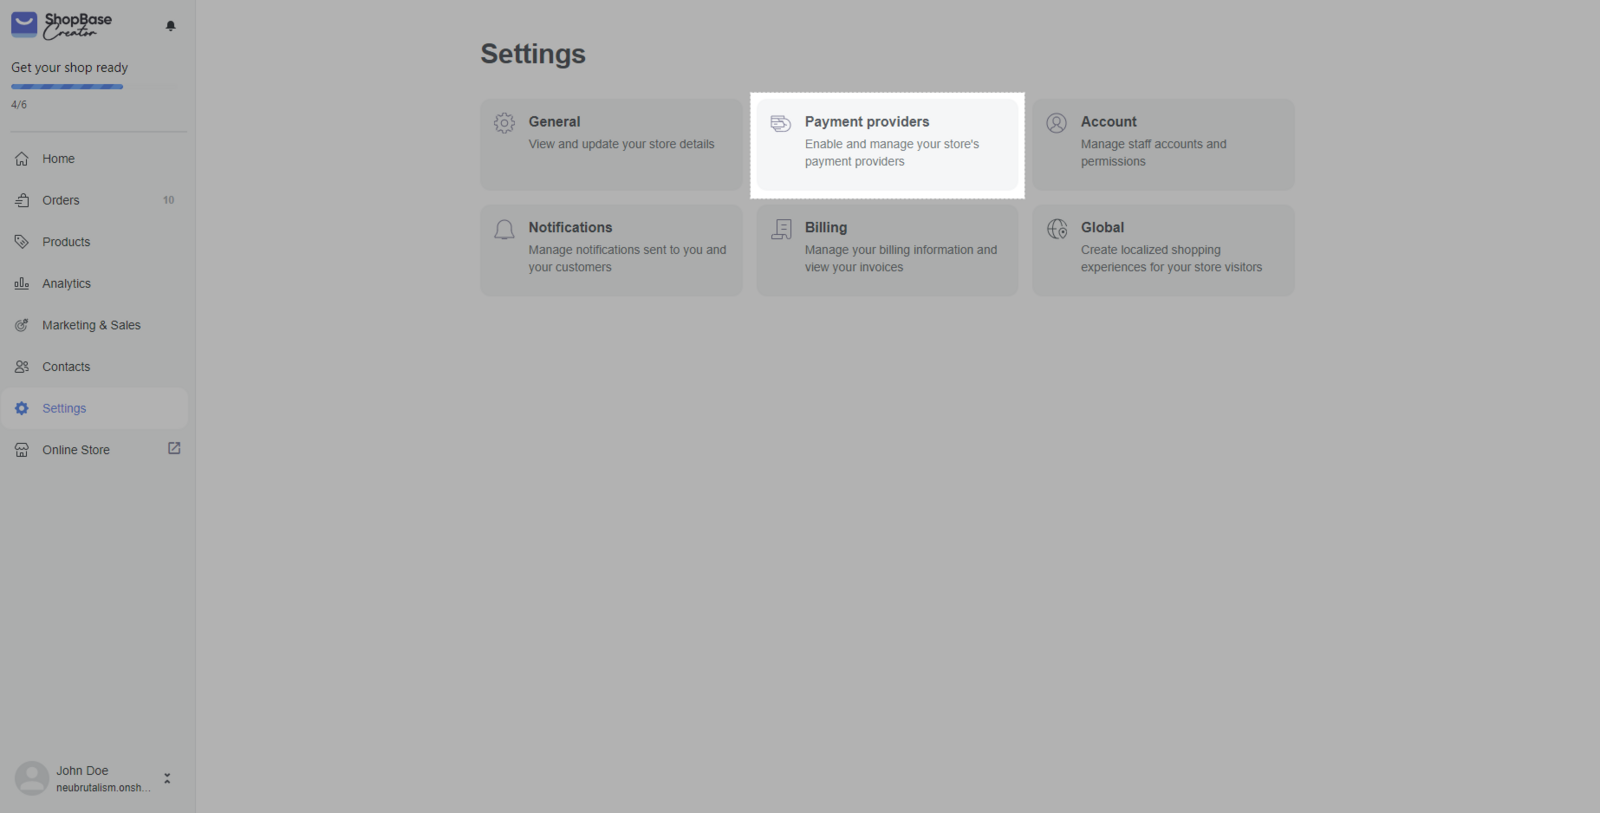
B. Place a test order
By placing a test order, you can simulate the customer experience of the order checkout process and make sure that this process process along with other settings all function accurately without being charged. To enable test mode, follow the instructions below:
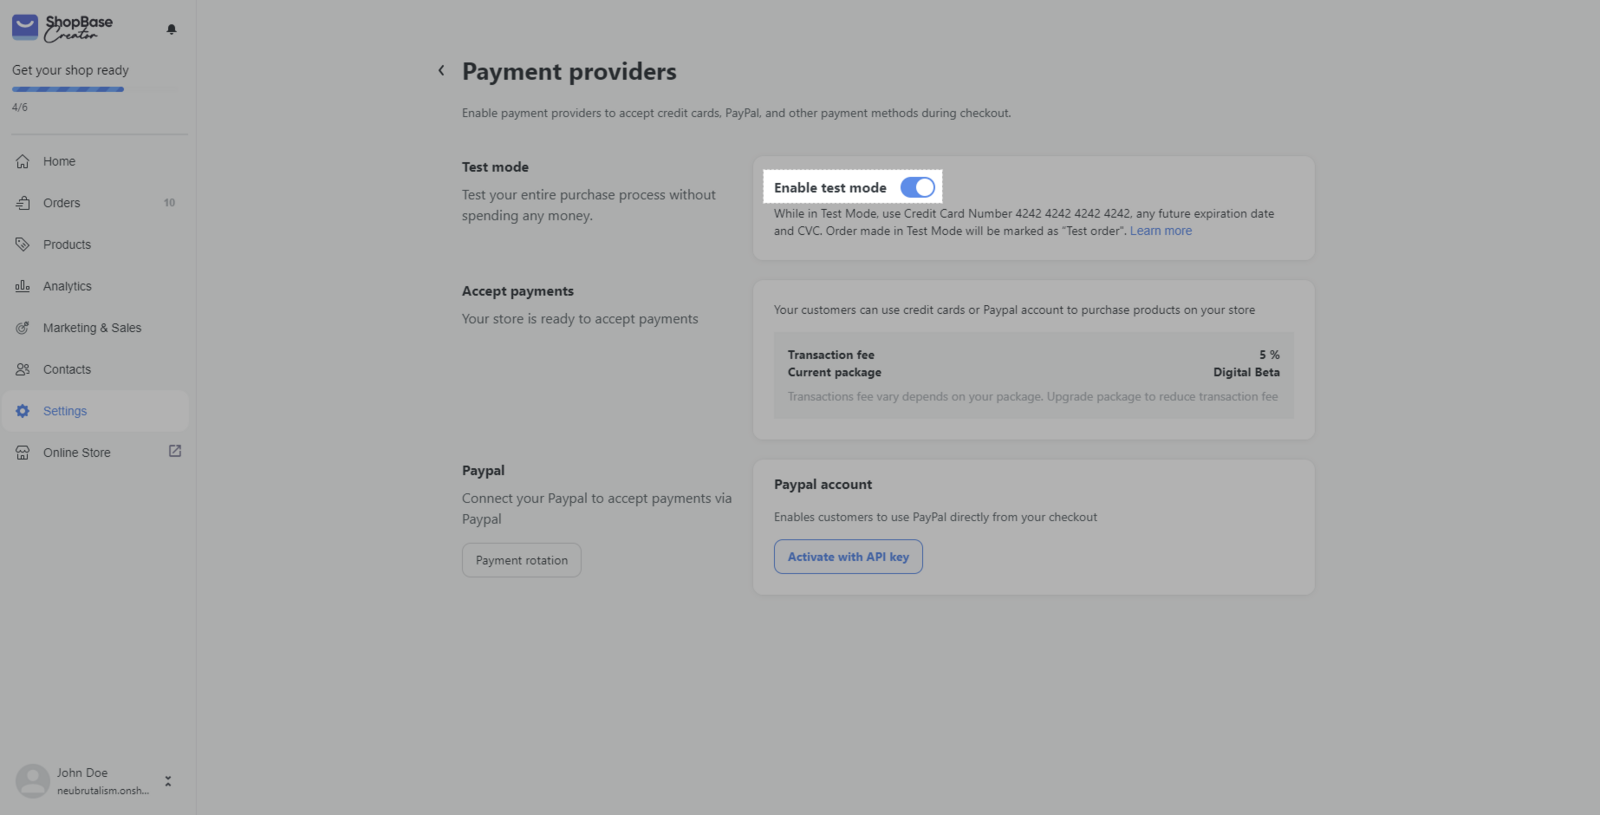
- In Card number: enter 4242 4242 4242 4242 to simulate an Approved transaction.
- In Date: enter any date in the future.
- In CVV: use any three numbers as the Card Security Code.
If genuine card details are submitted during checkout when test mode is enabled, the system will report an error.
Orders created during test mode will be marked as Test and will not be counted in Analytics reports.
After a test order is made, you will be redirected to the order confirmation page (thank you page). However, you will not have access to the product you purchased.
If test mode is enabled, the person who completes the checkout will not receive abandoned checkout emails.
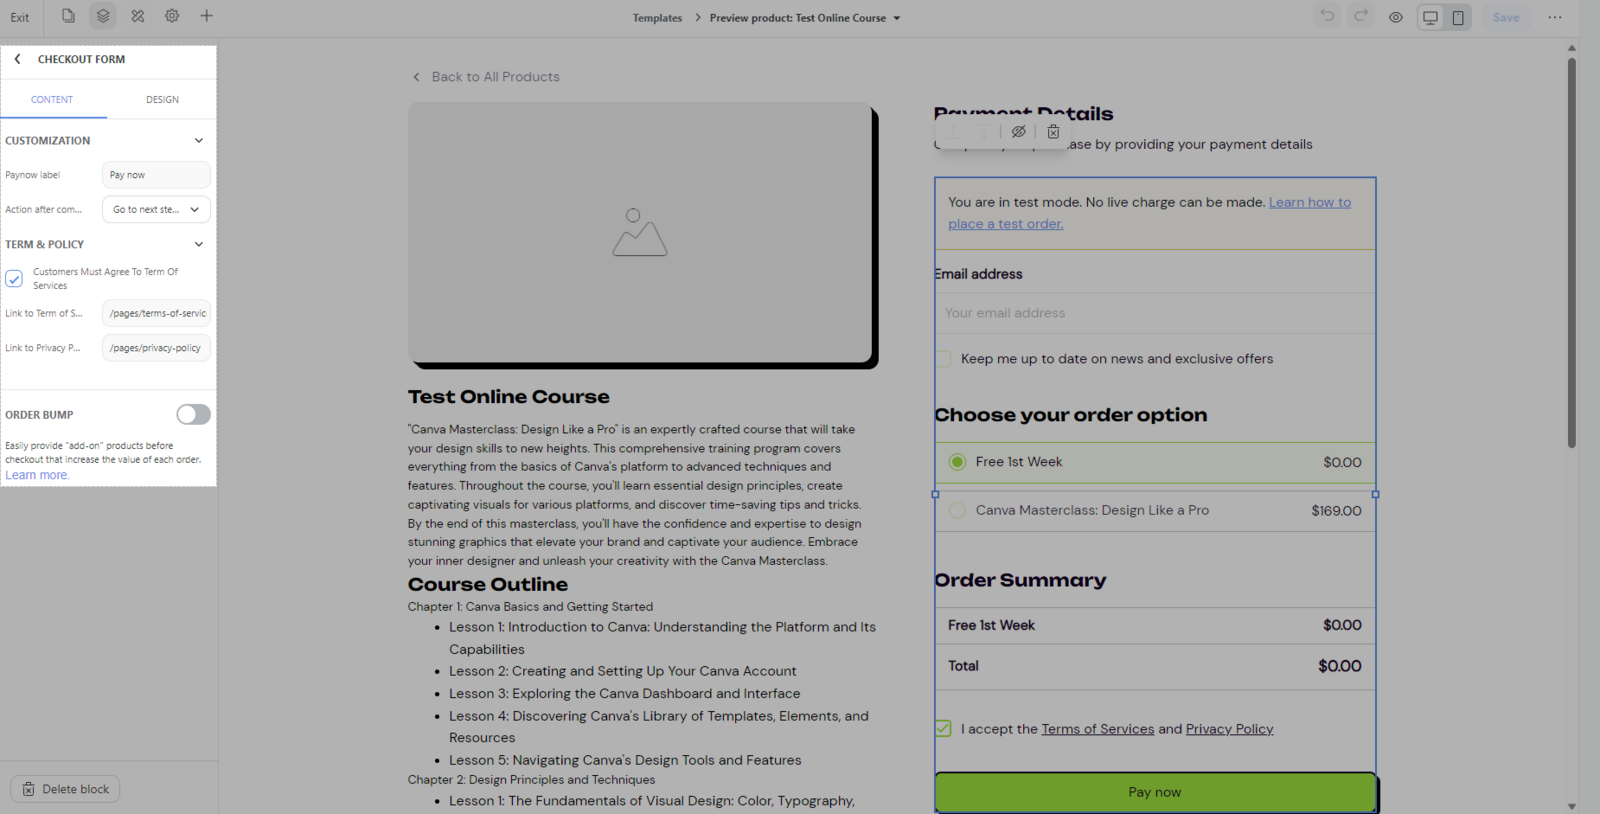
C. Customize checkout form
On ShopBase Creator, you can create a checkout form directly on the sale page of your product.

In Design, you can customize the checkout form's position, alignment, width, background, border, radius, shadow, padding, and margin. Please refer to this article for more details on how to set up blocks on Website Builder.

In Content:
- Paynow label: Edit the text of the Pay now button.
- Action after complete order: You can either choose to “Go to the next step in funnel” to continue to Upsell/Thank You Page or “Redirect to a link” to direct the customer to any link you like.
- Enable Customers must agree to term of services so that the customers must confirm the terms of service and privacy policy before placing an order.
- Link to Terms of Service: The link to your default Terms of Service page will be prefilled here.
- Link to Privacy Policy: The link to your default Privacy Policy page will be prefilled here.