The Discount Code Block is a pivotal feature designed to enhance the shopping experience by presenting all applicable discount codes to your customers. This allows them to see at a glance the savings opportunities they can take advantage of during the checkout process.
By effectively displaying these discount codes, you can achieve multiple objectives, including:
Increase the attractiveness of your products to prospective purchasers.
Motivate customers to buy more items to benefit from the discounts offered.

In this article, we will guide you through the basics of customizing the discount code block in Website Builder.
In this article
A. Manage the Discount code visibility in the block
B. Add a Discount code block
C. Customize the content tab of Discount code block
D. Customize the design tab of Discount code block
A. Manage the Discount code visibility in the block
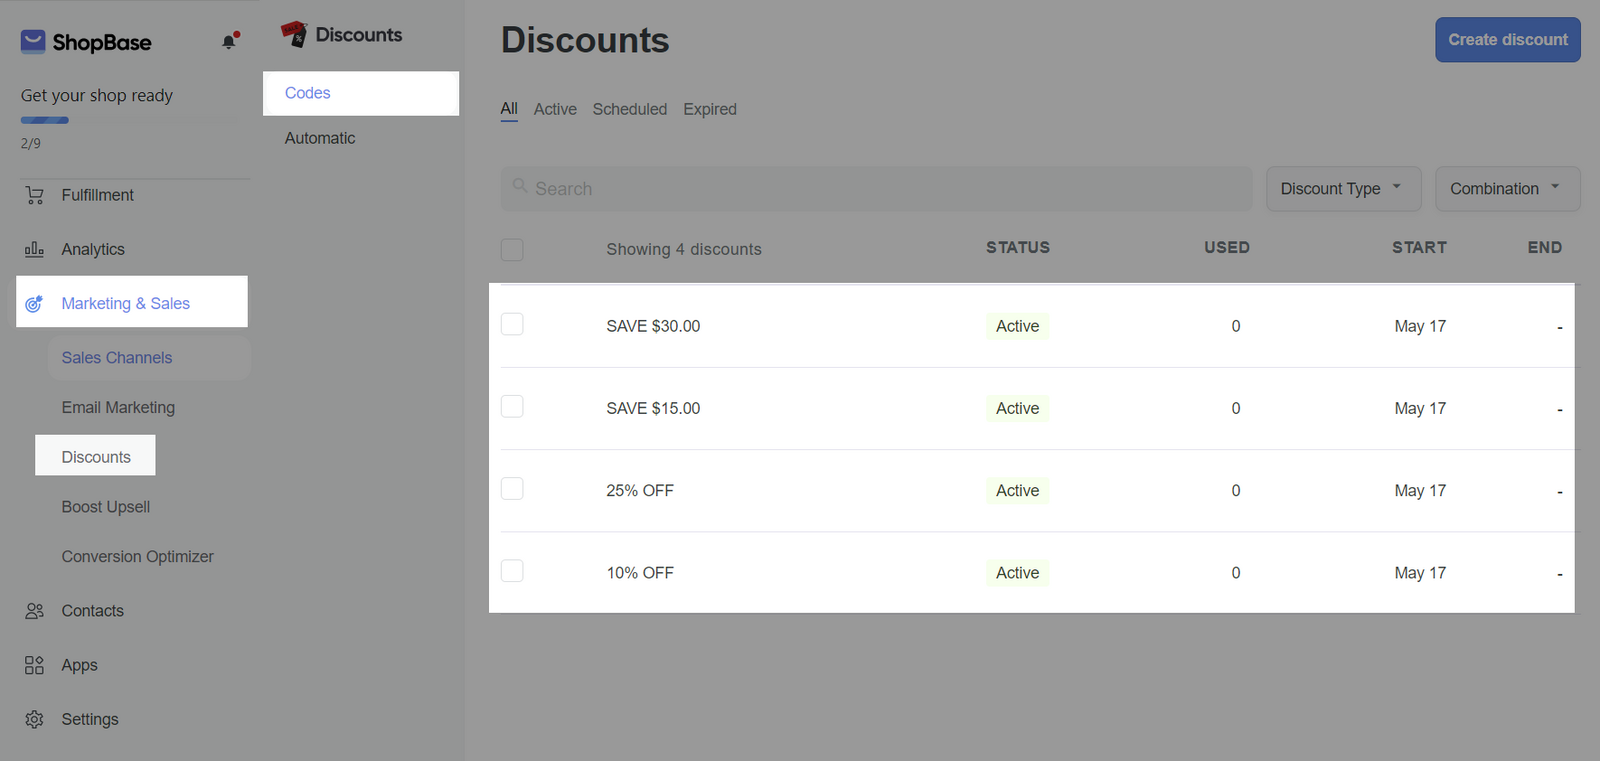
From the admin dashboard, go to Marketing & Sales > Discounts > Codes > Click the name of the discount that you want to edit.
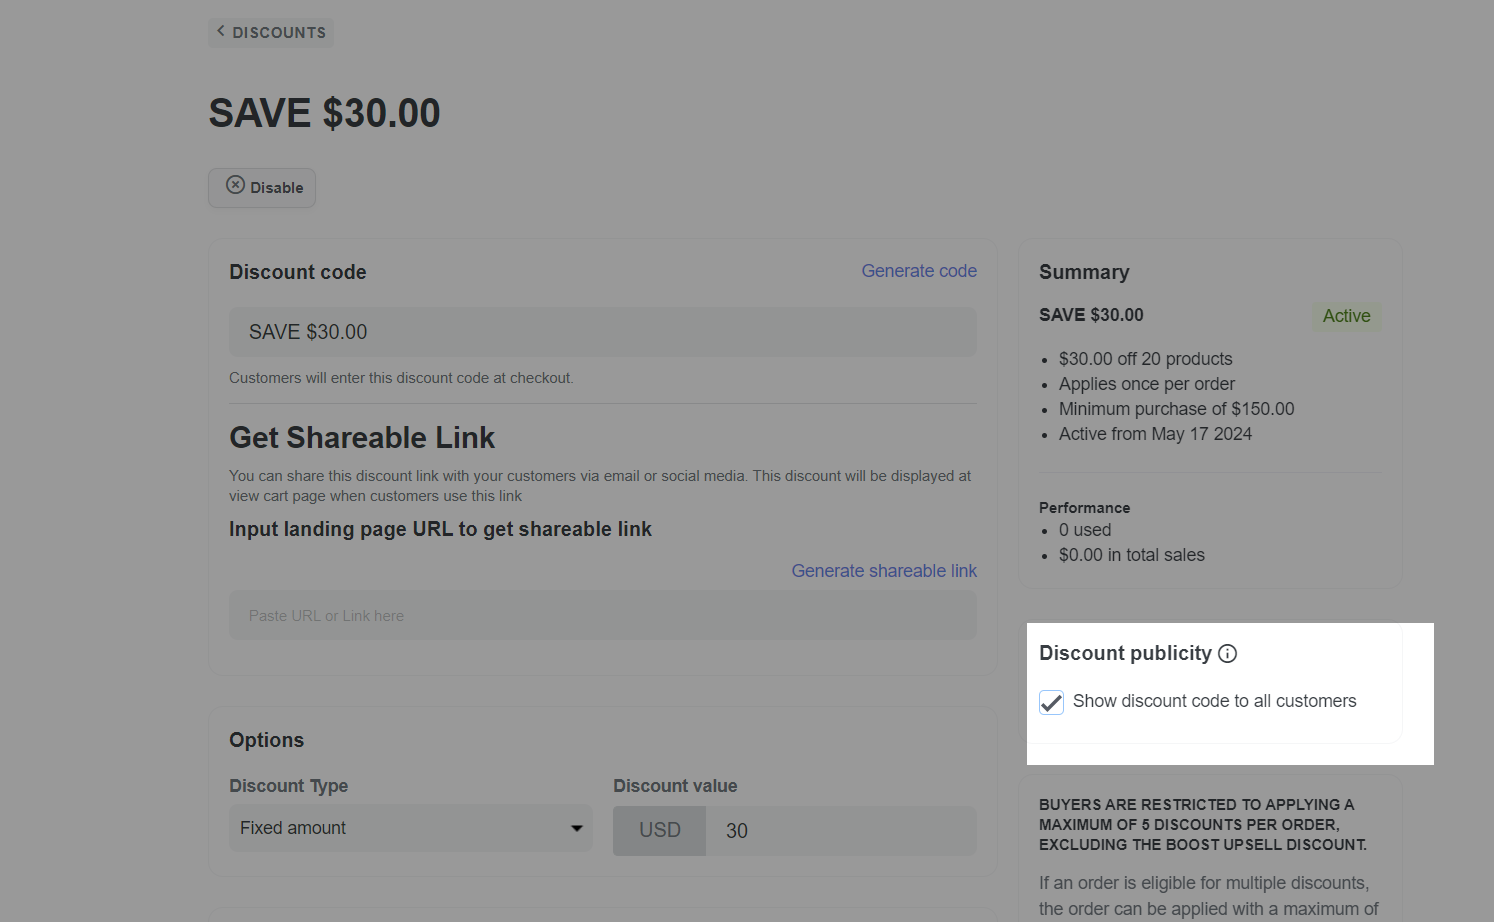
In the Discount publicity section, tick the option Show discount code to all customers to make the discount code visible to everyone or untick to keep the discount code hidden from public view.
B. Add a Discount code block
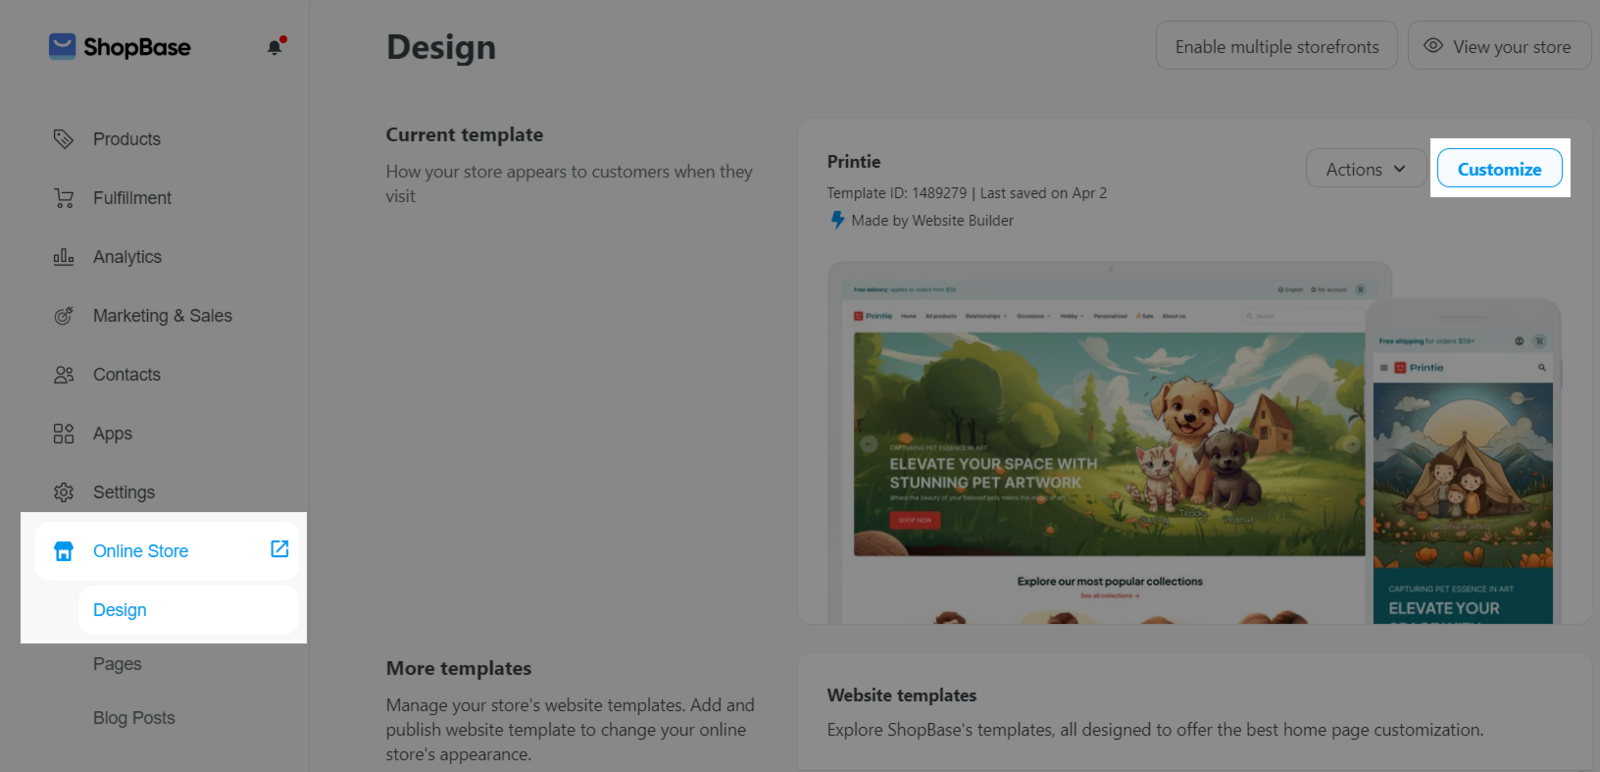
On admin dashboard, go to Online Store > Design > Customize.
To add a new Discount code block to your web page, from the Website Builder, open the Insert panel and drag your block into the desired position. Then, you can freely customize the Content and Design of each block in Website Builder.
C. Customize the content tab of Discount code block
Select the Discount code block > Content tab.
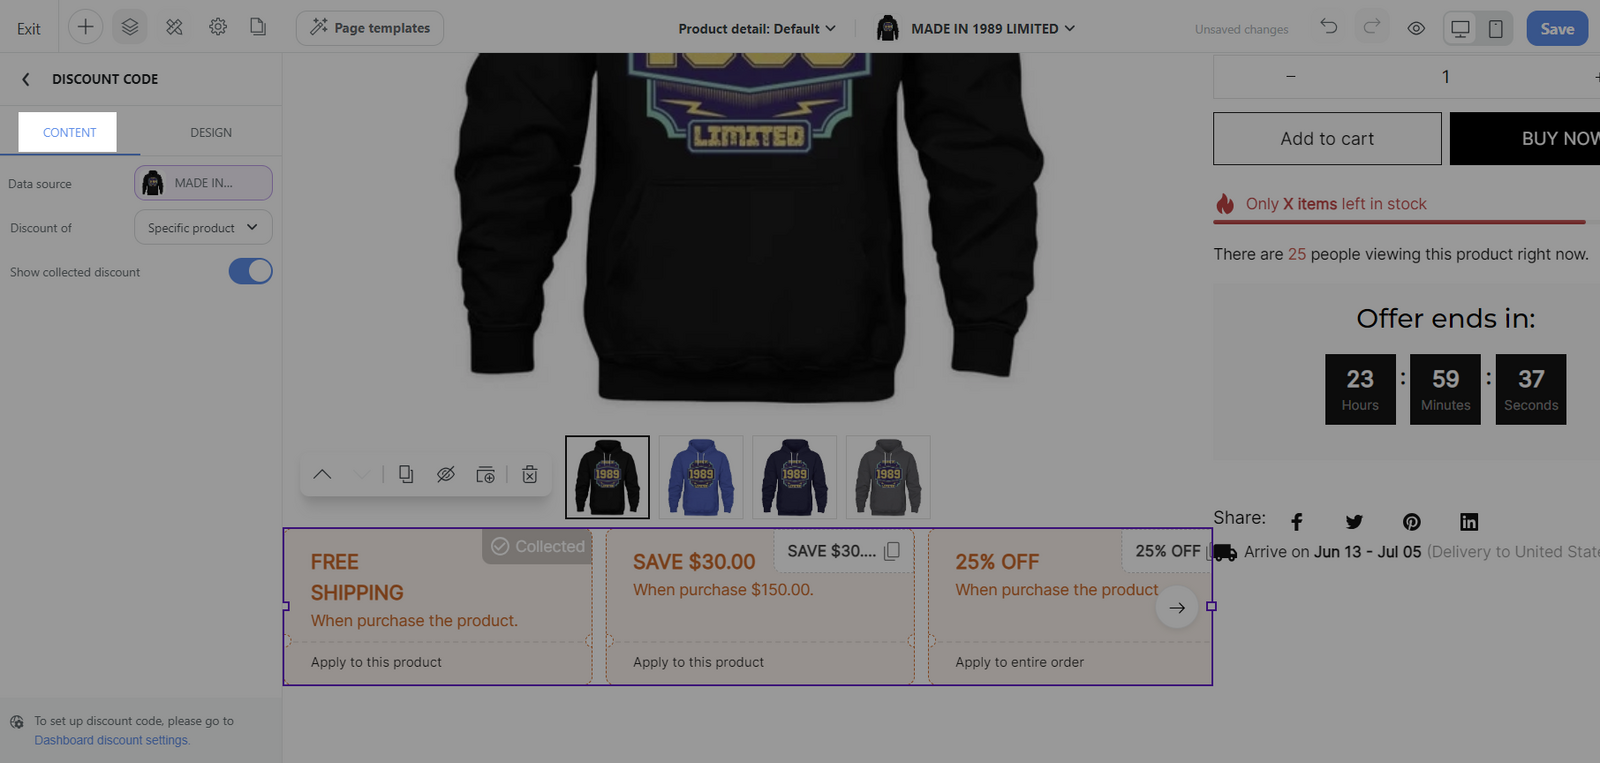
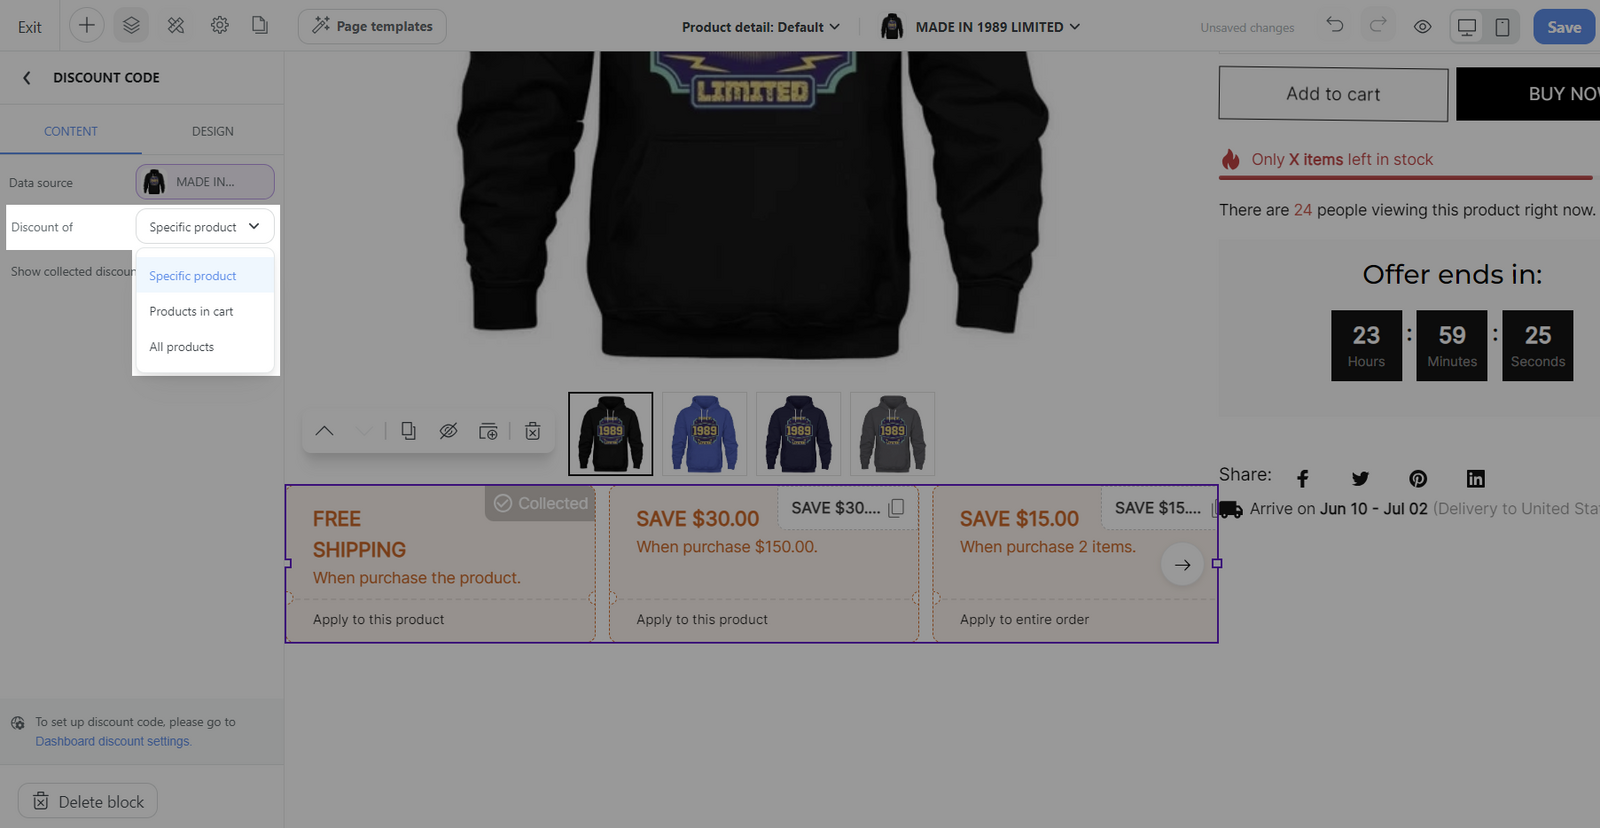
Discount of: This setting is crucial for determining which discounts to display in the block, based on the page where the block is placed. There are three choices:
Specific product: This option ensures that only discounts applicable to a specific product are shown. It's ideal for product detail pages, where you want to highlight available promotions for that particular item.
Data source: This setting allows you to choose which product’s discount codes to display in the discount code block:
Current page product: Select this option to show discount codes applicable to the product being viewed on the current page. This means that the displayed discounts will change depending on the product page the customer is currently viewing.
Specific product: Choose this if you want to display the discount related to a particular product, useful for highlighting a special discount or promotion for a specific product.
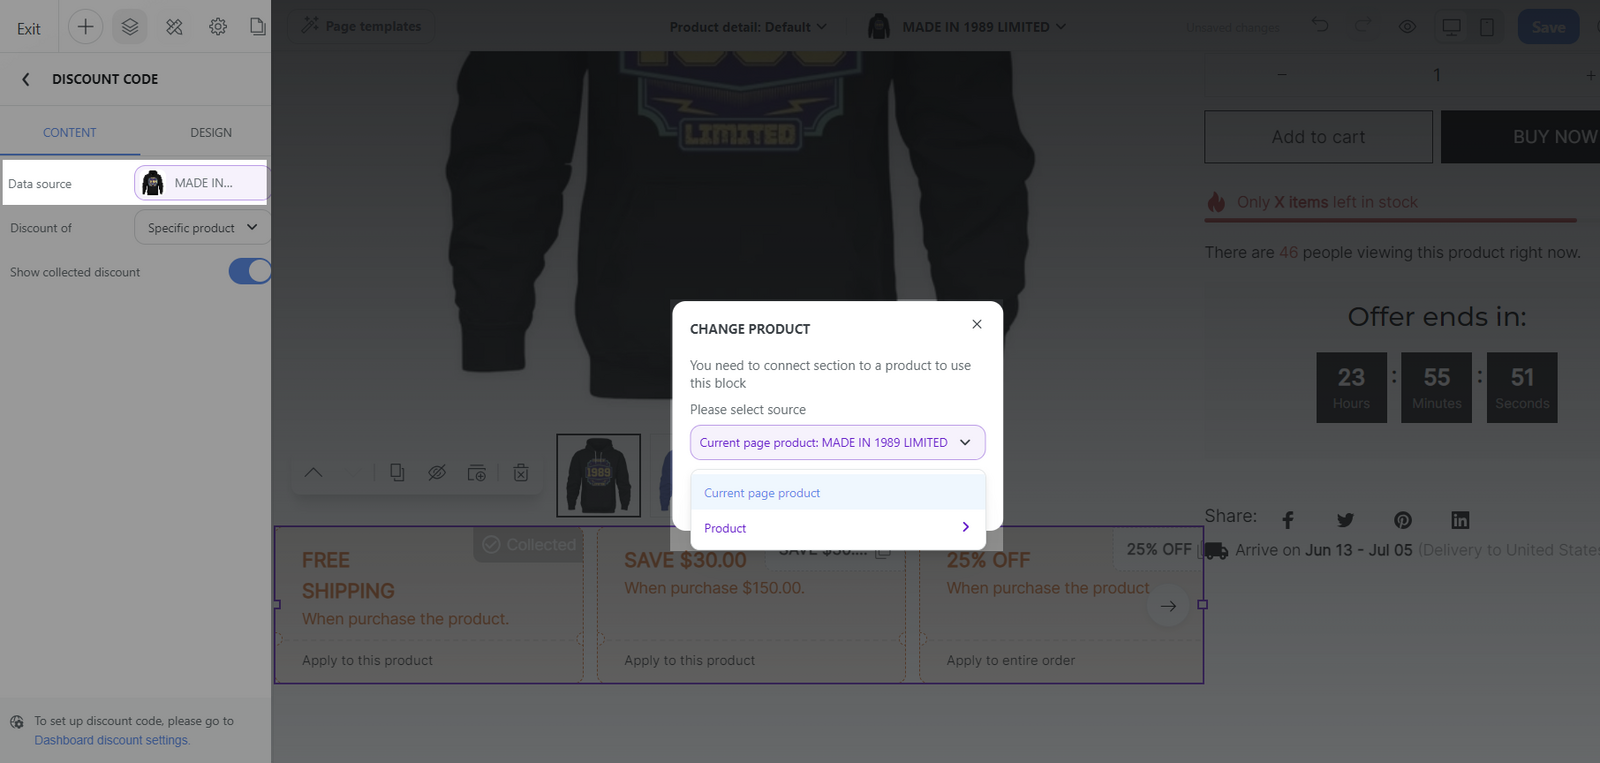
Product in cart: Opt for this setting to show discounts relevant to items that customers have added to their cart. It fits well on the cart page, encouraging customers to proceed with their purchase by taking advantage of applicable discounts.
All products: This selection displays discounts that can be applied to any product purchase. It's best used on the homepage or all collections pages where you want to promote store-wide sales. This option will NOT show discounts limited to specific products.
Show collected discount: This option controls the visibility of automatic discount within the block. When turned off, automatic discount will no longer be visible within this particular block.
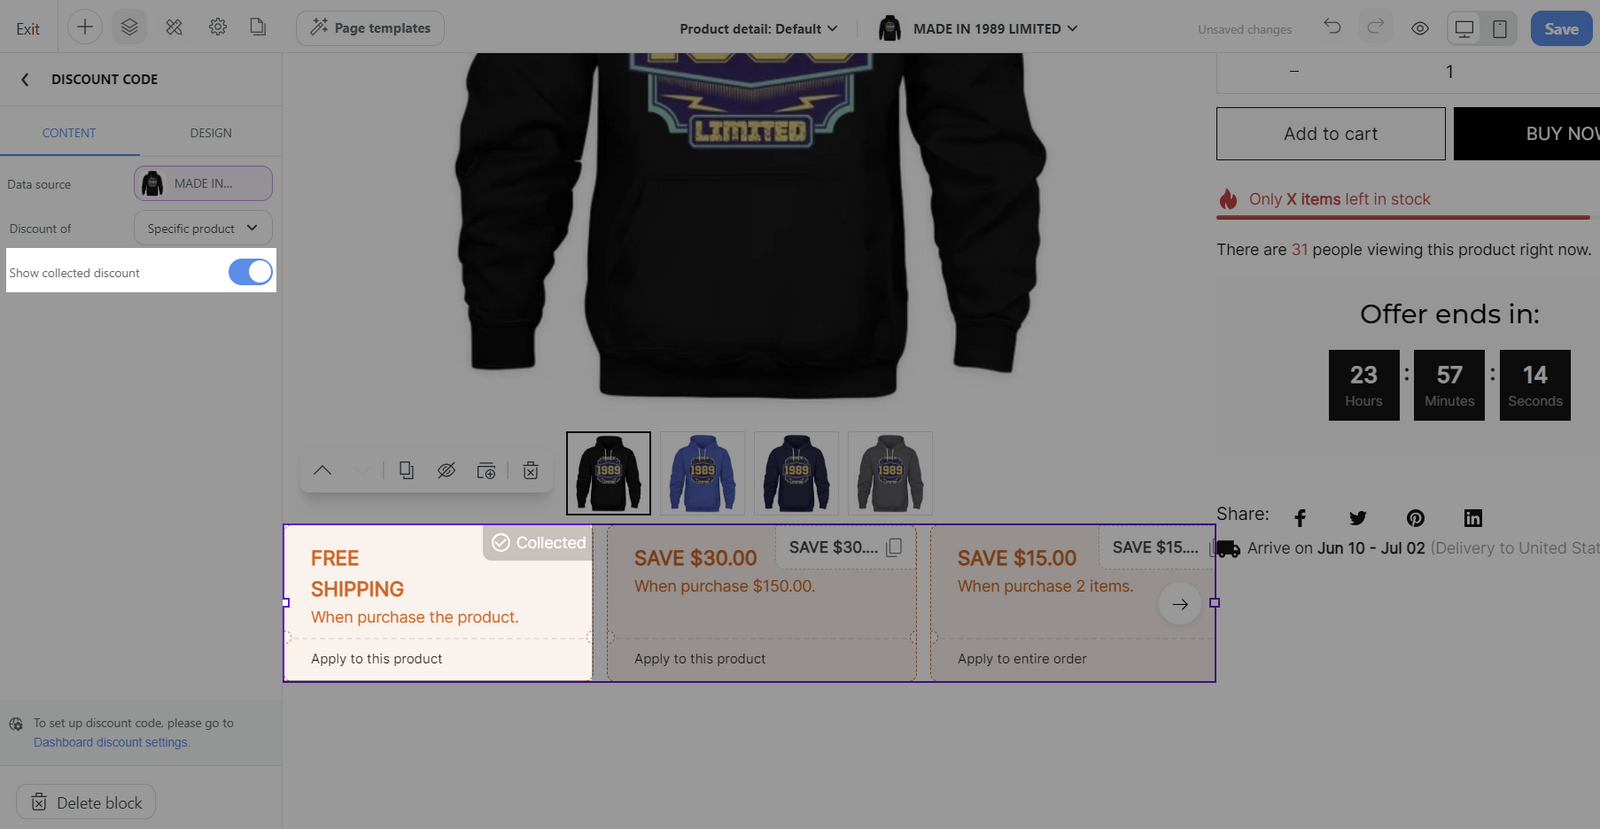
With automatic discount of type BUY X GET Y, in the Customer buys and Customer gets sections, if you select all variants or first variant, the discount code block will show on the storefront. Other selections will NOT display the block. More about settings of automatic discounts can be found in this article.
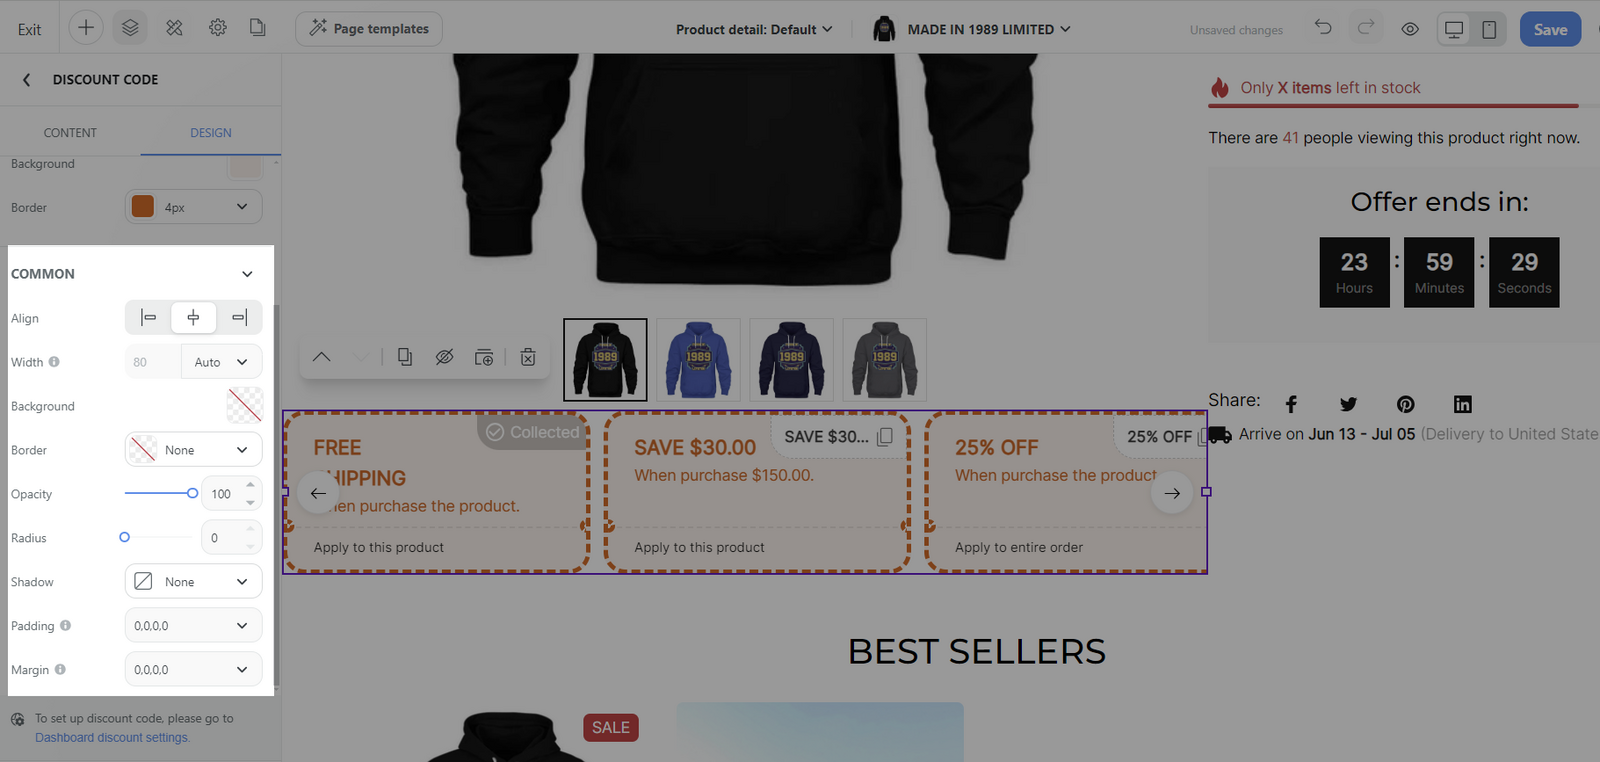
D. Customize the design tab of Discount code block
Select the Discount code block > Design tab.
Discount item section:
Layout: Ticket - emulates the appearance of a traditional coupon, making the discount presentation immediately recognizable and appealing.
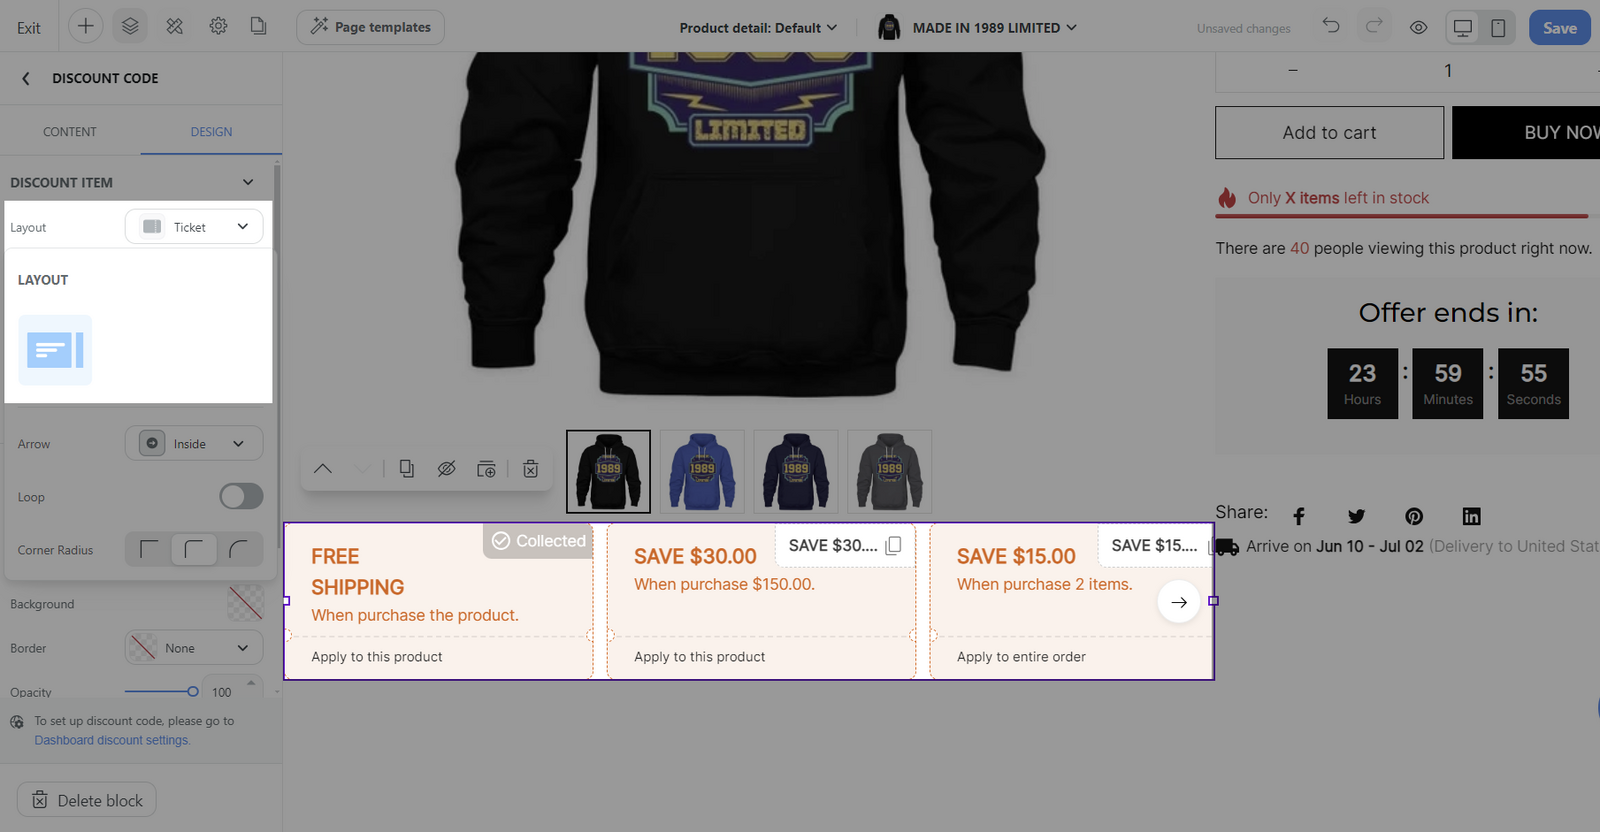
Arrow: Allows you to choose the display style of the arrow, the available arrow display options include:
None: No arrow will be shown.
Inside: The arrow is displayed within the discount item.
On Edge: The arrow appears on the outer edge.
Outside: The arrow is located outside the discount item.
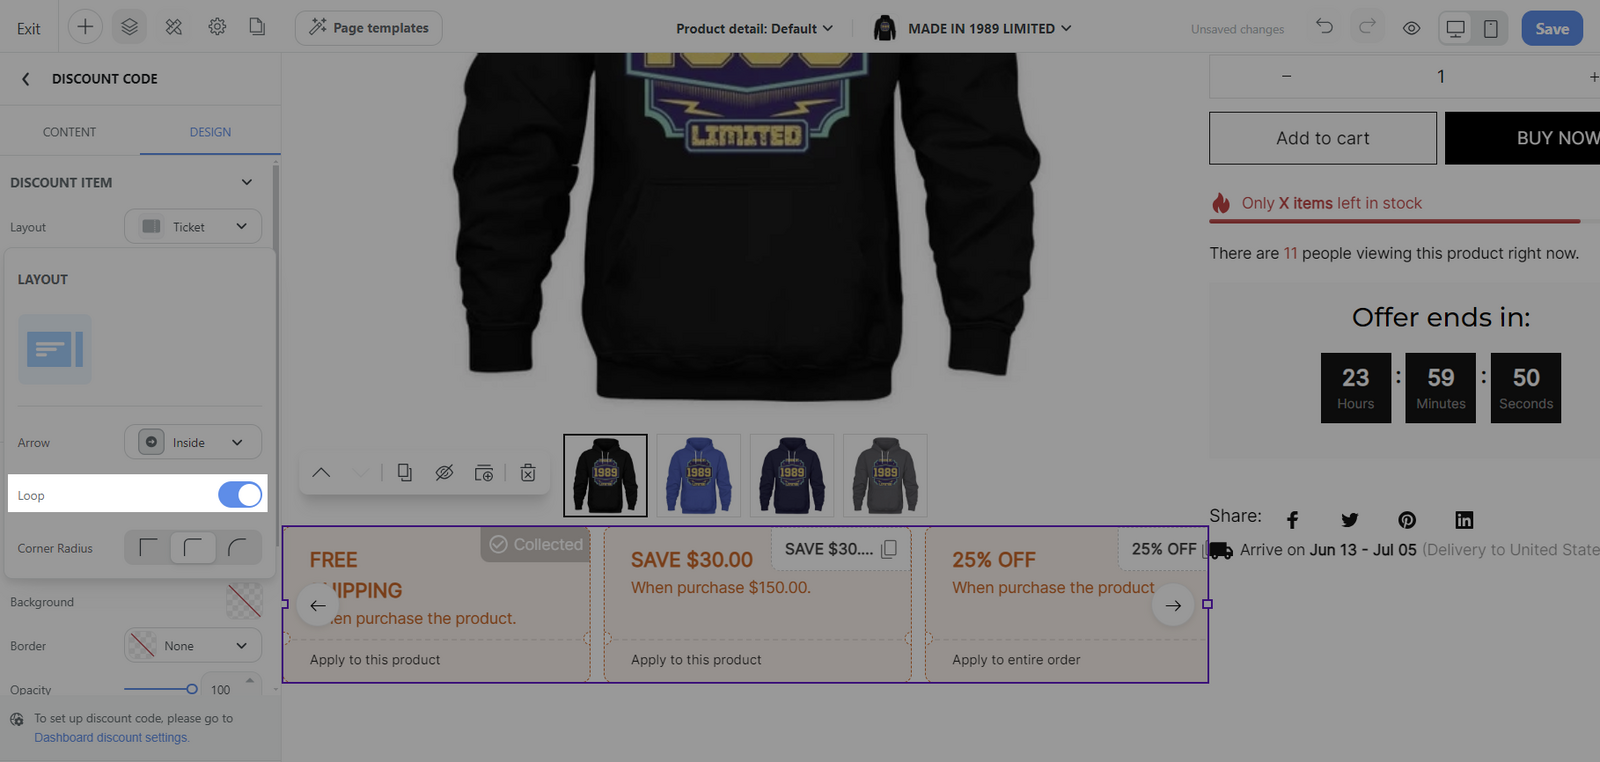
Loop: When enabled, the discount codes will loop back to the beginning after the last discount has been displayed.
Corner radius: Adjusts the curvature of the discount item's corners. Options typically include: Sharp, Smooth, and Rounded.
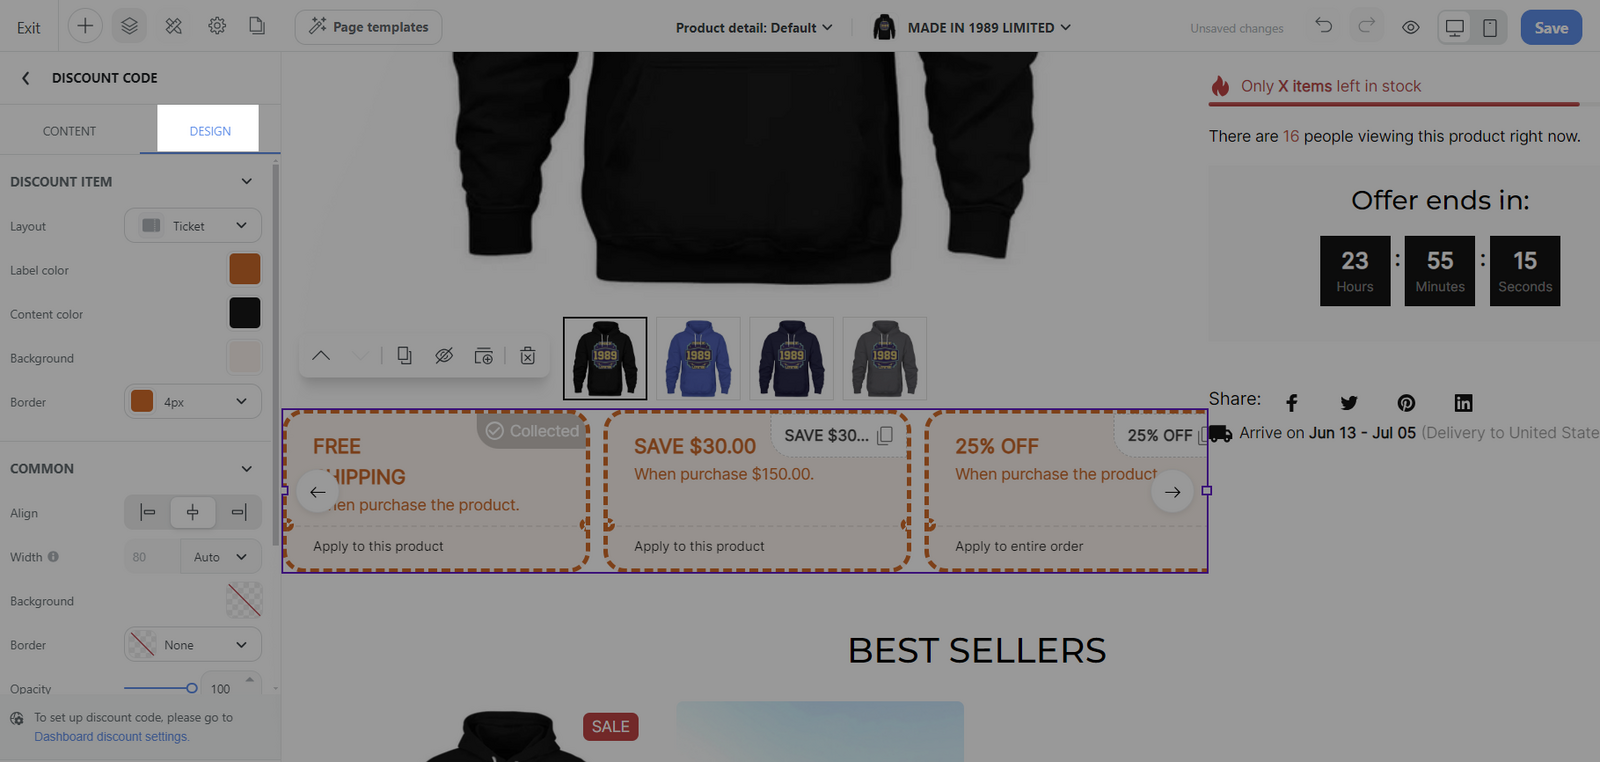
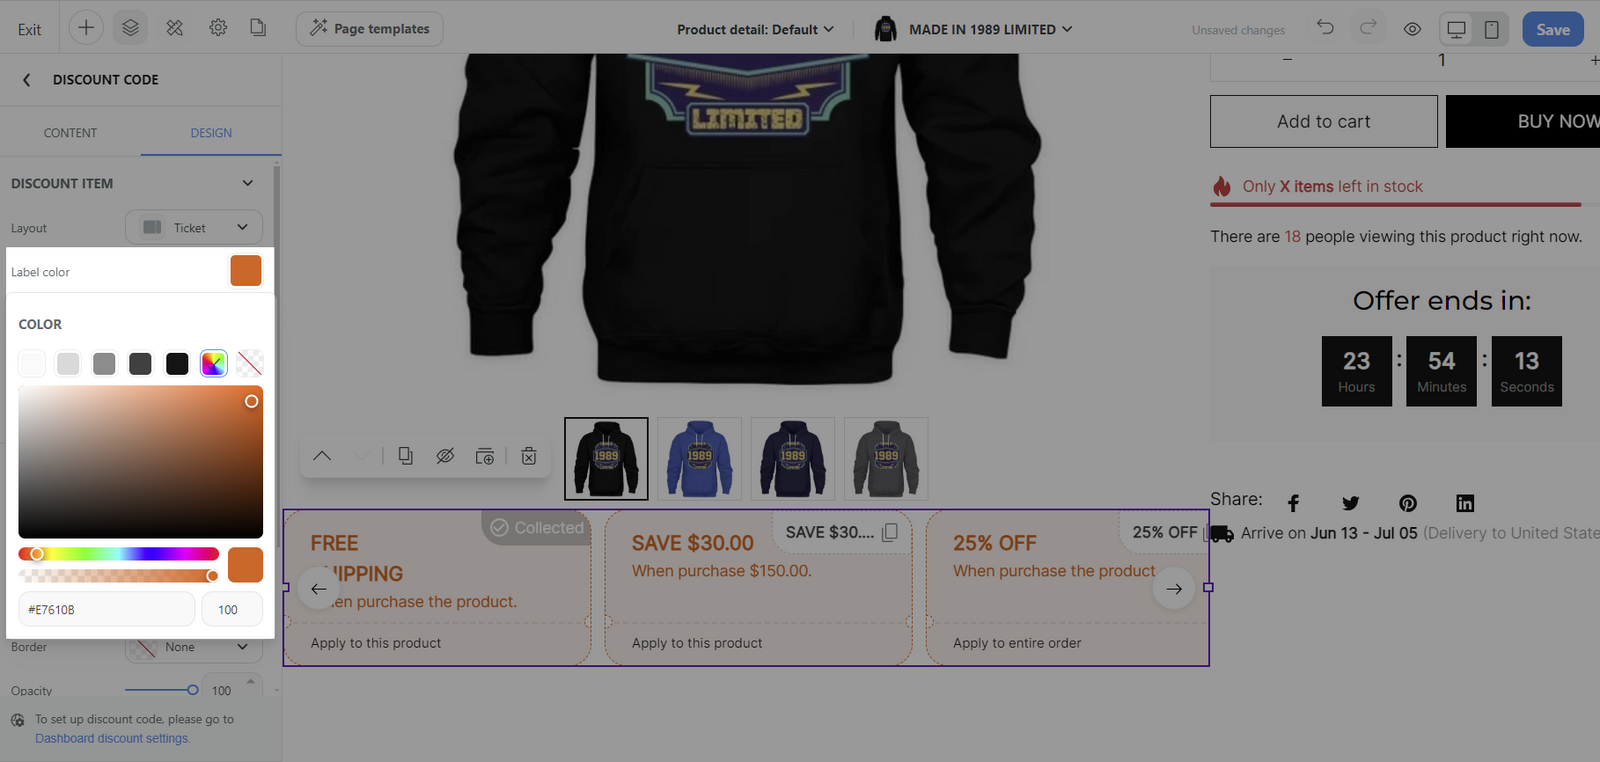
Label color: Defines the color of the label text within the discount item.
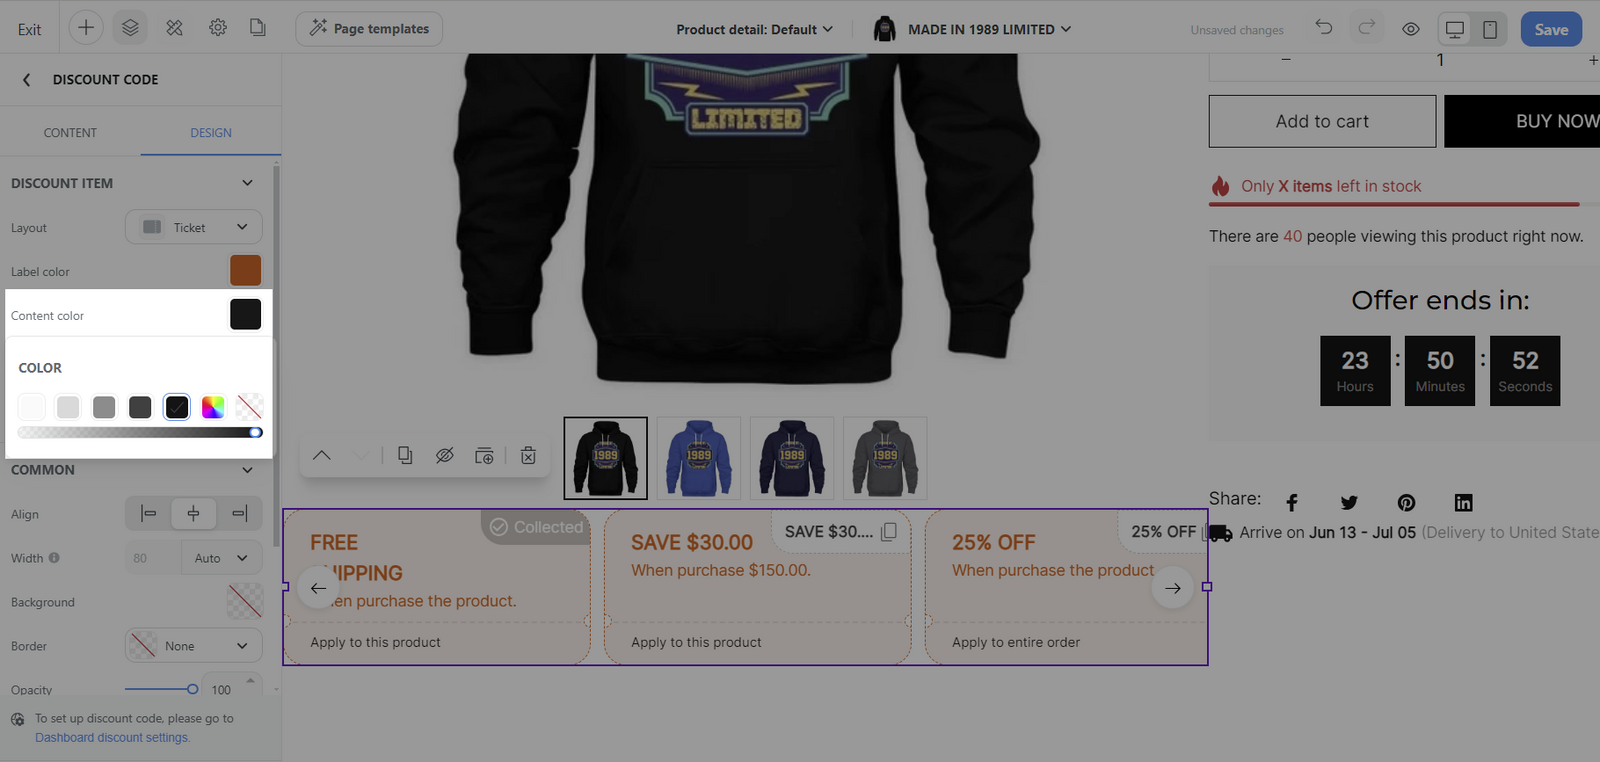
Content color: Sets the color of the main content or text in the discount item.
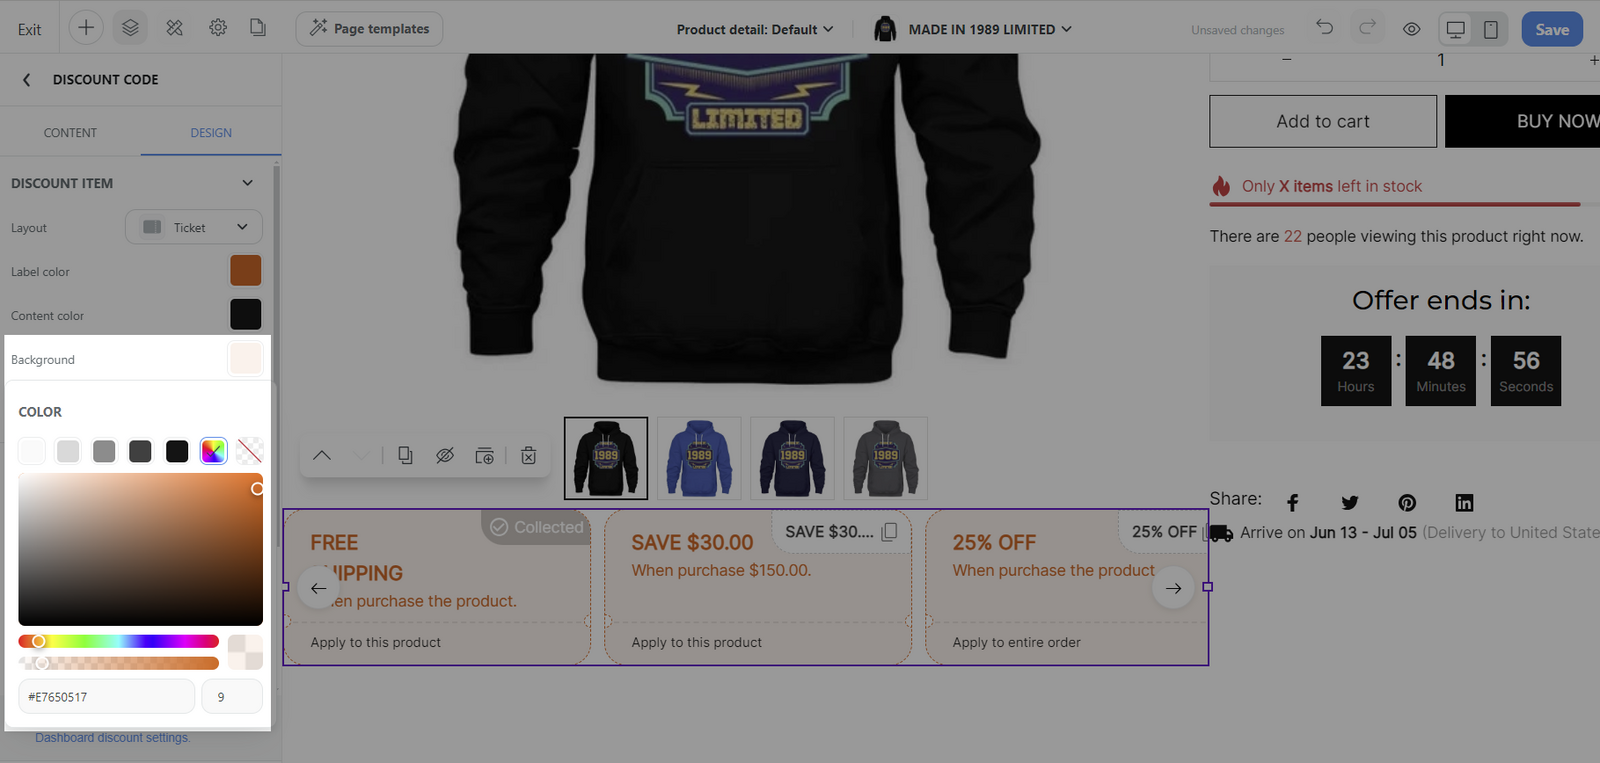
Background: Determines the background color of the entire discount item. This should contrast well with the text for readability and align with your brand’s color scheme.
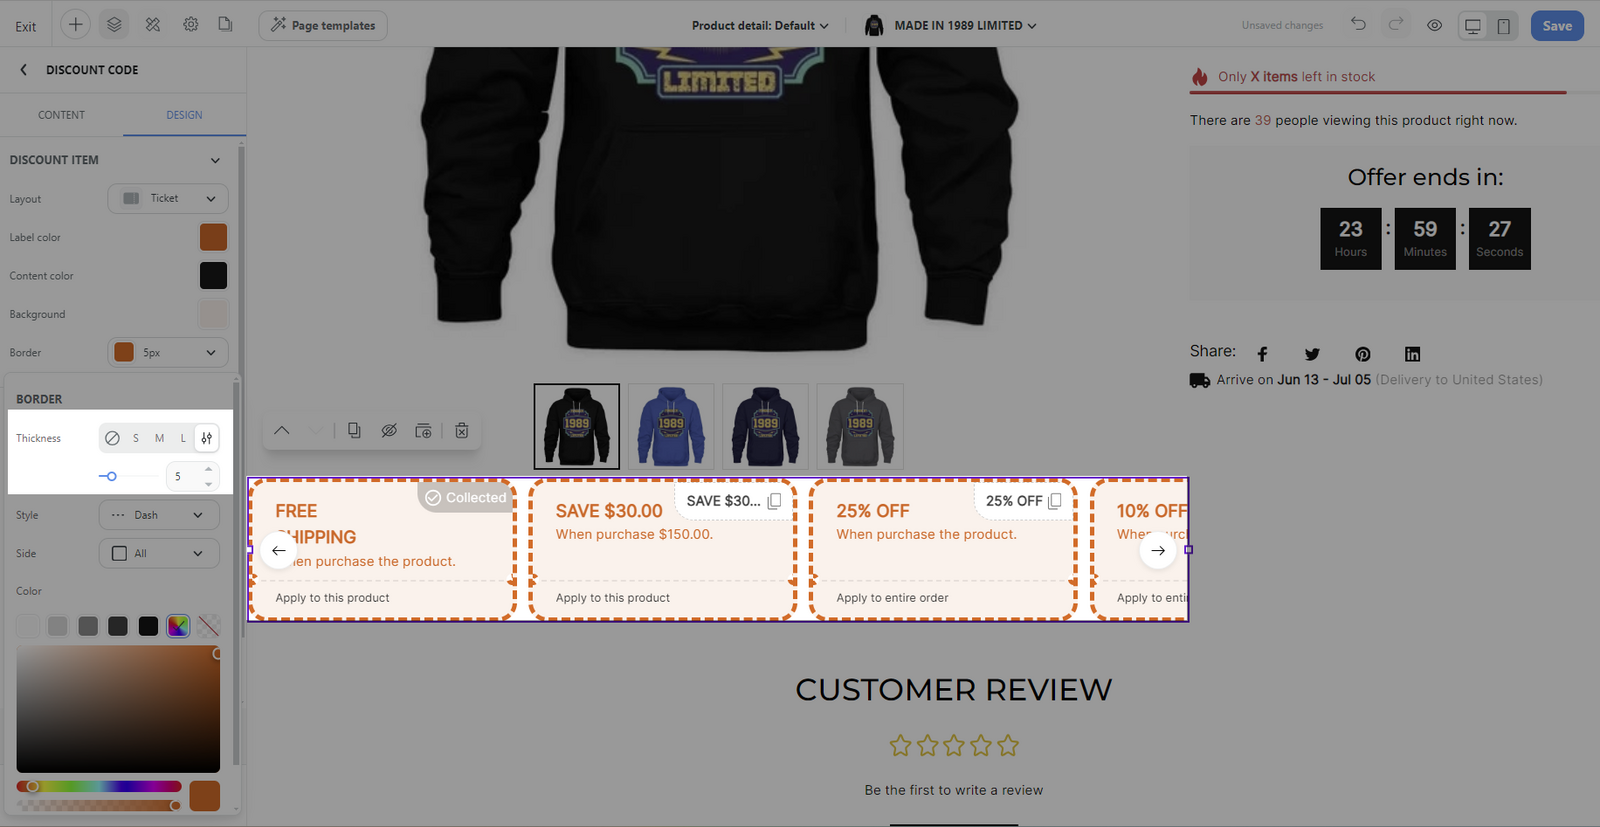
Border:
Thickness: Modifies the width of the discount item's border, with options ranging from: None (No border), S (Small - 1px), M (Medium - 4px), L (Large - 10px), Custom (Allows for a specific thickness to be input for unique designs.)
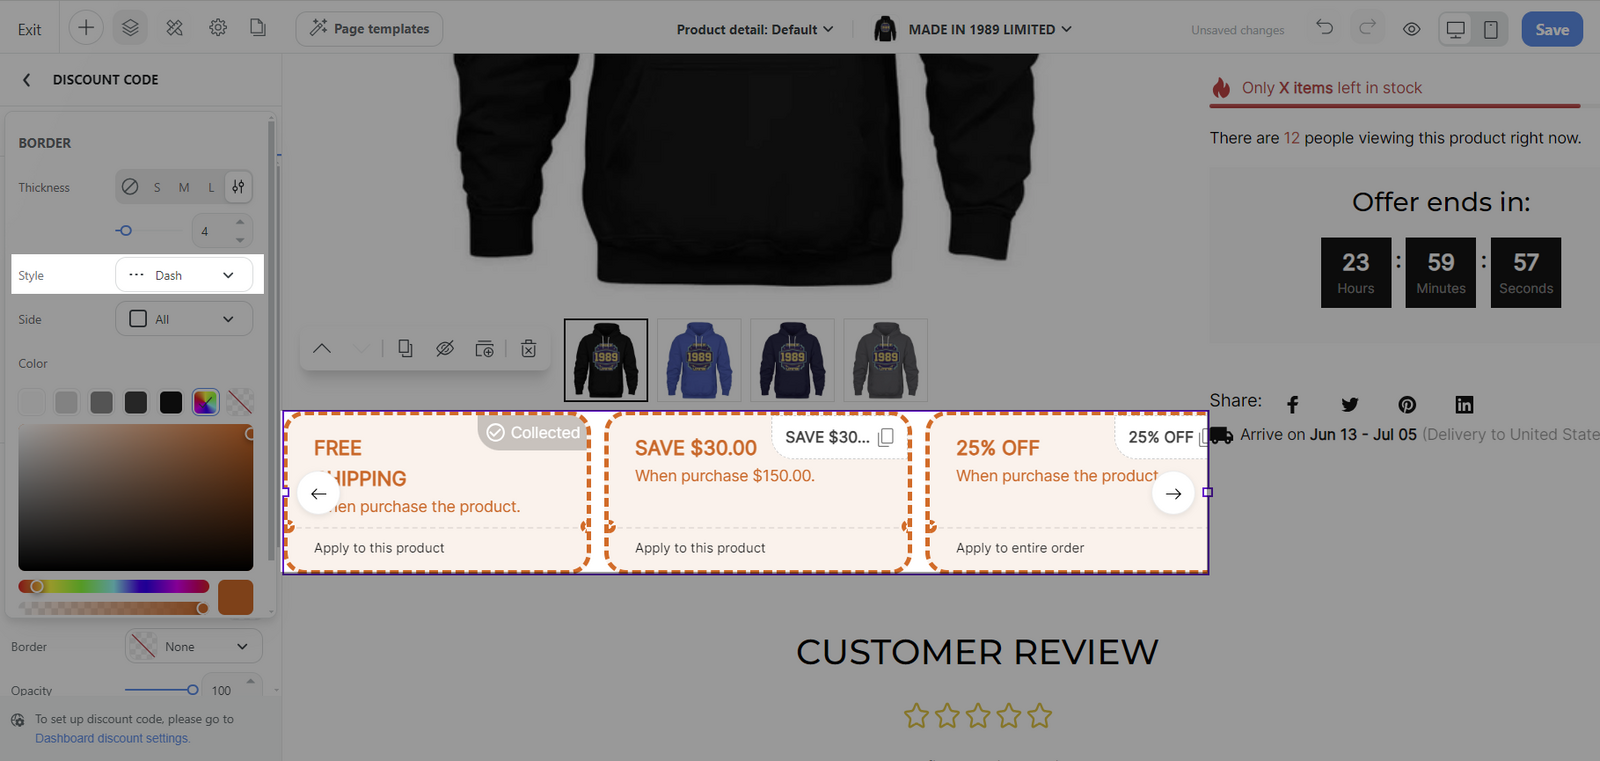
Style: Defines the pattern of the borderline.
Solid: A continuous line which is clean and traditional.
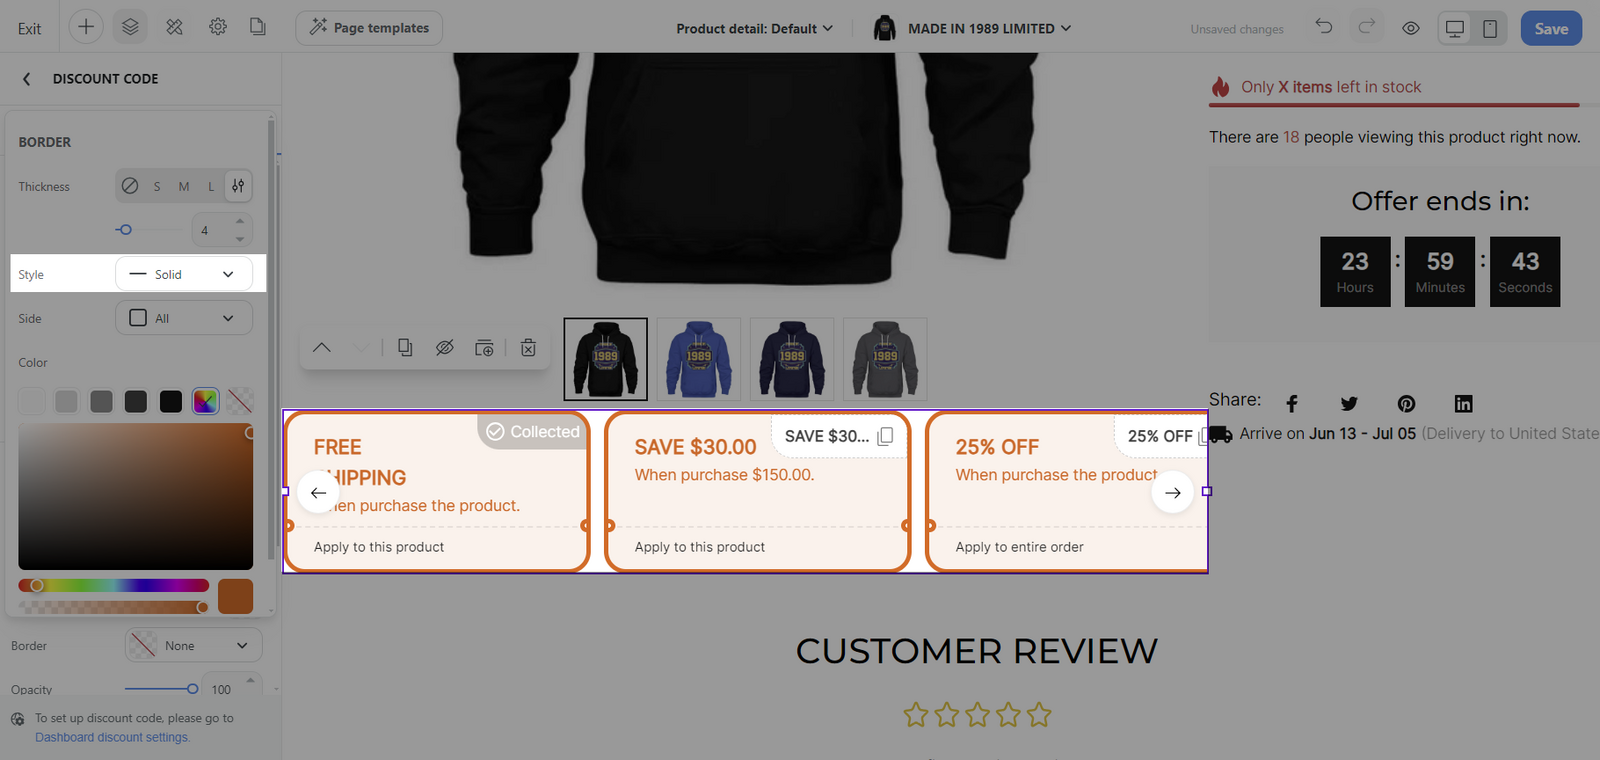
Dash: A dashed line that adds a playful or more distinct edge.
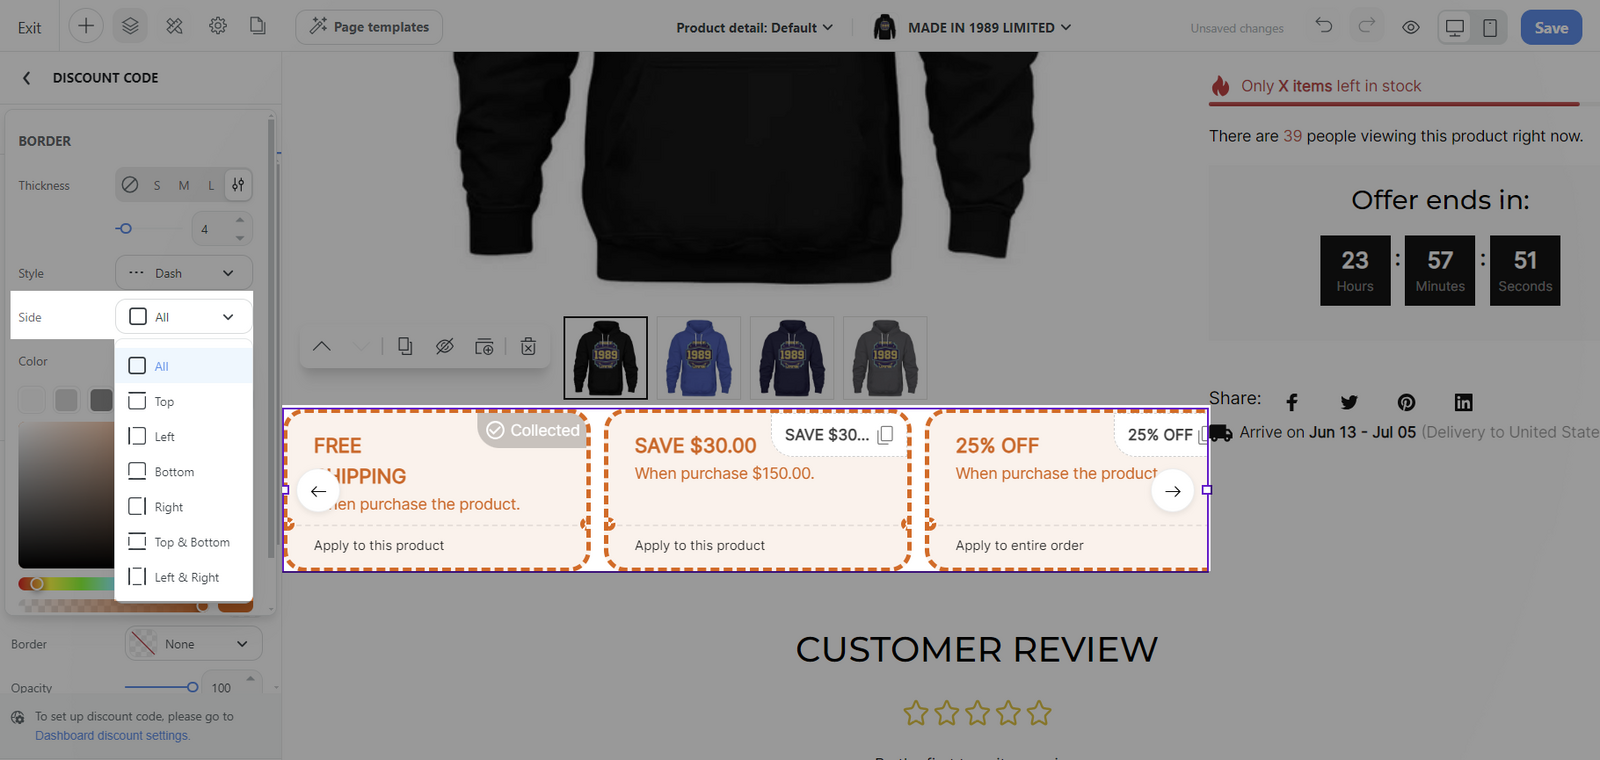
Side: Indicates which sides of the discount item will have a border: All, top, left, bottom, right, top & bottom, and left & right.
Color: Allows you to select a specific color for the border, which should coordinate with the overall design to frame the discount attractively.

Common section:
You can design general settings for the block. Please visit this article for more information.
Updated about 1 month ago