How to customize Checkout Form and Order Summary block in Website Builder
This article is also available in:
This article shows you how to configure the complete Checkout form on your store, helping you create the most seamless and reliable checkout experience for customers.
In this article
A. Customize checkout form block
B. Customize order summary block
A. Customize checkout form block
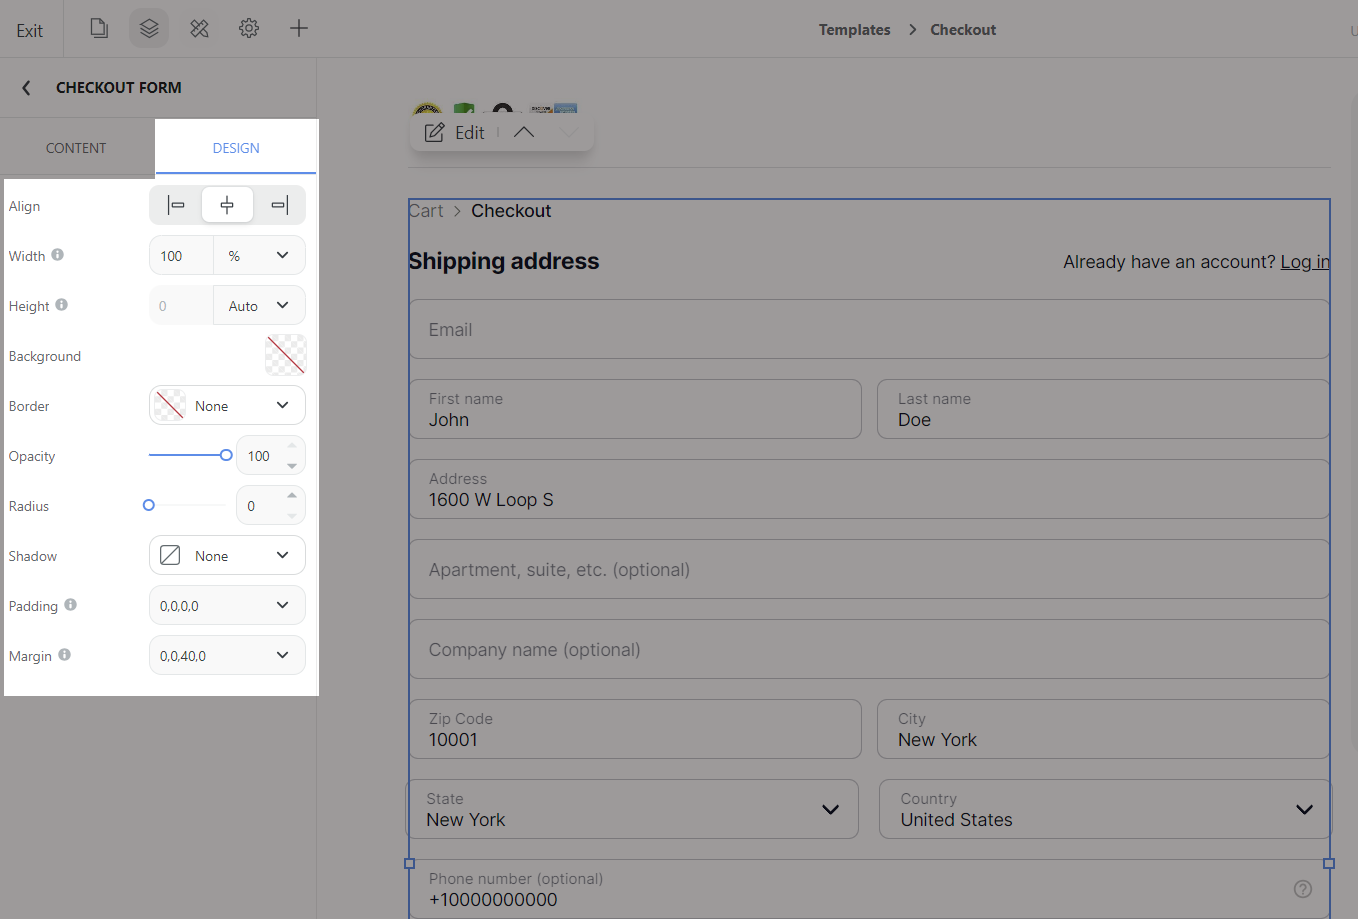
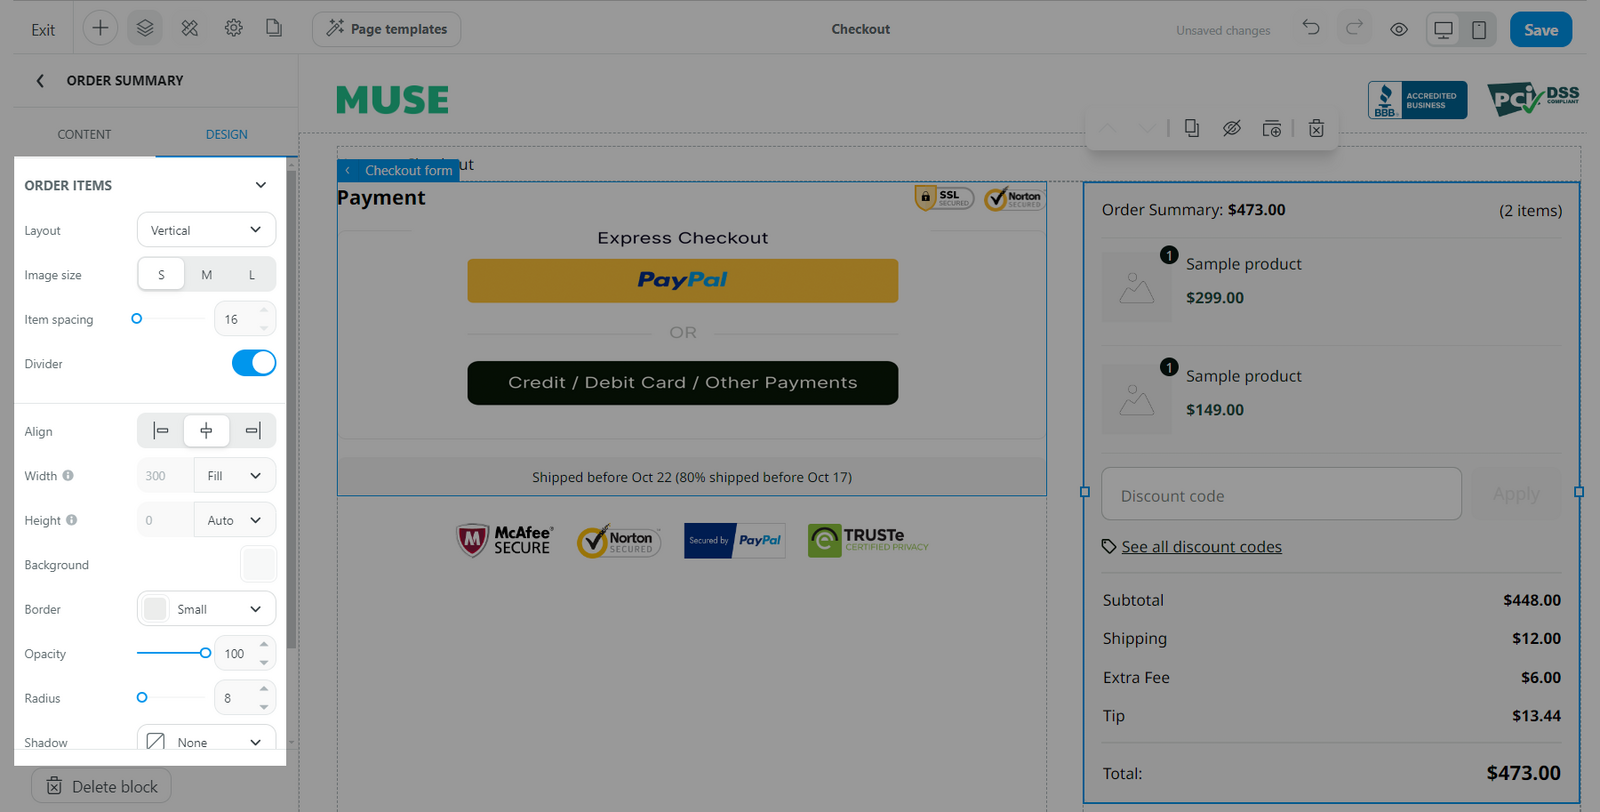
In Website Builder, go to checkout page, select Checkout form block.
Edit content for the block
Navigate to Content tab.
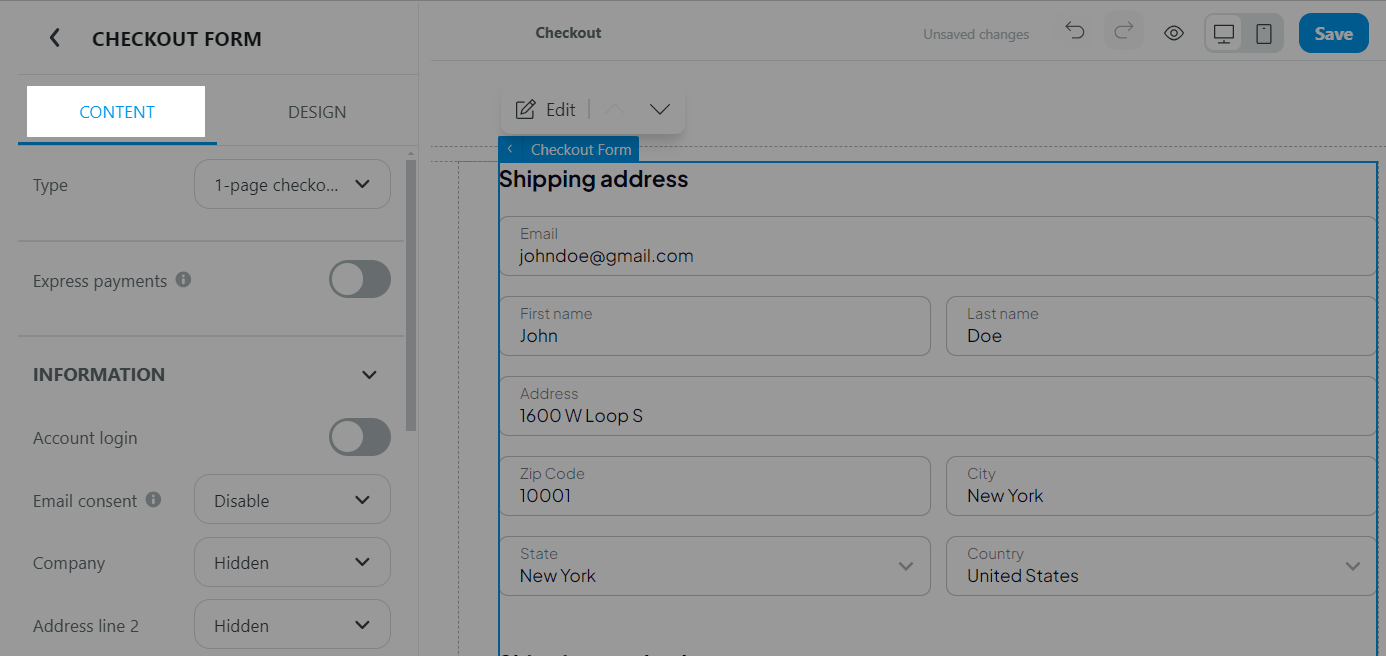
Type: Choose 1 of 3 available layouts: 1-page checkout, 3-step checkout, or Express-focused checkout.

Express payments: You can choose to enable Express payments feature. Please visit this article to learn more about Express payments.
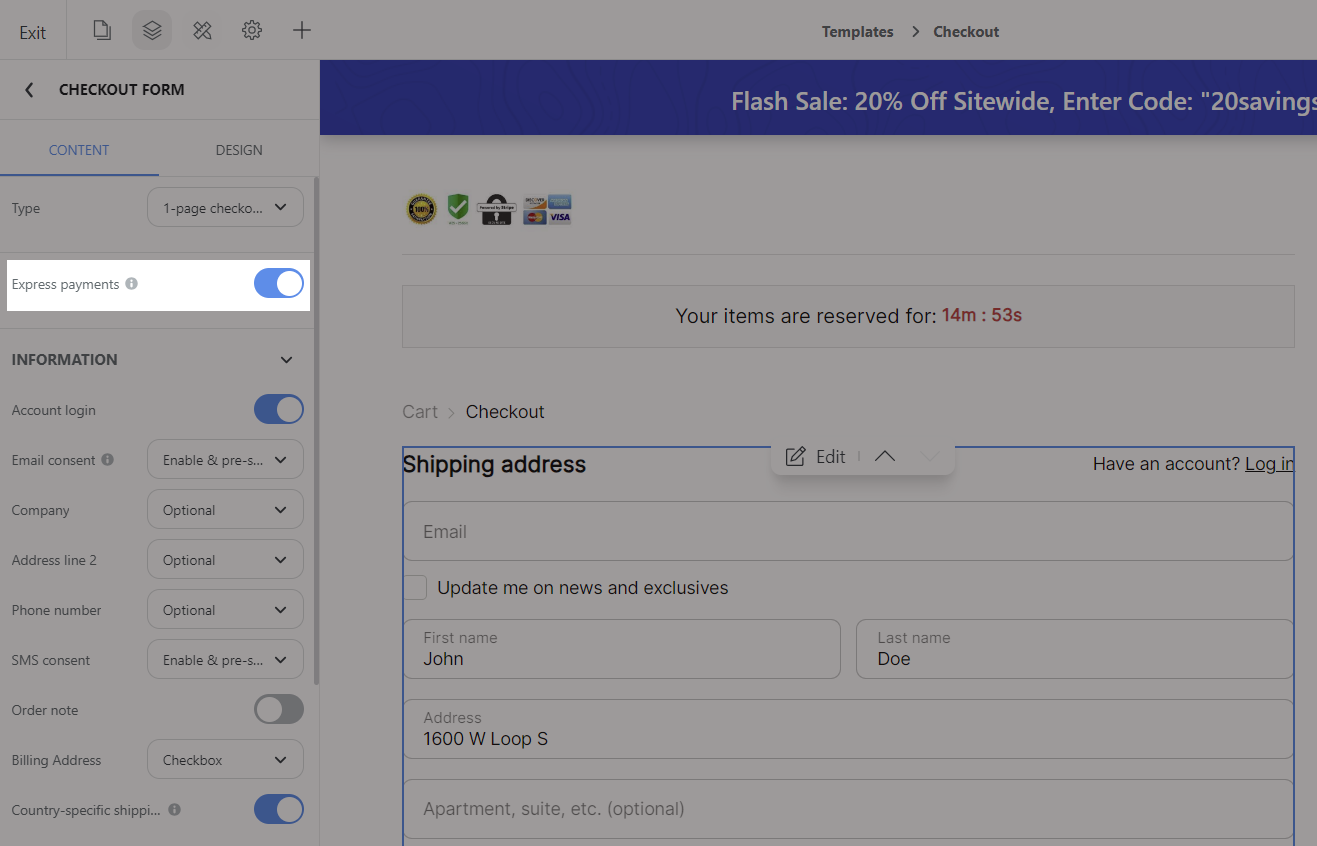
Account login: You can assist buyers to log in to their accounts to fill in payment information faster, in case they are returning as customers who have made a previous purchase.
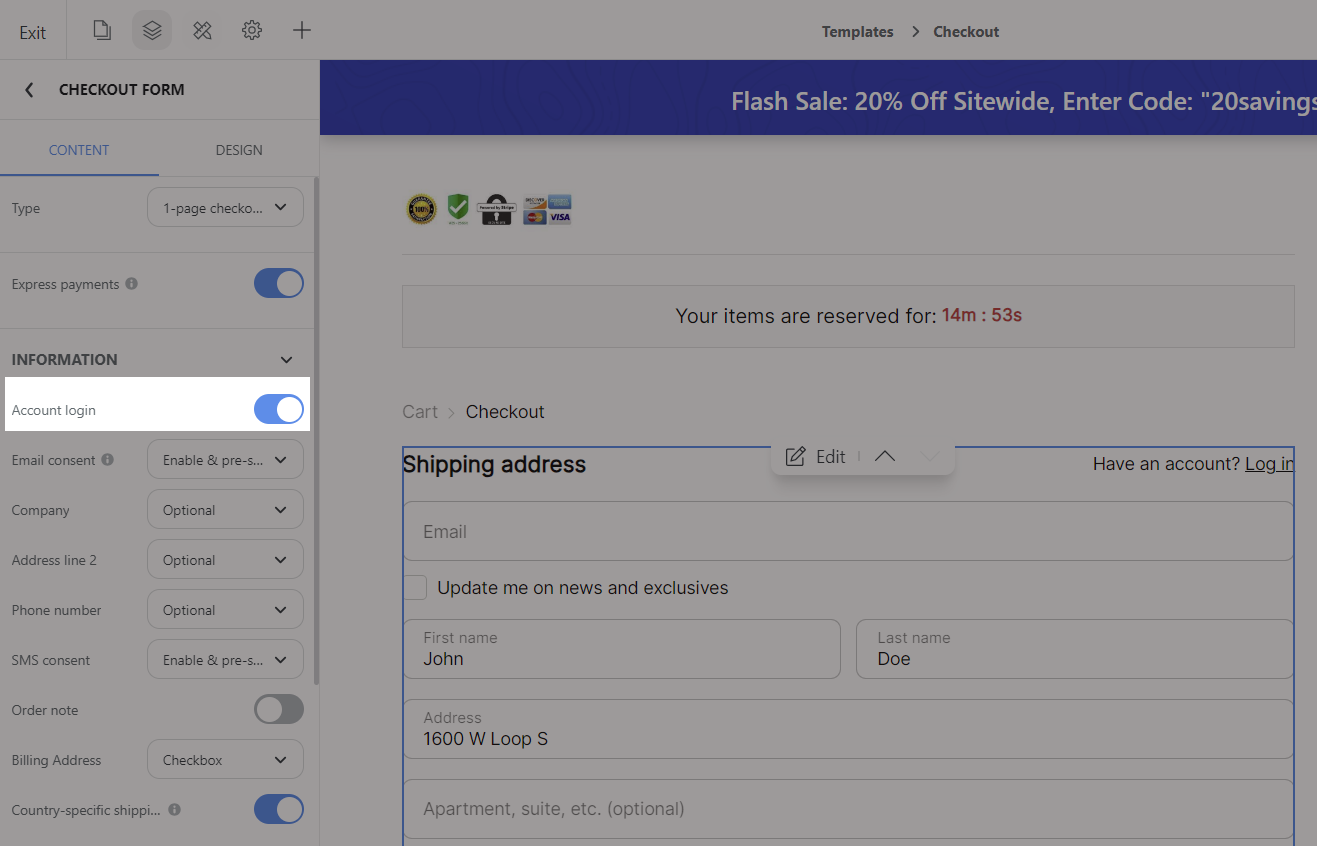
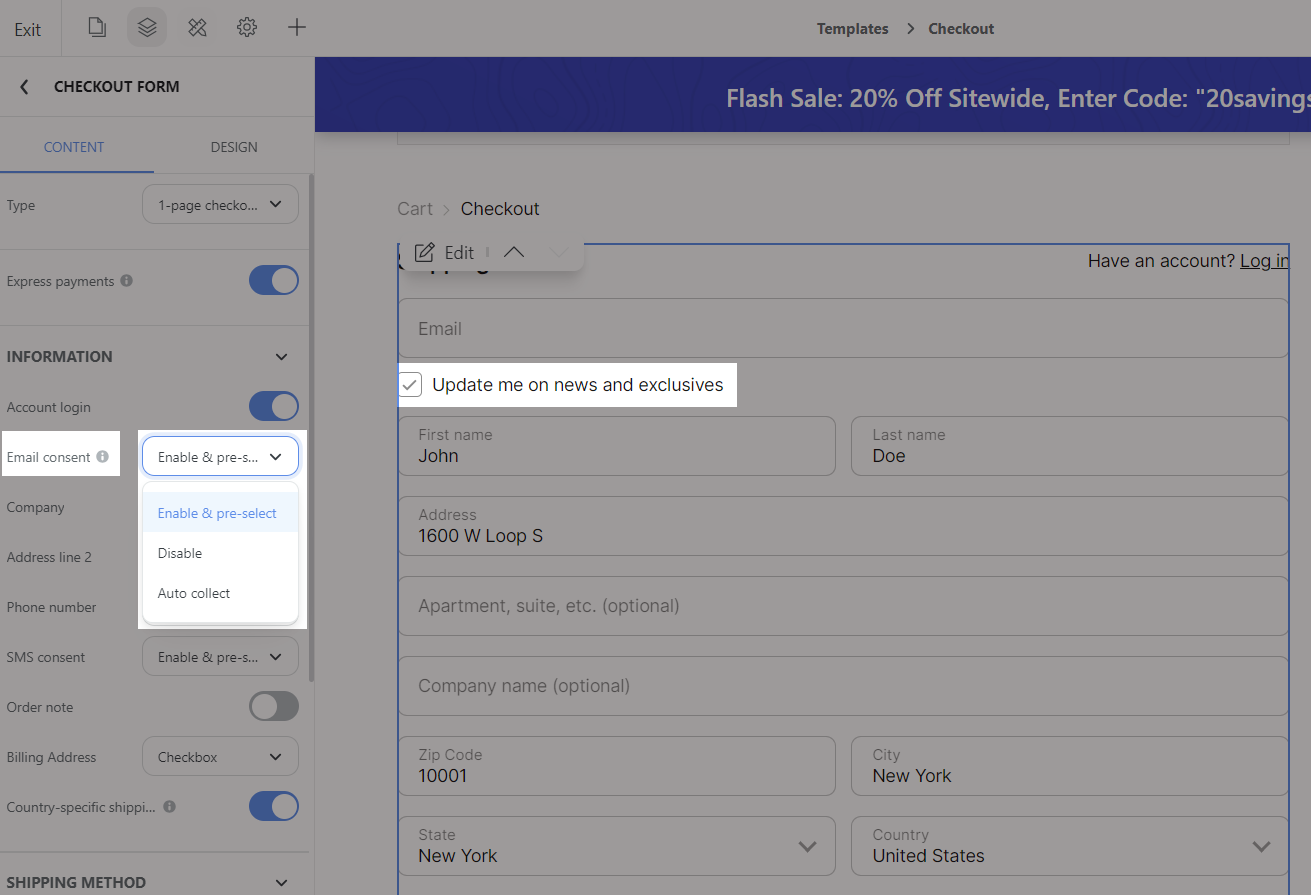
Email consent: You can give buyers the option to opt-in to receive email.
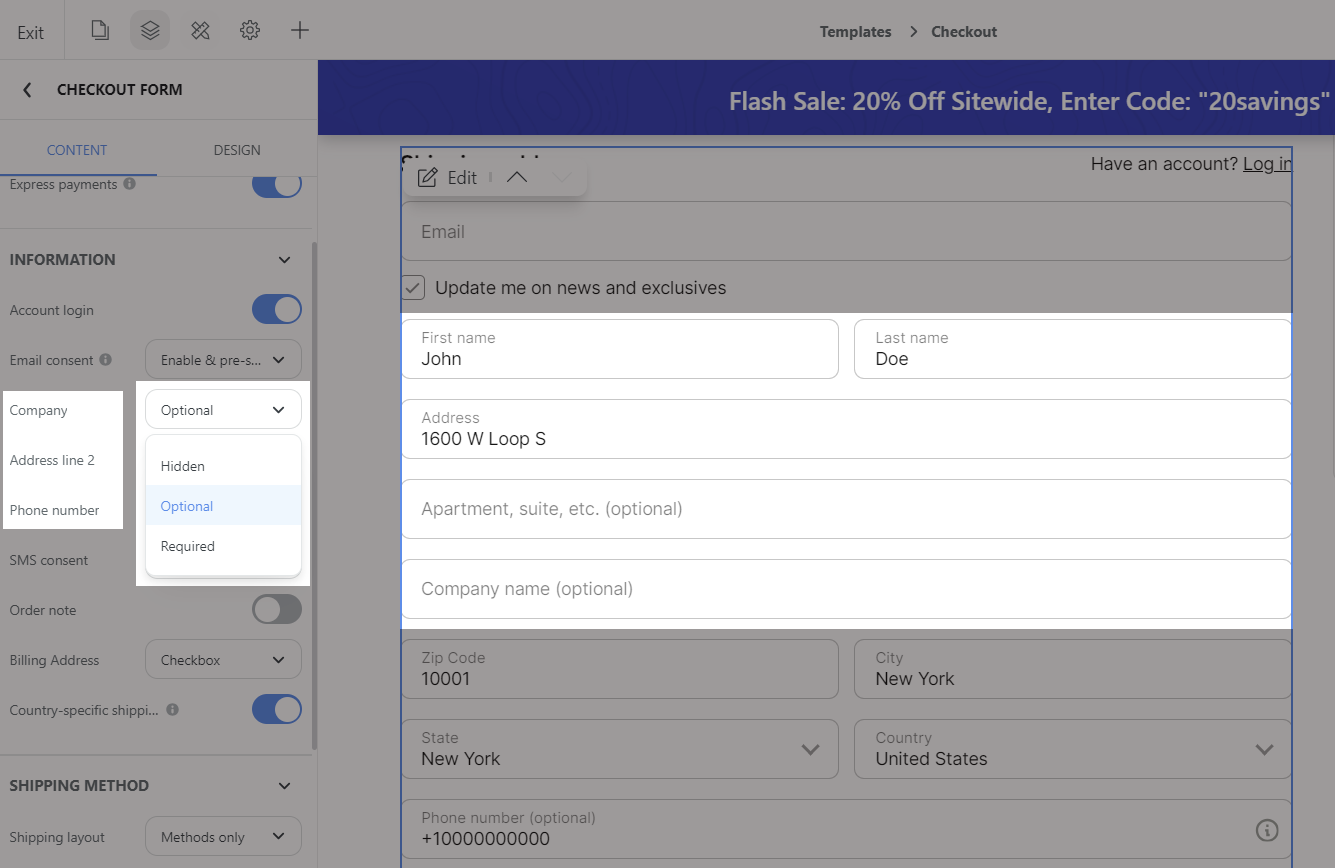
Company, Address Line 2, Phone number: You can set these information as Hidden, Optional or Required.
SMS consent: You can give buyers the option to opt-in to receive news and offers via SMS communications.

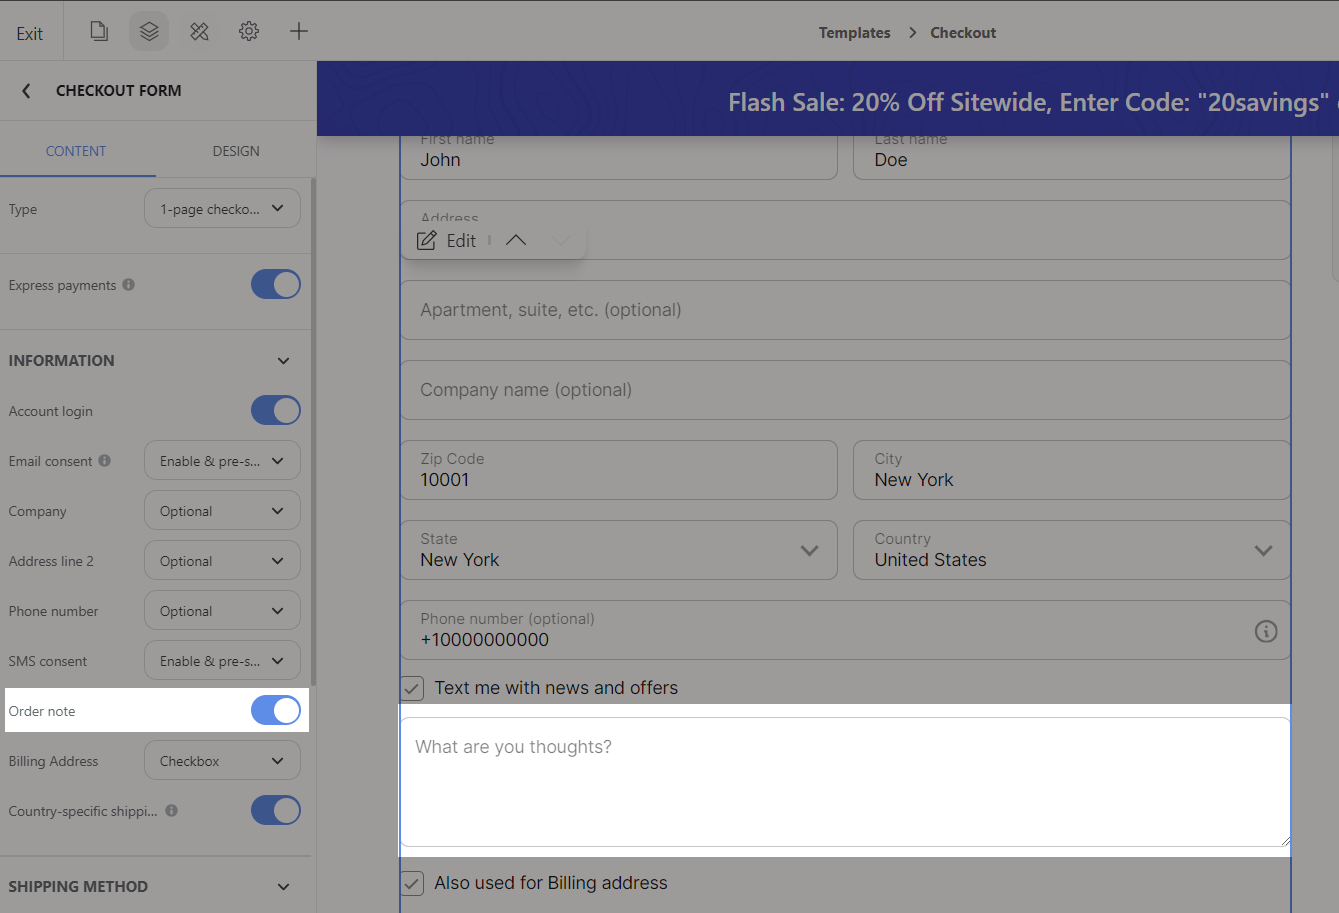
Order note: You can display the Order note field in the checkout form if the buyer needs to leave additional information with the order being placed.
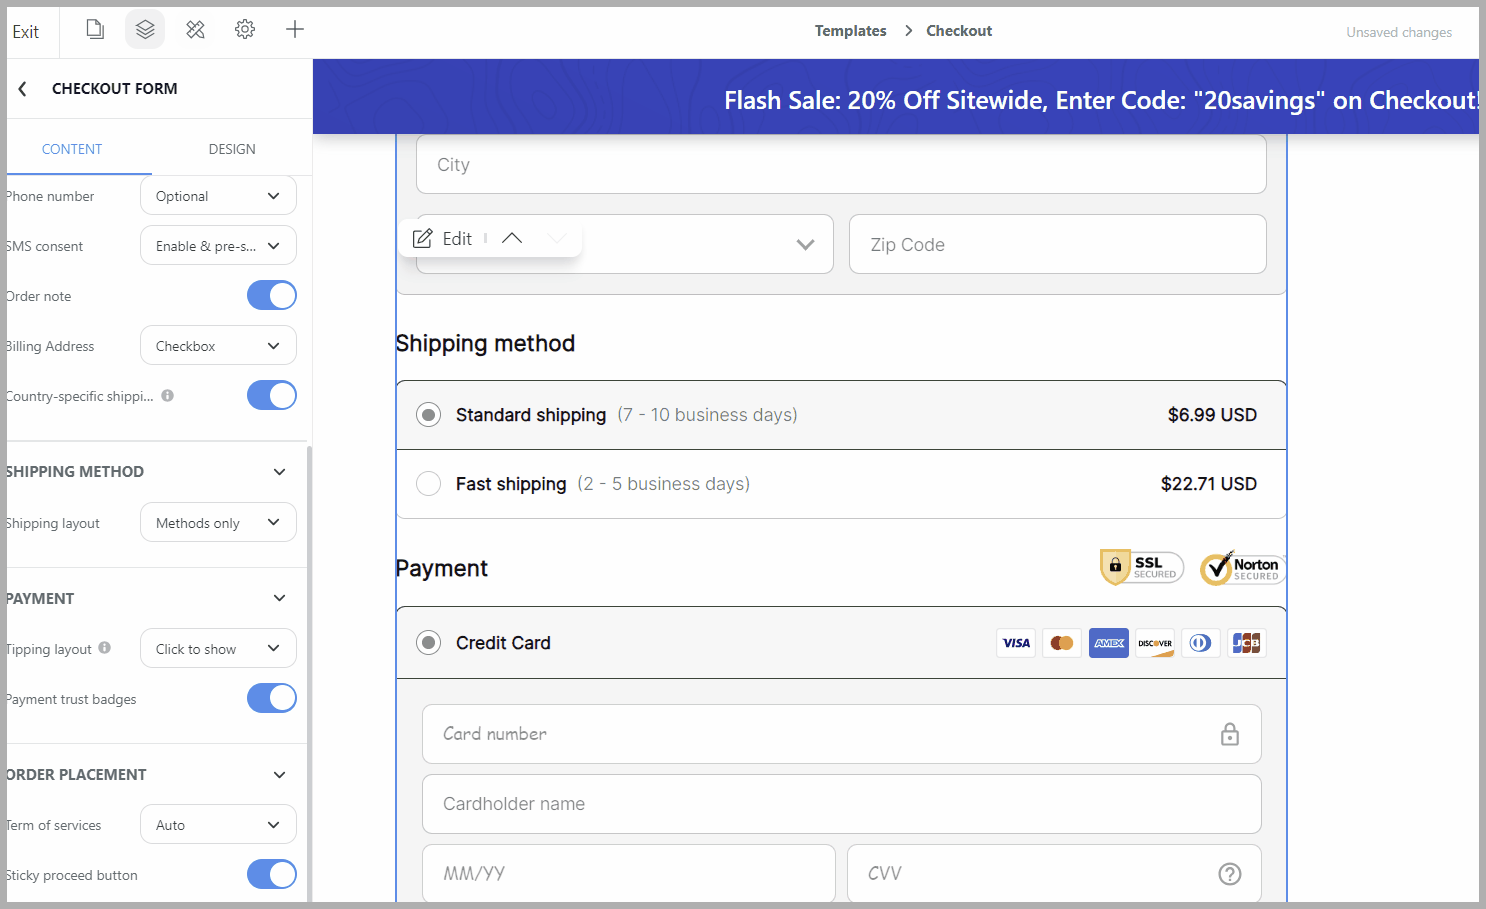
Billing Address: You can choose the layout of billing address as Radio button, Checkbox or hide this box.
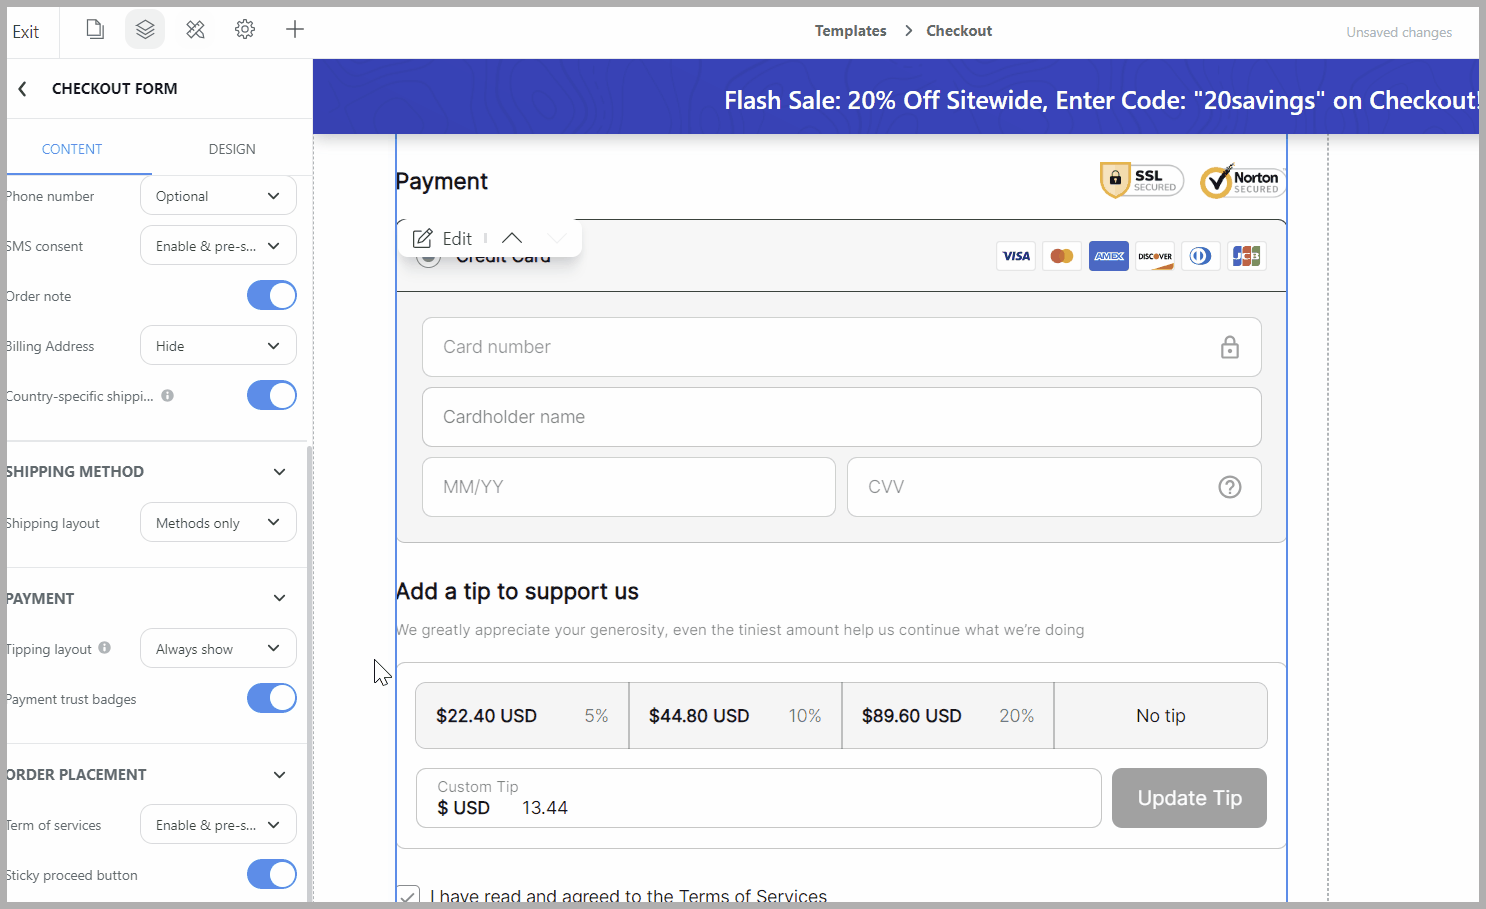
Tipping layout: There are 2 different layout options for us to choose from: Always show and Tick to show. You can also choose to hide the tipping option.
Payment trust badges: You can toggle to show/hide these trust budges.

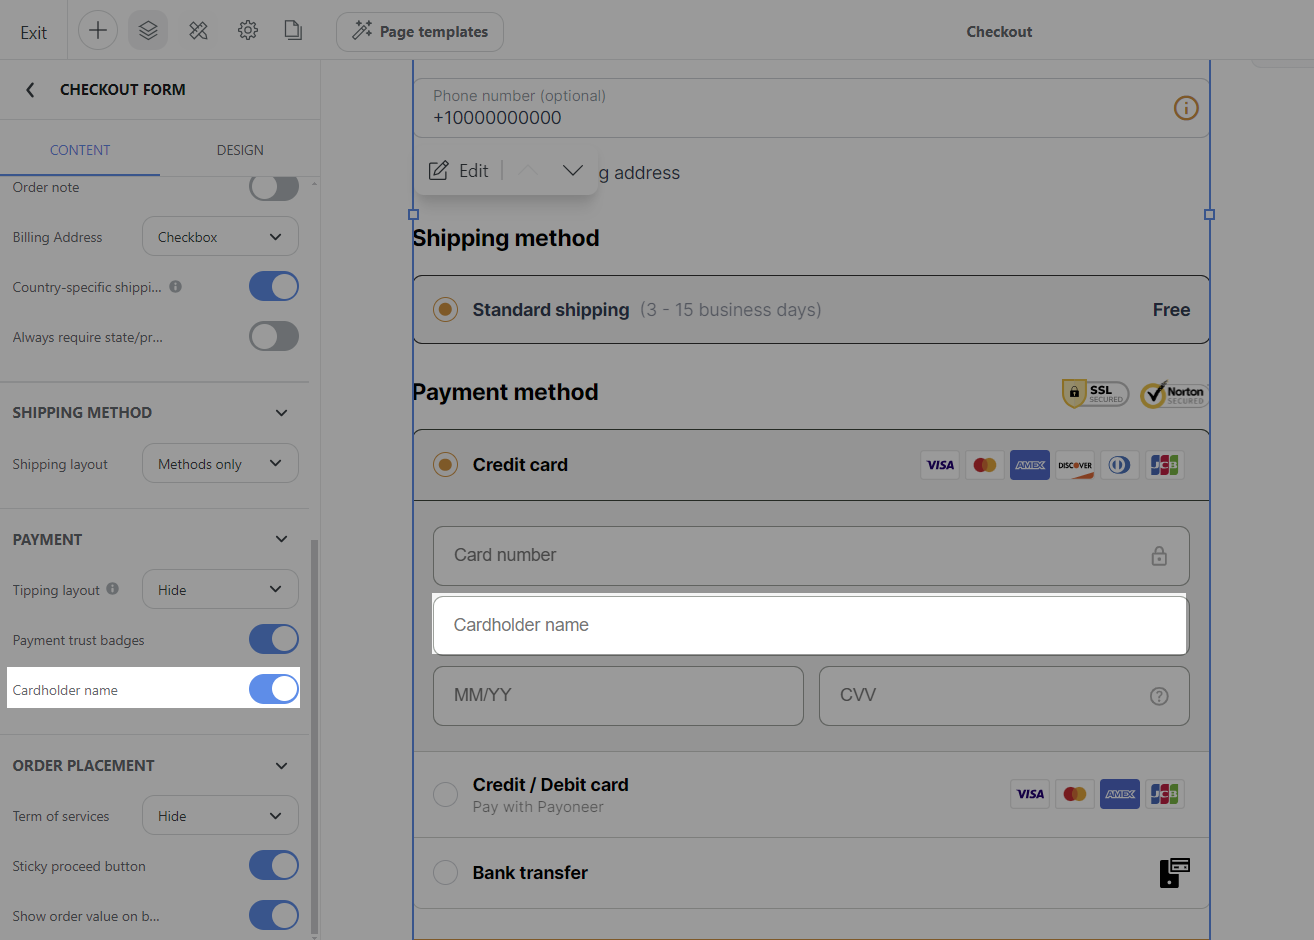
Cardholder name: When this option is enabled, the customers need to enter their cardholder name when checking out using a credit or debit card.
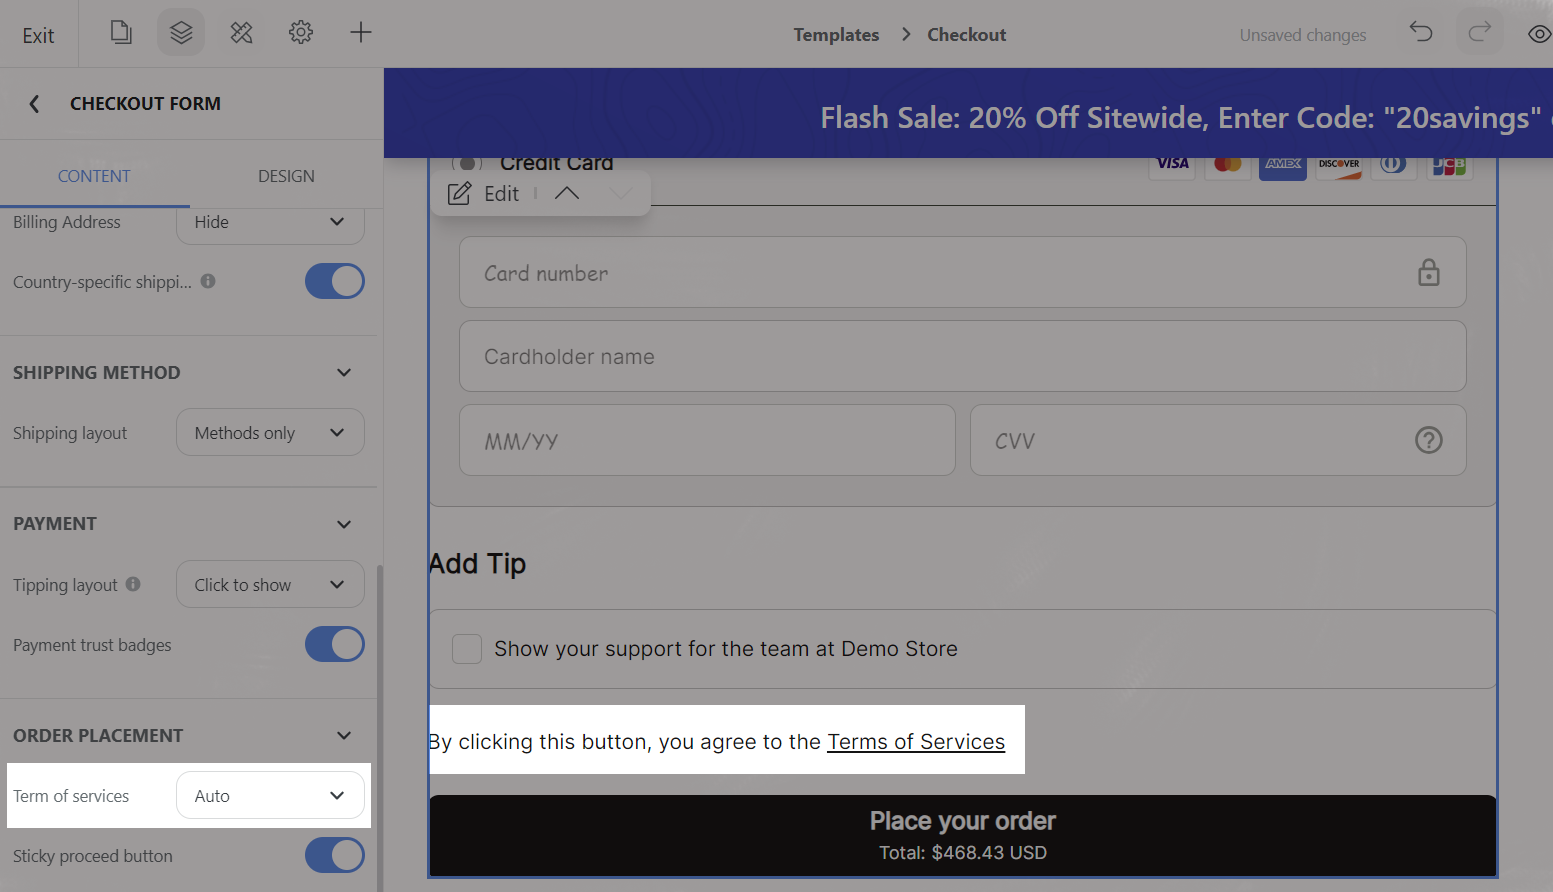
Term of services: You can enable the settings of Term of services as Enable & pre-select, Auto or hide it.
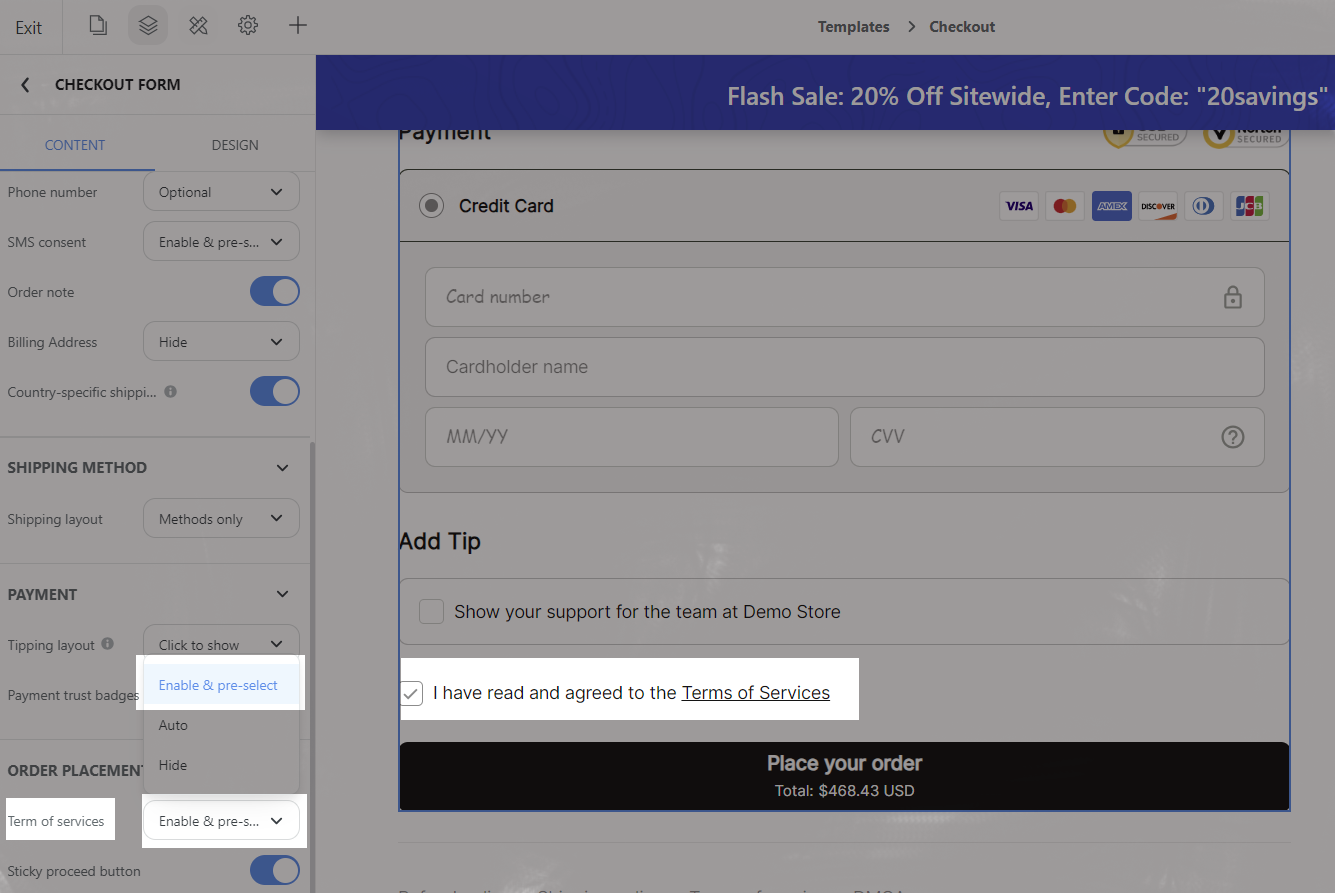
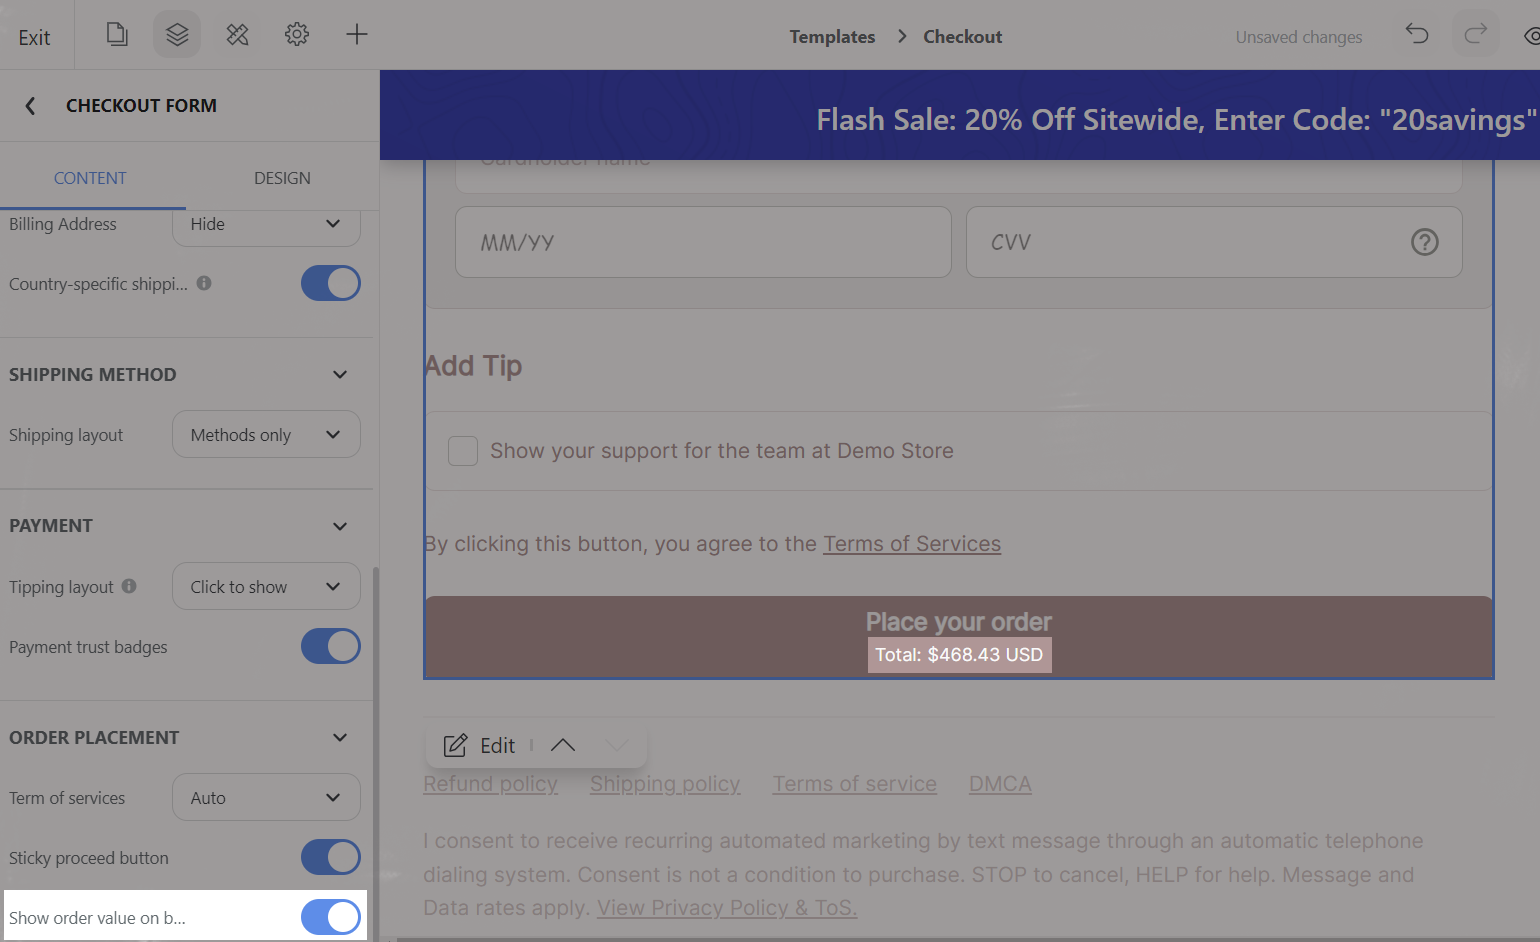
Sticky proceed button: If this button is toggled, in mobile, the sticky add to cart button is enabled on the end of the screen when scrolling.
Show order value on button: If this button is toggled, the order value will be in Place your order section.
Edit design for the block
Navigate to Design tab. Here, you can edit the format of the block based on the general settings from this article.
B. Customize order summary block
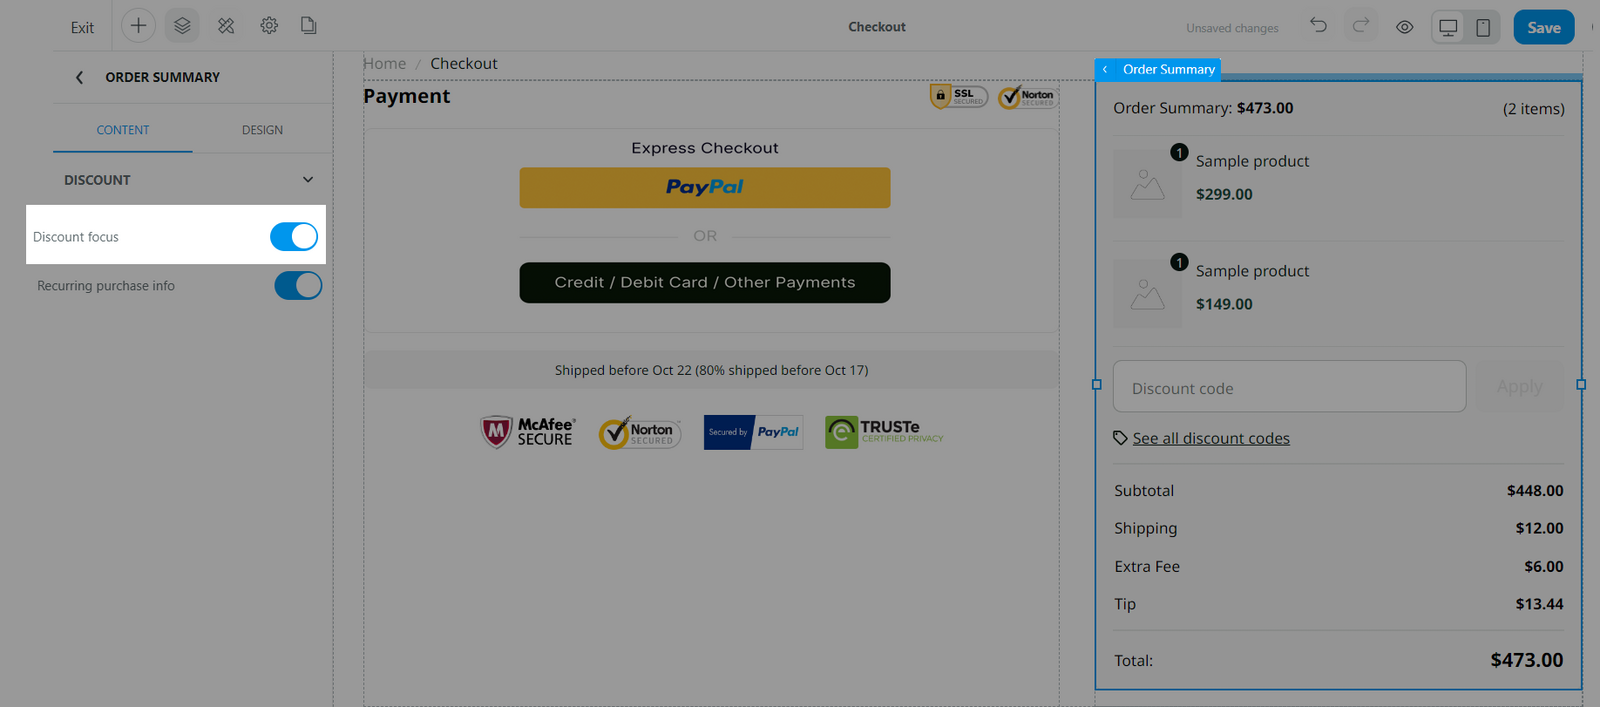
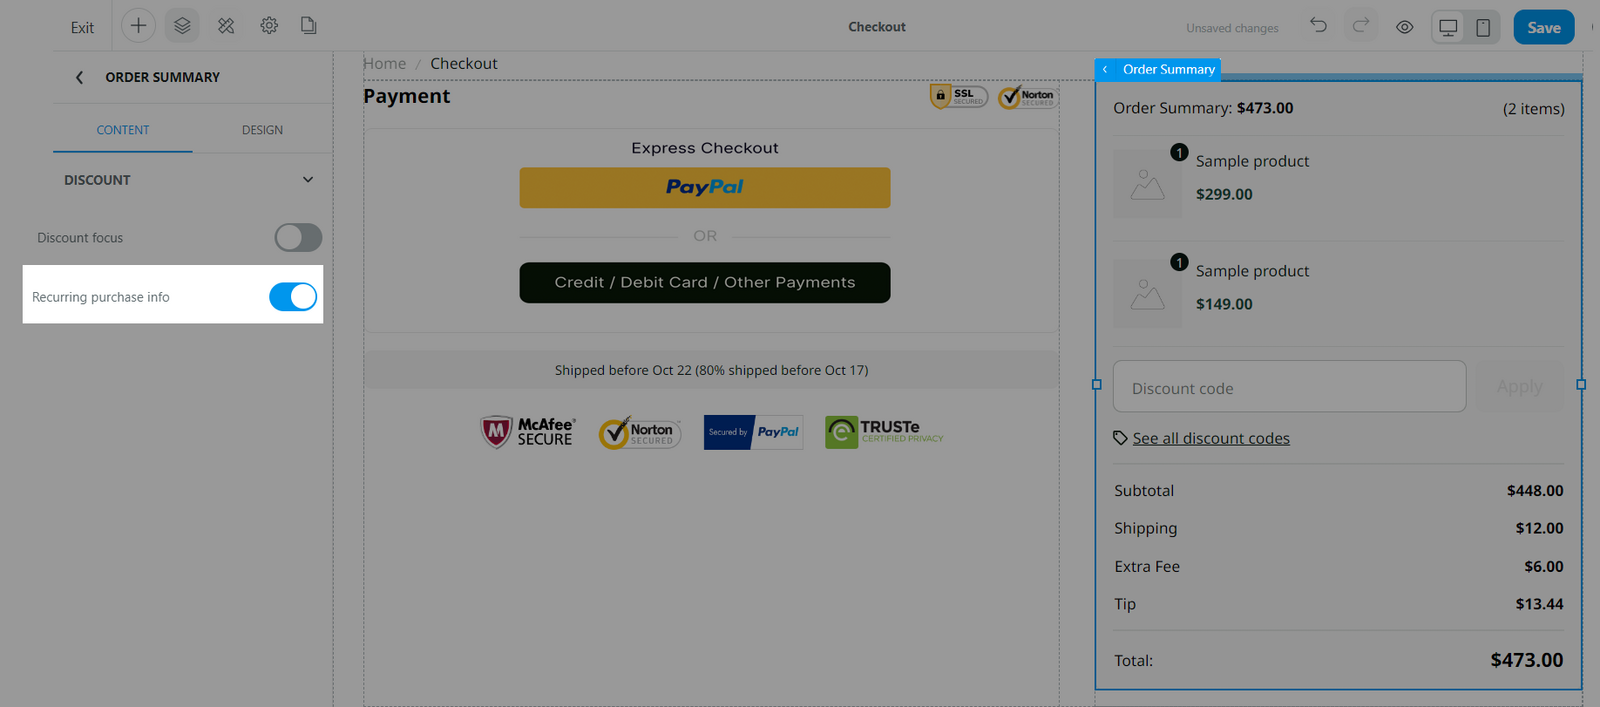
In Website Builder, go to checkout page, select Order summary block.
Edit content for the block
Go to the Content tab:
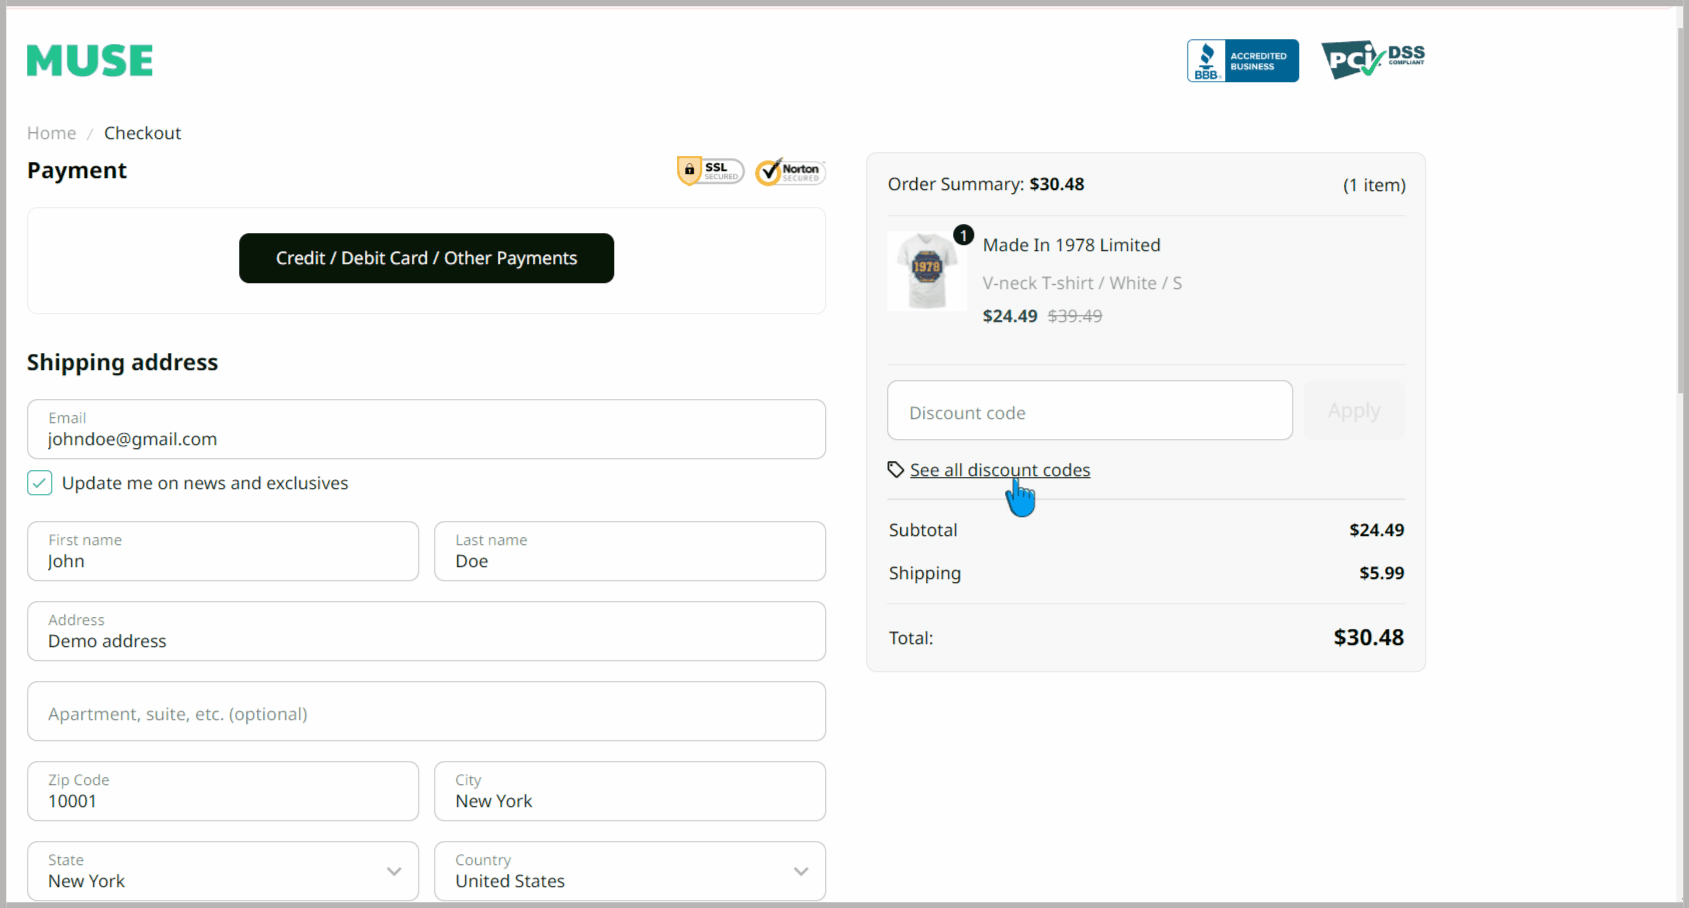
Discount focus: Enable this option if you want to display discount code on the checkout page.
Discounts displayed include: active/valid manually created discount codes, and automatic discounts.
Discounts will only display when at least 1 item in the cart meets the discount conditions, and the customer belongs to the customer segment used for the discounts.
Recurring purchase info: Enable this setting if you want to display the recurring purchase policy when enabling the subscription model on the checkout page. You can customize the content on the policy page by accessing Online Store > Pages > Policy Pages.
Edit design for the block
Go to the Design tab. Here, you can edit the format of the block based on the general settings from this article.
Preview your storefront when making corresponding settings directly within the Website Builder before saving.
Updated 4 months ago