In dynamic markets, you may need to constantly introduce new campaigns and update existing ones to keep up with changing consumer wants and needs. At times, you may need to make changes to your campaigns to correct errors. This article will demonstrate how to edit your campaign settings and highlight what you should keep in mind when doing so.
In this article
A. Edit campaign setting for a launched campaign
A. Edit campaign setting for a launched campaign
You can edit campaign setting for PrintBase/PrintHub/PlusBase campaign after launching it.
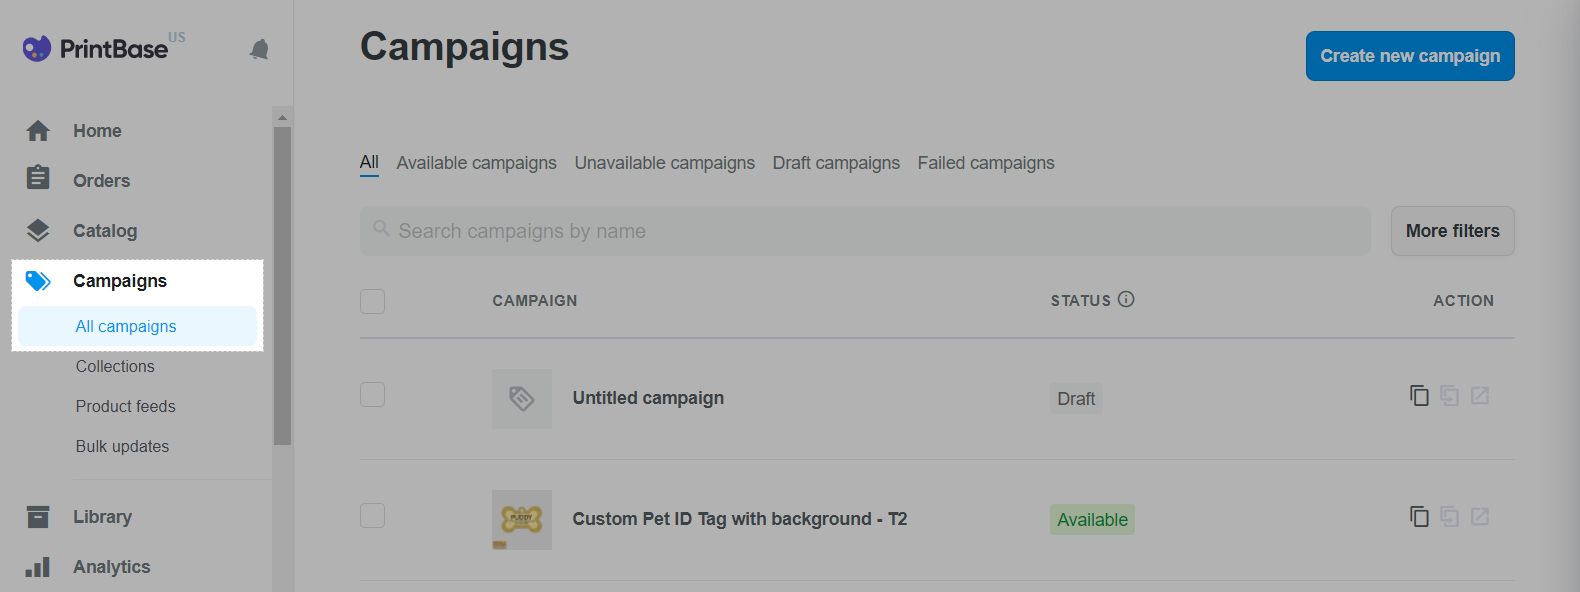
From your PrintBase admin site, go to Campaigns > All campaigns and select the campaign you want to edit.
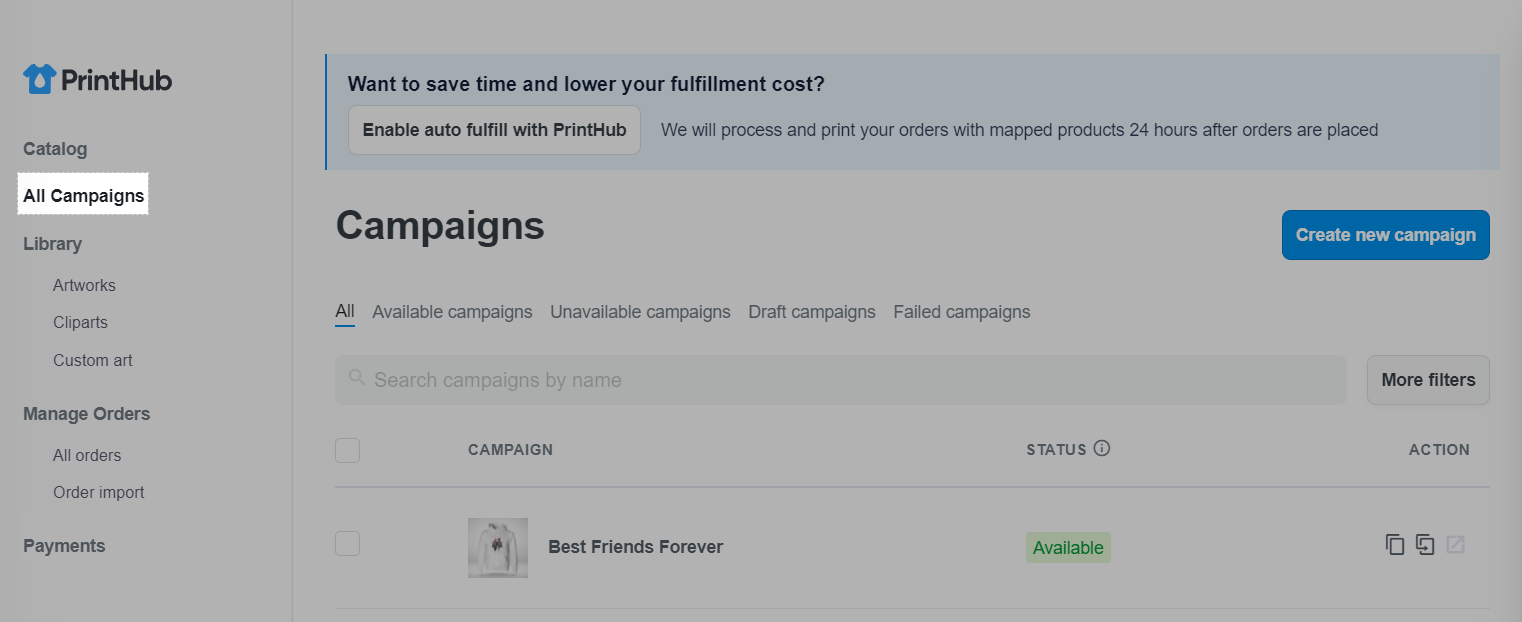
In PrintHub, from your ShopBase admin site, go to Apps > PrintHub > All campaigns, select the campaign you want to edit.
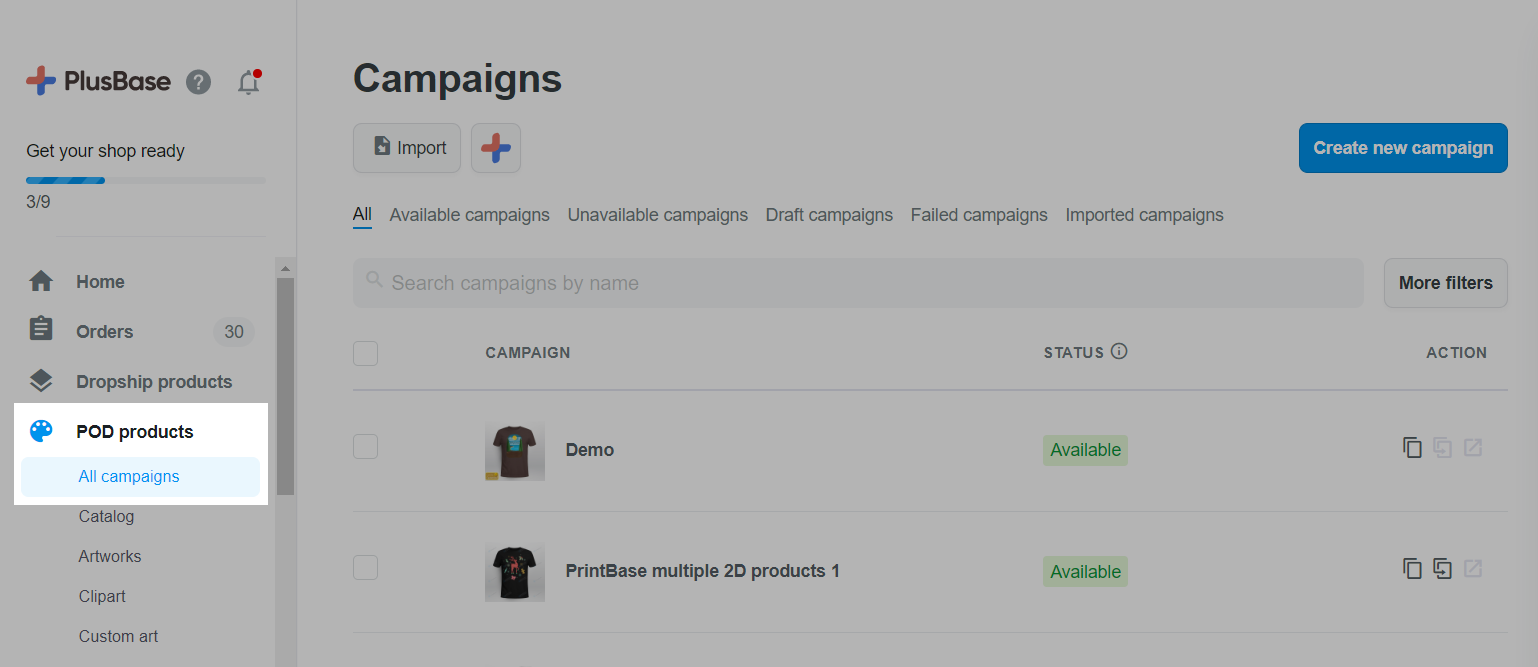
In PlusBase, from your PlusBase admin site, go to POD products > All campaigns, select the campaign you want to edit.
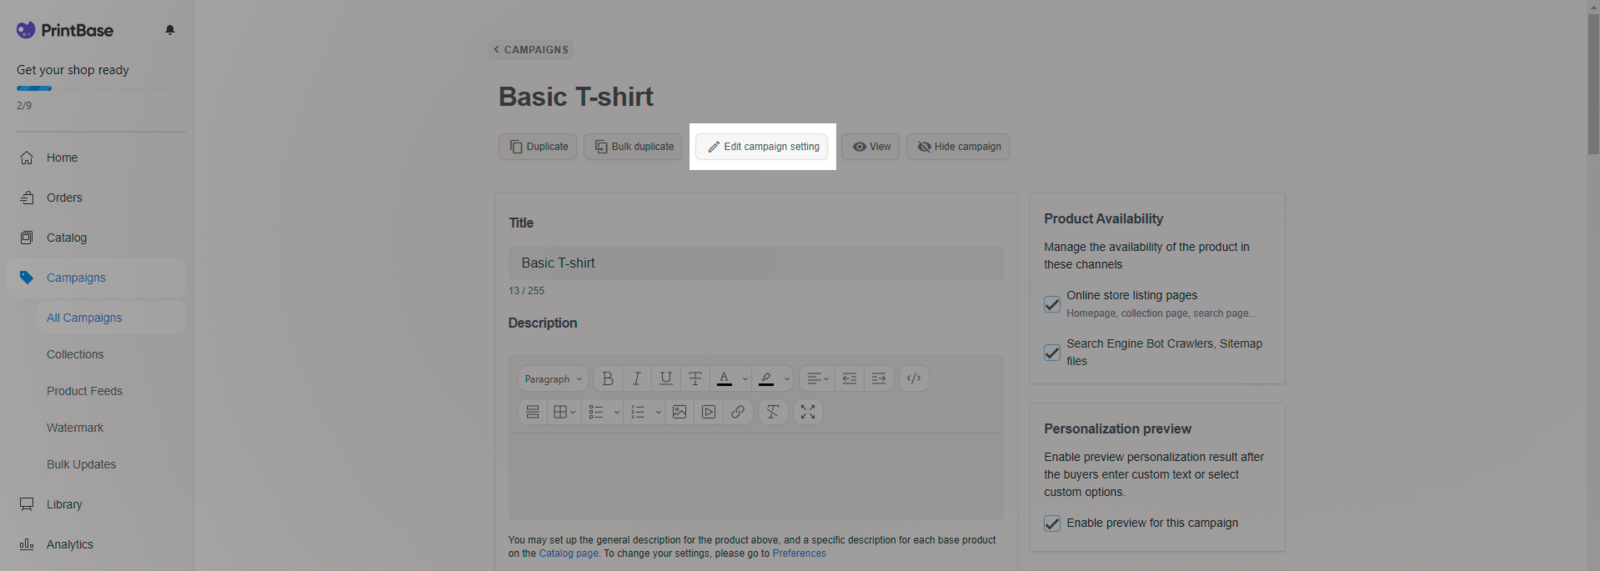
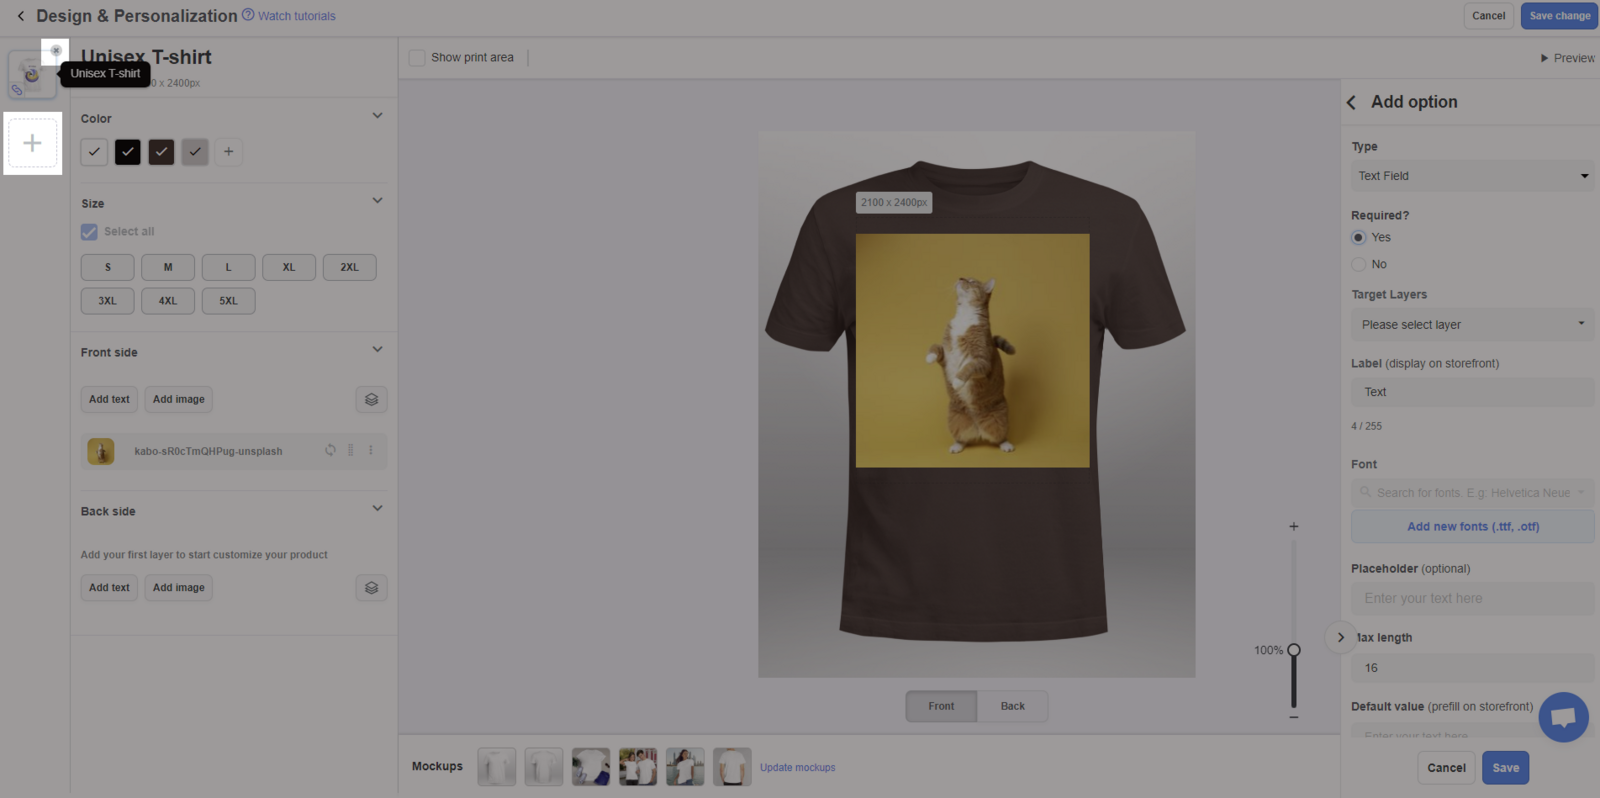
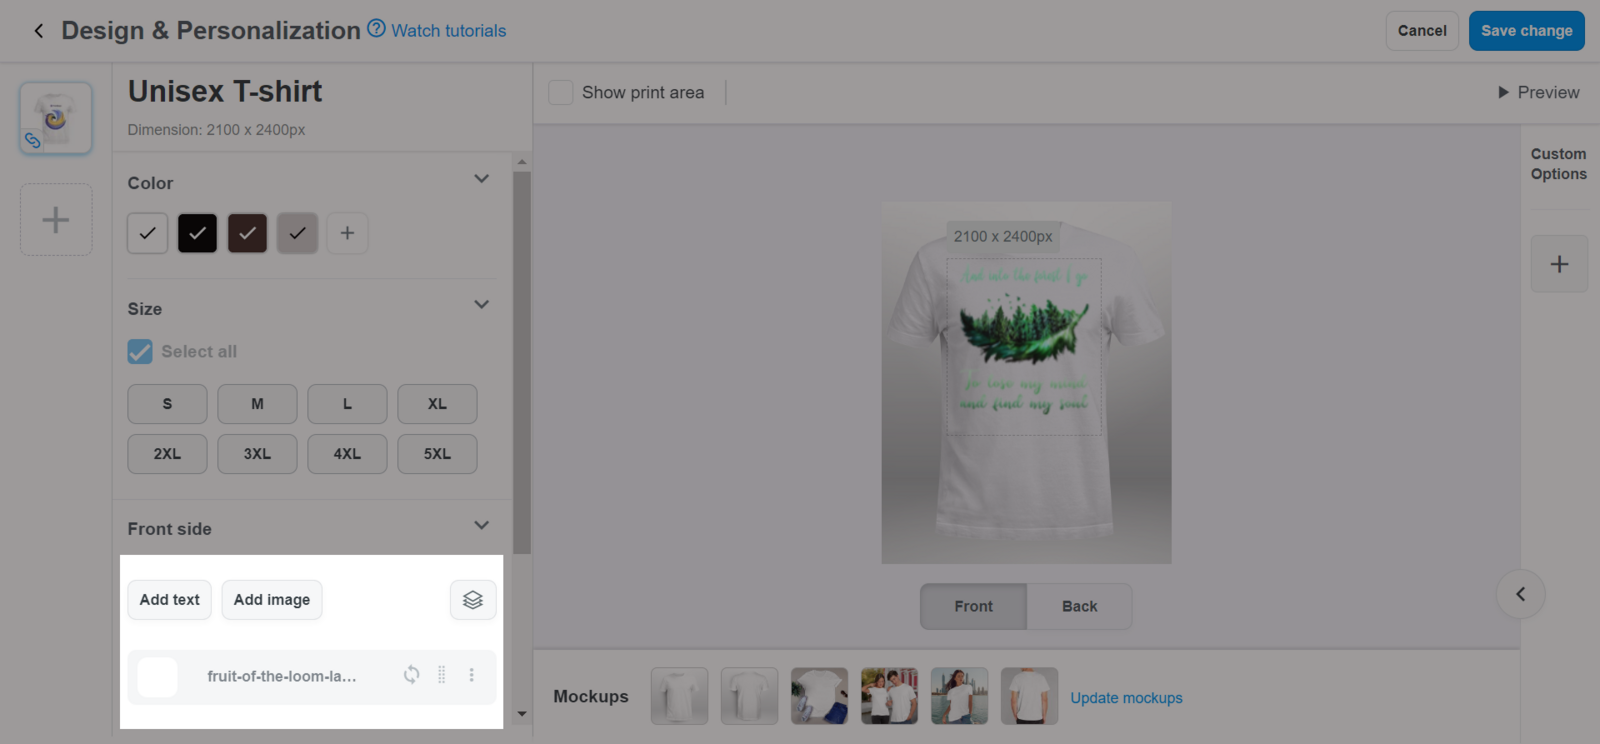
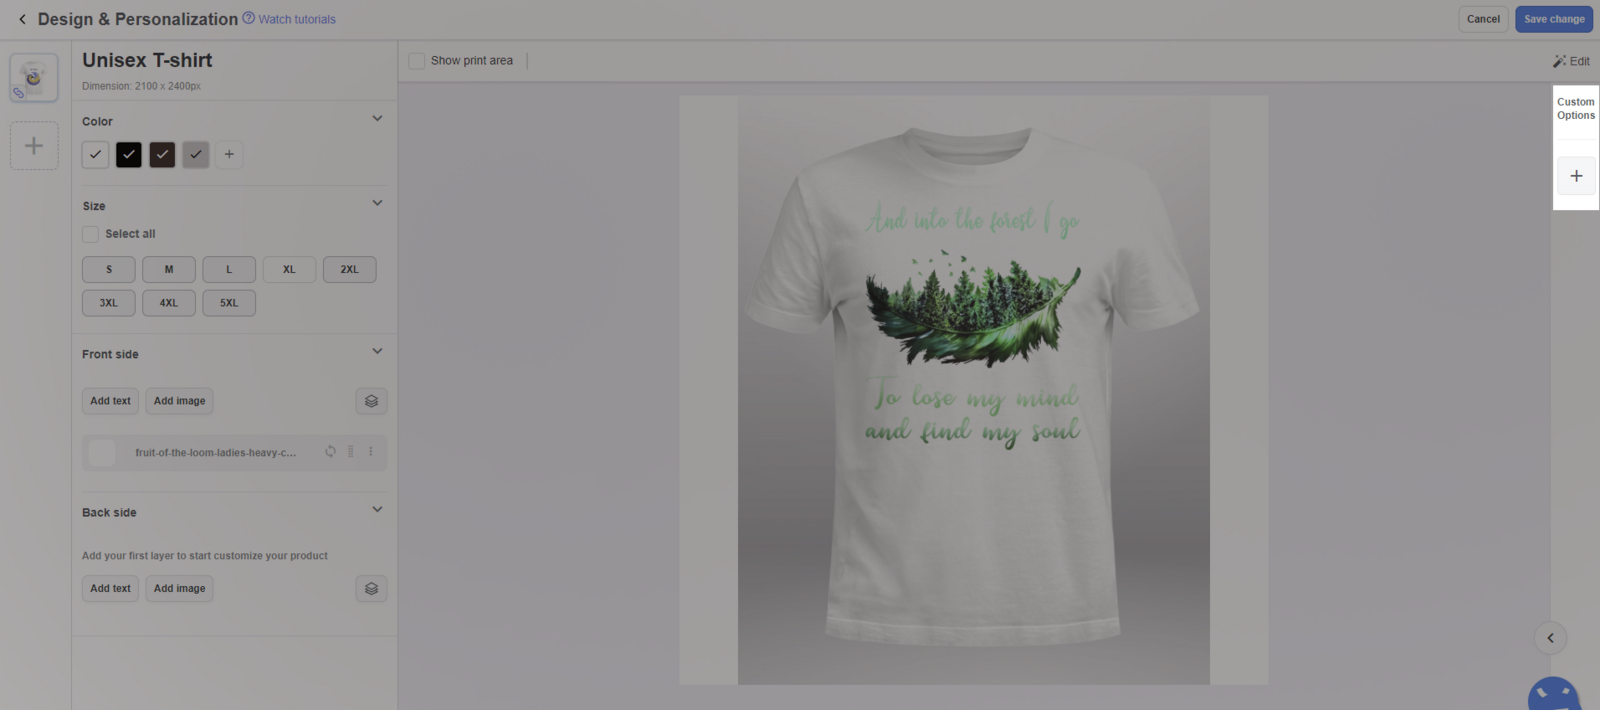
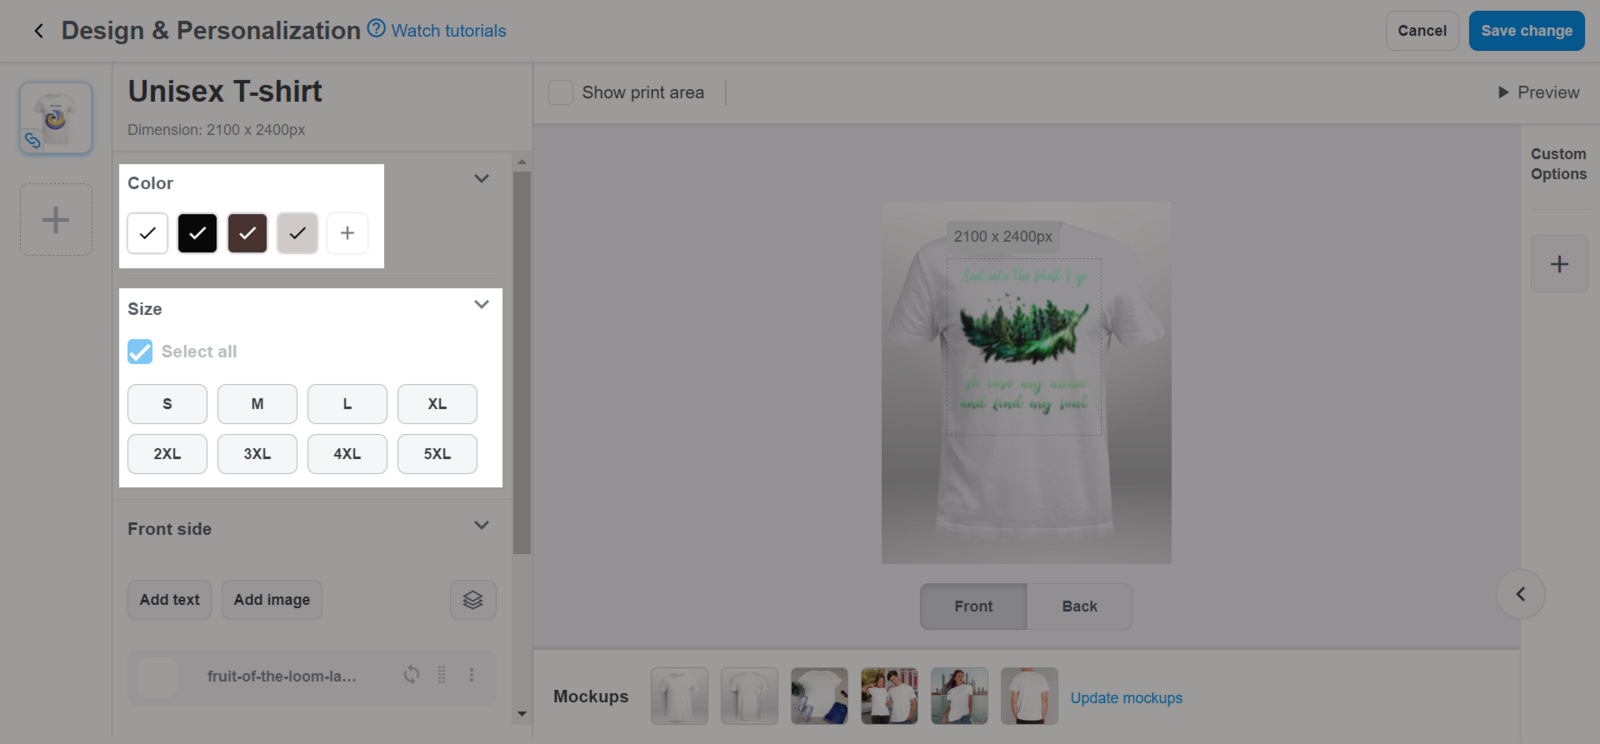
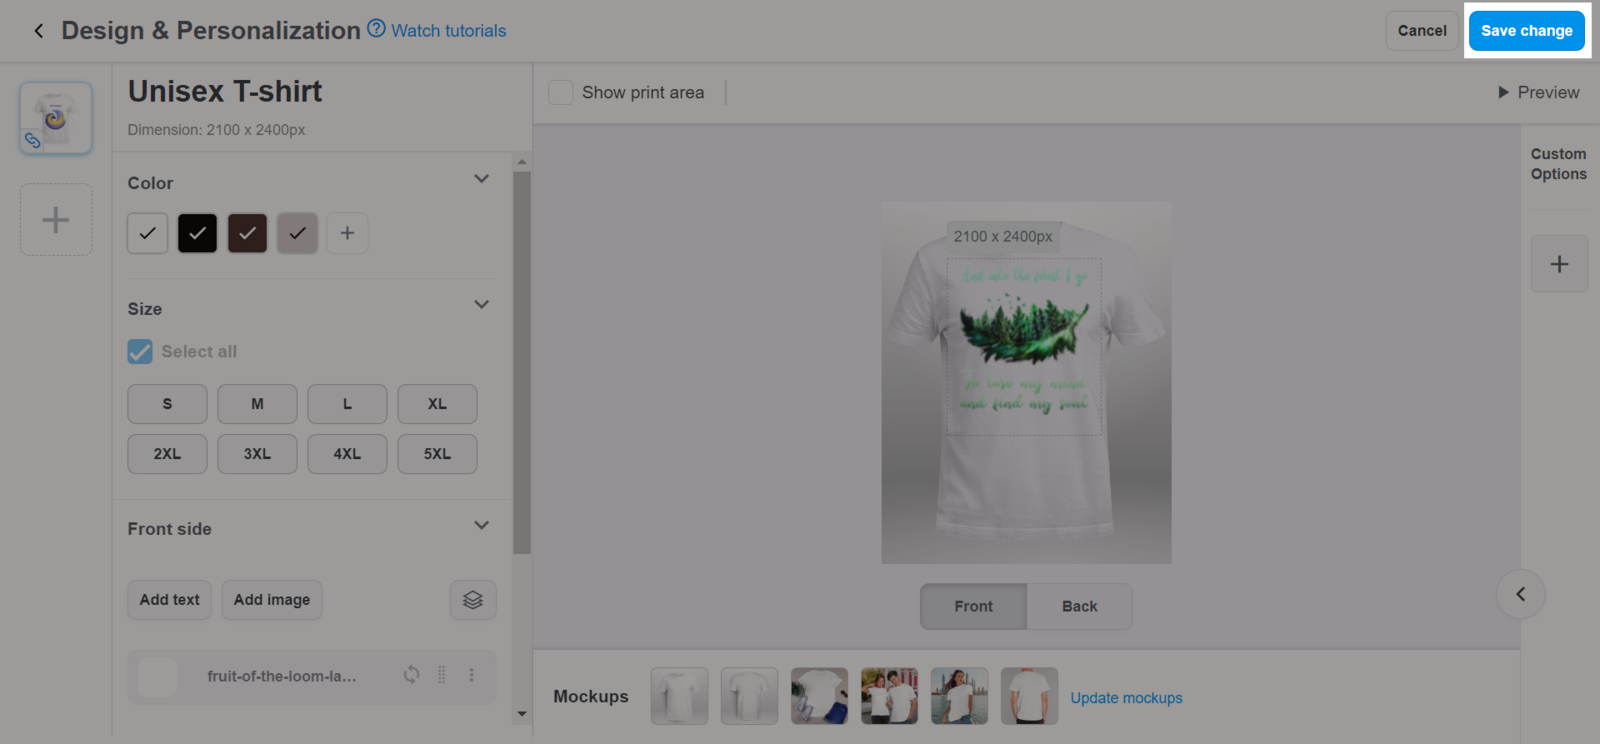
In the campaign detail's page, click on Edit campaign setting.
You can add/delete a product base to the campaign.
You can change the artwork of the campaign by deleting the old image and uploading a new one.
You can change custom options and conditional logic.
You can add/delete variants.
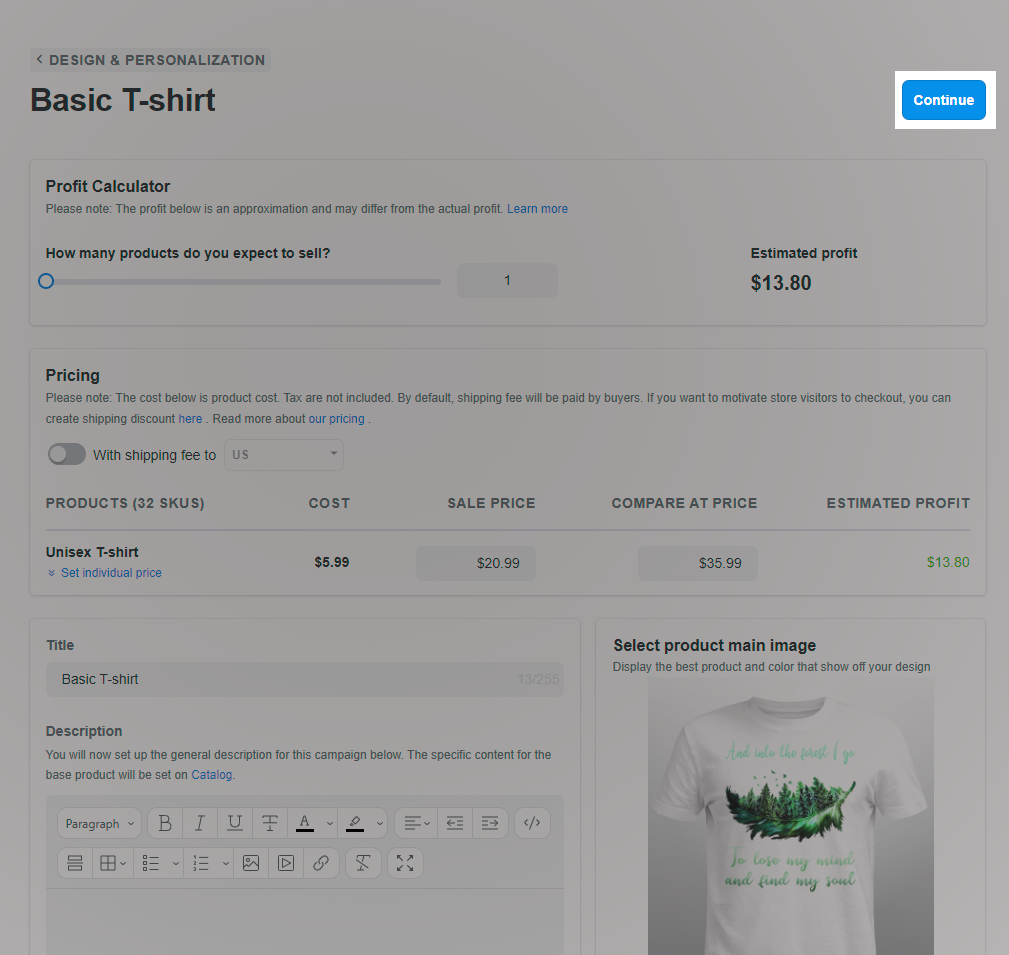
After finishing editing, please click Save change. Then you will be directed into Price & Description.
In Price & Description screen: You can add the description, change sale price, title and tag. Then click Continue to process these changes.
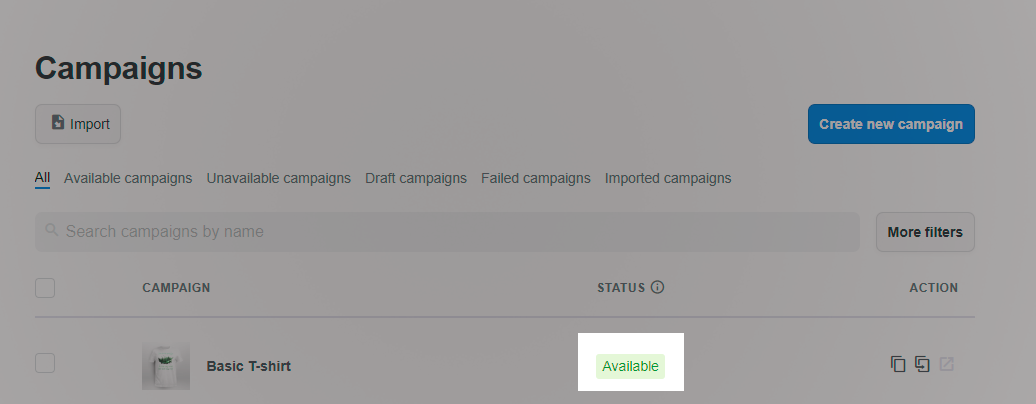
After the changes have been done, the campaign status will be set to Editting.

When the editing process is successful, the status will be set to Available.
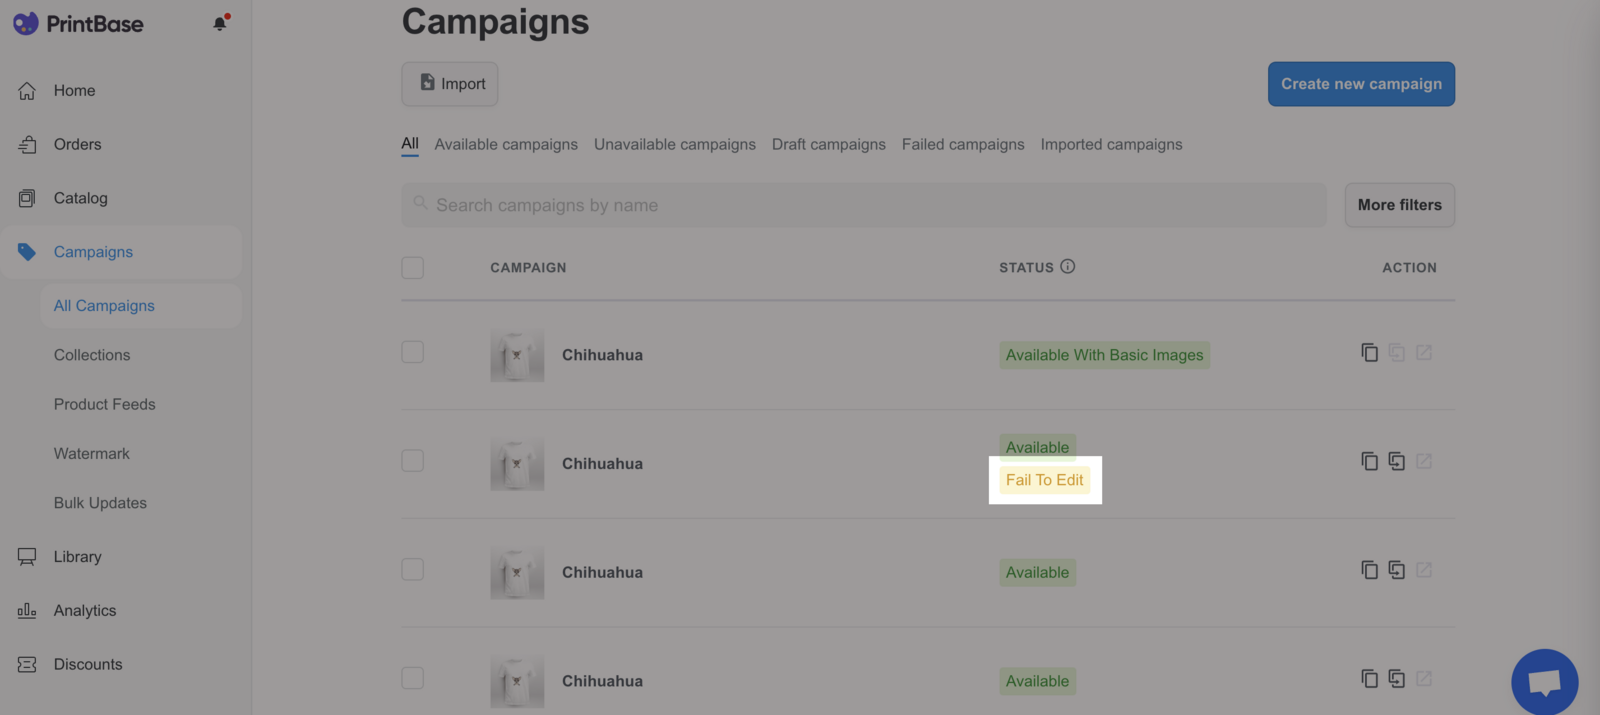
If the campaign is not edited successfully: The status will be set to Fail To Edit.
B. Important notes
Changes to your campaign's personalization are only applied for orders of products that are added to the customer's cart after the time of change.
A personalized product's photo will include a
Can be customized sticker. However, if you add personalization to a non-personalized product, this sticker will not be included in the product's photo.You cannot create a bulk update to add and replace custom options of PrintHub campaigns. When these two actions are performed, PrintHub campaigns can still be listed in the Preview Bulk Update window, however, they will be skipped during the bulk update process.
If the Override the existing products option is selected when cloning campaigns from one store to another, data of the imported campaigns will NOT override the data of the existing campaigns in the target store.