Menu, an indispensable component of a website, is responsible for displaying the content categories of the website and presented in arrangement. The menu plays the navigation role, making it easy for the visitors to categorize and search for the topics within the page. There are 3 types of default built-in menus in every ShopBase store:
Main menu: Displayed on every store page and usually shows items listed along the Header. These items can be presented as drop-down menus with submenus inside.
Shop: Menu includes collections of products in your store.
Customer care: Menu includes webpages with information that customers need to find such as frequently asked questions, contact, policies,...
In addition to these three menus, you can create, customize, and delete more menus however you like. This article will guide you on how to add a menu for your store:
Step by step Tutorial
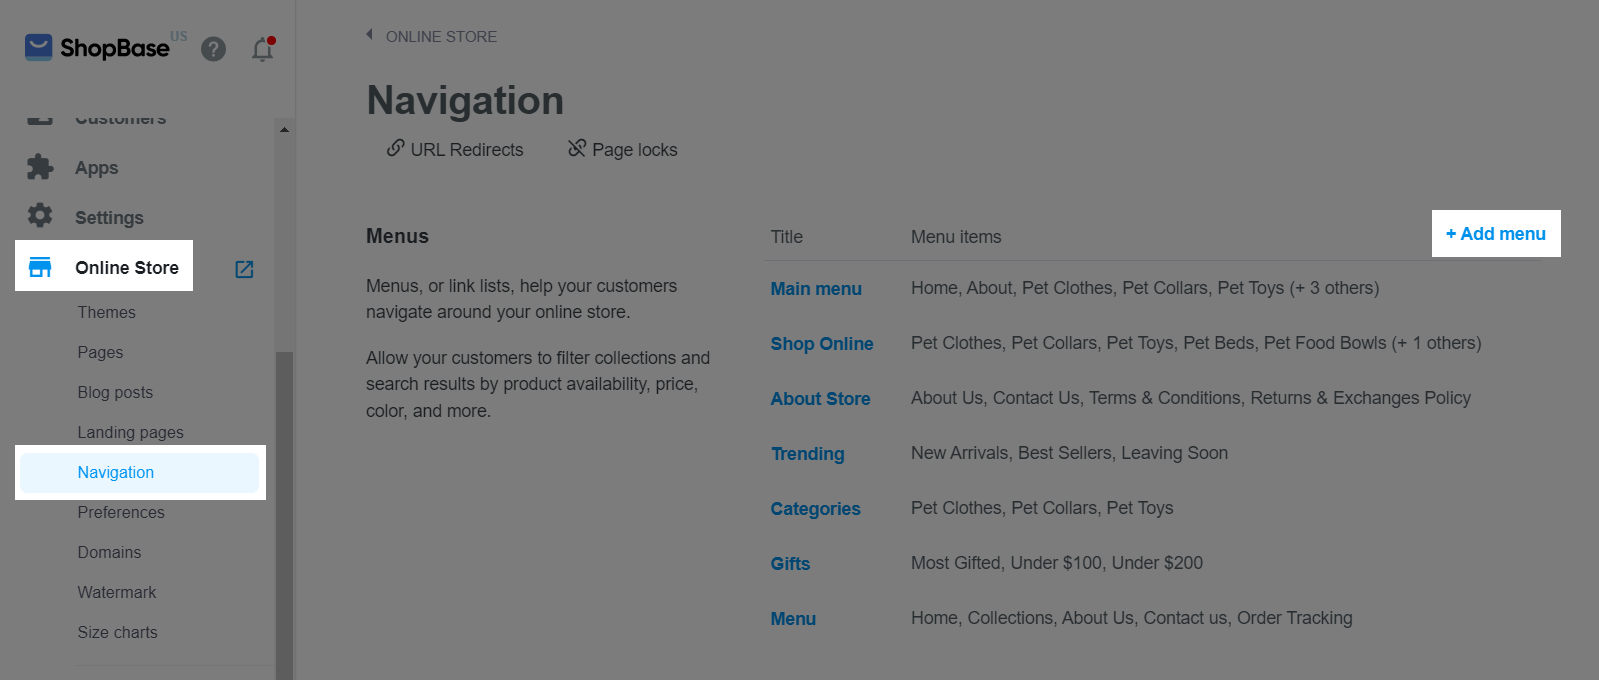
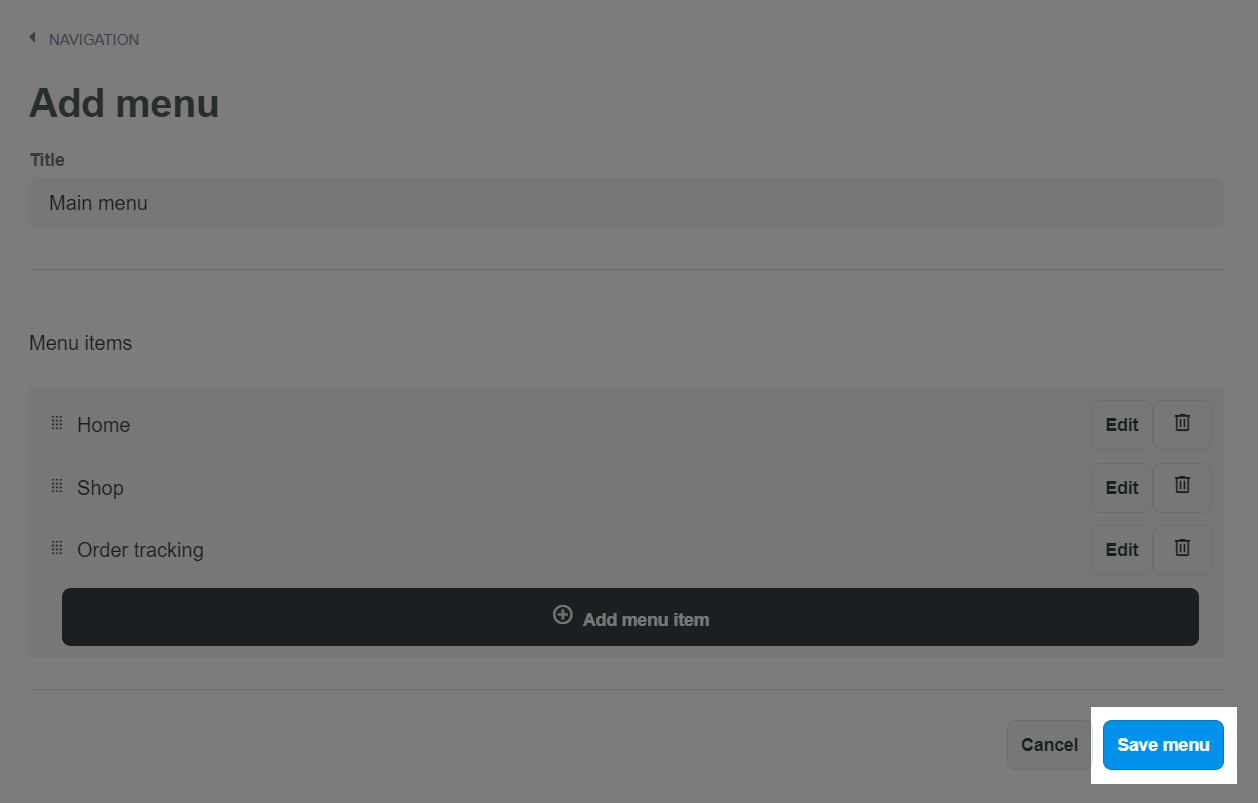
From your ShopBase admin, go to Online Store > Navigation and click Add menu.
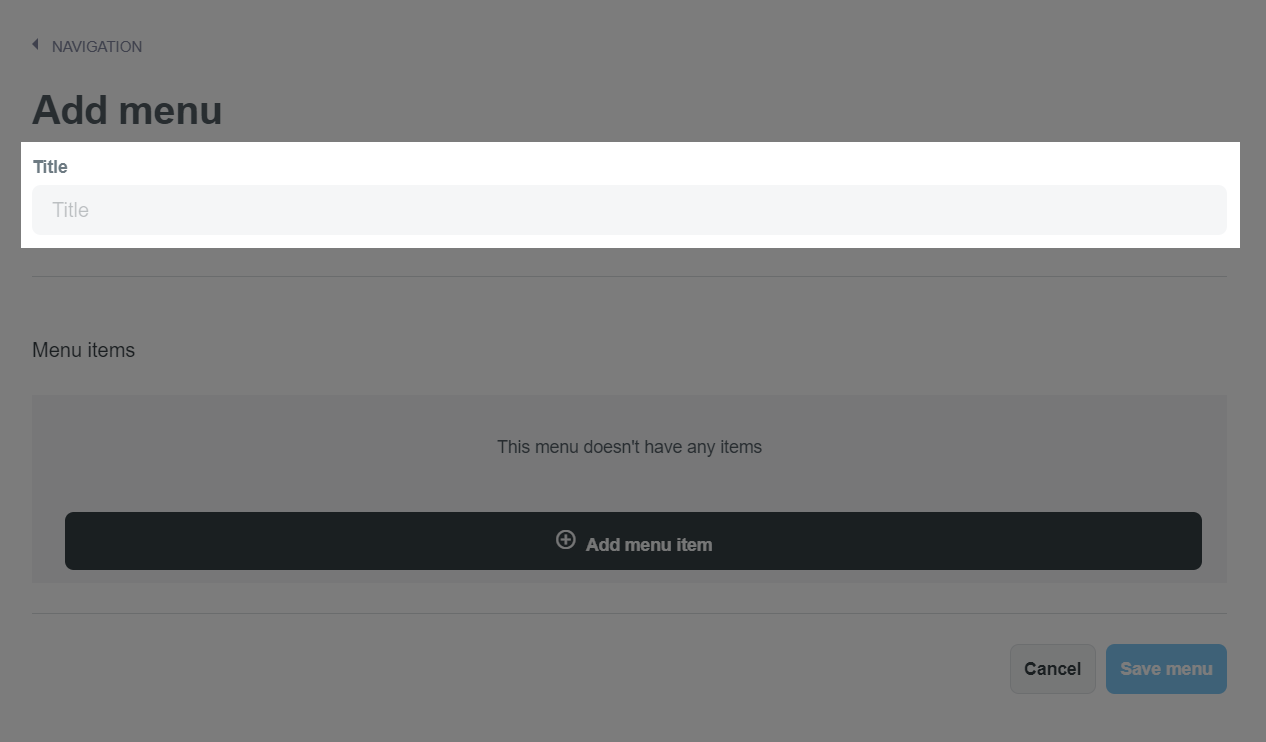
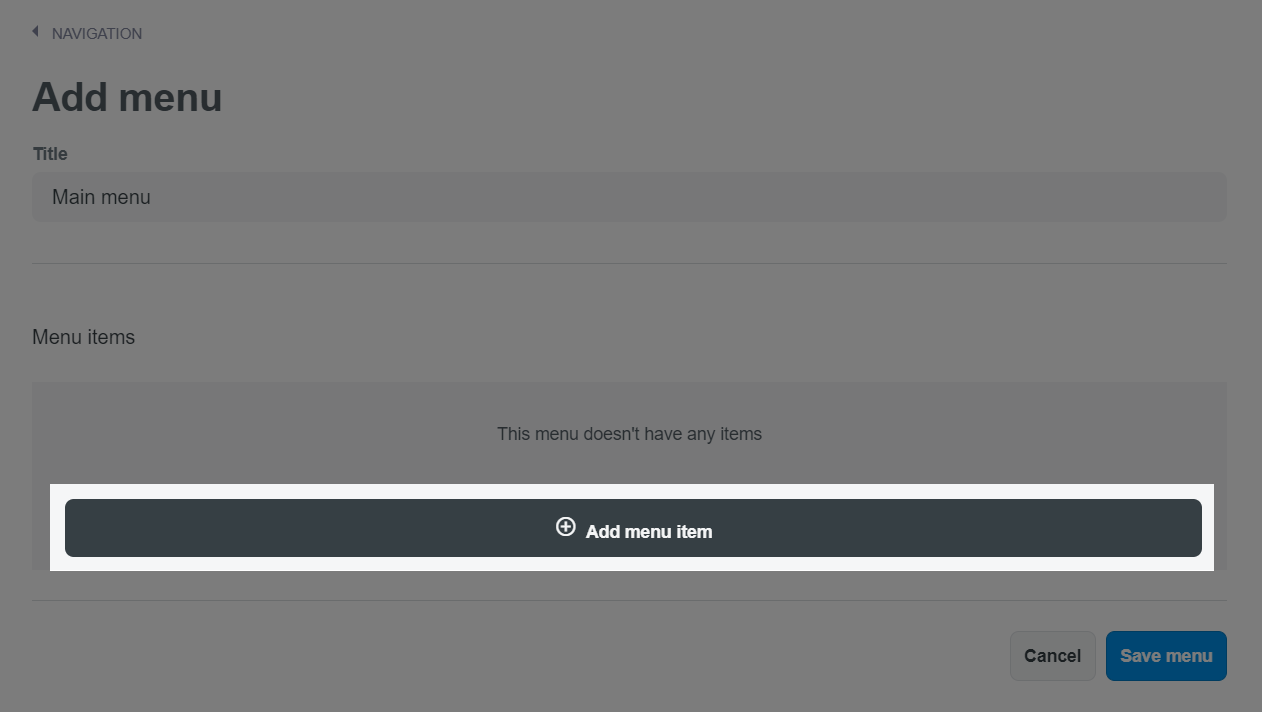
Enter the title for the menu in Title field.
Click Add menu item to add items in menu.
Enter the title for item in Name field. This title is displayed in a large menu and can include special characters or emojis. Click on Link field, choose the link or enter the website address you want to direct customers to when they click on the menu you have just created. After having set up the information for the item, click Add.
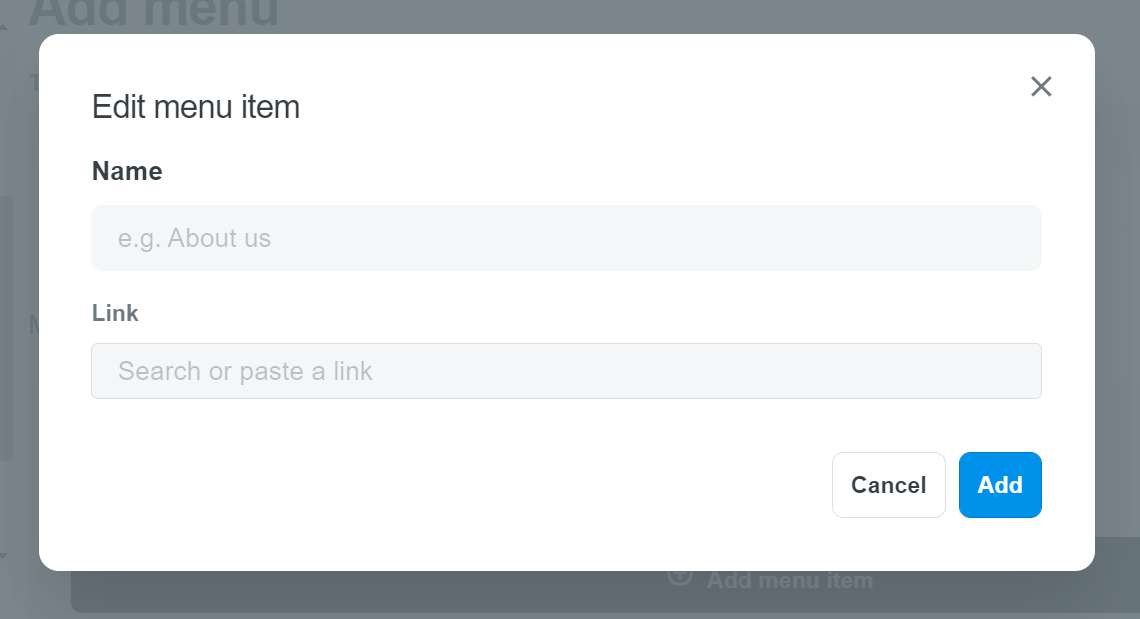
To create a link to your email, paste
mailto:youremail@example.comto the Link field.
Click Save menu to finish.
Updated 3 months ago