In addition to pages like homepage, product page, shopping cart page, checkout page, collection page, ShopBase gives you the tools to let you pages with other customized content such as About Us, Contact Us or Order Tracking. ShopBase has no limit on the number of pages you can create on your store. This article will show you how to add a new page to your online store.
In this article
A. Create a new page
B. Add template variables to your page
A. Create a new page
For Website Builder
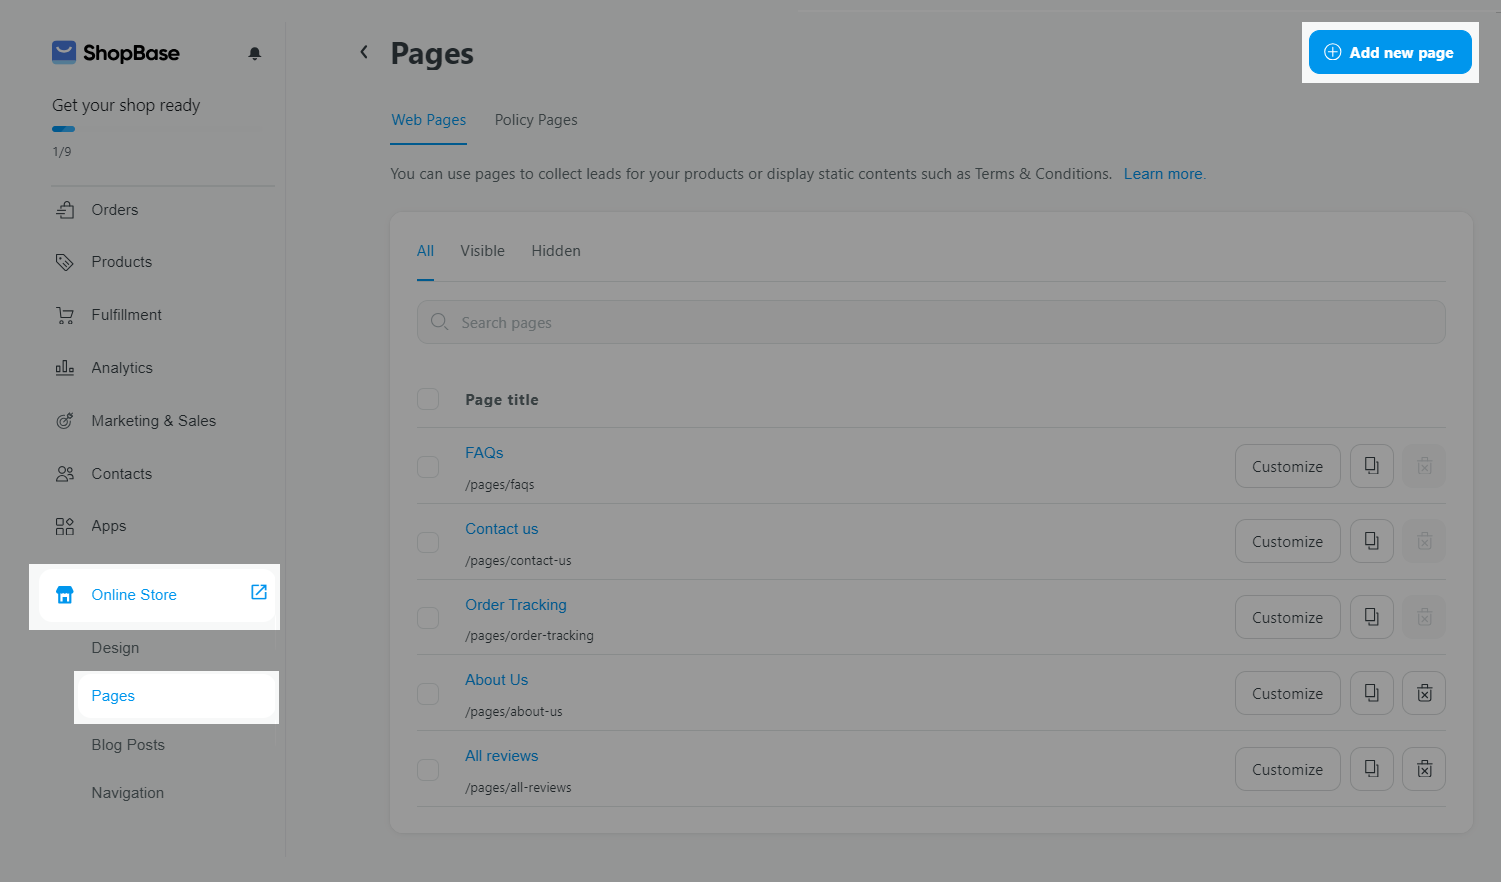
From your store admin , go to Online Store > Pages and click Add new page.
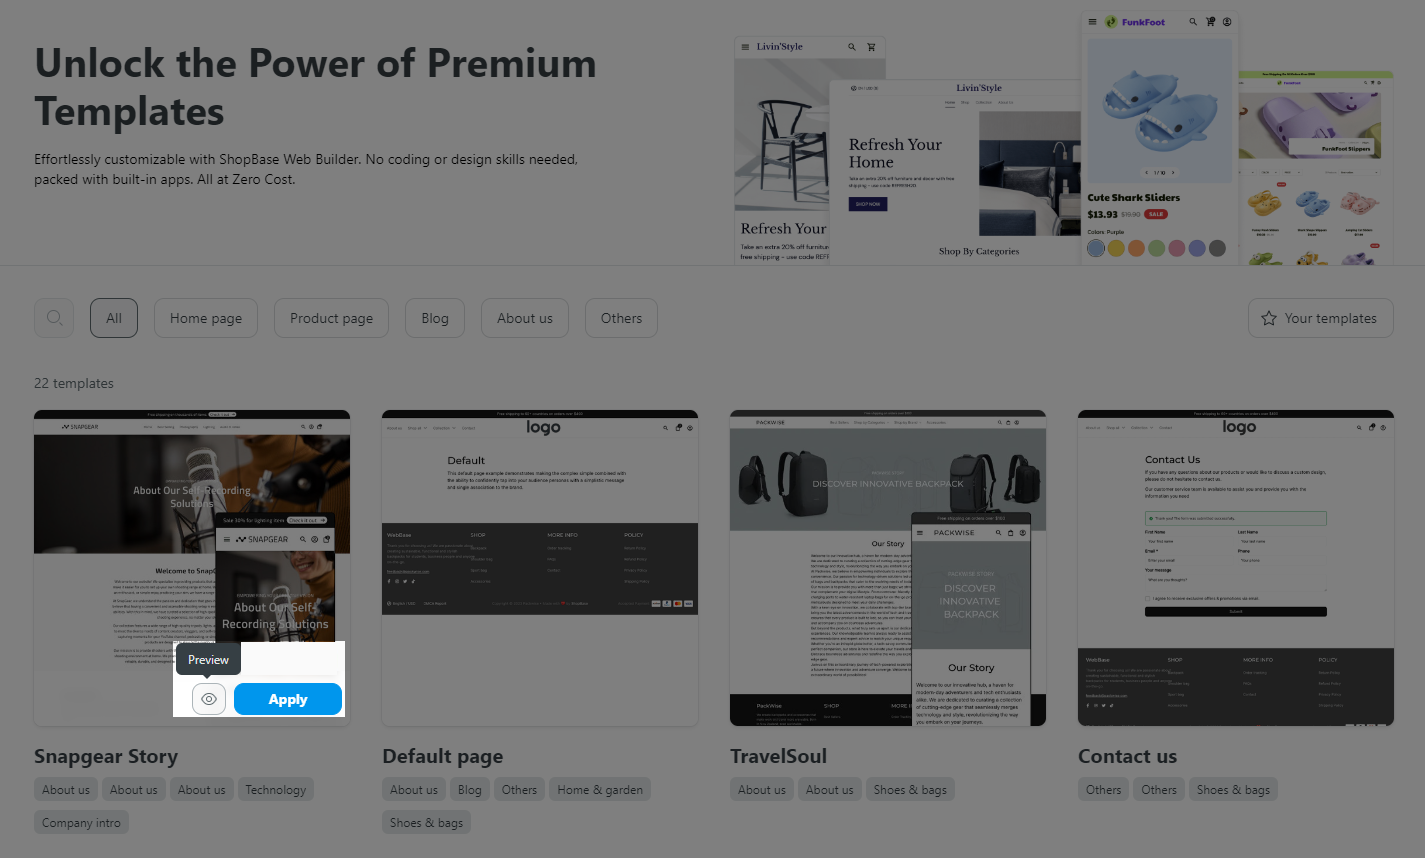
Choose a template for your page. Preview by clicking on the eye icon or apply the template by clicking on Apply.
Then, you will be redirected to a page to create page content.
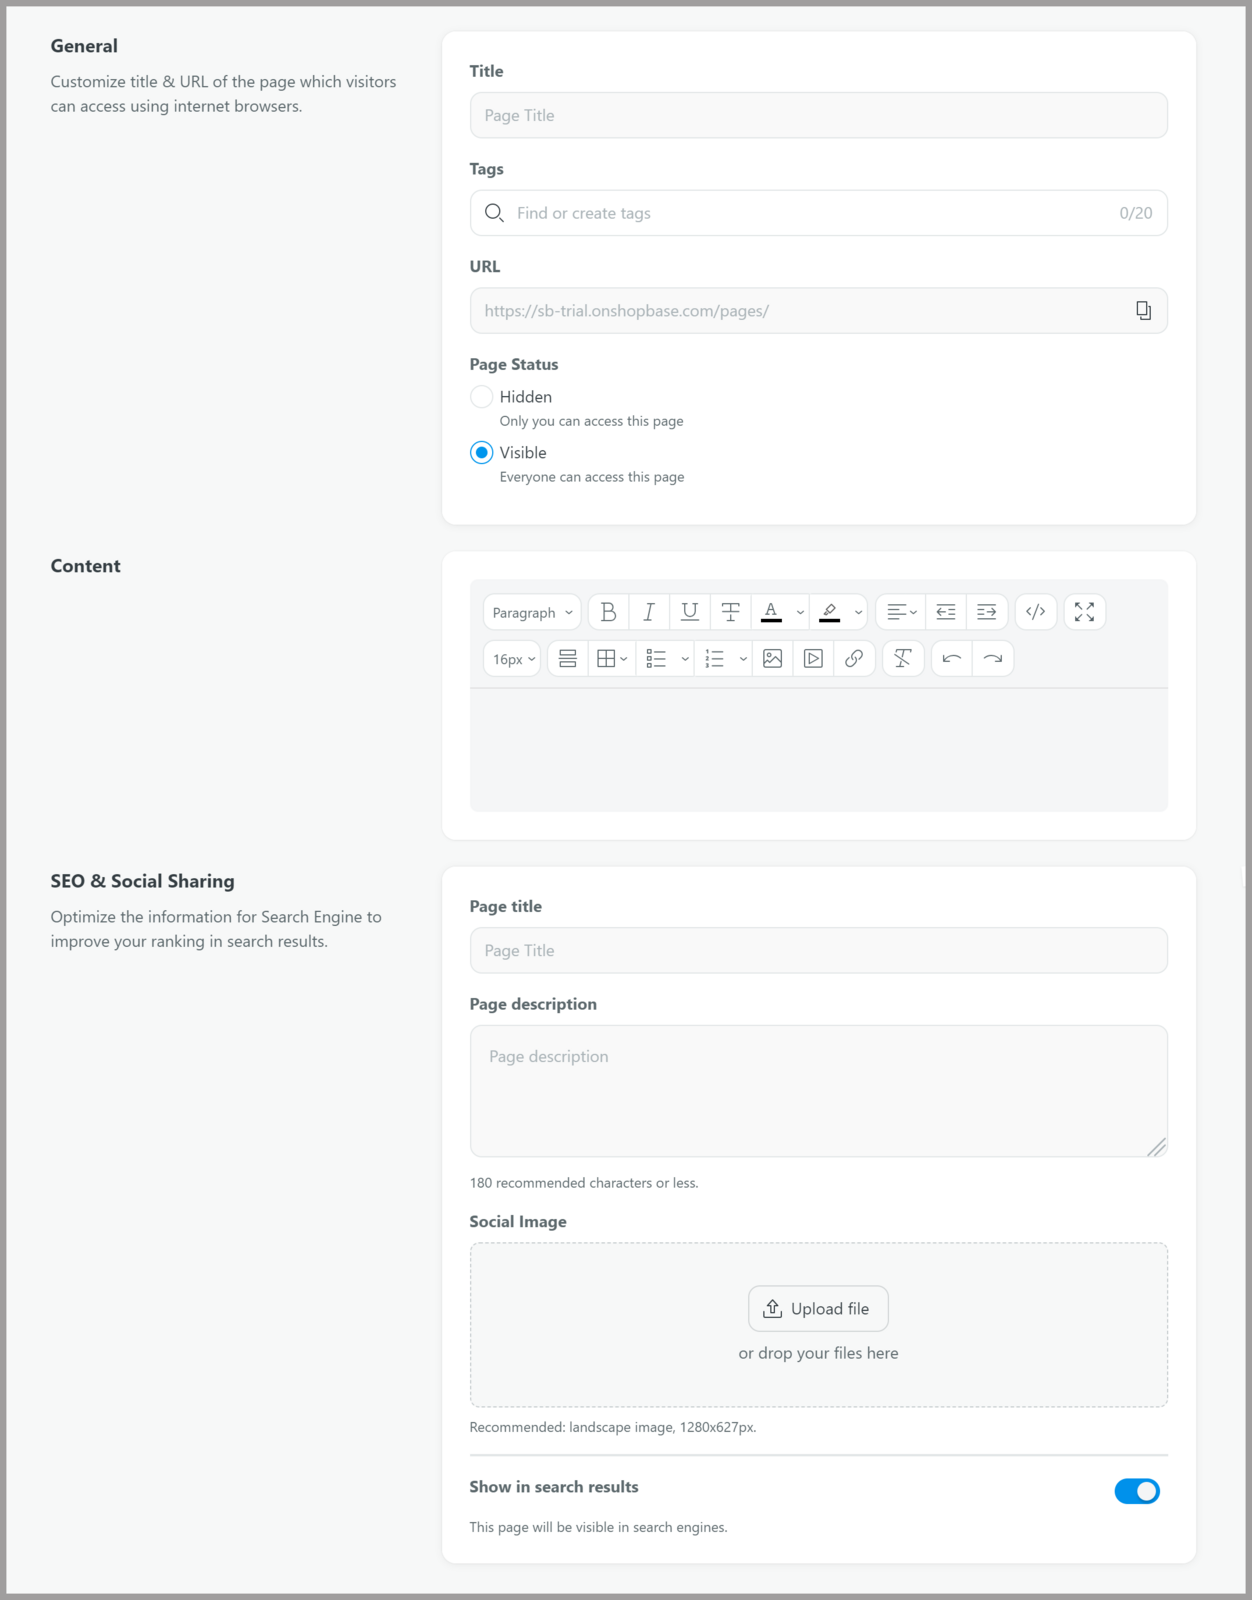
Title: enter page title (required).
Tags: enter a tag for internal management (optional).
URL: manually enter the handle if needed. If not, it will be automatically generated based on the page title.
Page status: choose whether you want your page to be published publicly as Visible or Hidden.
Content: enter the page content in the text box. Please note that this is simply for content filling, and not for formatting,
SEO & Social Sharing: enter information for SEO, including Page Title, Page Description, and Social Image. You can also enable or disable the page's visibility in search results by toggle on/off the Show in search results.
Click Save.
Customization of the content format needs to be done in the Website Builder. Any text formatting applied in the Content section will not take effect.
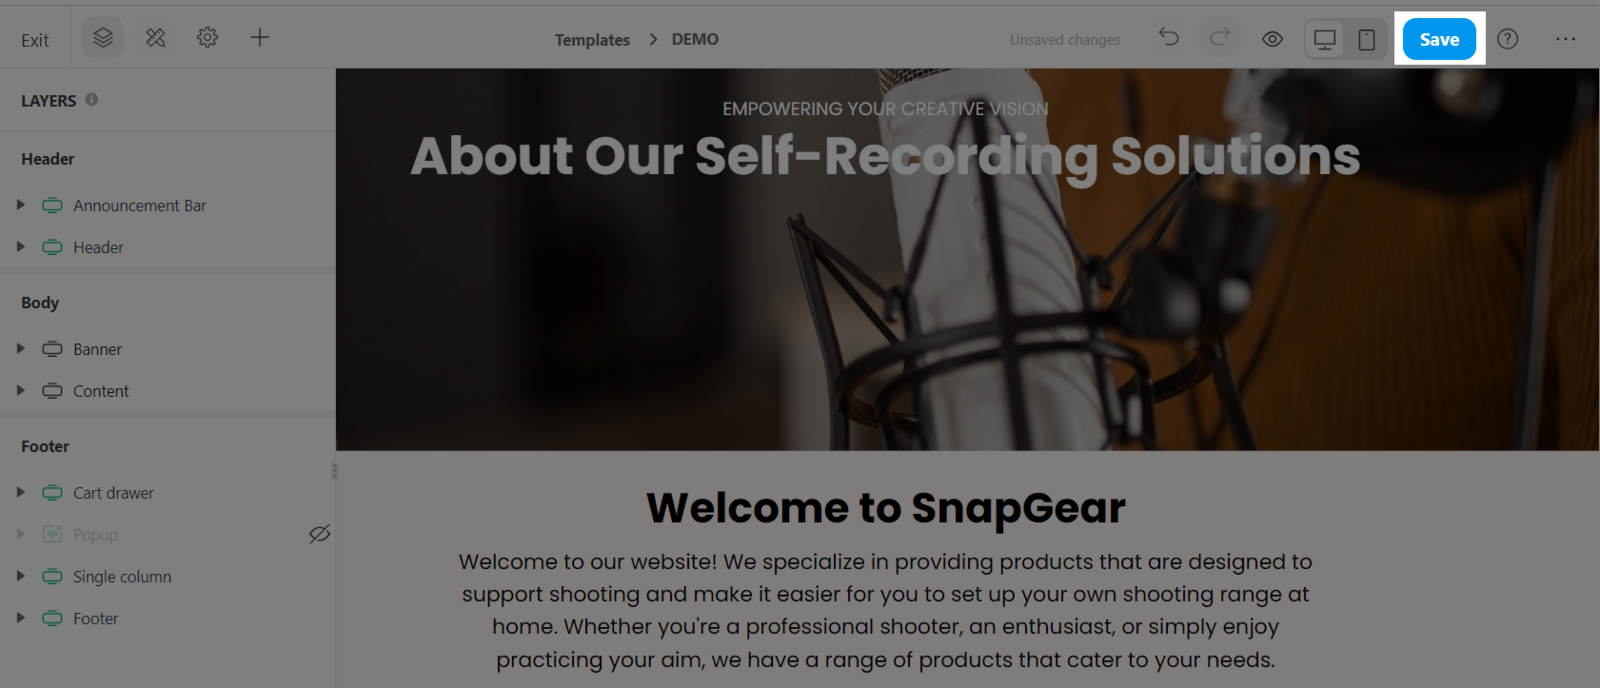
After creating a new page, you will be redirected to Website Builder to edit the layout and text formatting. Select each element in the sidebar menu and customize.
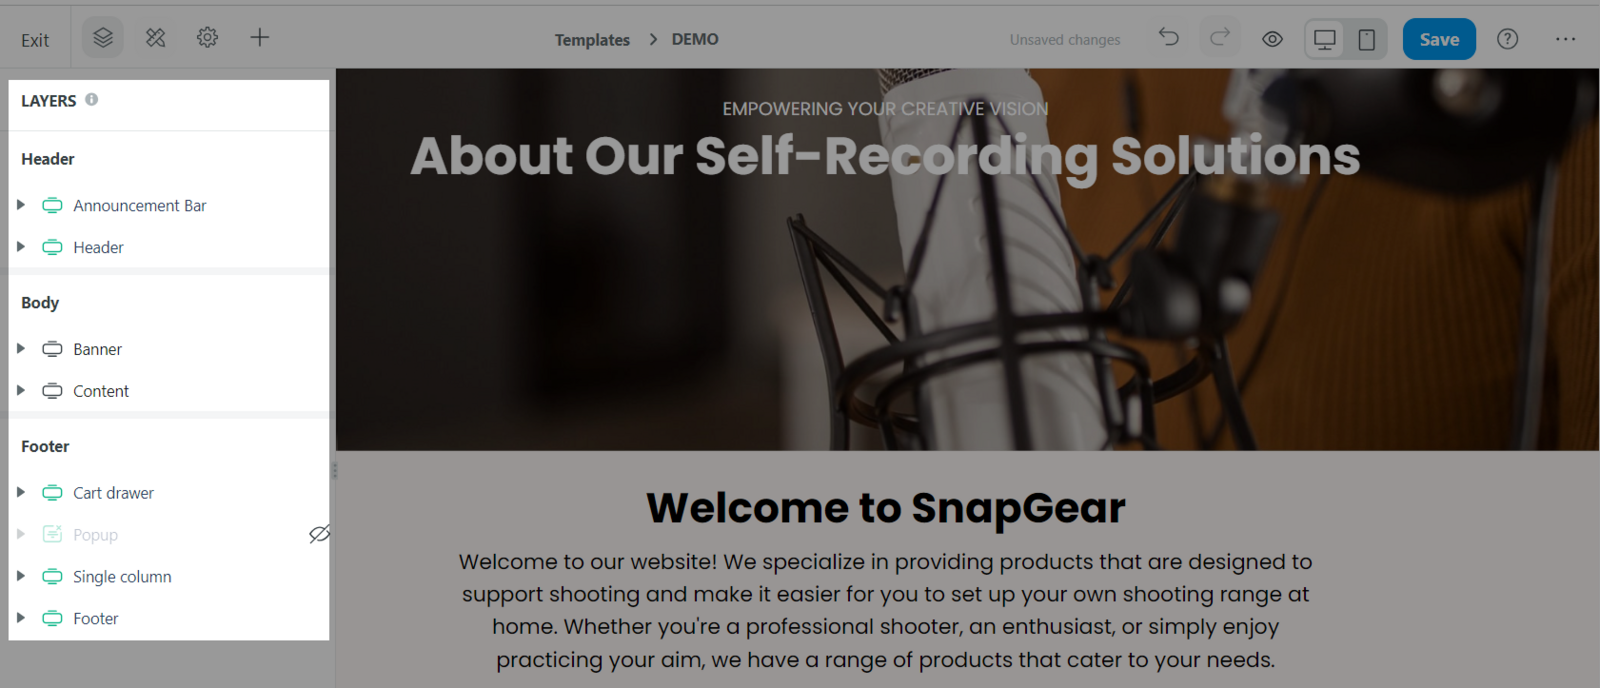
Click Save once finished.
For Theme Editor
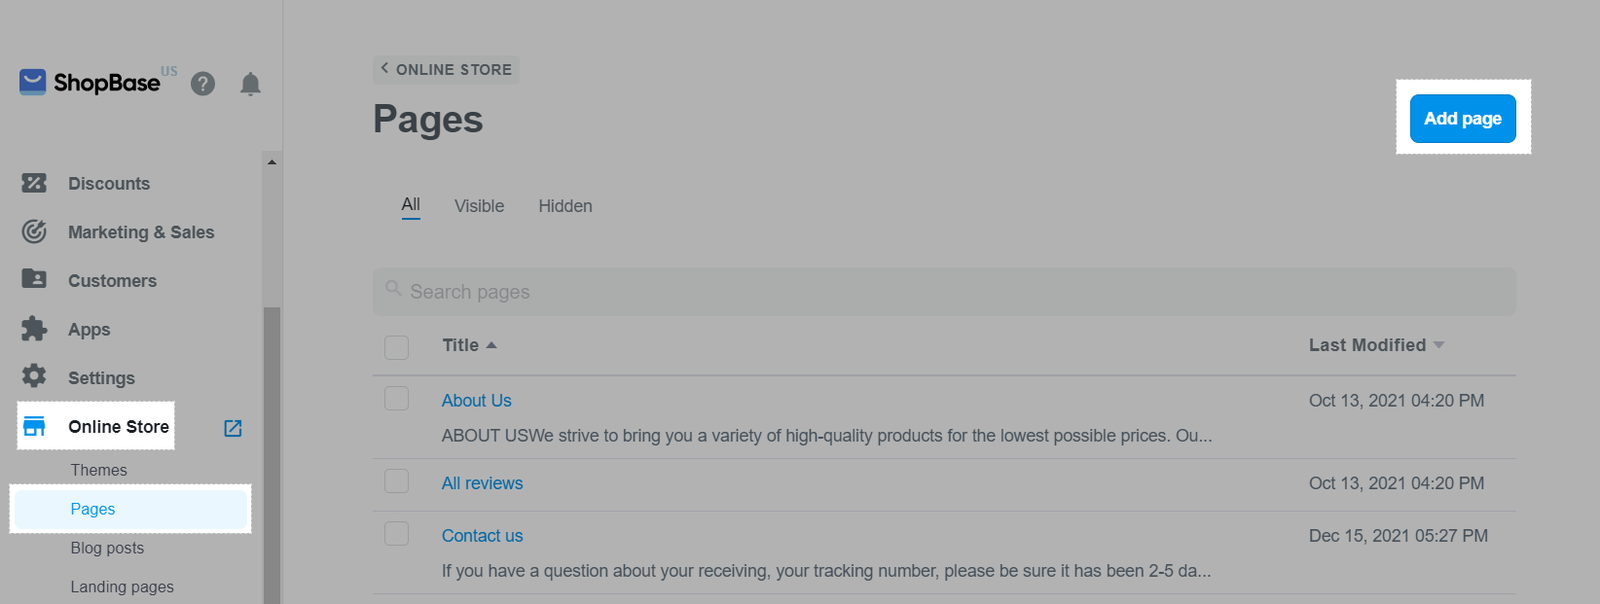
From your store admin , go to Online Store > Pages and click Add page.
You will be redirected to a page to create page content.
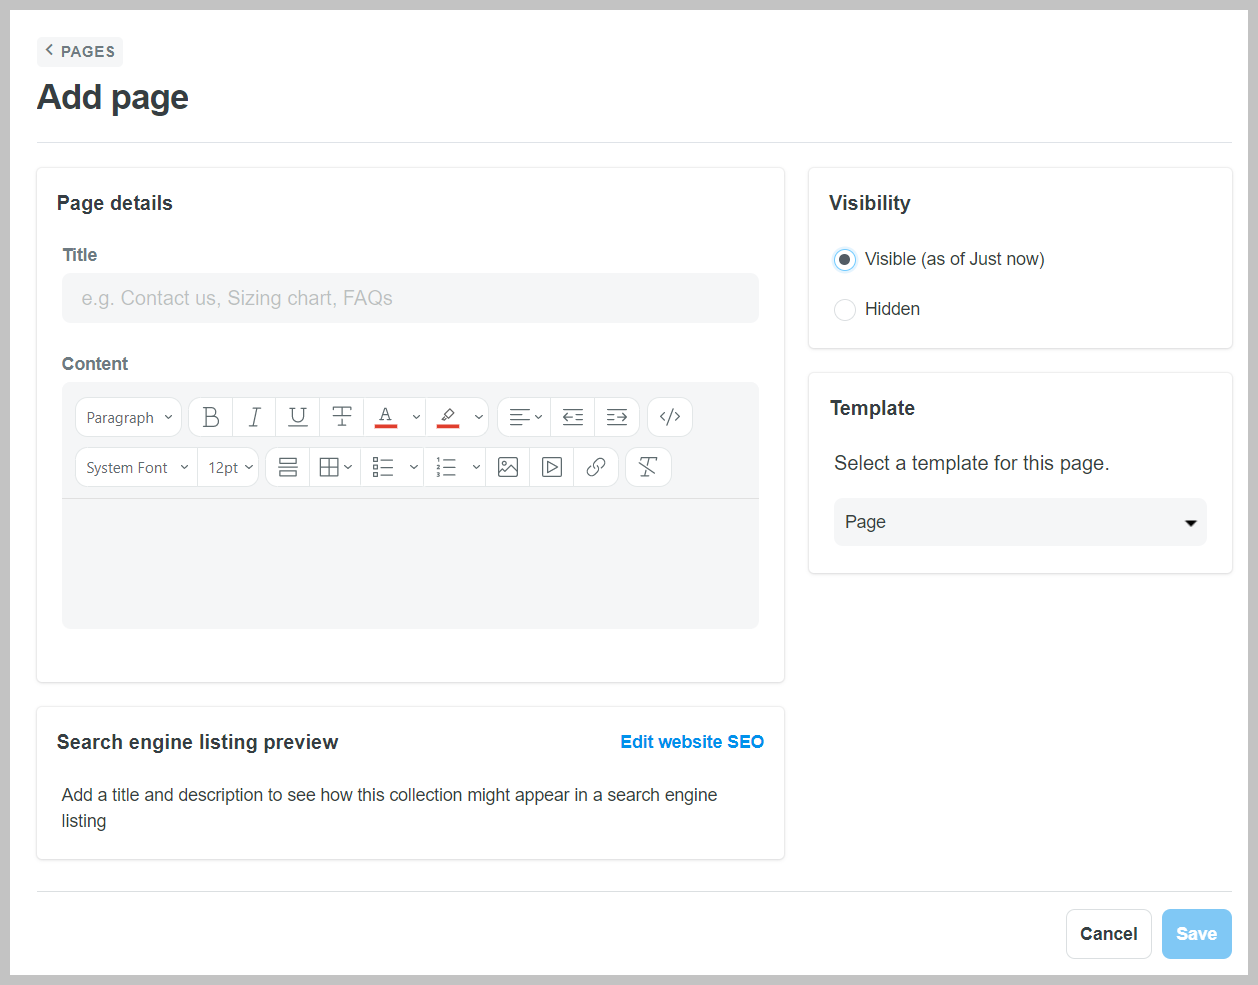
Title: enter page title (required).
Content: enter the page content in the text box. You can also insert the following elements into the page: links, tables, images, videos.
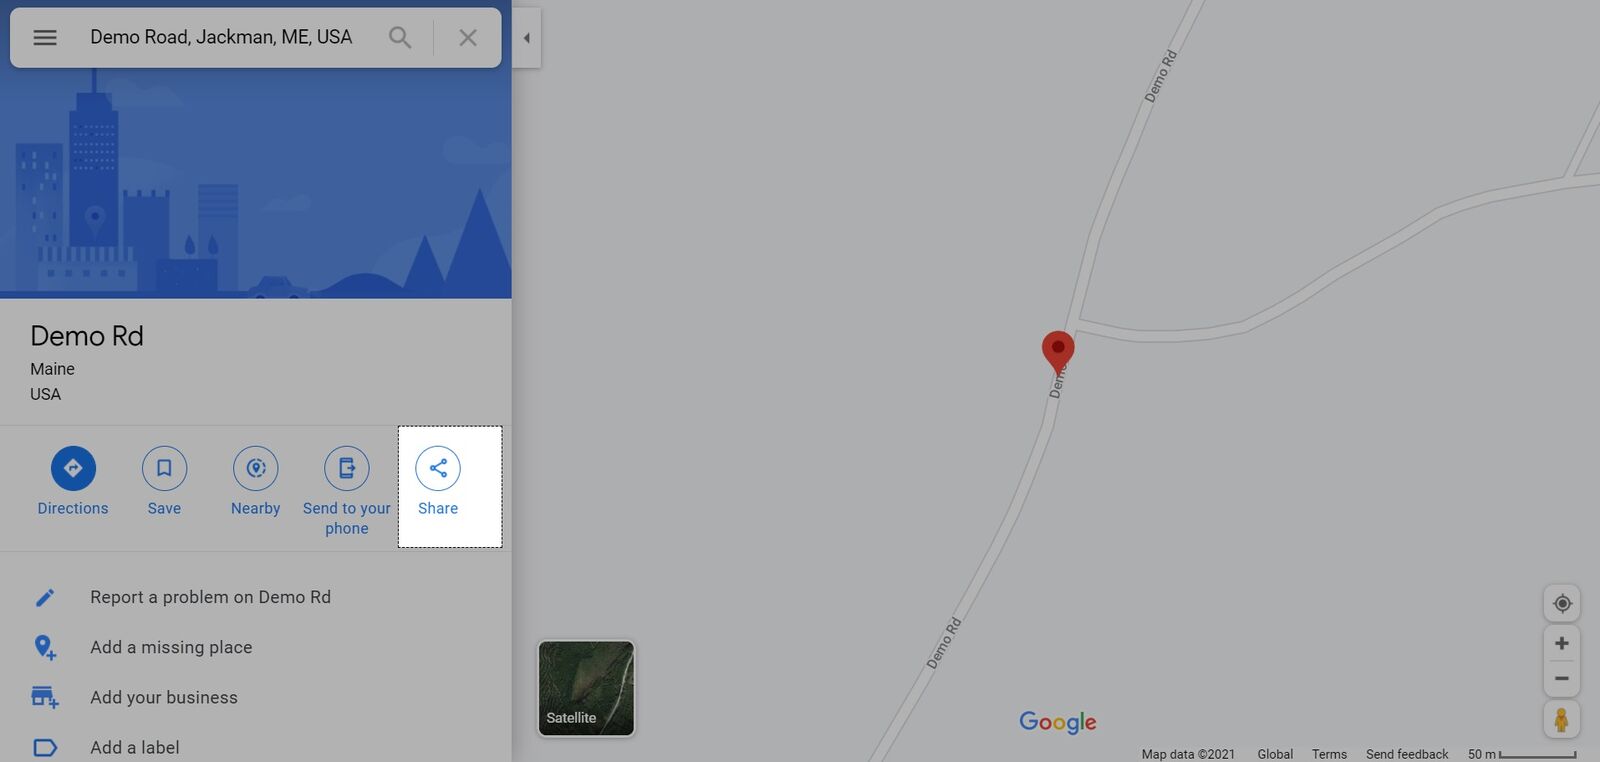
In case you want to add Google map to the page, please read the following instructions and refer to the instructions in the pictures below. First, go to Google Map and enter the address you want to map in and click the Share icon .
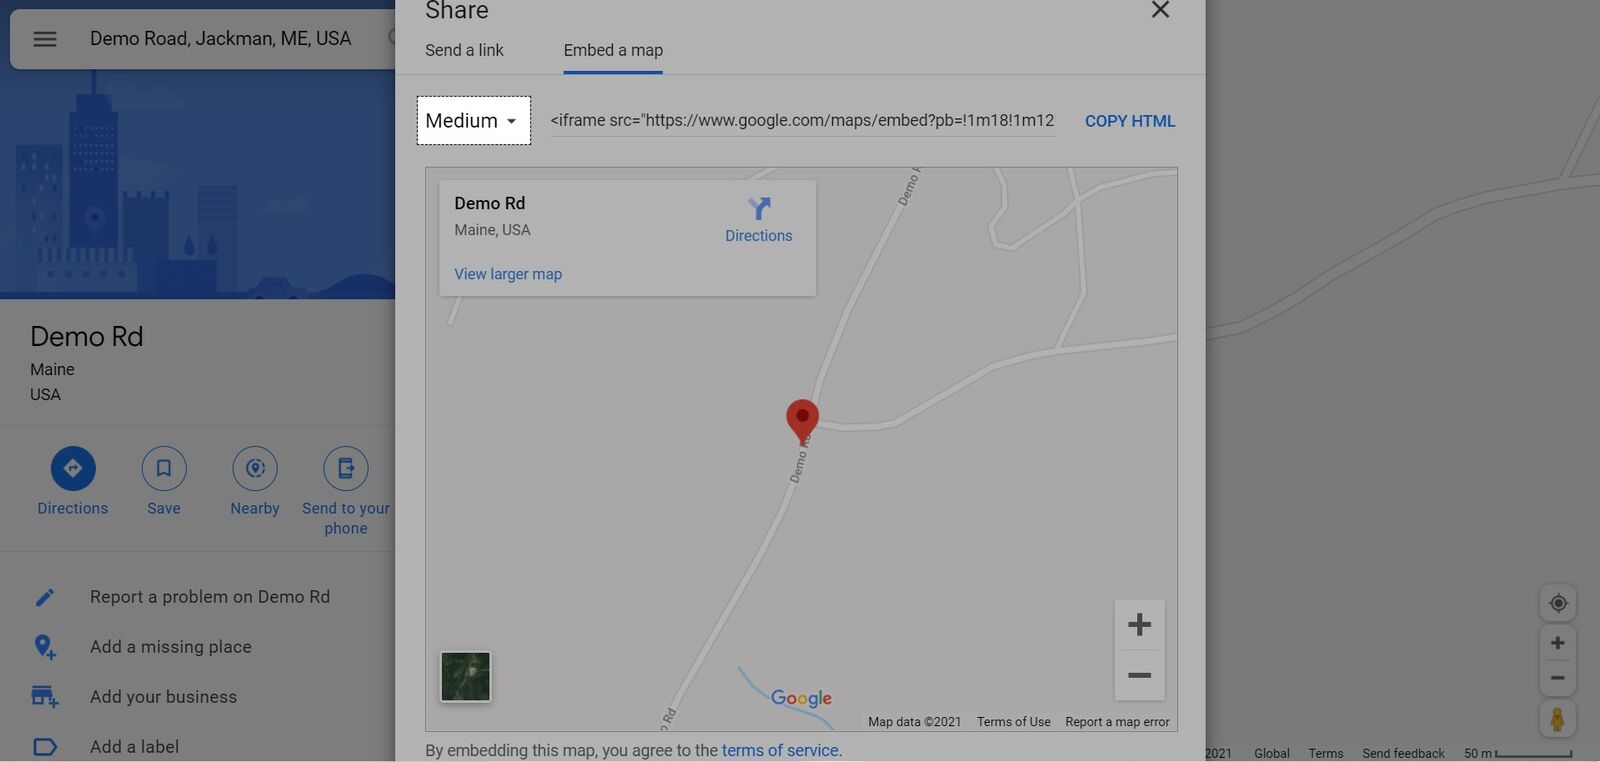
Then click Embed map to generate the embed code for your site.
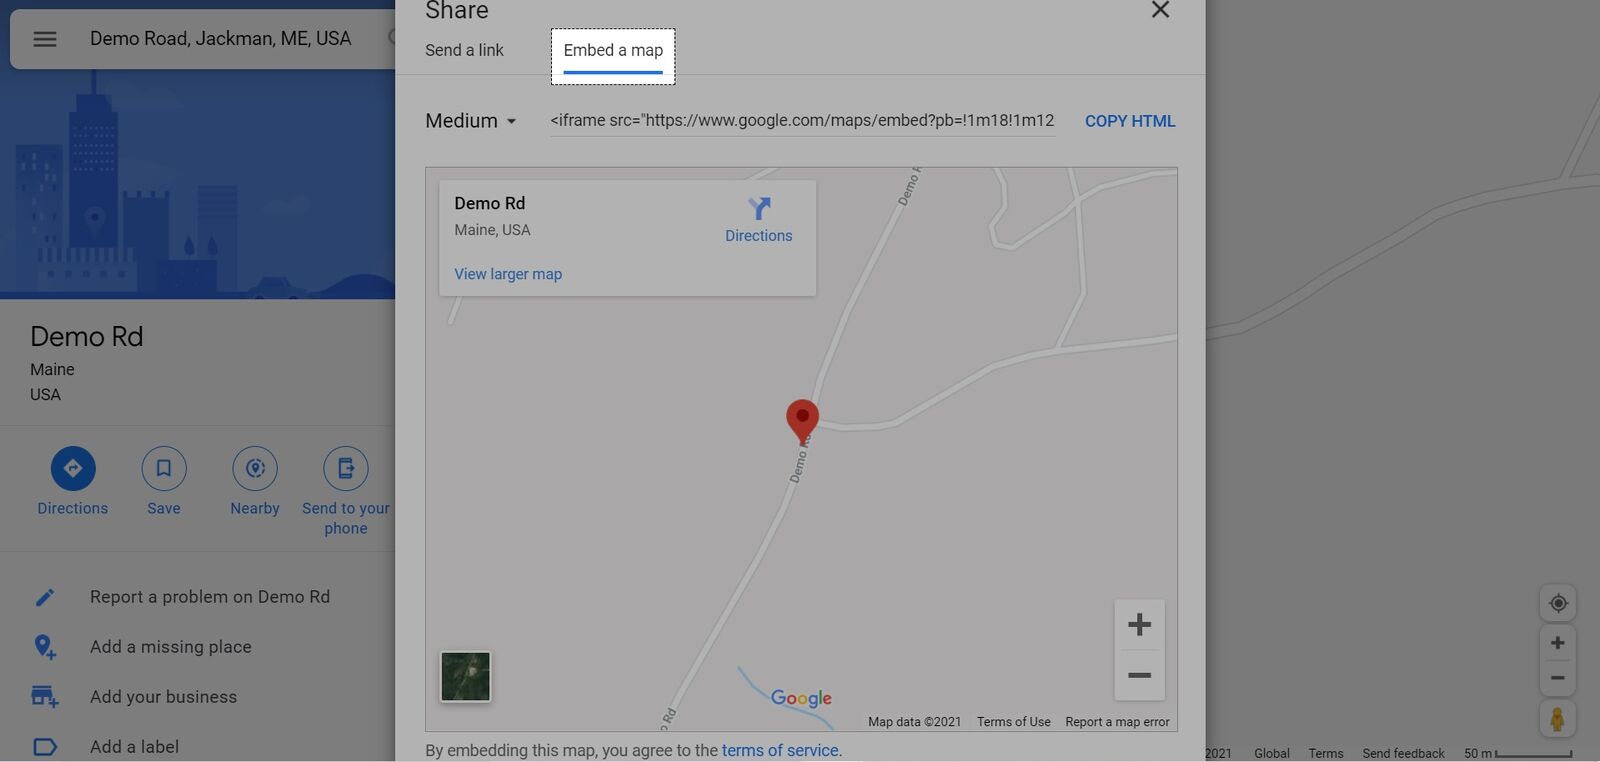
Select the desired map size, then press Copy HTML.
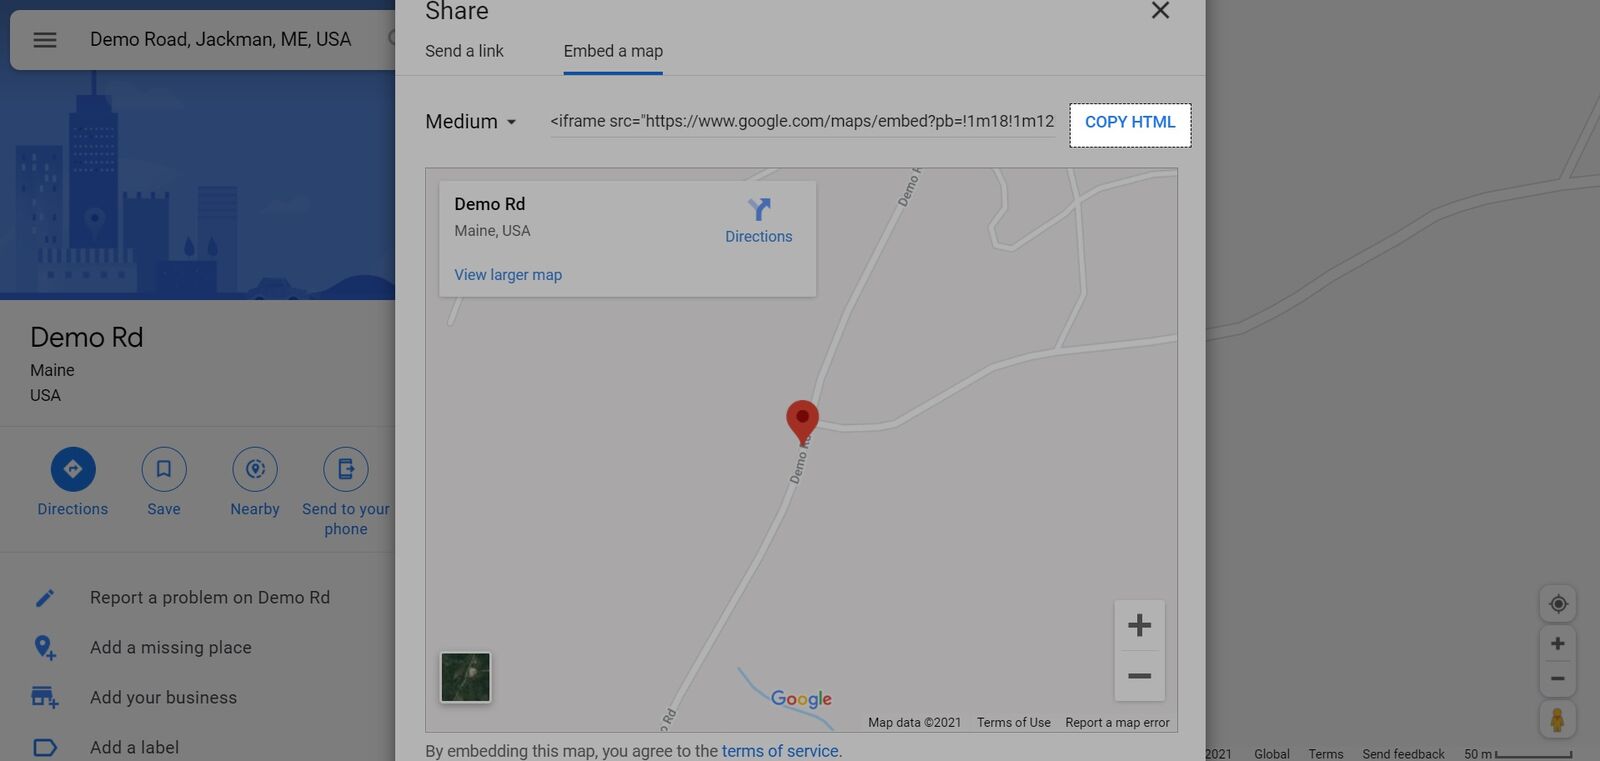
Then go to the Content field of the content creation page, click on the HTML icon and paste the HTML code you copied earlier in any place where you want the map to appear in your page. Click the HTML icon again to return the Content field to its normal state (not as HTML) and preview how the map will look on your page.
Visibility : choose whether you want your site to be published publicly as Visible or Hidden.
Template : choose a template for the page you create, including Page, Contact page, Review page.
Search engine listing preview section shows a preview of how your product will appear in search engine results. Preview includes Page title, URL and handle and Meta description. Click Edit website SEO to edit the preview.
Click Save once finished.
B. Add template variables to your page
To ensure your data is consistent across all pages on your store, ShopBase provides you with some template variables. You can copy and paste them into your desired pages:
{{shop.name}}: The store name you entered in Settings > General.
{{shop.domain}}: The current primary domain in Online store > Domains.
{{shop.address}}: The store address you entered in Settings > General. This variable will return data in format of <address>, <city>, <state (if any)>, <ZIP/postal code>, <country>.
{{shop.phone}}: The store phone you entered in Settings > General.
{{shop.owner_email}}: The owner account email address you entered in Settings > General.
{{shop.customer_email}}: The customer email address you entered in Settings > General.
{{shop.activated_payment}}: The current activated payment methods of your store, that are set in Settings > Payment providers.
Updated about 1 year ago