本文将指导如何对从ShopBase购买的域名进行设置谷歌域名邮箱。您可以将Google提供的TXT记录代码复制并粘贴到ShopBase后台的域名管理部分以验证域名所有权,然后添加MX记录以使用按域名的电子邮件。
主要内容
A. 验证域名所有权
B. 添加MX记录
A. 验证域名所有权
在设置GSuite电子邮件之前,请按照 此教程的指南从ShopBase购买域名。
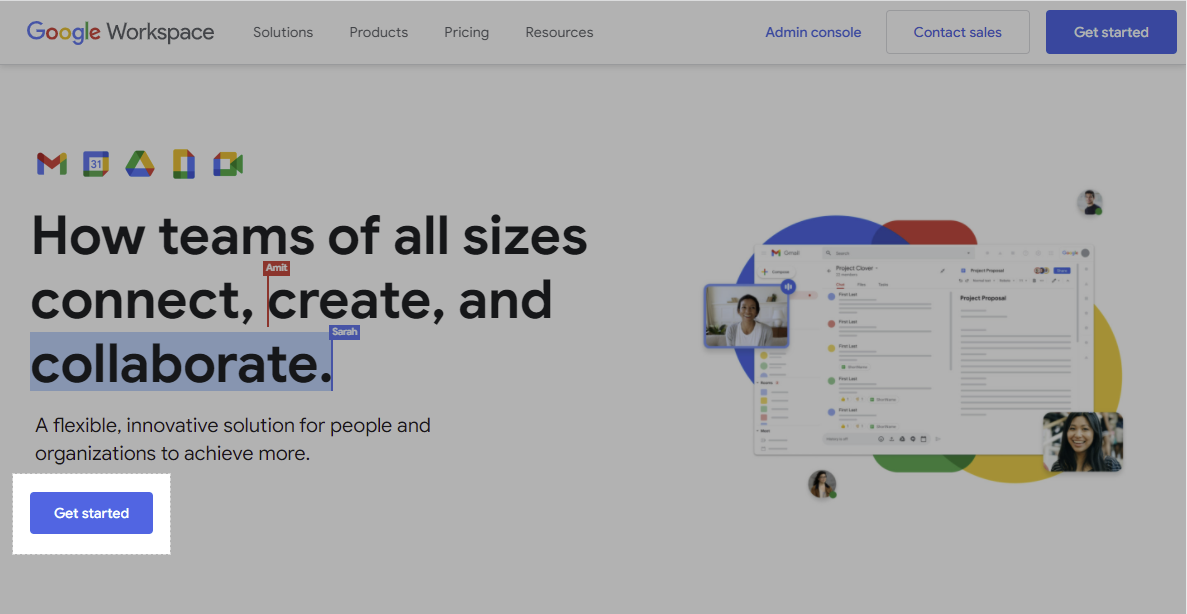
访问 Google Workspace,点击 Get started。
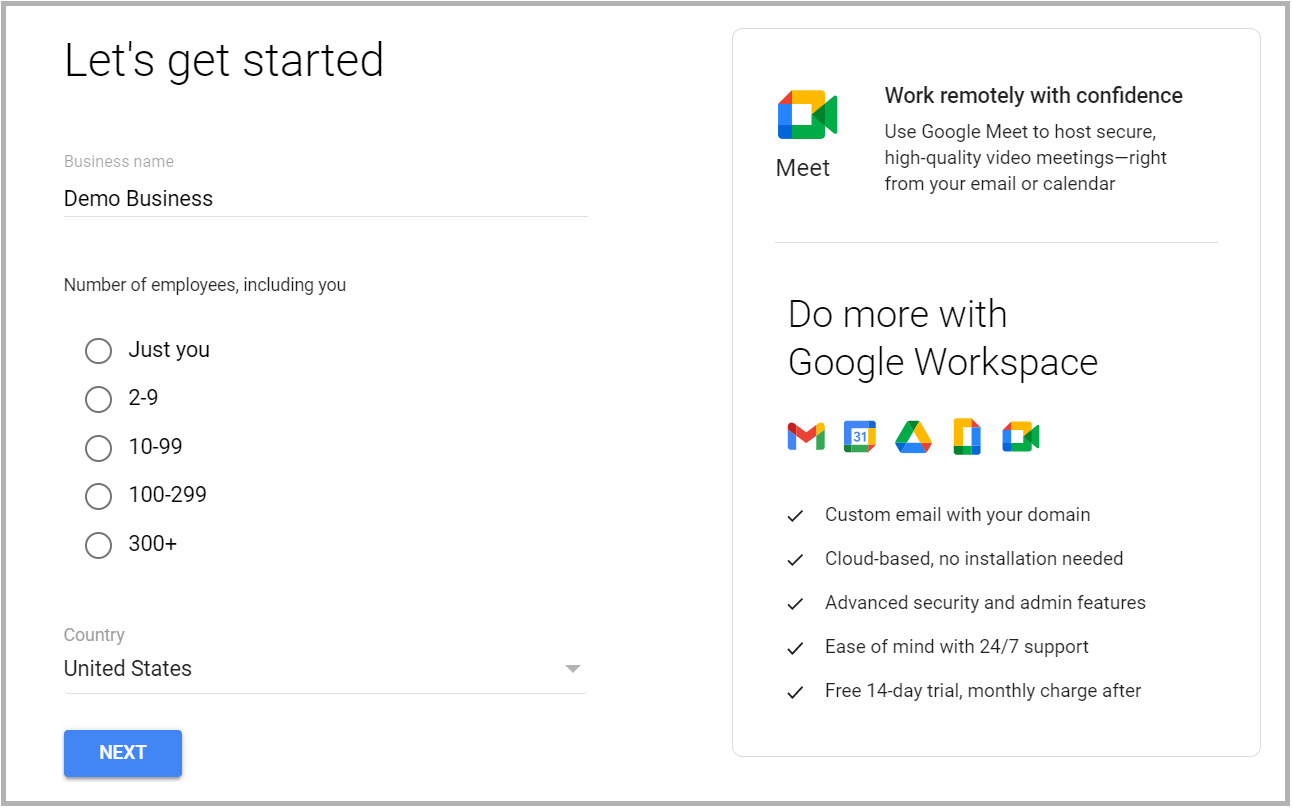
输入您的企业信息。
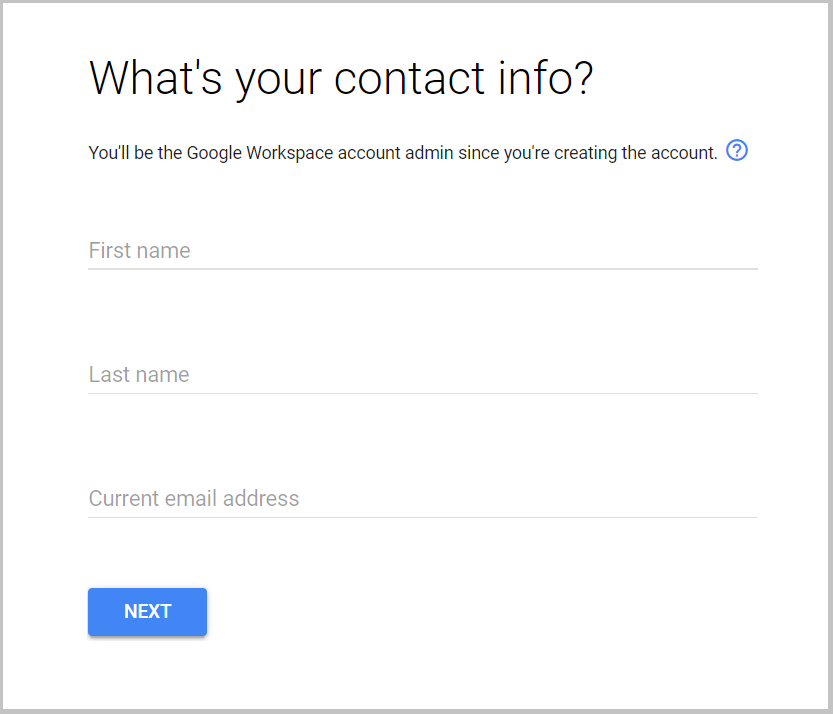
输入您的个人信息。
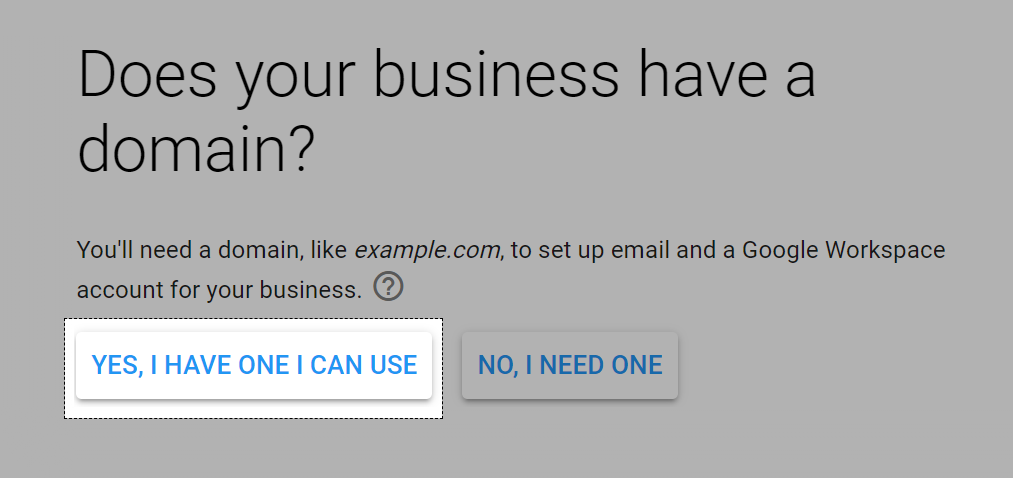
点击 Yes, I have one I can use。
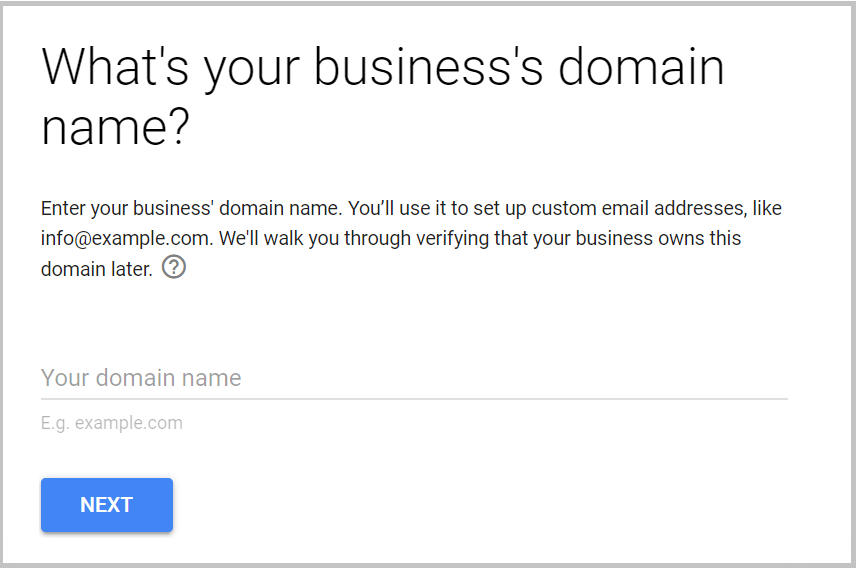
输入您的域名,点击 Next。
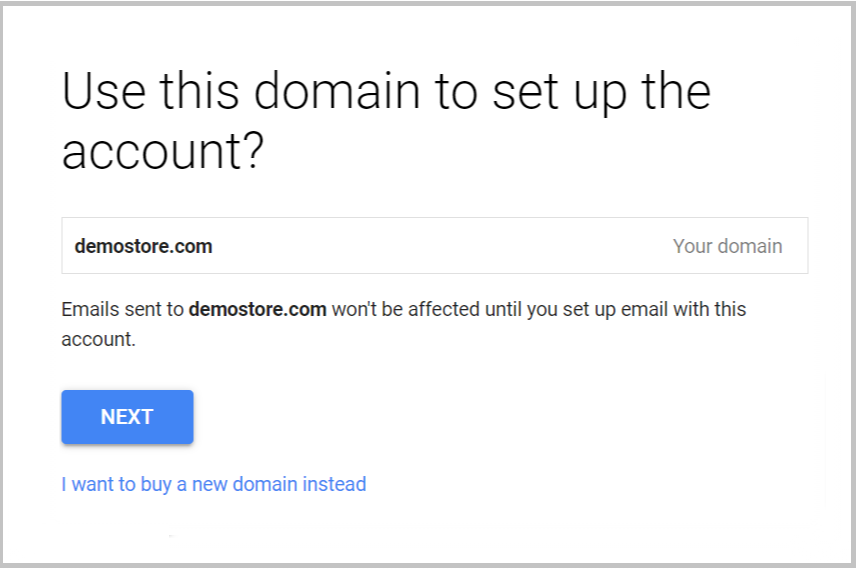
点击 Next。
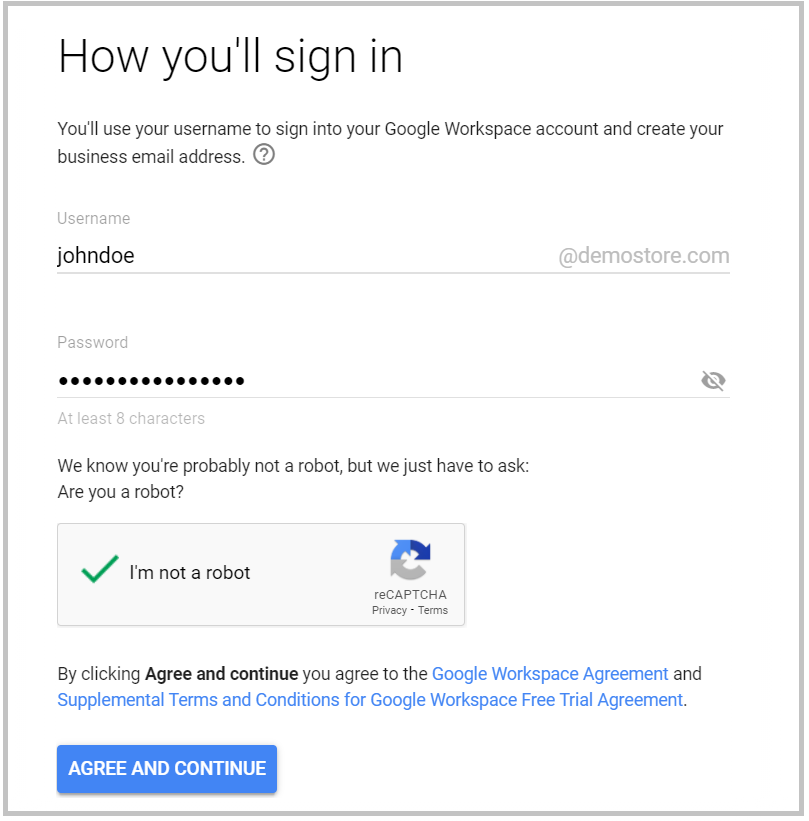
输入按域名的电子邮件名称、密码,然后点击 Agree and continue。
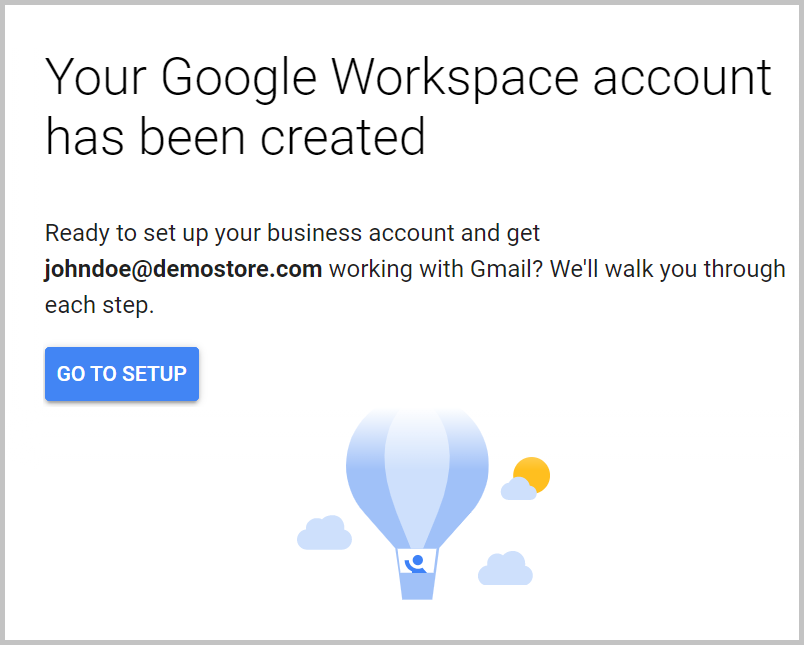
点击 Go to setup。
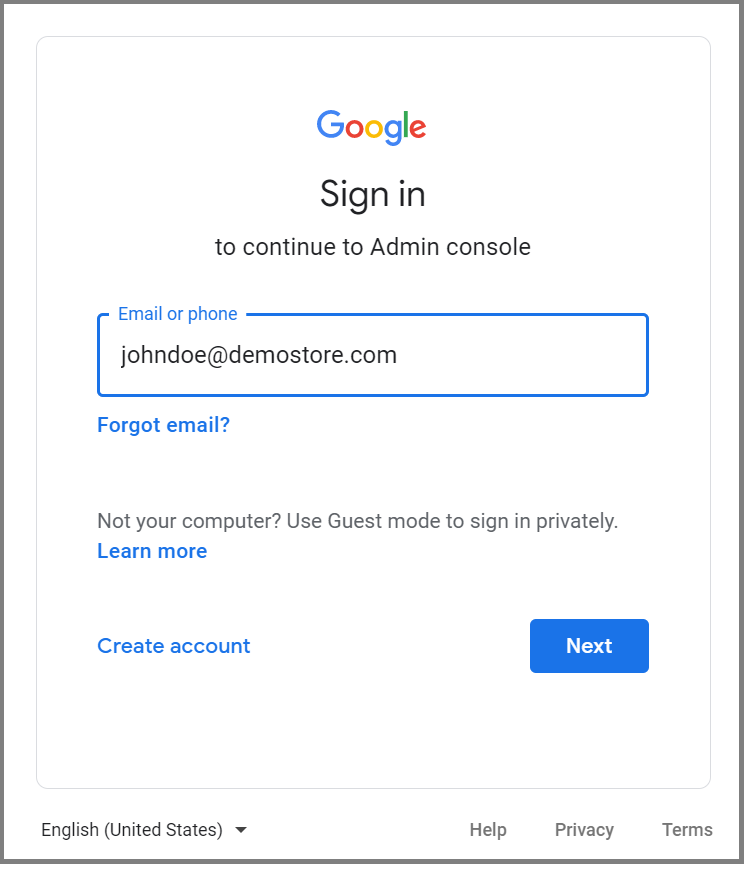
登录到您刚刚注册的电子邮件。
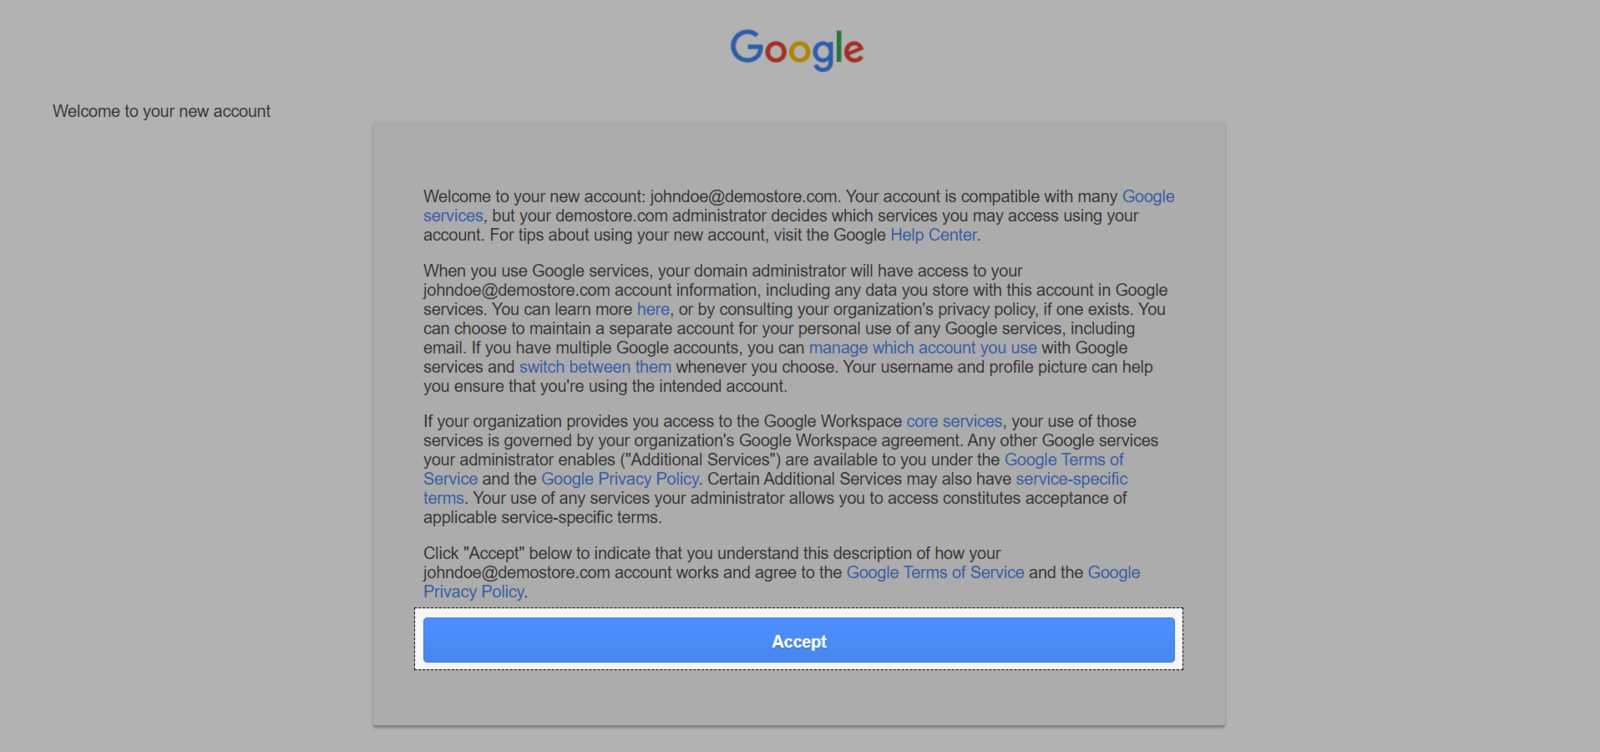
点击 Accept。
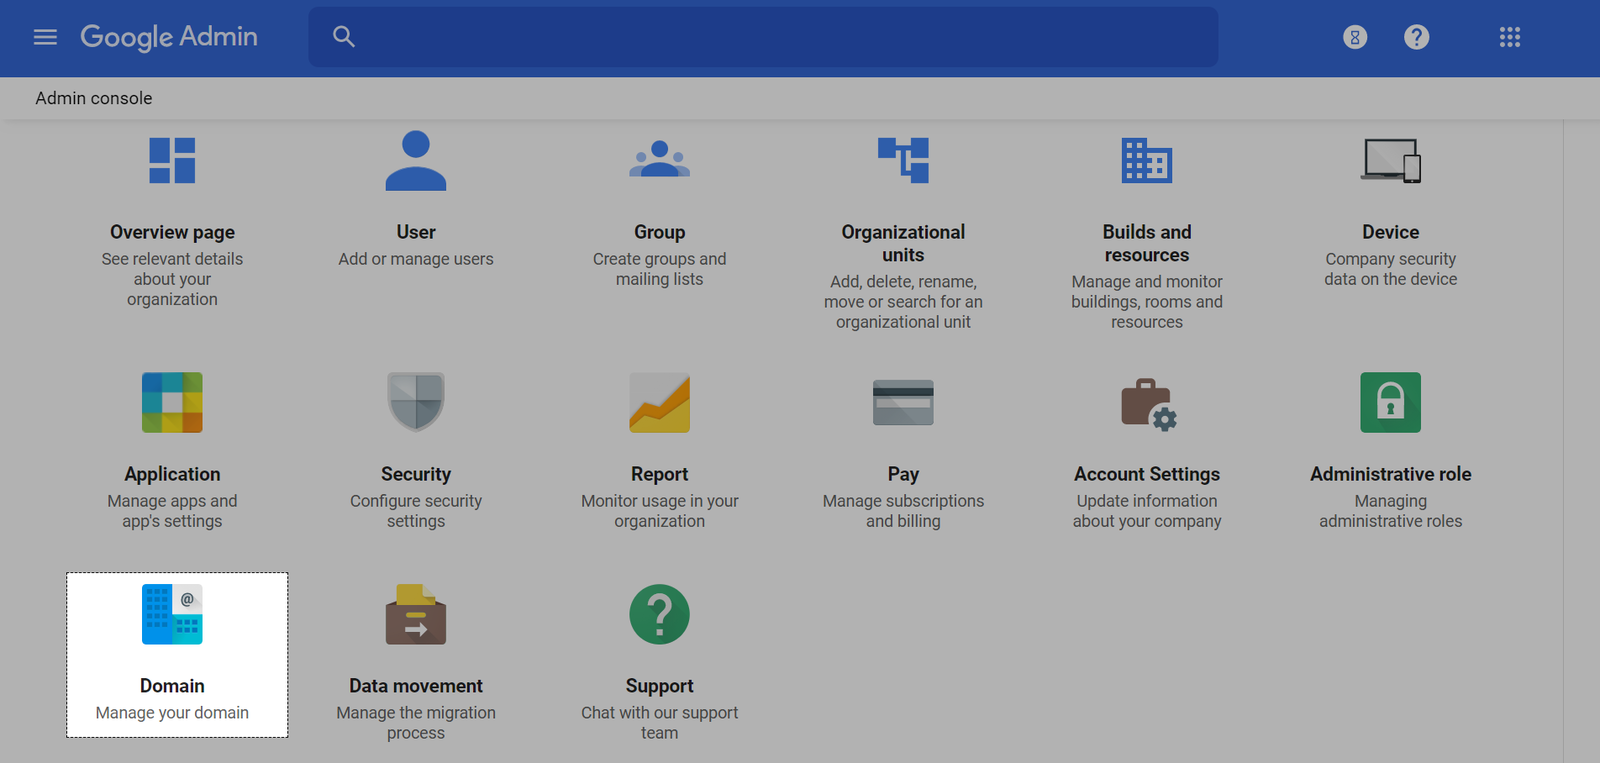
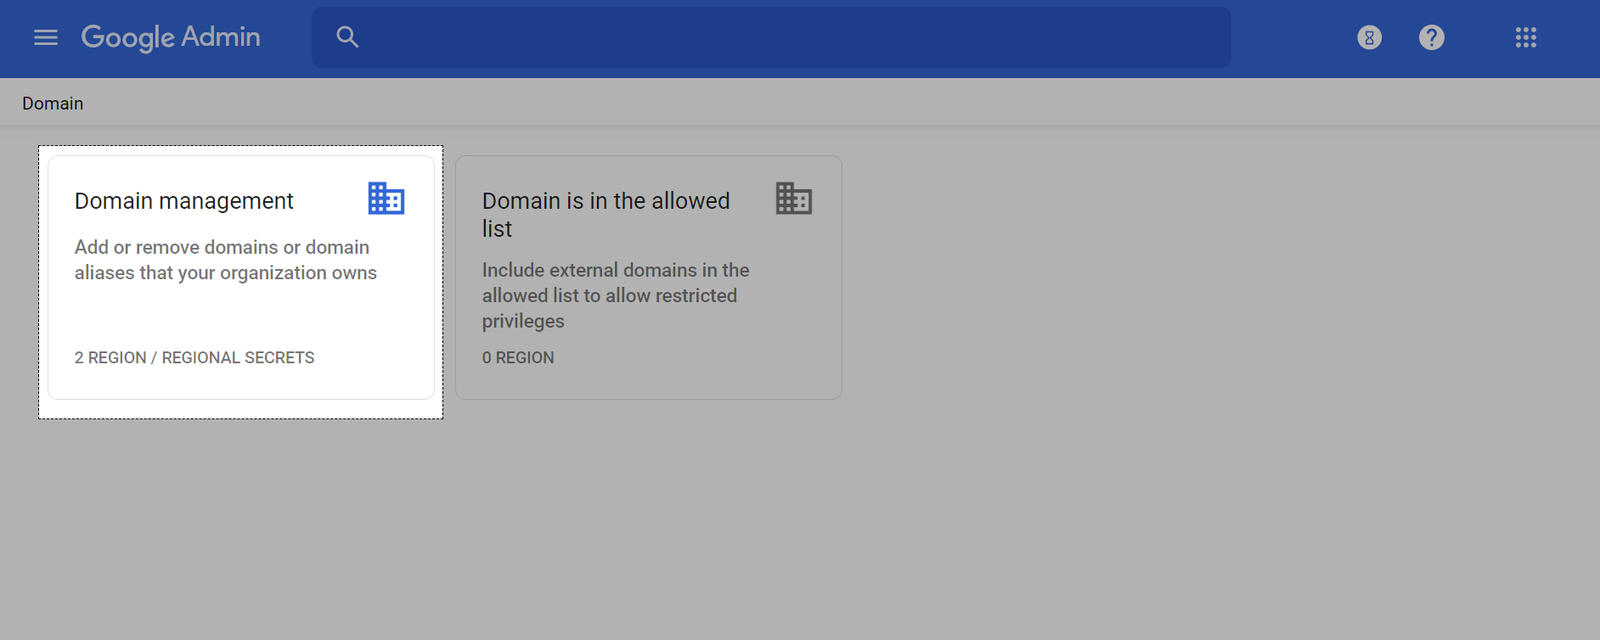
系统将自动跳转到 Google Admin,点击 Domains > Domain management。
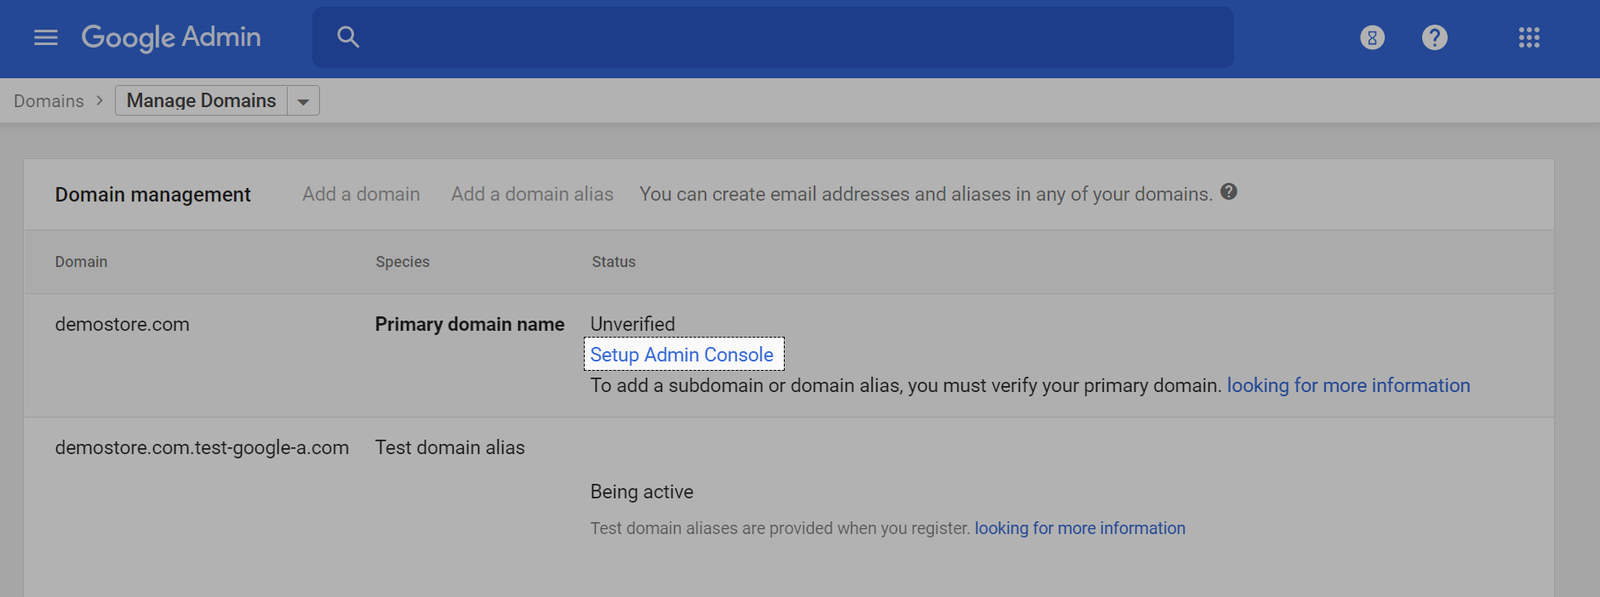
点击 Set up Admin Console。
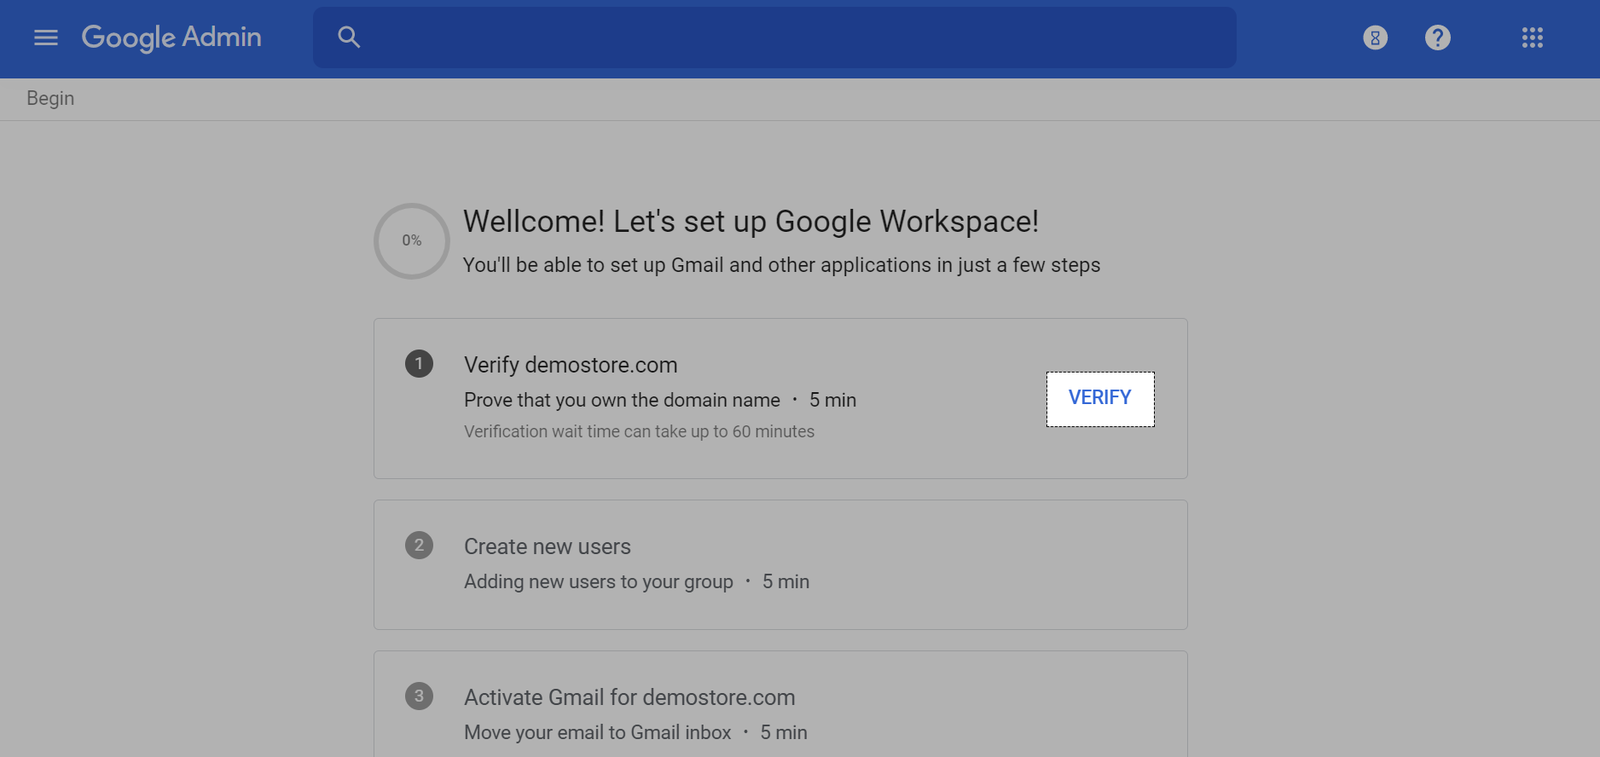
点击 Verify。
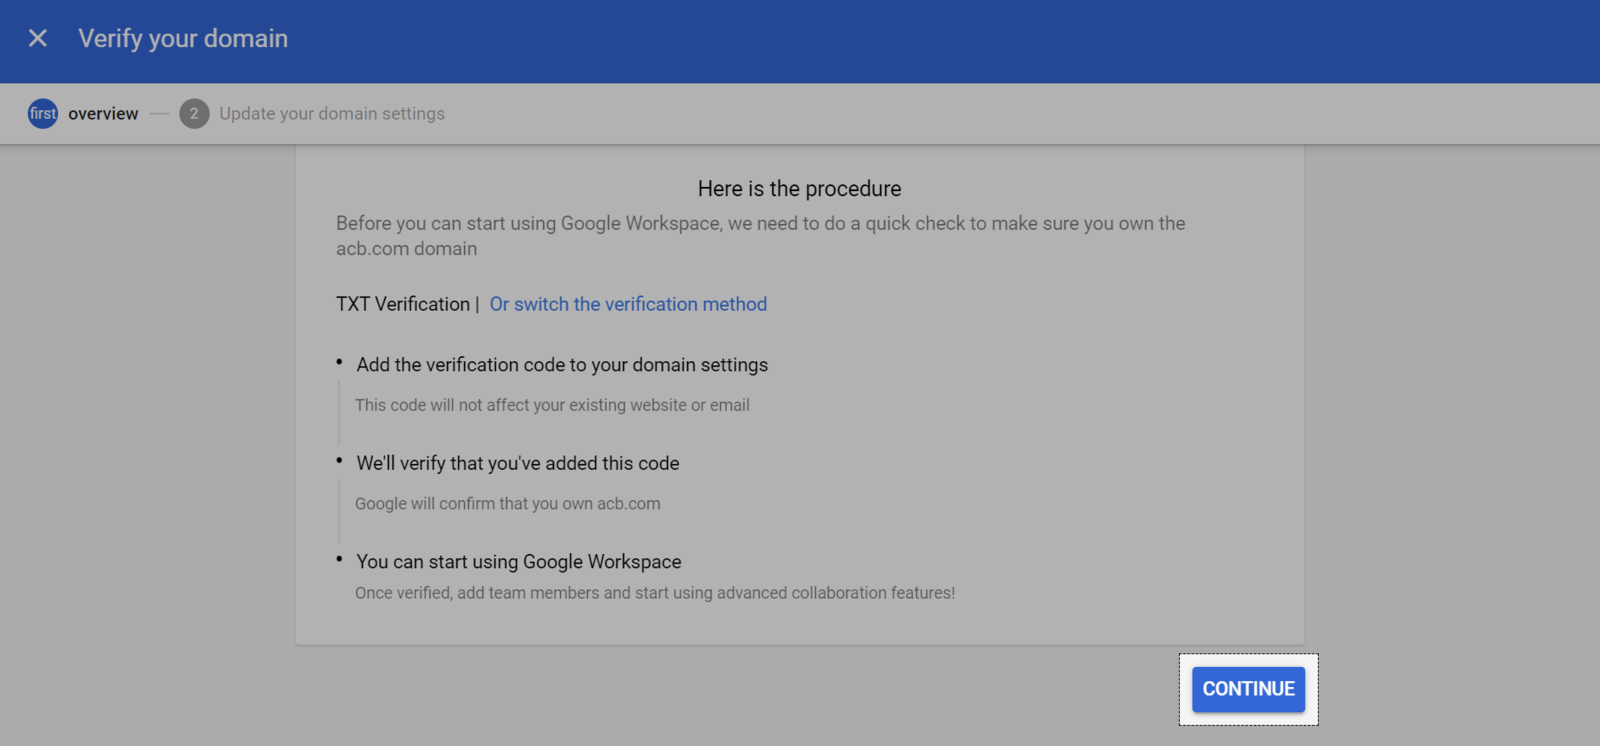
点击 Continue。
往下拉,点击 Copy以复制TXT记录。
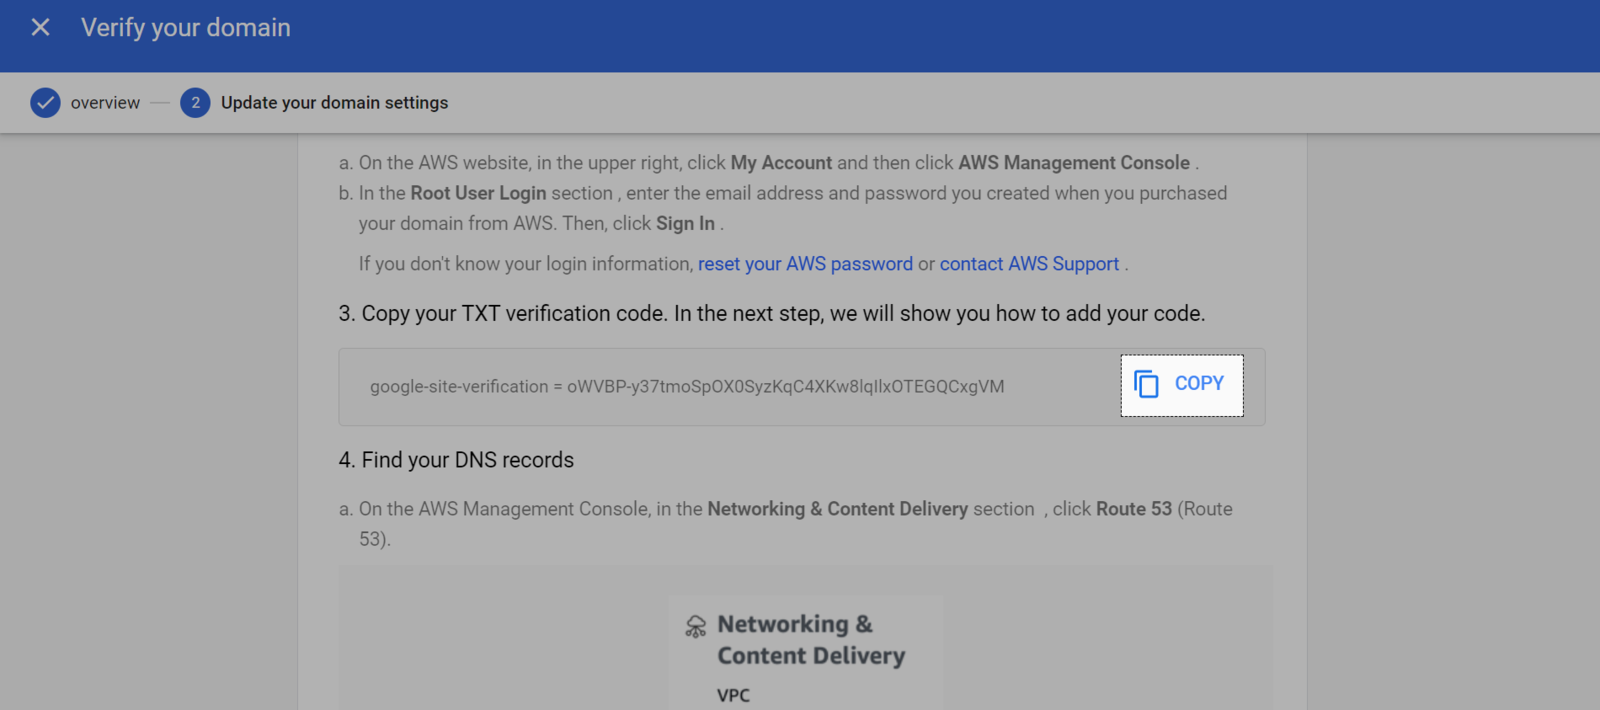
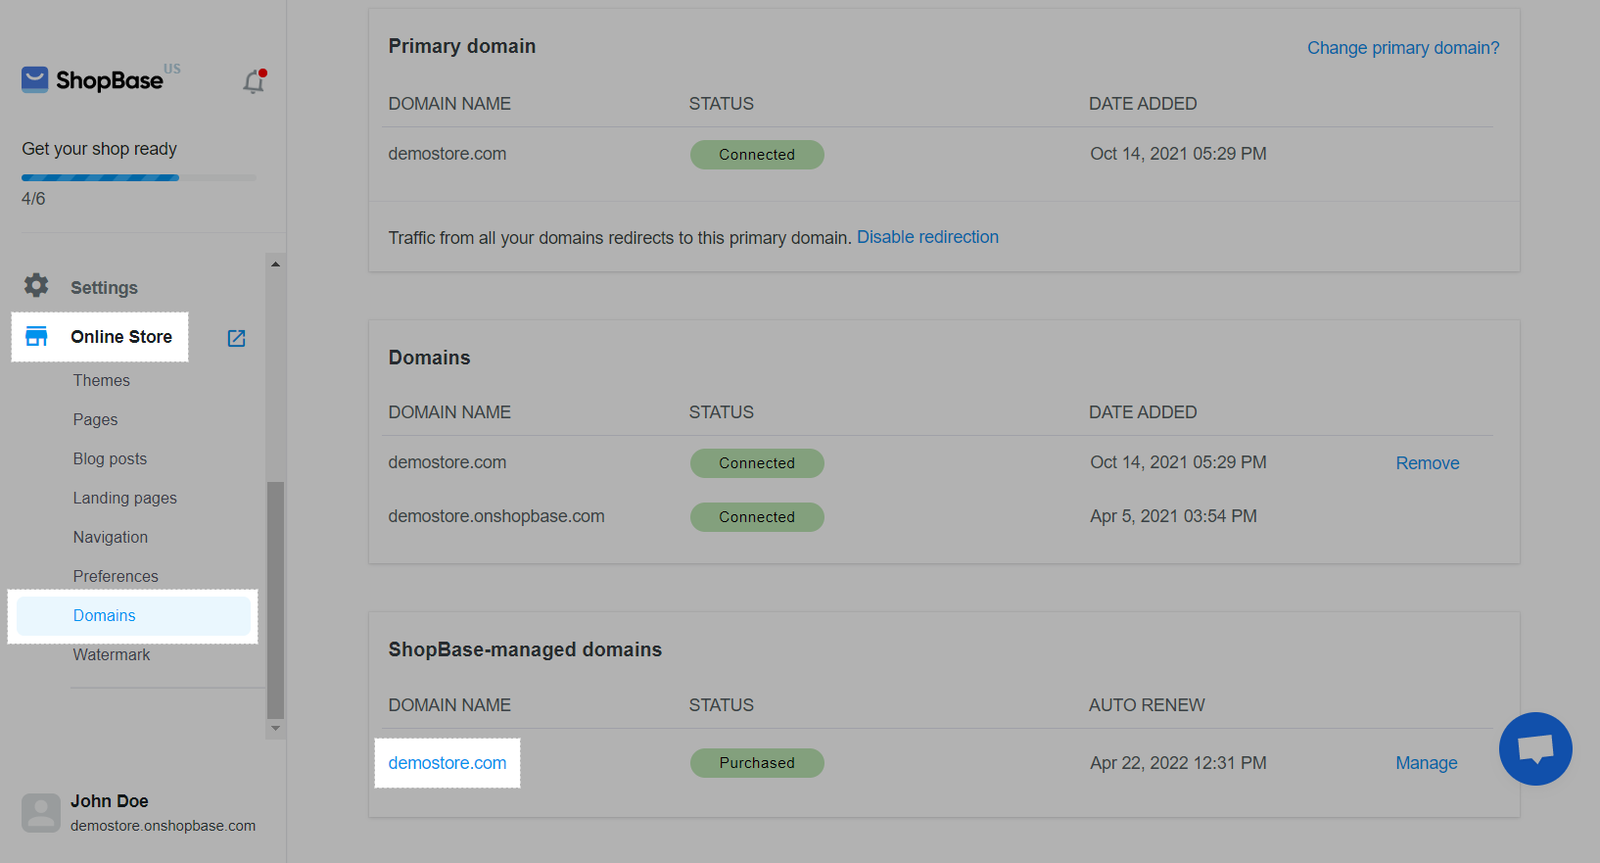
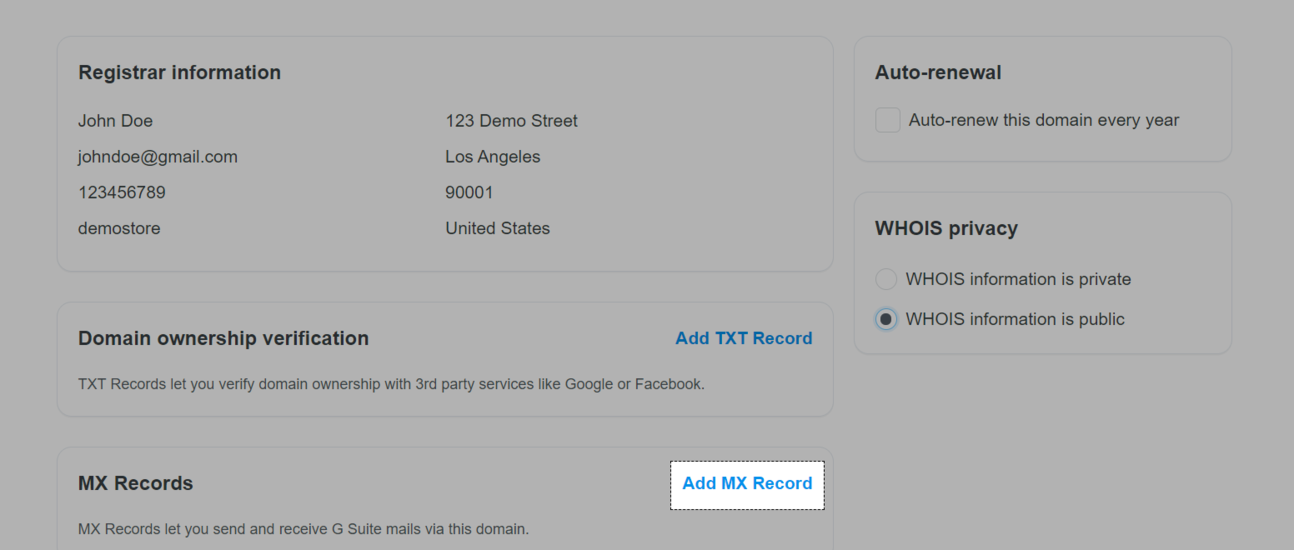
访问ShopBase后台,转到 Online Store > Domains。在 ShopBase-managed domains部分中,点击要设置电子邮件的域名。
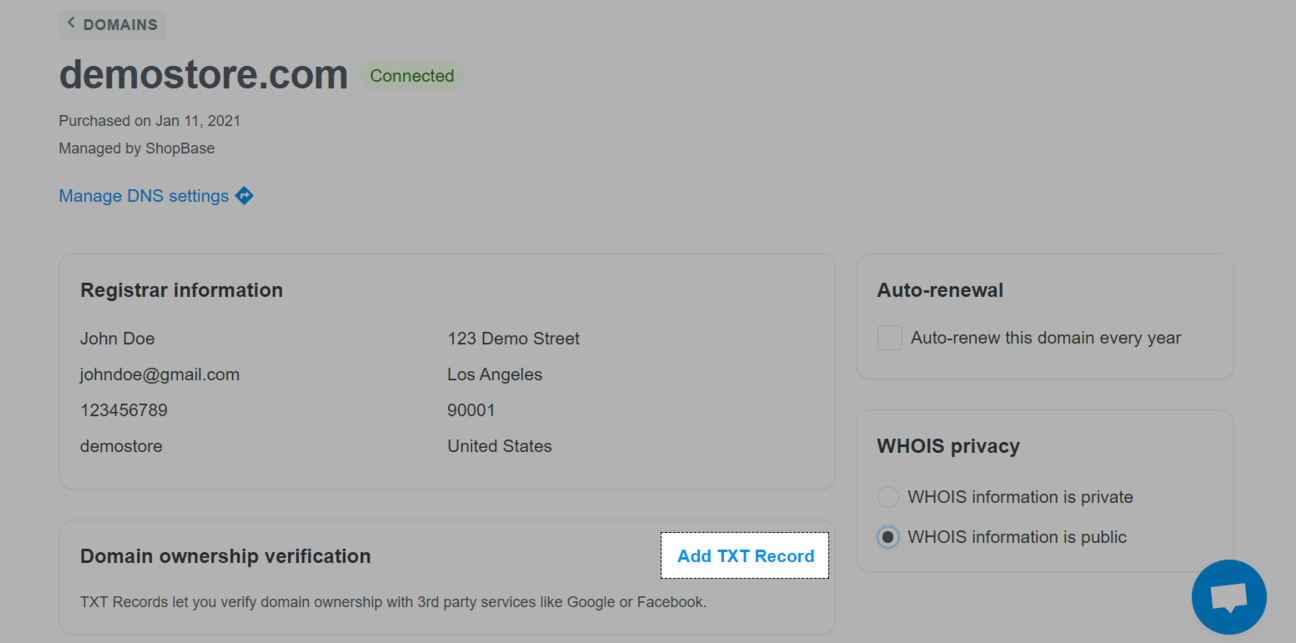
点击 Add TXT Record,粘贴在第 15 步复制的代码,然后点击 Add以向Google验证所有权。
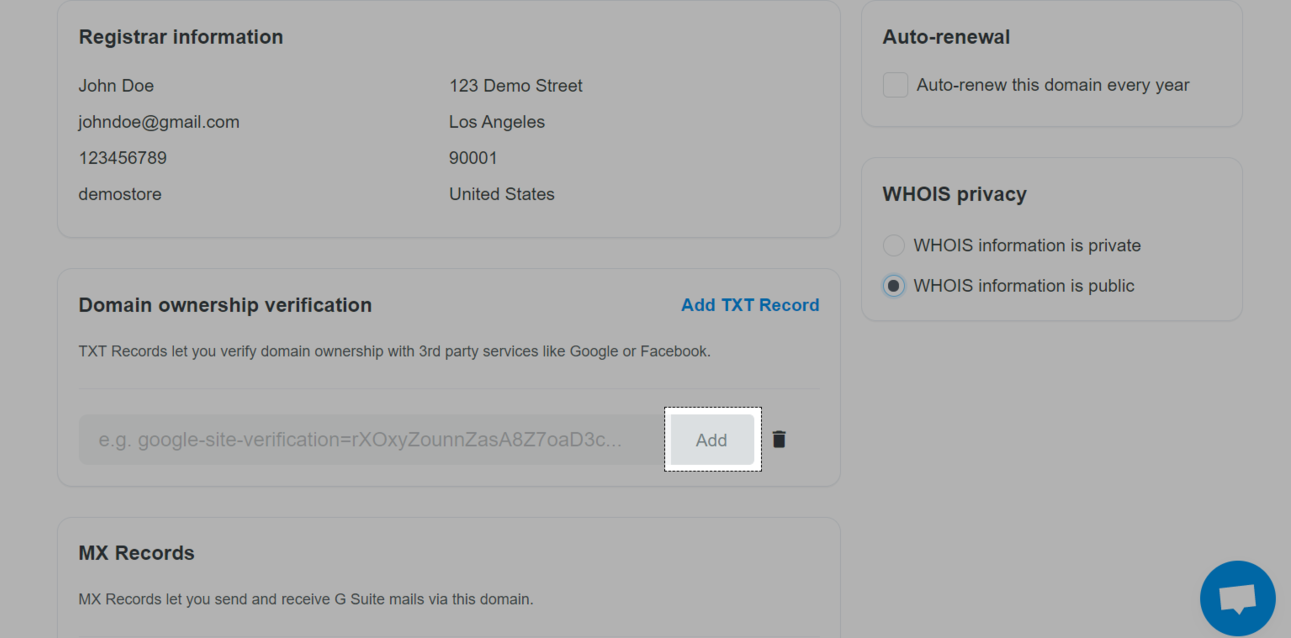
一个域名可以添加多个TXT记录。
B. 添加MX记录
在ShopBase后台中,转到 Online Store > Domains。在 ShopBase-managed domains部分中,点击要设置电子邮件的域名。

点击 Add MX Record,系统将自动为您添加MX记录。
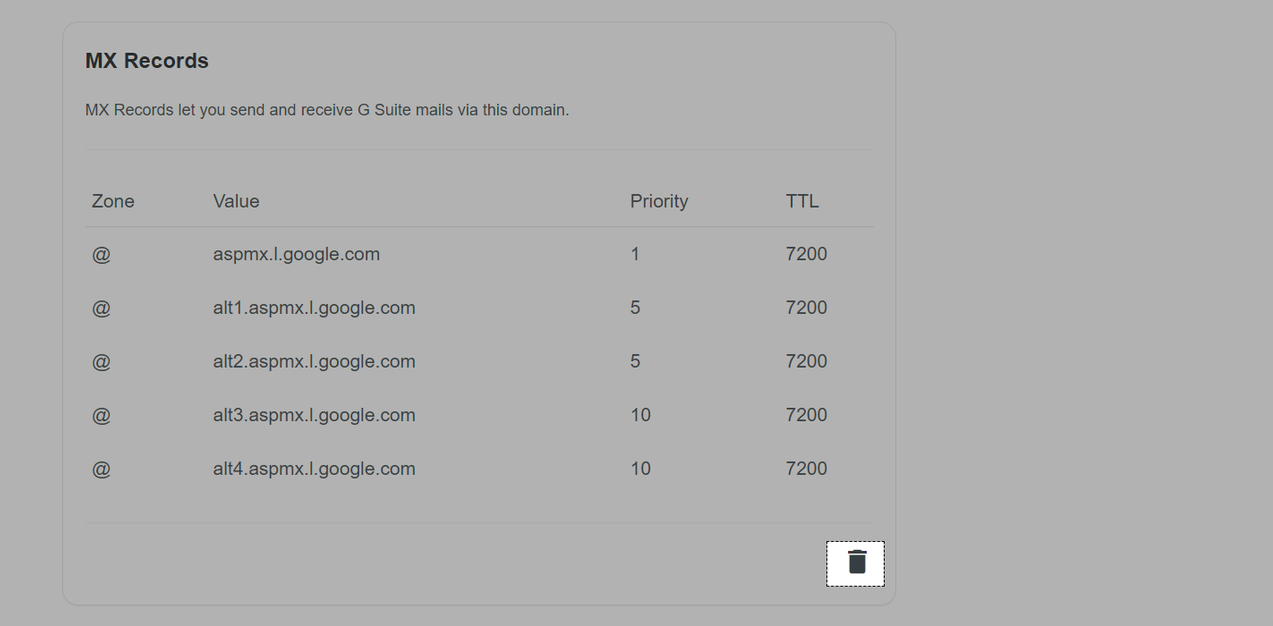
如果屏幕如下显示,则您已成功添加MX记录。从第三方网站添加的MX记录也将在此处列出。
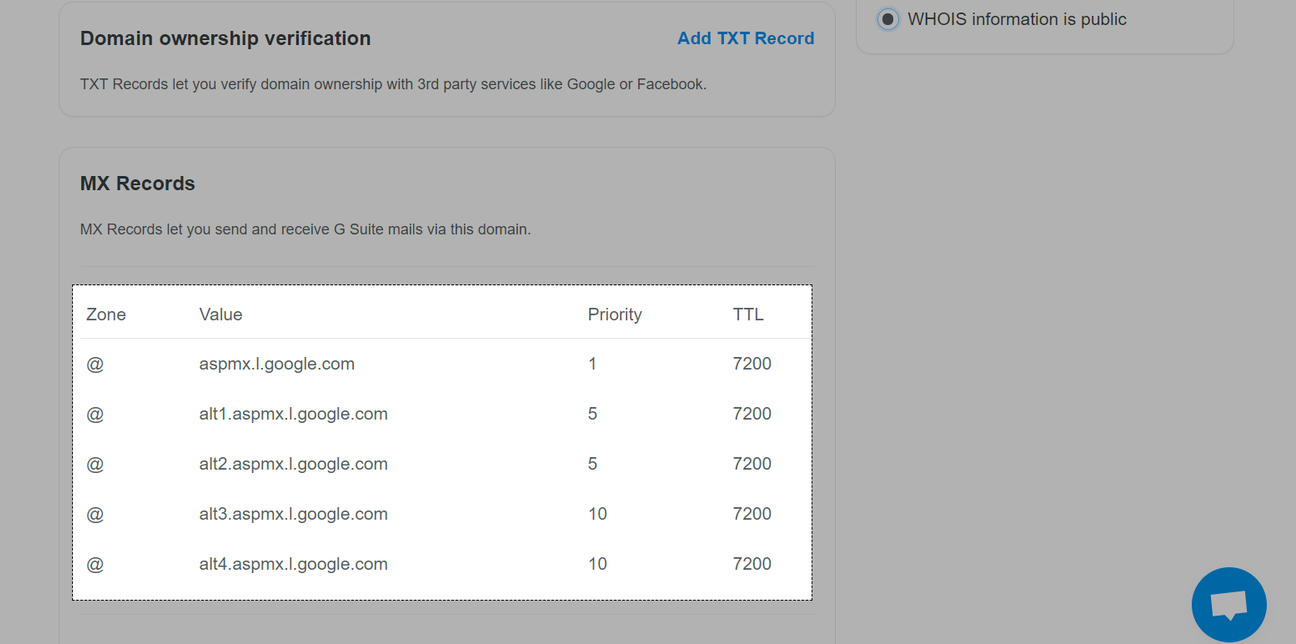
当您点击垃圾桶图标以删除MX记录时,仅有从ShopBase系统添加的MX记录才被删除,从第三方系统的MX记录将被保留并且不会被删除。