After you have created a blog for your store, you can start writing articles or blog posts with ShopBase. Your blog posts can contain both text and images to promote your business and attract potential customers.
In this article
A. Add a post to your blog
B. Edit a blog post
C. Hide a blog post
D. Delete a blog post
E. Edit the search engine listing and web address for a blog post
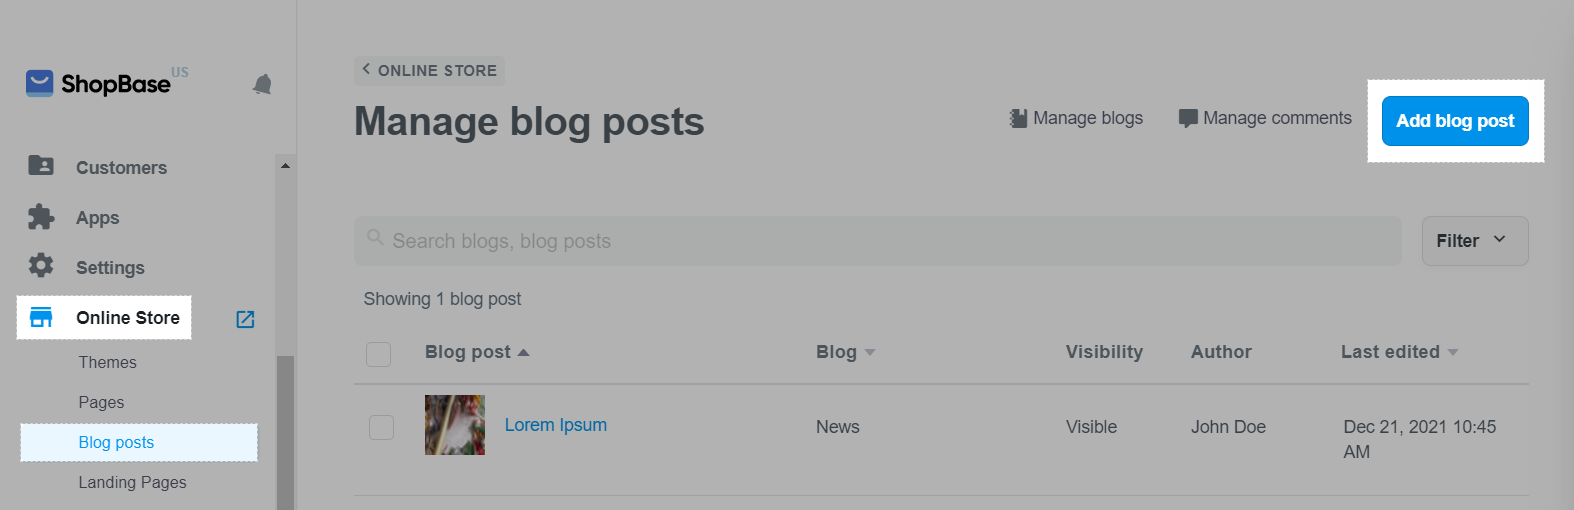
A. Add a post to your blog
From your ShopBase admin site, go to Online store > Blog posts. Click Add blog post.
On the Add blog post page, edit the following elements of your blog post:
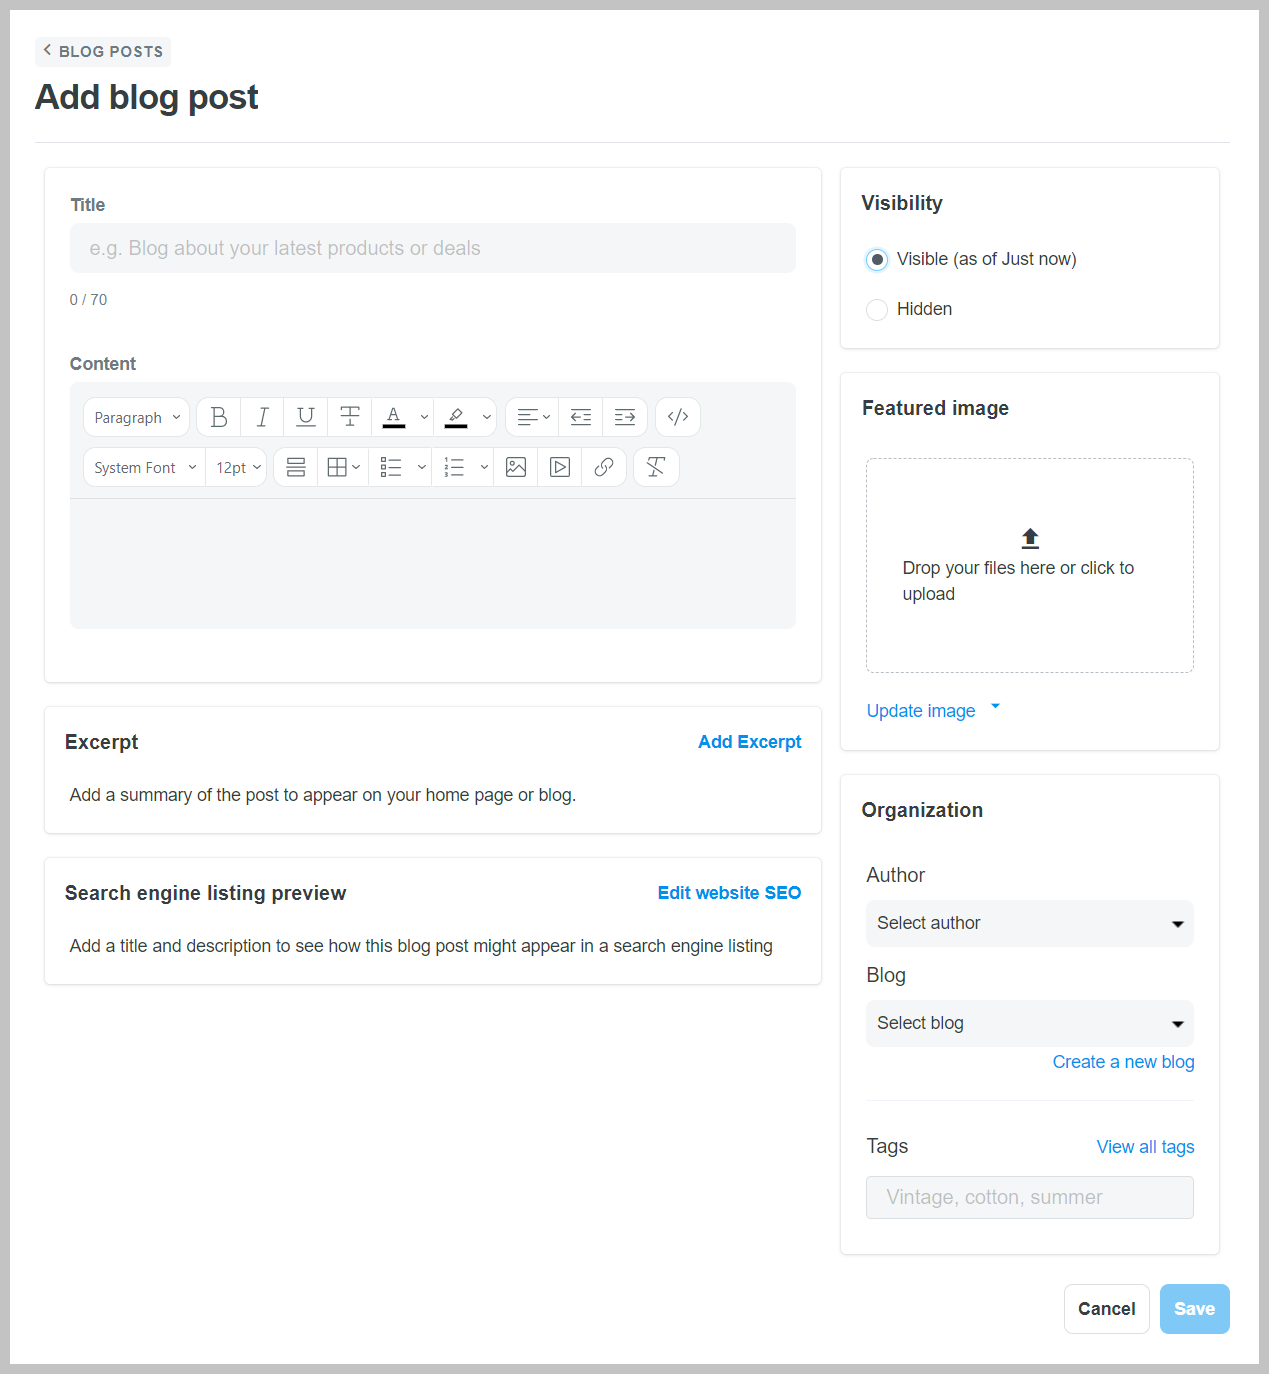
Title (required): Enter a title for your blog post.
Content: Enter the content of your blog post. With our rich text editor, you can format your post content however you like. You can also add images, embed videos, and insert links, etc.
Excerpt (optional): Click Add Excerpt to add a summary of your blog post on your homepage or blog.
Search engine listing preview: Click Edit website SEO to edit the search engine listing for your blog post. Please refer to section E of this article for more information.
Organization - Author (required): From the drop-down menu, select the name of the blog post's author. Only names of the store owner and staffs are displayed in this menu.
Organization - Blog (required): Select the name of the existing blog where the post will be published, or click Create a new blog to create a new one.
Organization - Tag (optional): Add tags to your blog posts to organize them by category or subject. Customers can click on tags to find other blog posts in the same category. You can enter more than one tag and separate each tag by commas. Tags can have up to 255 characters.
Featured image: Drop or click to upload your file. Click Update image and select Remove to remove an existing image or Update image to replace the existing image with a new one. Click Edit Alt text to edit the image alt text.
Visibility: By default, blog posts will be Visible on your store once you click Save. Alternatively, you can select Hide to hide the blog post from your store and then publish it when it's ready.
Once finished, click Save.
B. Edit a blog post
You might want to edit an existing blog post to change the content, author, or other blog post details.
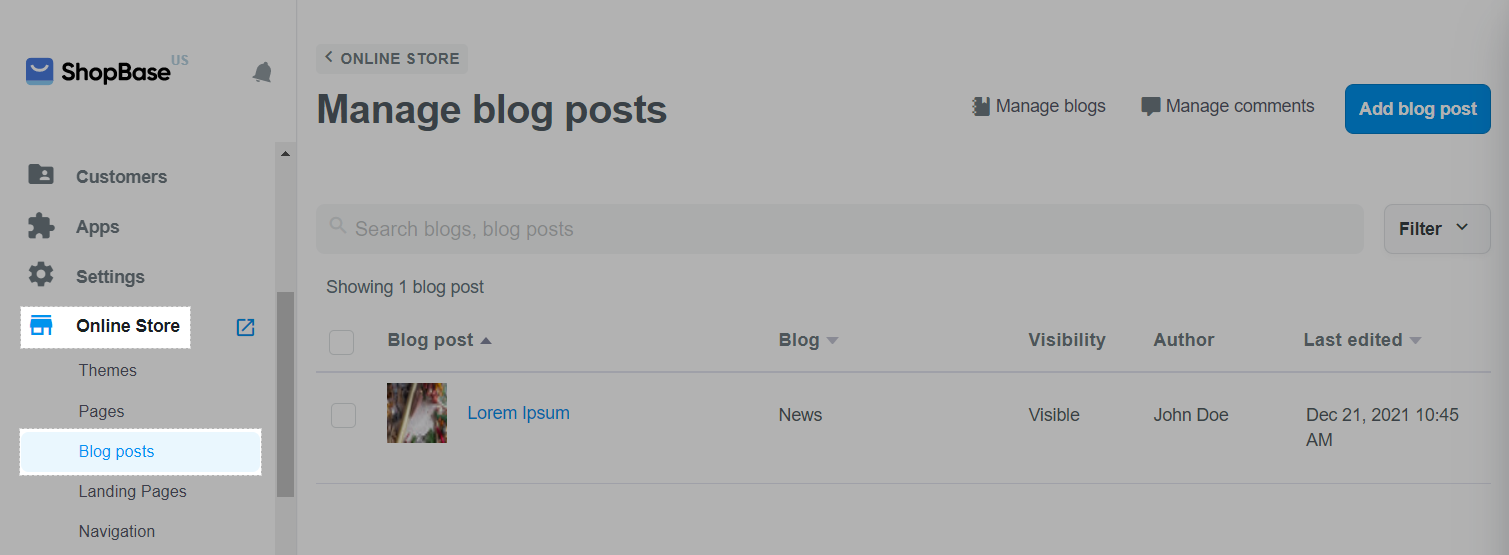
From your ShopBase admin site, go to Online store > Blog posts, and click on the blog post you want to edit.

Make your changes to the existing content and settings of the blog post. You can refer back to section A on how to edit each sections.
Once finished, click Save.
C. Hide a blog post
From your ShopBase admin site, go to Online store > Blog posts.
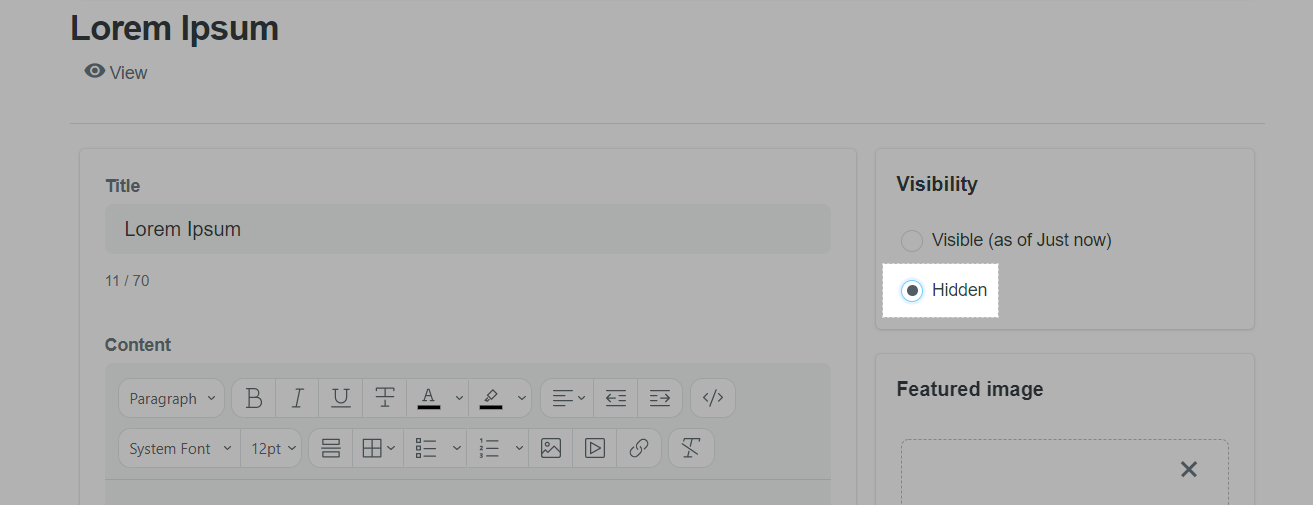
You can hide one blog post at a time by clicking on the blog post. In the Visibility section, select Hidden. Then, click Save.
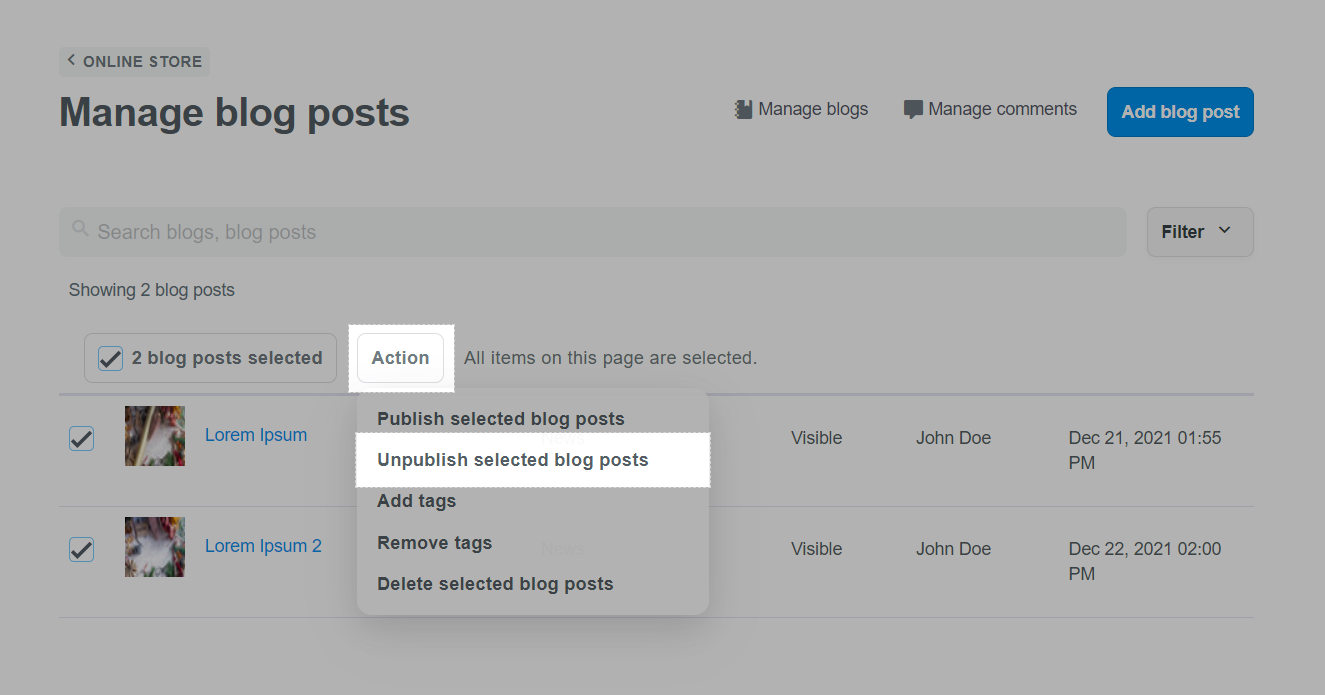
To hide multiple posts at a time, click on the boxes next to the titles of blog posts you want to hide. Then, click Action > Unpublished selected blog posts.
D. Delete a blog post
From your ShopBase admin site, go to Online store > Blog posts.

You can delete one blog post at a time by clicking on each blog post's title. In the new page, click Delete.

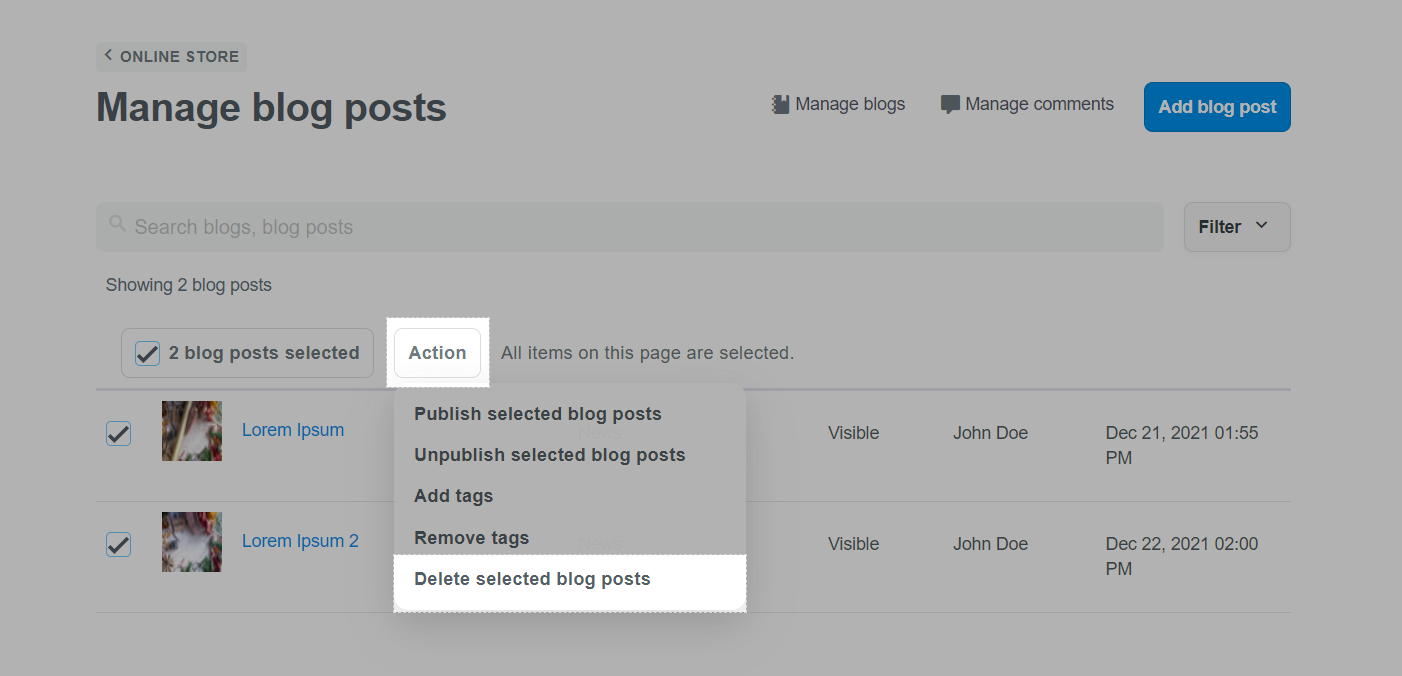
To delete multiple posts at a time, click on the boxes next to the titles of blog posts you want to delete. Then, click Action > Delete selected blog posts.
E. Edit the search engine listing and web address for a blog post
You can change the text that appears in a blog post's search engine results. To help new customers find your online store and persuade them to click the link, use a descriptive title and description.
From your ShopBase admin site, go to Online store > Blog posts, and click on the title of the blog post you want to edit.

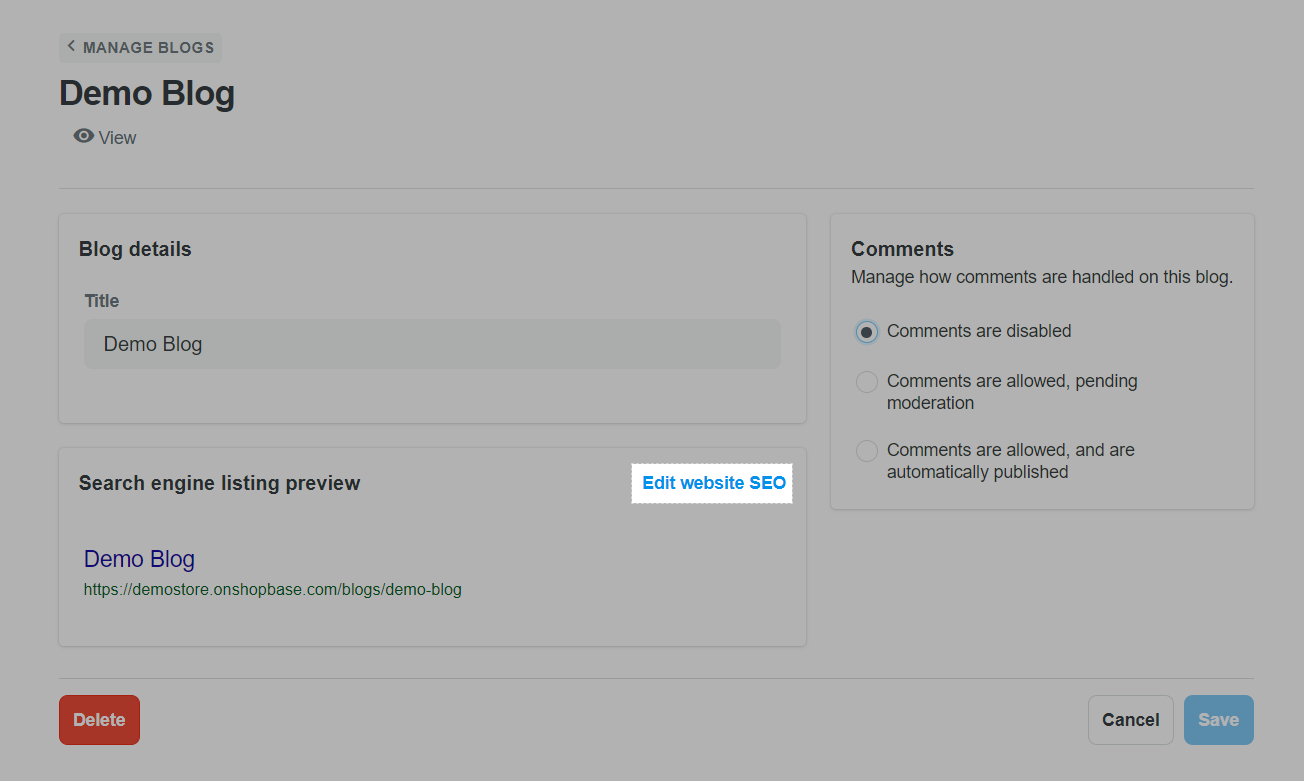
In Search engine listing preview, click Edit website SEO.
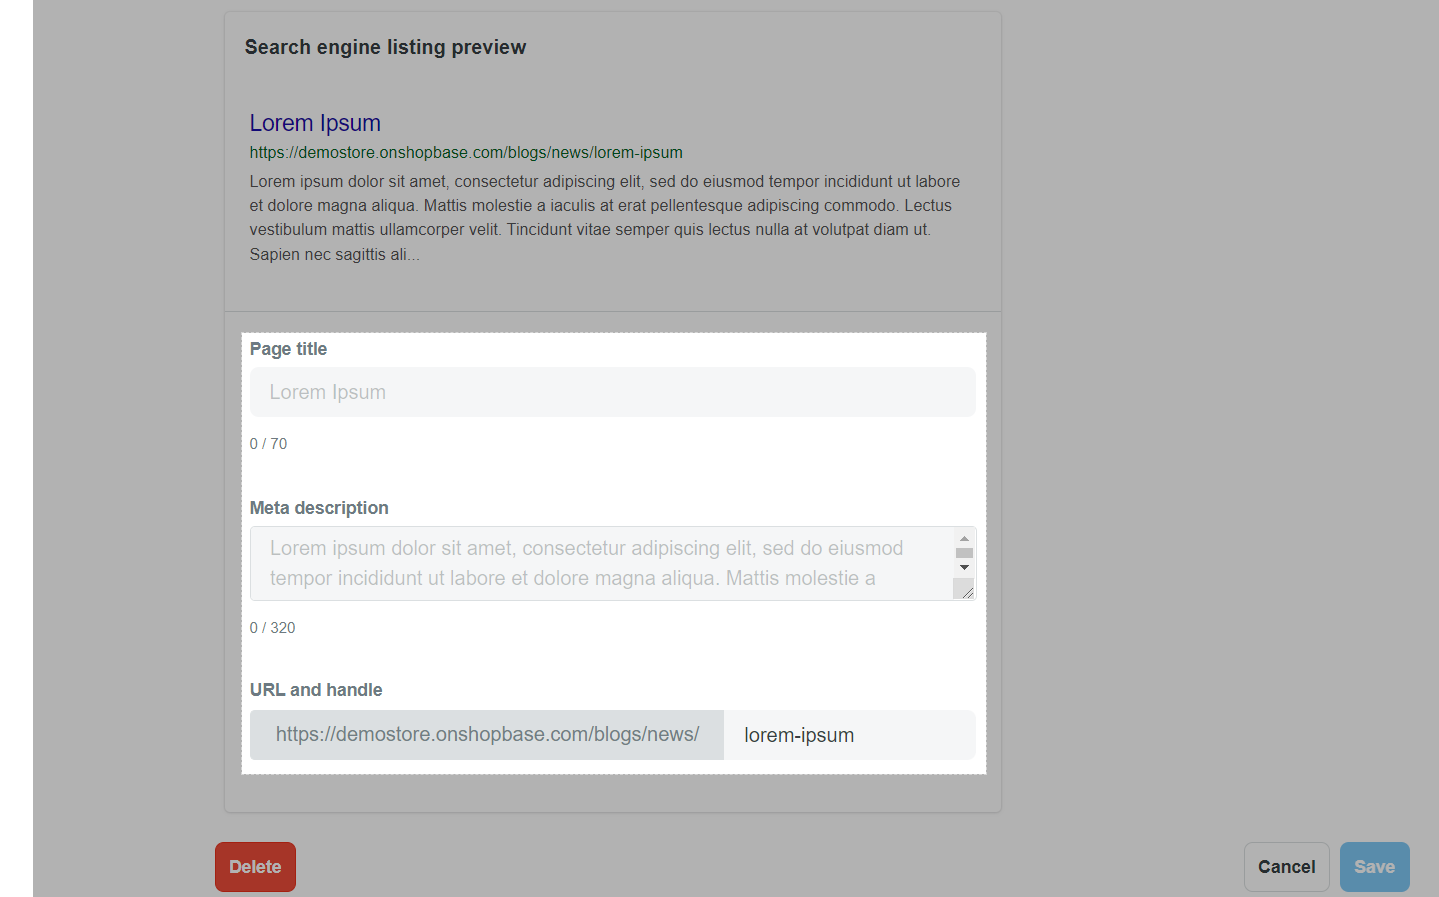
In the Page title section, enter a descriptive title for your blog post. By default, the title of your blog post will be the page title. You can enter up to 70 characters in the page title.
In Meta description, enter a description for the search engine listing. Make sure to include relevant keywords to help new customers find your link, and to include your business name. You can enter up to 320 characters in the description.
The page title and meta description have set character limits. If you enter more text than the character limit allows, your page title and description will be shortened in search engine results.
When you create a blog post, a URL and handle are automatically generated according to your store's domain, blog's title, and blog post's title. You can change this web address of your blog in the URL and handle section. Please note that the URL can't contain any space.
Once finished, click Save.
Updated 11 months ago