This article will help you understand what a CSV file is and how to create a CSV file to manage your products.
In this article
B. Import CSV files into Google Sheets
C. Export CSV files from Google Sheets
E. Add images for your CSV file
A. Definition of CSV files
CSV is short for comma-separated-values, a file format (.csv) for spreadsheets. You can use CSV files to import and export products, customers, inventory, orders, and discounts (export only).
Your CSV files must use UTF-8 encoding.
If you are updating a CSV file export, remember to confirm the UTF-8 encoding to avoid generating unwanted special characters in your file. If you save your file after forgetting to confirm its UTF-8 encoding, your data will be corrupted when you upload it as a new spreadsheet. Corrupted files cannot be recovered.
We recommend that you use Google Sheets to work with your CSV files. You will need to import the CSV file to Google Sheets. After you've made your changes, export the CSV file to your computer. Special characters don't always work correctly in CSV files that are exported, edited with another spreadsheet program, and then re-imported into ShopBase.
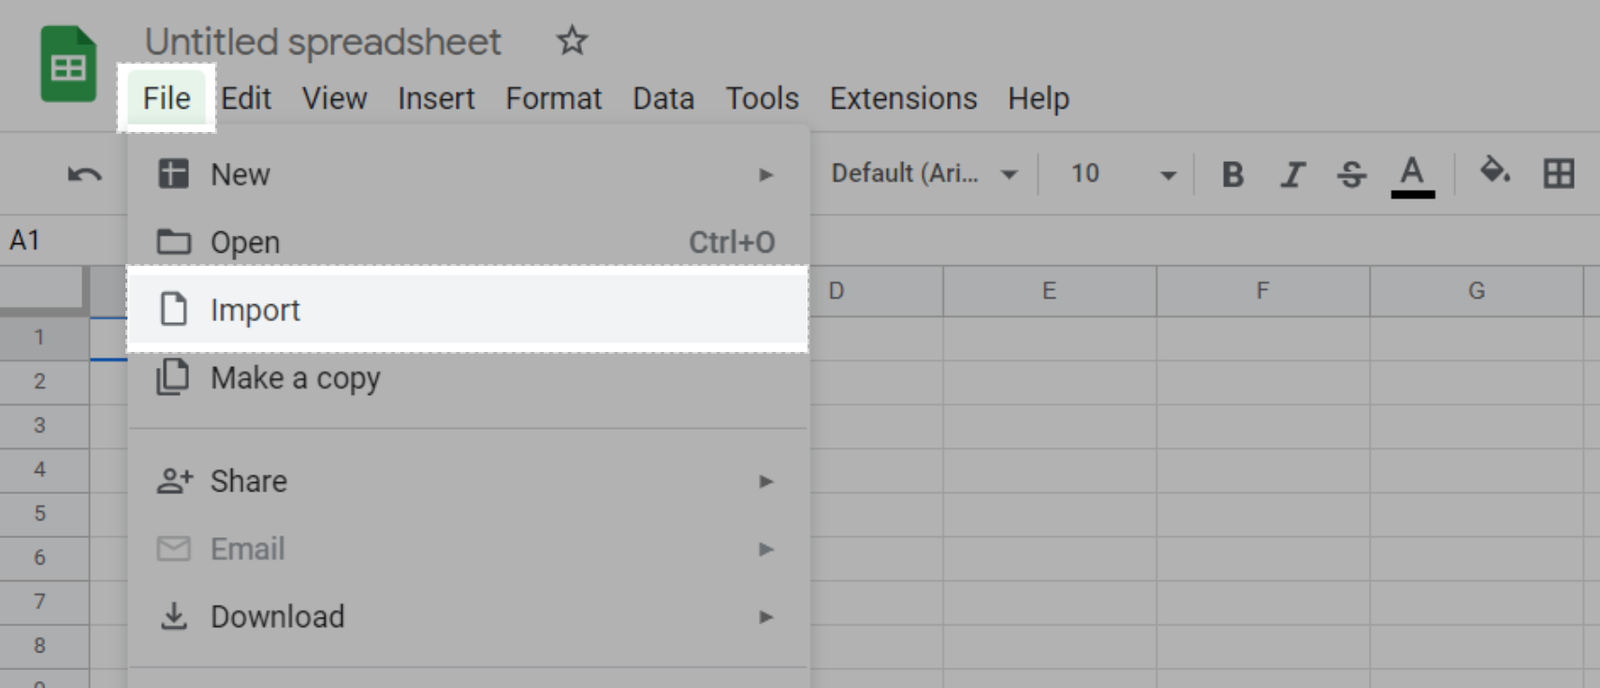
B. Import CSV files into Google Sheets
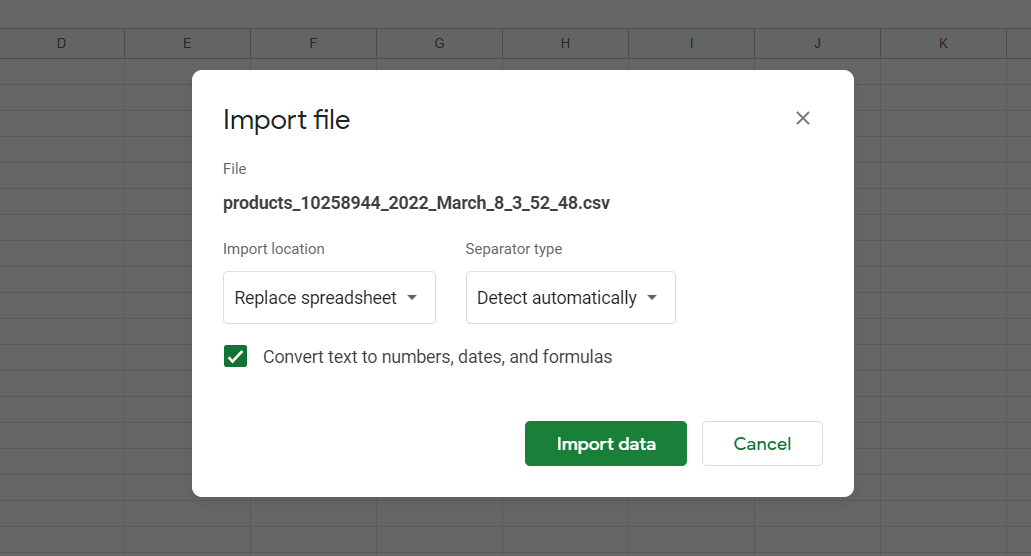
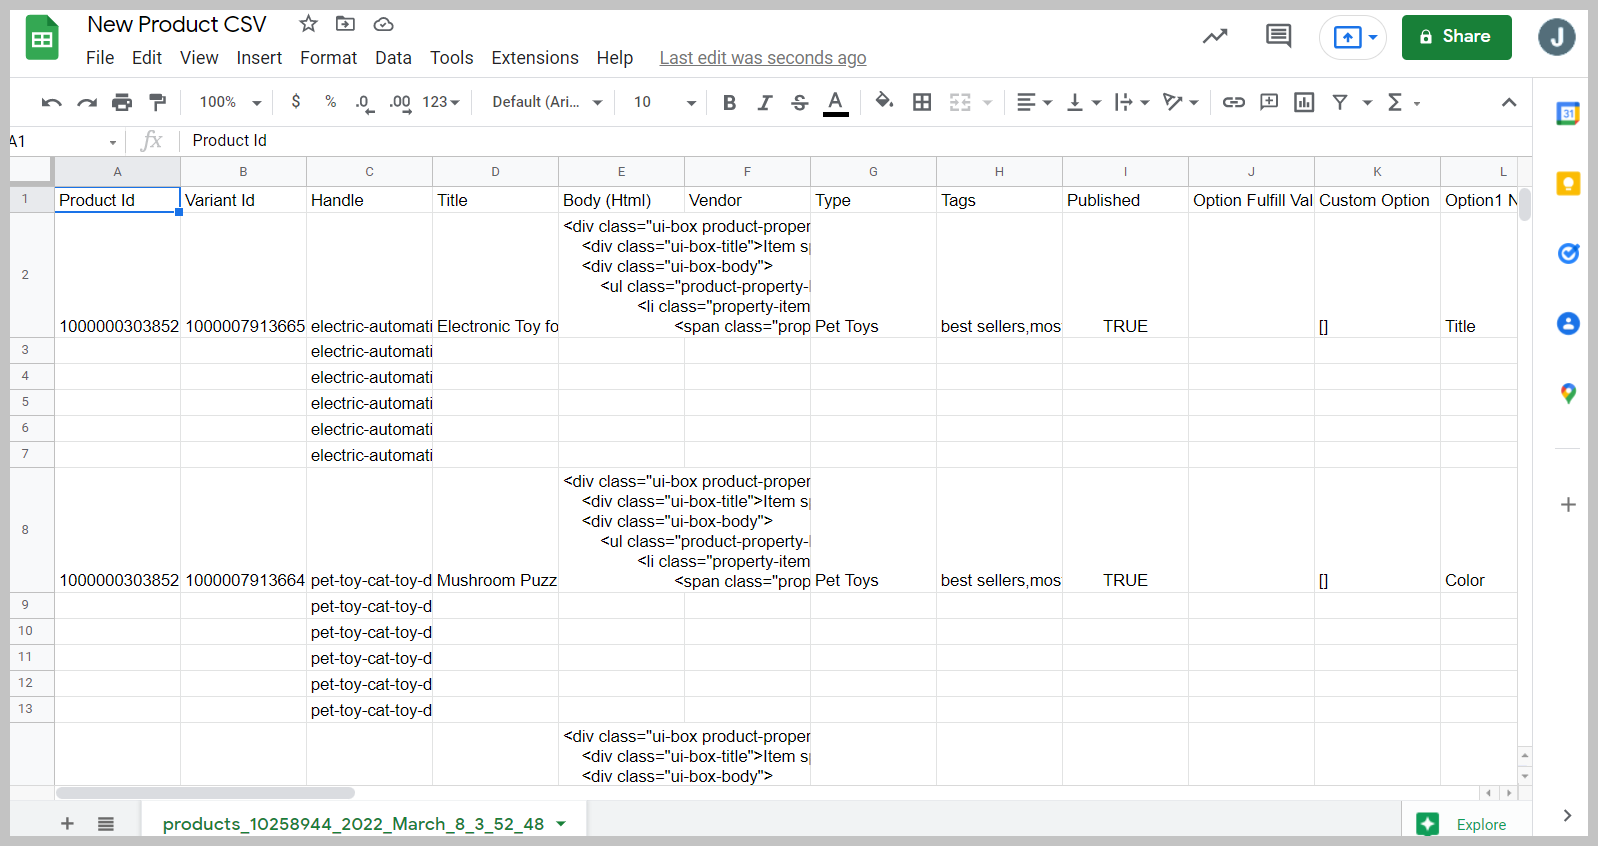
From here you can start editing your CSV, export it from Google Sheets as a .csv file.
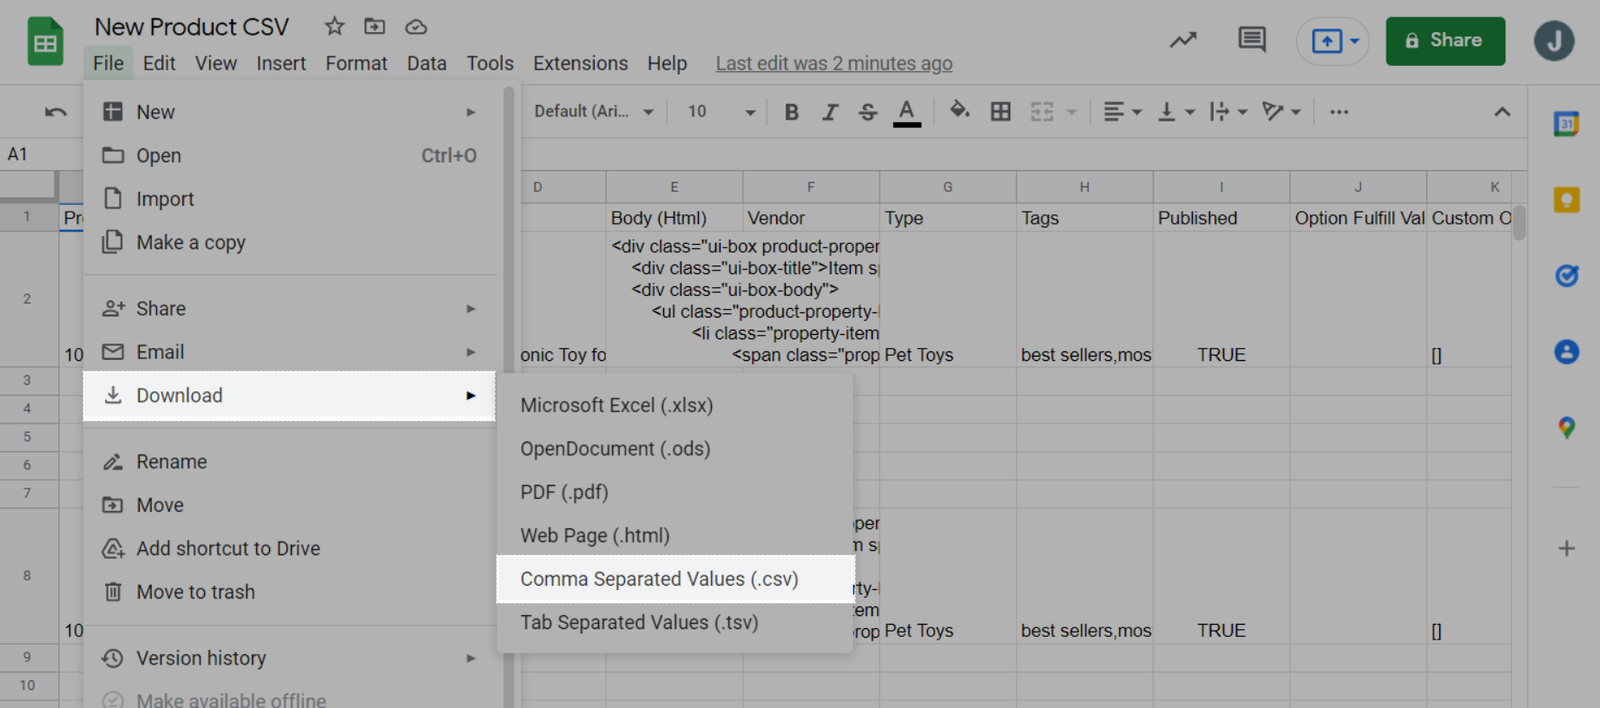
C. Export CSV files from Google Sheets
From your CSV spreadsheet page, go to File > Download > Comma-separated values (.csv, current sheet):
You can find the exported CSV file in your computer's Downloads.
D. Create a product CSV file
First, you can download and view a sample product CSV file to use as a template and learn more about product CSV file format in this article.
After you've added all your products and images, save your CSV file in UTF-8 format using LF-style linefeeds.
E. Add images for your CSV file
Because a CSV file can only contain text, you'll need to make sure that all product images are on an existing website. Those image URLs will only be used during the CSV importing process and you can delete them when your import is done.
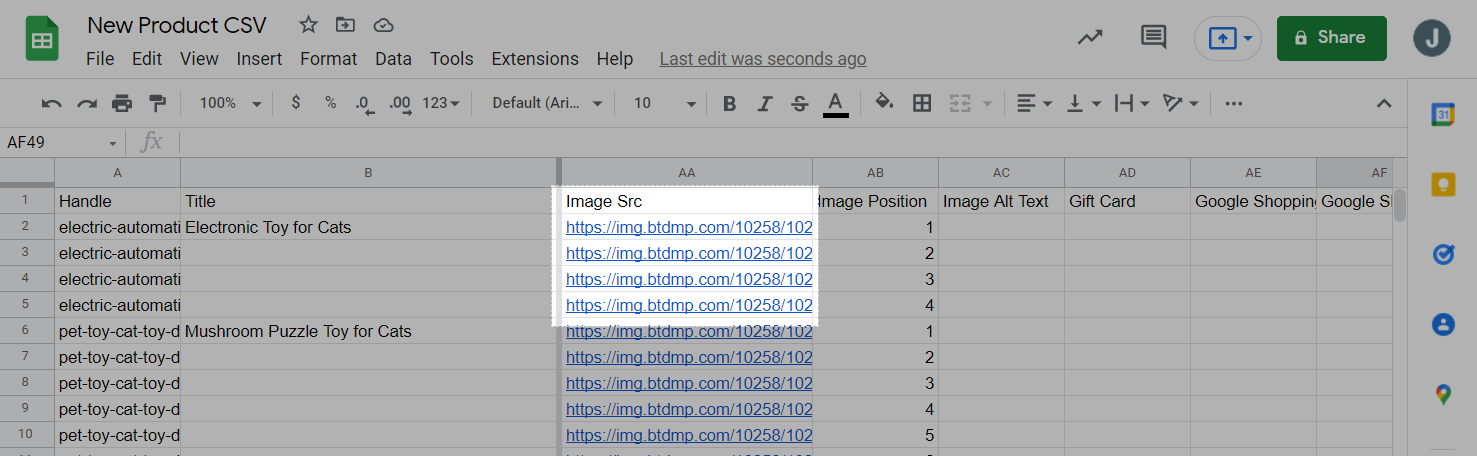
When you have URLs for each product image, you can start building your CSV file.
If you remove products or product images from your store after exporting and then try to import those products without updating their image URLs, your import will fail.
You can add multiple product images to your CSV by uploading more images to your ShopBase admin but your product images must be uploaded to a publicly accessible URL, meaning that they should be behind an https:// protocol with no password protection.
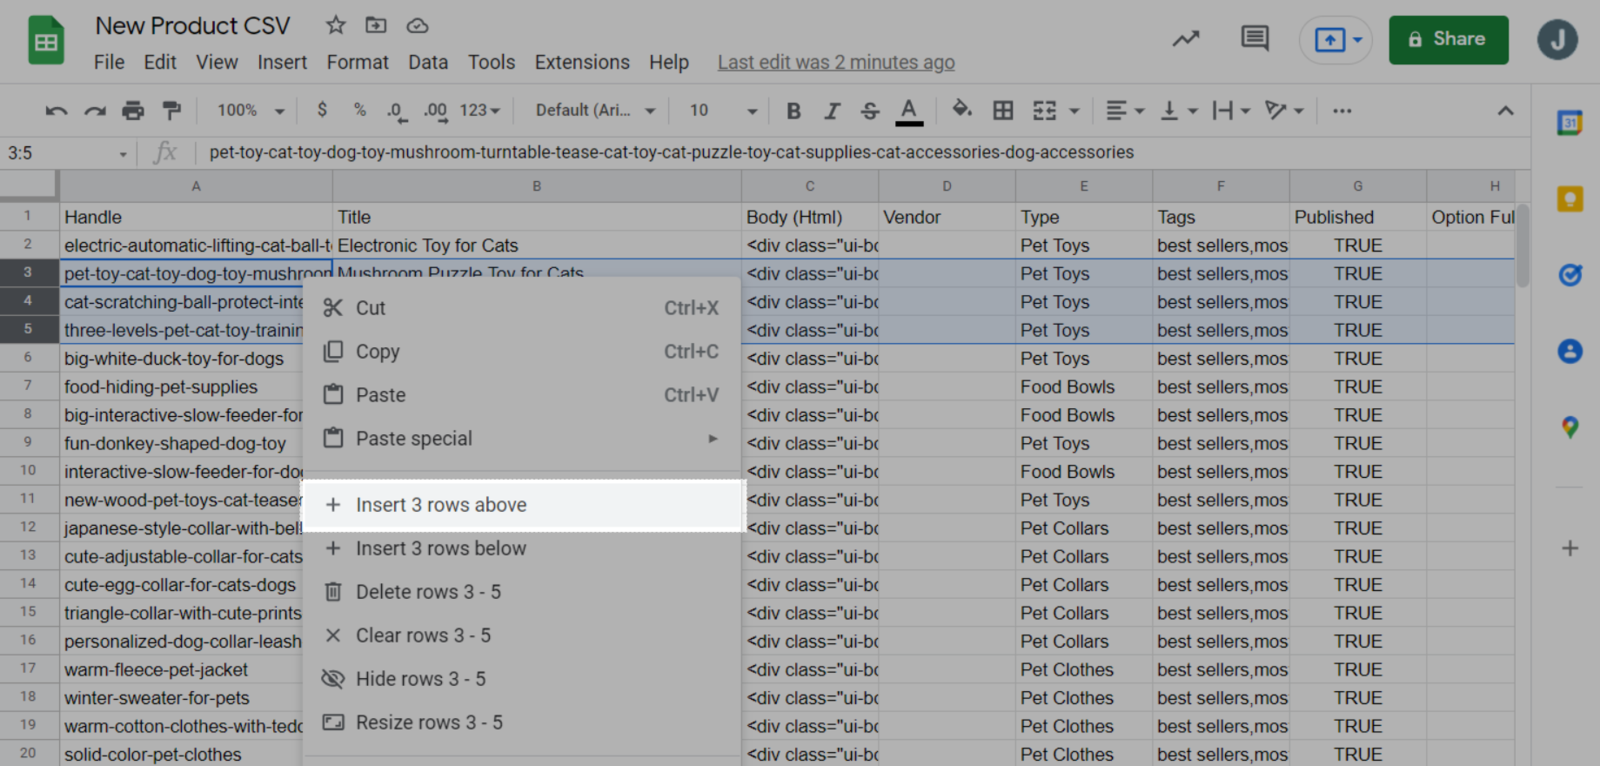
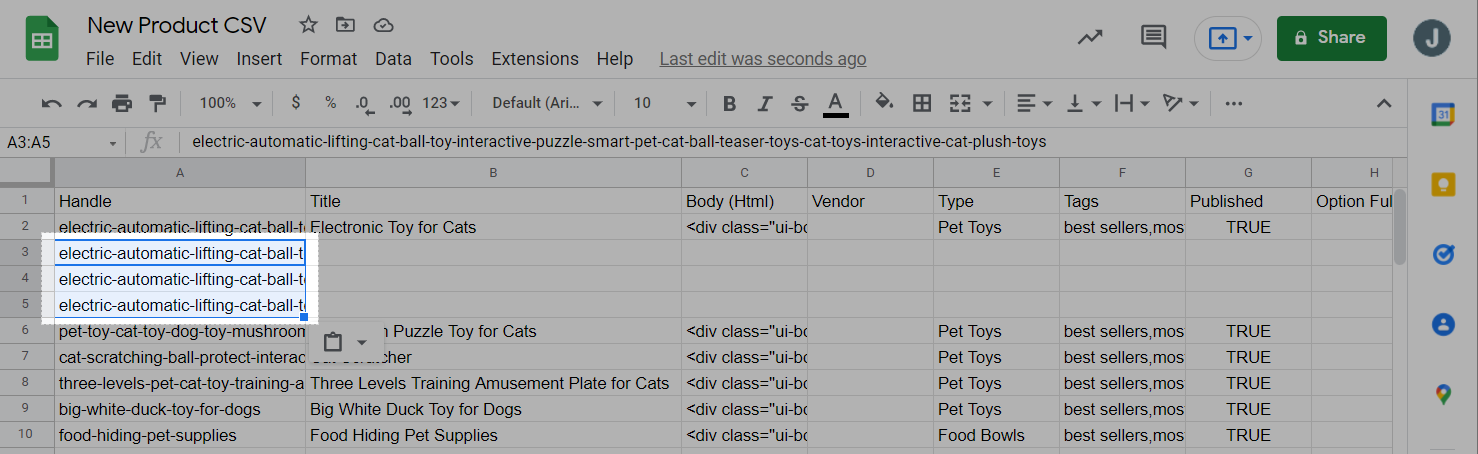
Follow the steps below to add your images to the CSV file

Then, you can then save the file and import it to ShopBase.