Social Proof is a feature within the Conversion Optimizer app that displays other customers' purchase notices so that vistors find your site trustworthy and trusted, which will motivate them to make a purchase on the page. The Social Proof notification will pop up on the screen as shown in the example below:
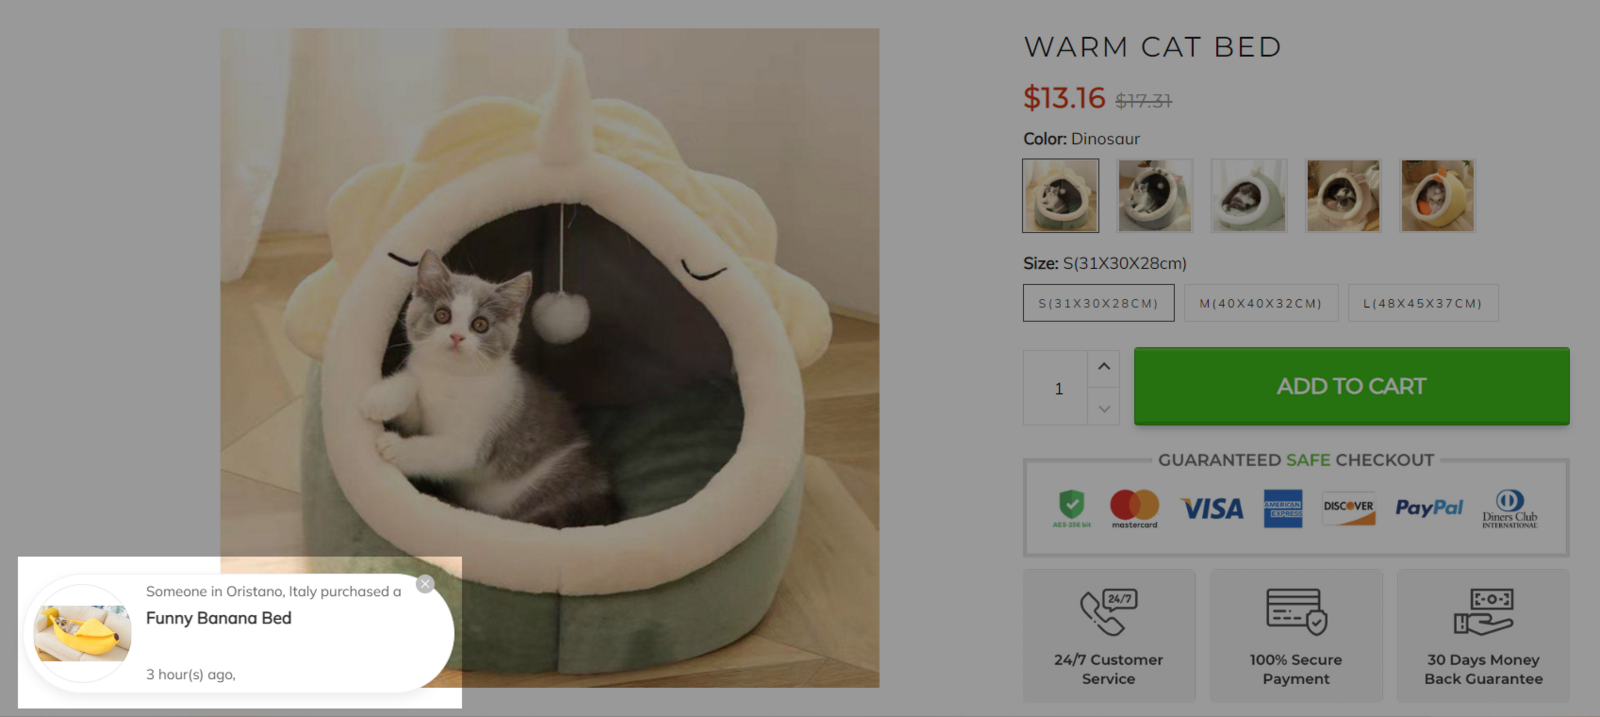
Each Social Proof notification can display the customer name (can be replaced with Someone if you want to keep the name confidential), the customer's order address, the product ordered and the time customer of purchase.
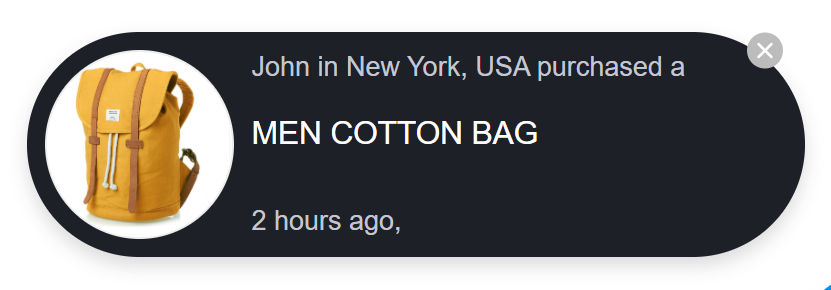
ShopBase offers three types of social proofs including Sales notification, Custom notification and Checkout notification. In this article, we will guide you on how to create Social Proof notifications with Conversion Optimizer application.
The updated version of Boost Convert - Conversion Optimizer app - will be available for ShopBase stores that are using Theme Version 3.0. If you are using an older theme version, please refer to this article on how to use Social Proof feature by Boost Convert.
In this article
A. Create Sales notification
B. Create Custom notification
C. Create Checkout notification
A. Create Sales notification
Sales notification is the notice of actual customer purchases on the page, which can be displayed on any store page, depending on your settings.
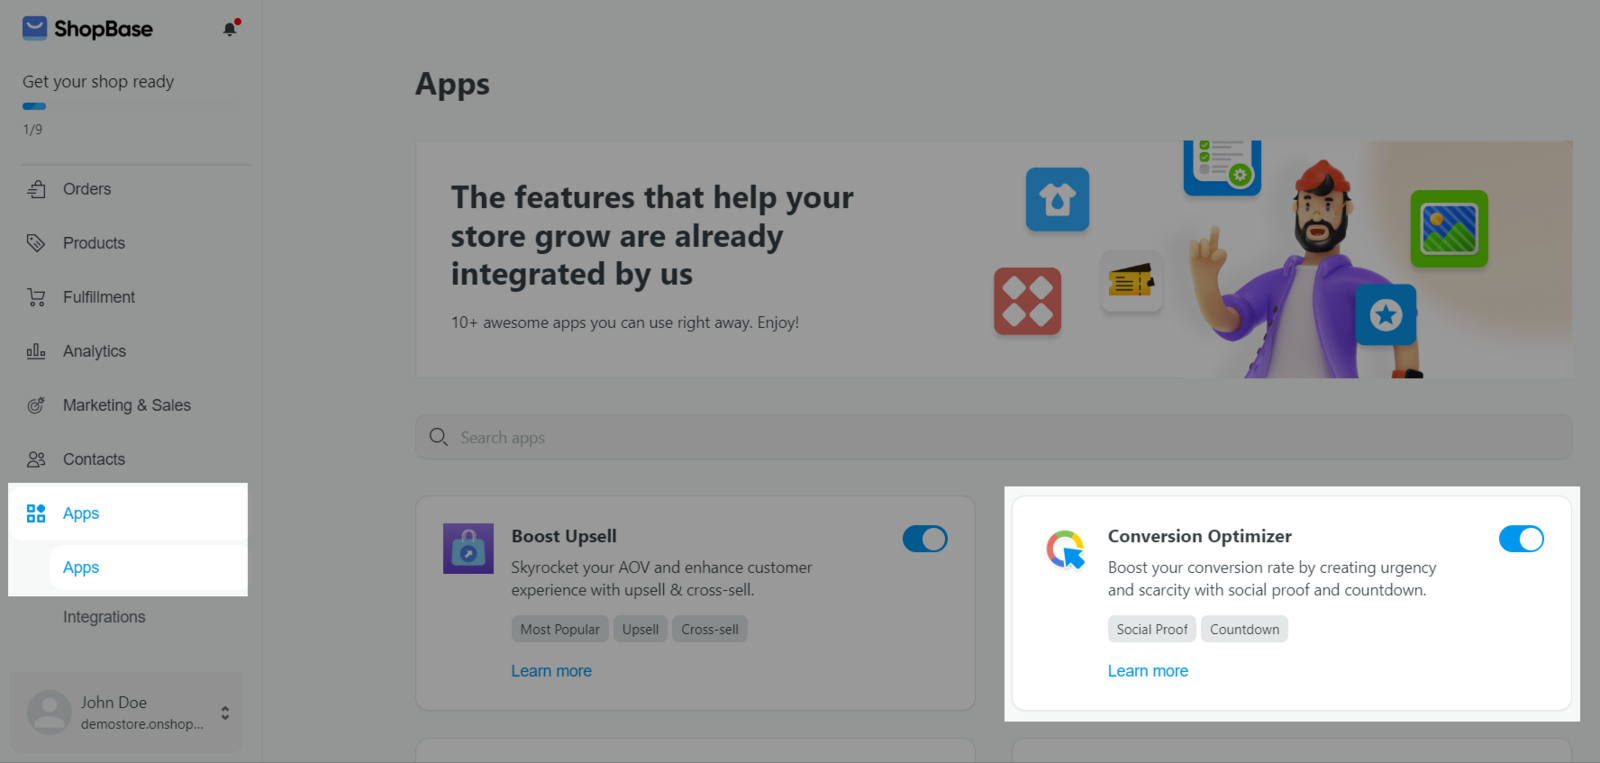
From your ShopBase admin, go to Apps > App > Conversion Optimizer. You can also access the Conversion Optimizer app by going to Marketing & Sales > Conversion Optimizer.
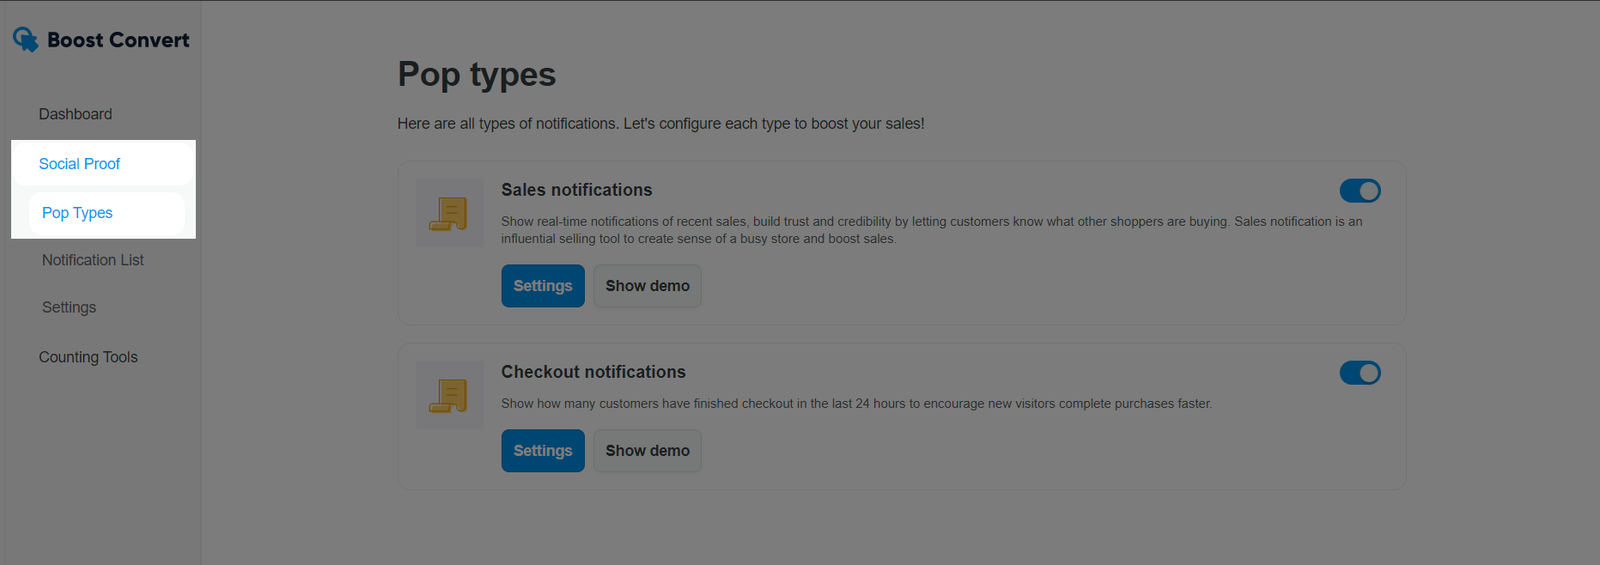
In Social Proof, select Pop types.
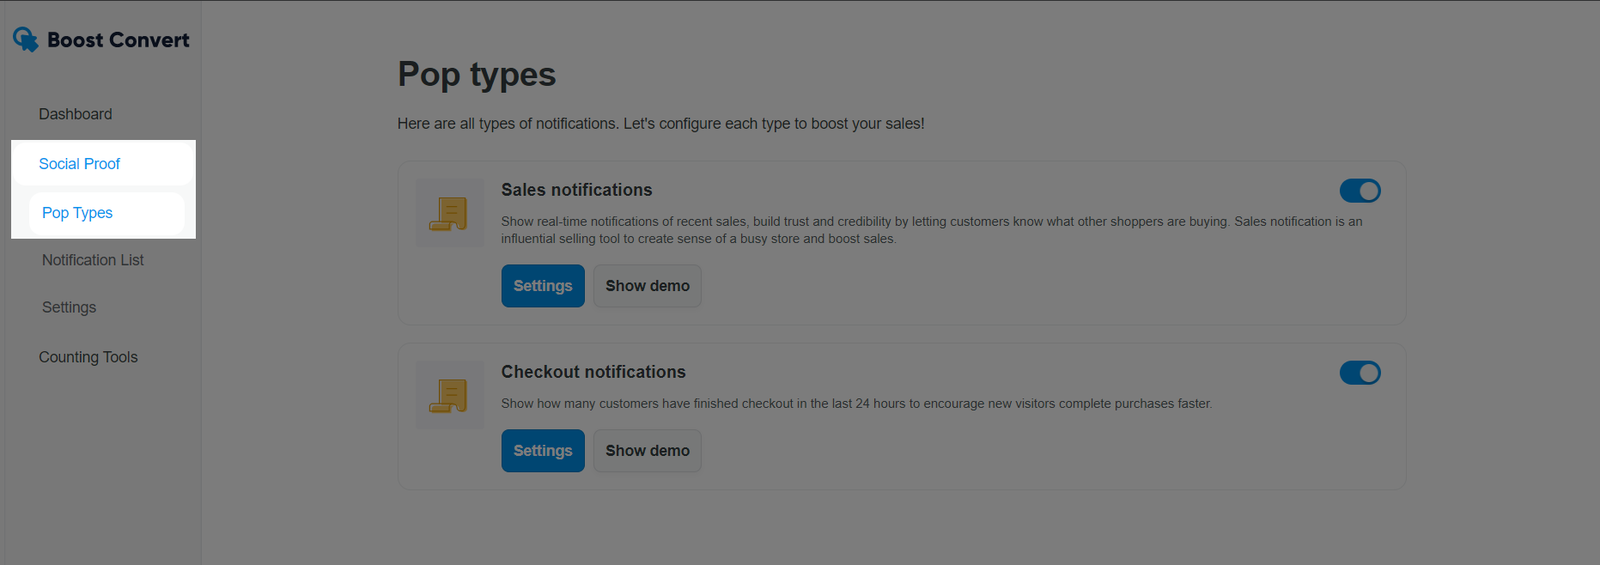
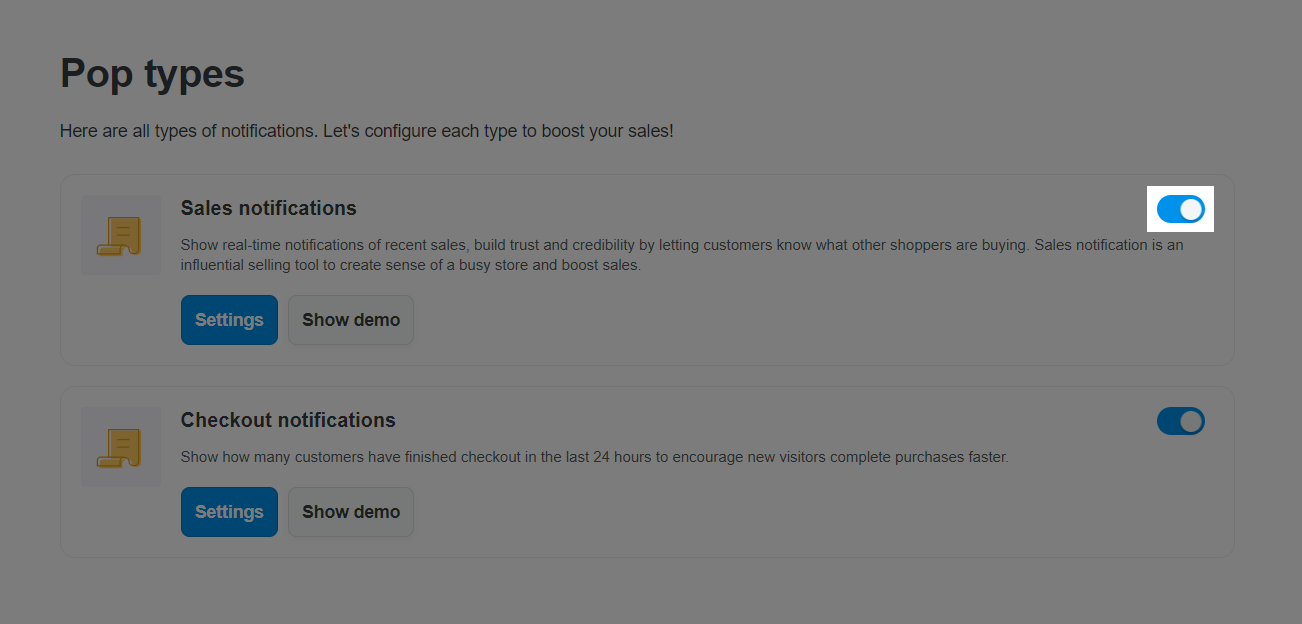
Toggle the switch to activate Sales notifications for your store. Your feature is always set up at Switch on mode.
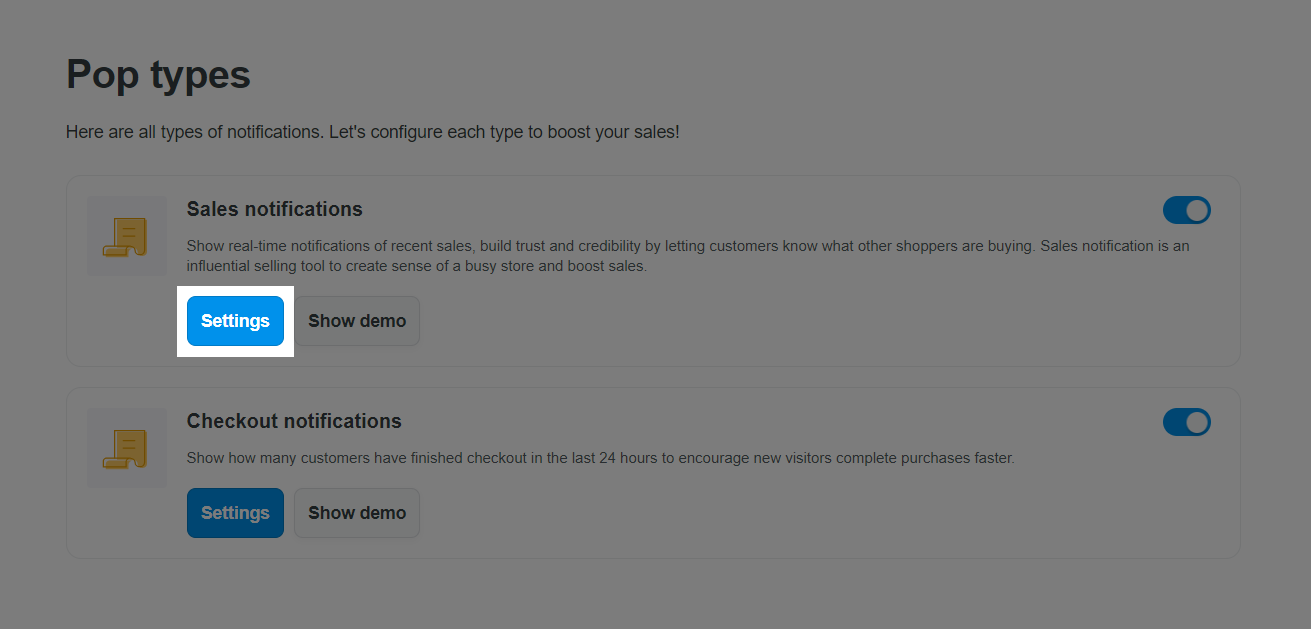
Click Settings to edit how the notifications would display.
You will be directed to notification edit page:
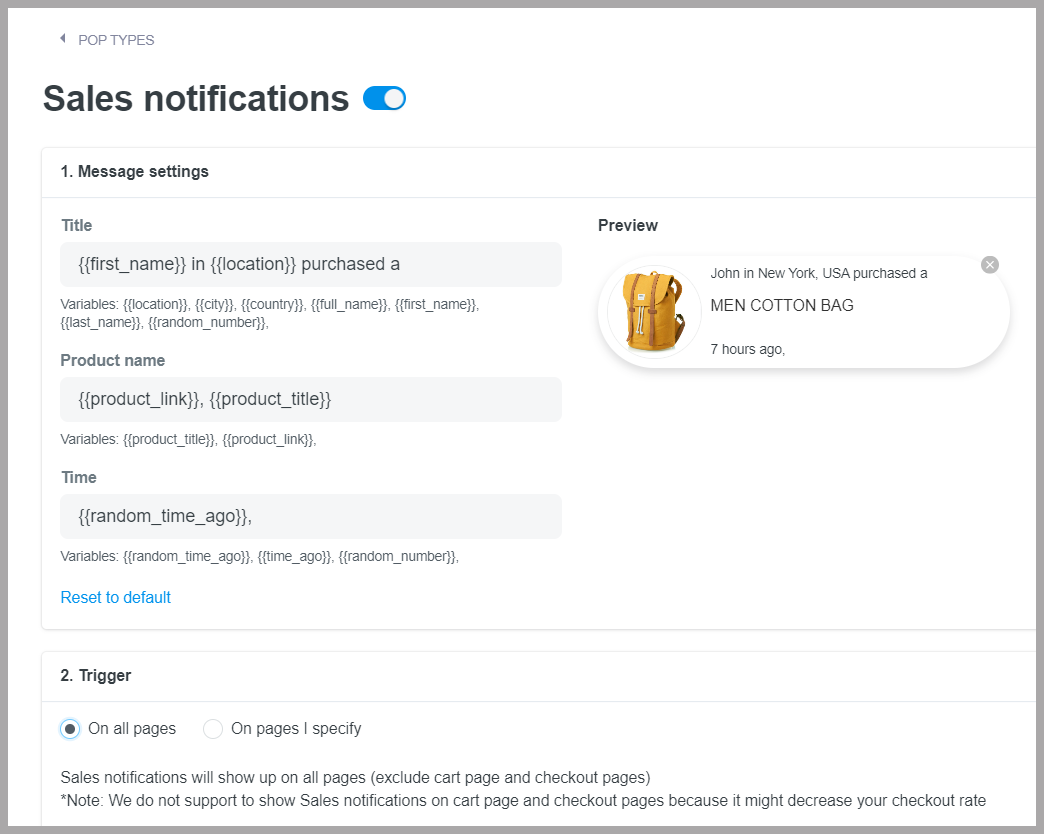
In here:
Edit the notification details in Message settings, including Title, Product name, Time. There are 3 different time variables you can use: {{time_ago}}: shows the exact order time; {{random_time_ago}}: shows random time in minutes and hours; {{random_number}}: shows a random number without any time unit behind. You can manually add "minutes" or "hours".
Changes will be shown in Preview.
Choose the pages notifications will display in Trigger including: On all pages or On pages I specify. In the latter case, please specify website address in the field below with each address on a line.
Sales notification uses the actual data of the orders placed on the website, the seller can use the variable {{ first_name }} in the Title field. However, if you do not want to reveal customer information, you can replace the customer's name with Someone.
If you want to change the language in the notice (for sale to other markets such as France, Germany, etc.) you can change the language in the text of the Title field.
Click Save.
B. Create Custom notification
Custom notification is the notice of orders that you create (not based on actual data) other than the type of notice Sales notification in Section A which are notices based on actual orders.
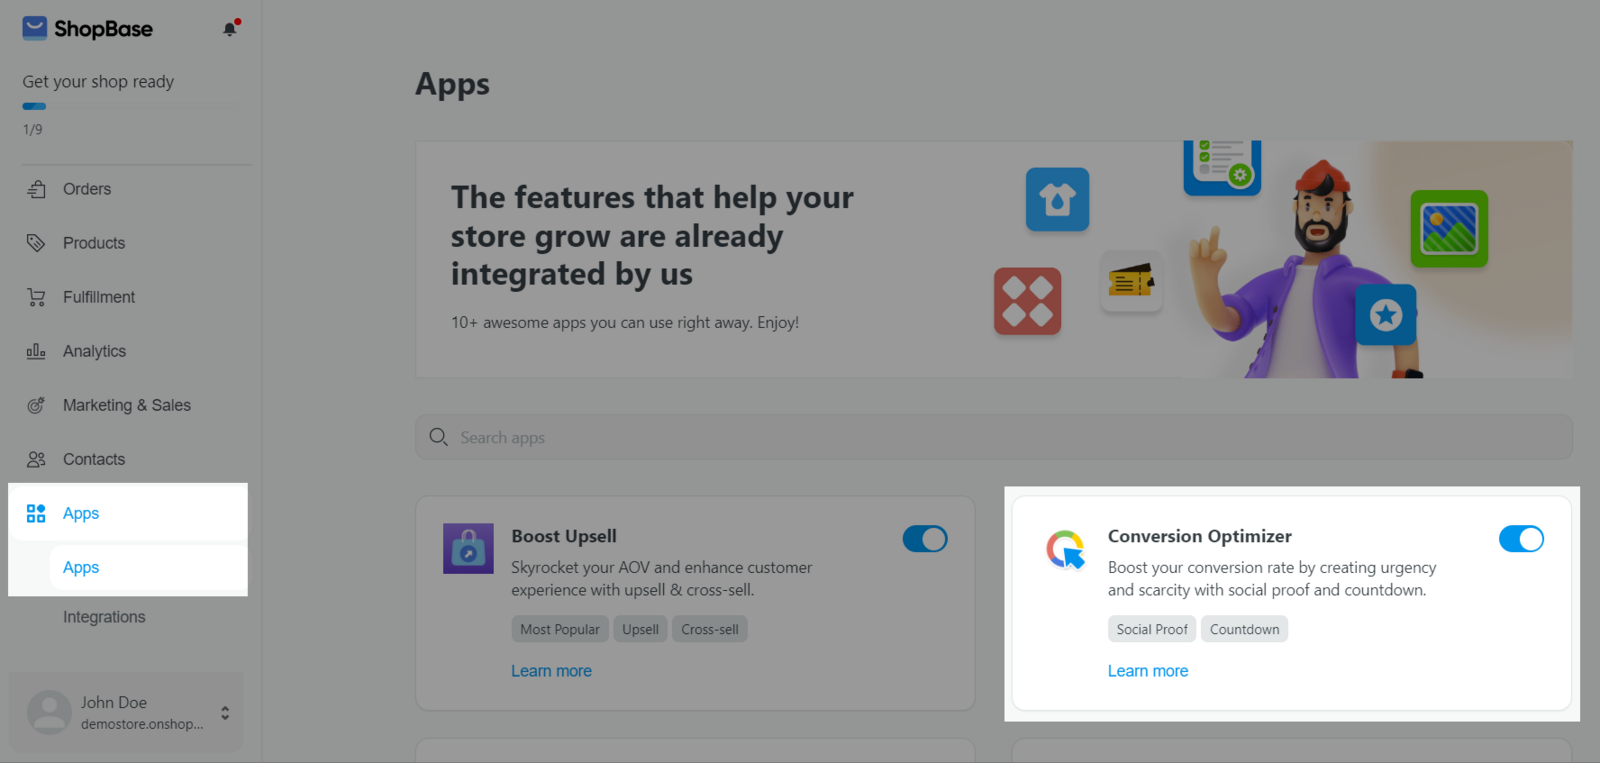
From your ShopBase admin, go to Apps > App > Conversion Optimizer. You can also access the Conversion Optimizer app by going to Marketing & Sales > Conversion Optimizer.
In Social Proof, select Notification list:
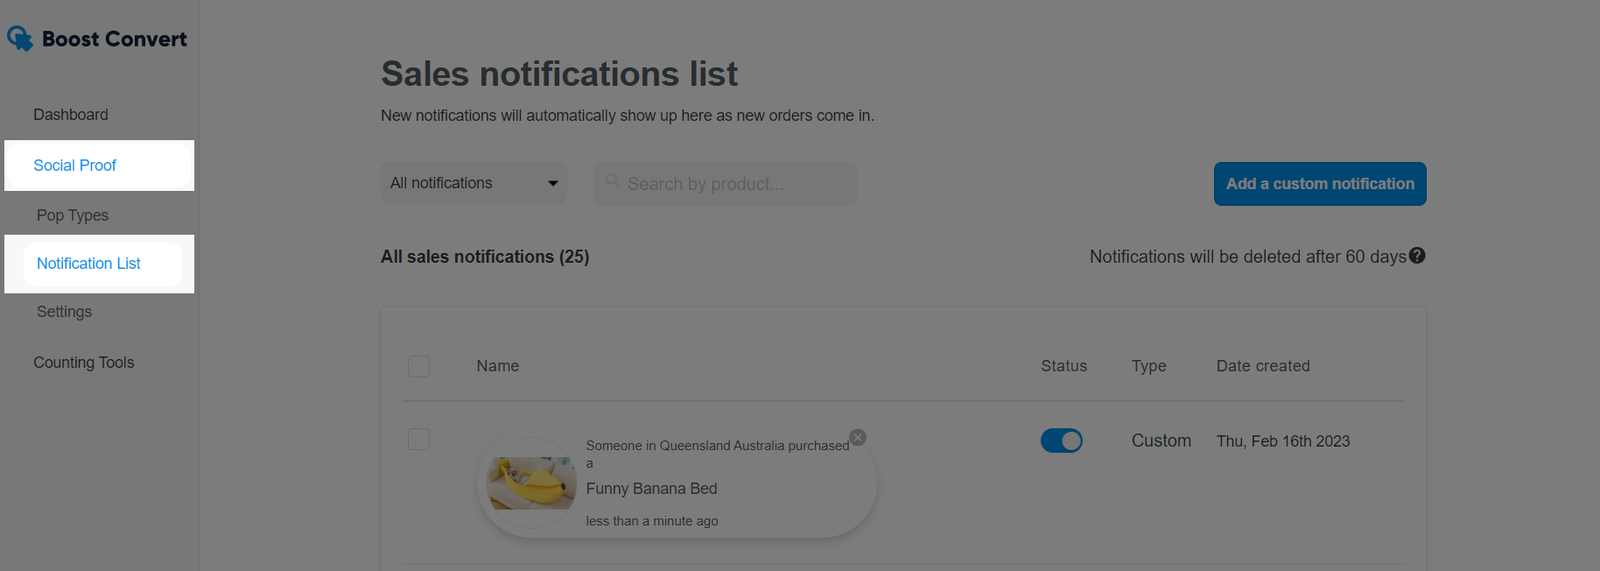
Click Add a custom notification.
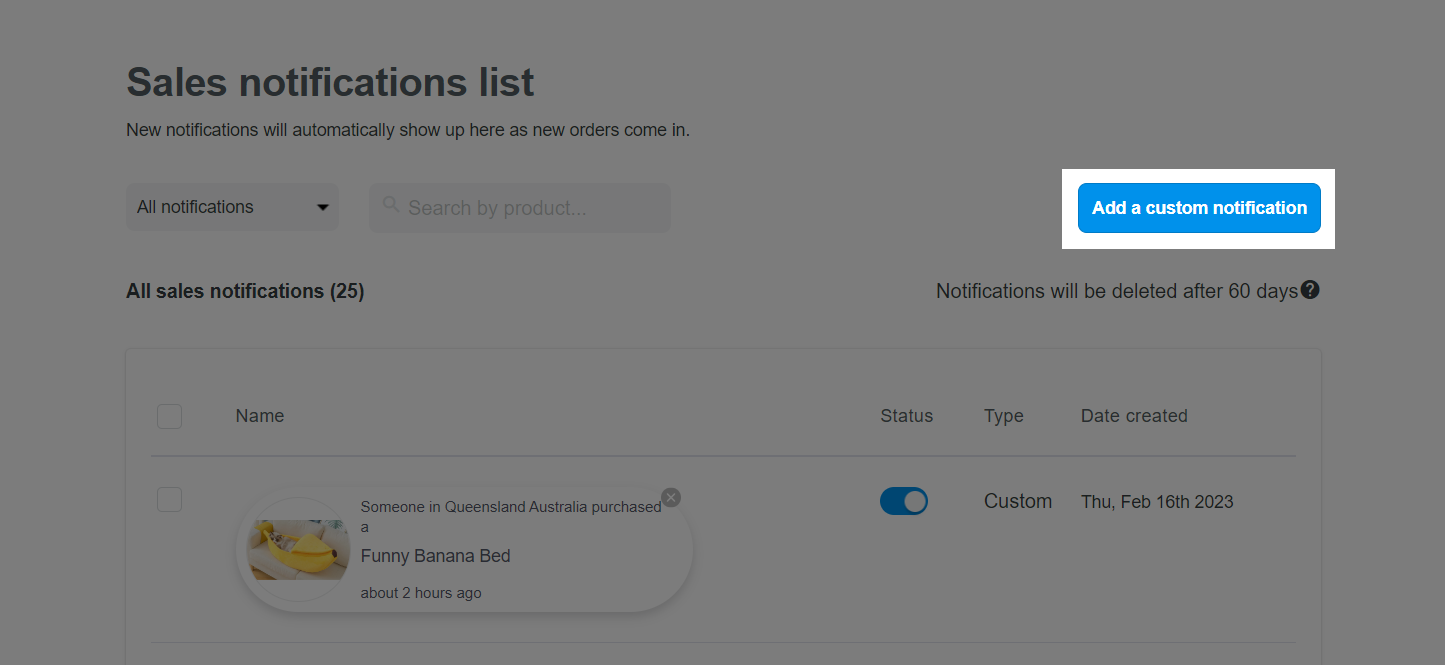
The system will lead you to notification edit page. In here:
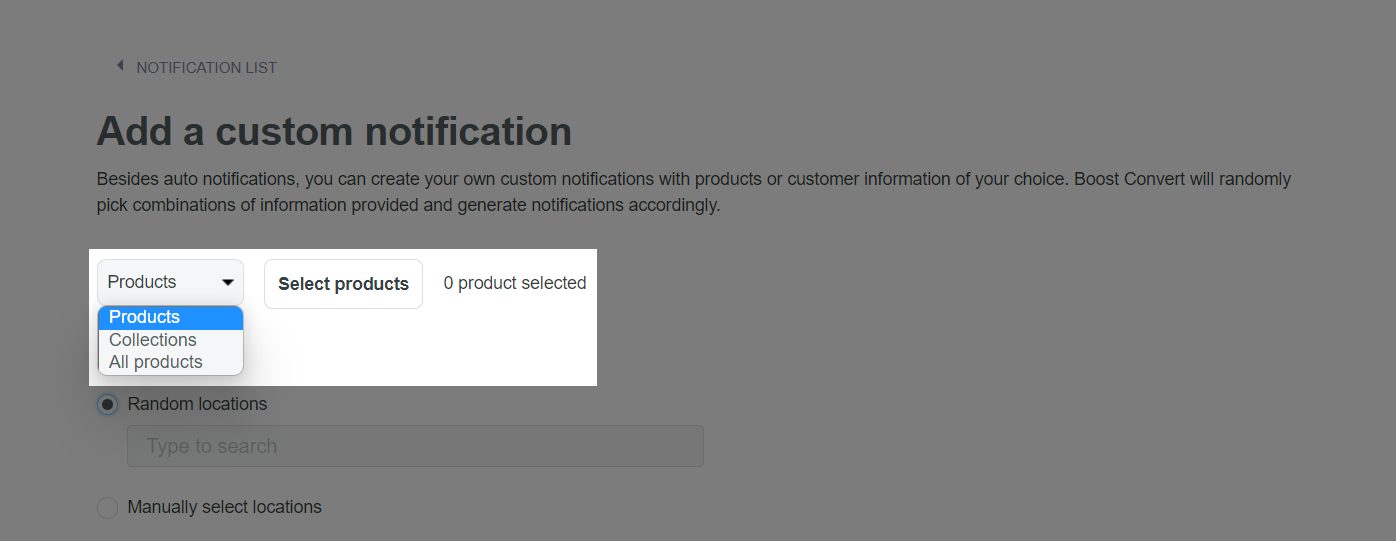
Choose the products that appear in the notifications by clicking Select products. You can also select all products in the store by selecting All products in the drop-down menu or select products from a certain collection by selecting Collections in the drop-down menu and then clicking Select collections button.
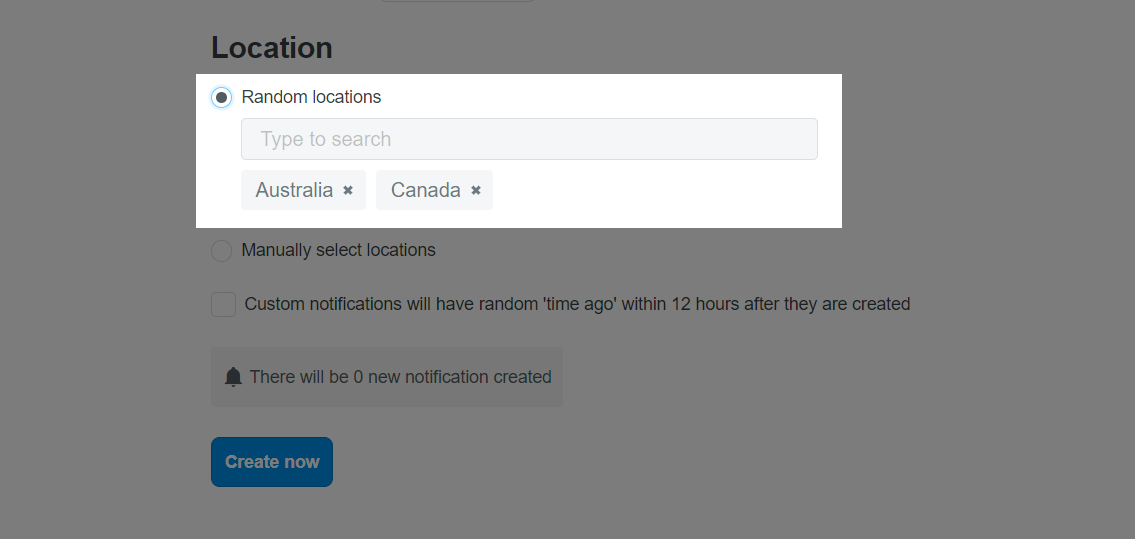
Select the geographic area of the customer's receiving destination, shown in the message at Location. You can select Random locations and choose the country names that you would like to appear in the announcement here, or select Manually select locations and list some of the specific locations you'd like to appear in the announcements here.
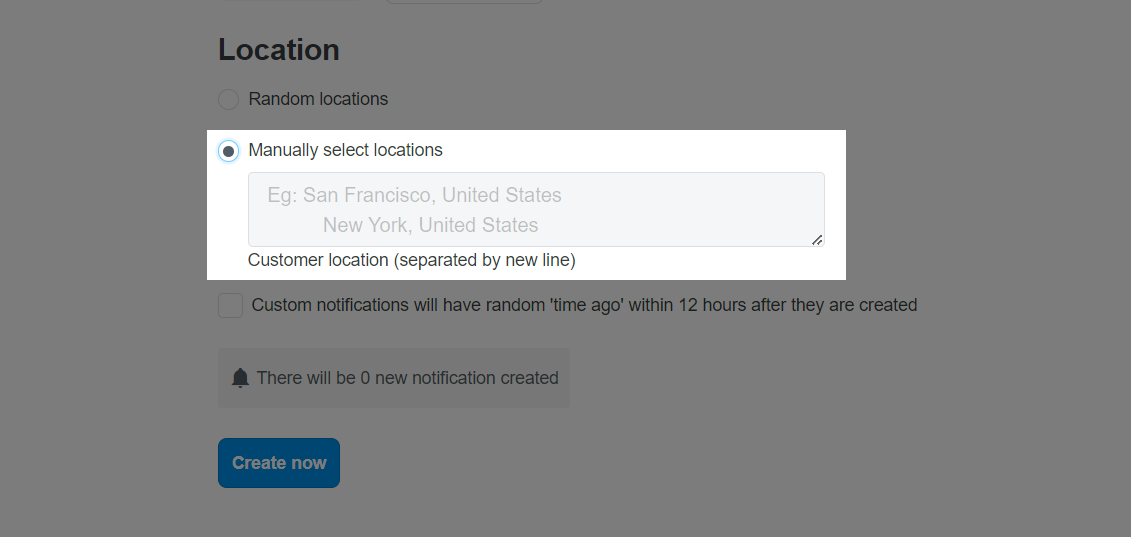
If you tick Customer notifications will have random "time ago" within 12 hours after they are created, the time displayed in the notification will be picked at random within 12 hours of the order creation.
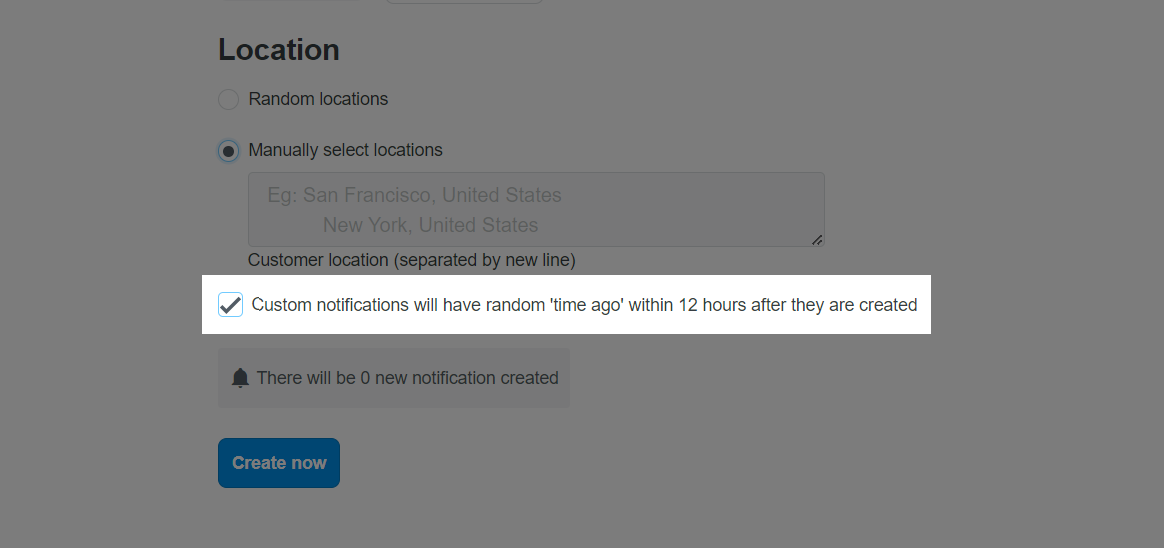
Click Create now to create Custom notification.
The maximum number of Custom notifications you can create is 1000 notifications.
The content of Custom Notification will automatically be created based on location and product data you entered above. The notification will be displayed as in the image below.
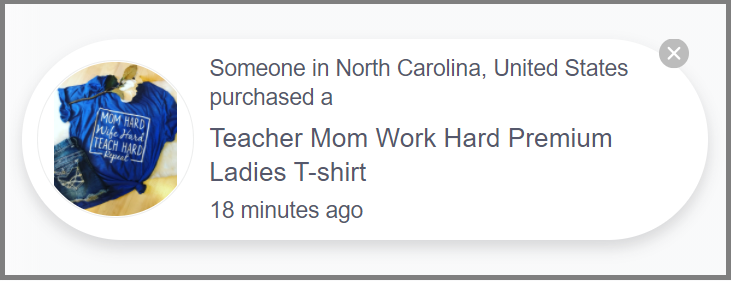
In case custom notification is set up for a product but does not appear on the store, kindly double check the selected product to see if it has been hidden or made unavailable or your store.
C. Create Checkout notification
Checkout notification is a notice of orders for which the customer has completed the payment, and displayed on the shopping cart page.
From your ShopBase admin, go to Apps > App > Conversion Optimizer. You can also access the Conversion Optimizer app by going to Marketing & Sales > Conversion Optimizer.
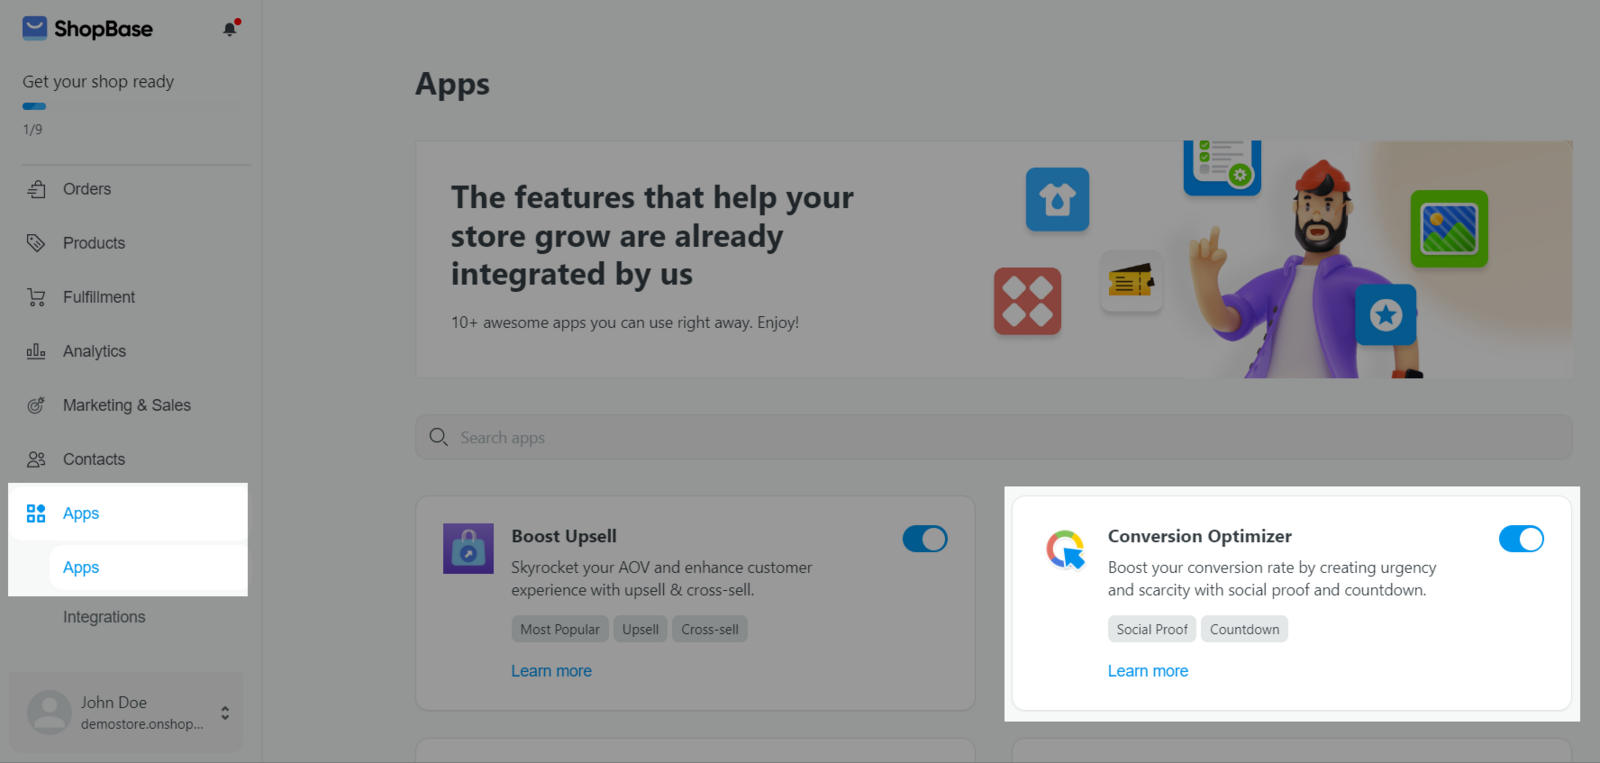
In Social Proof, select Pop types.
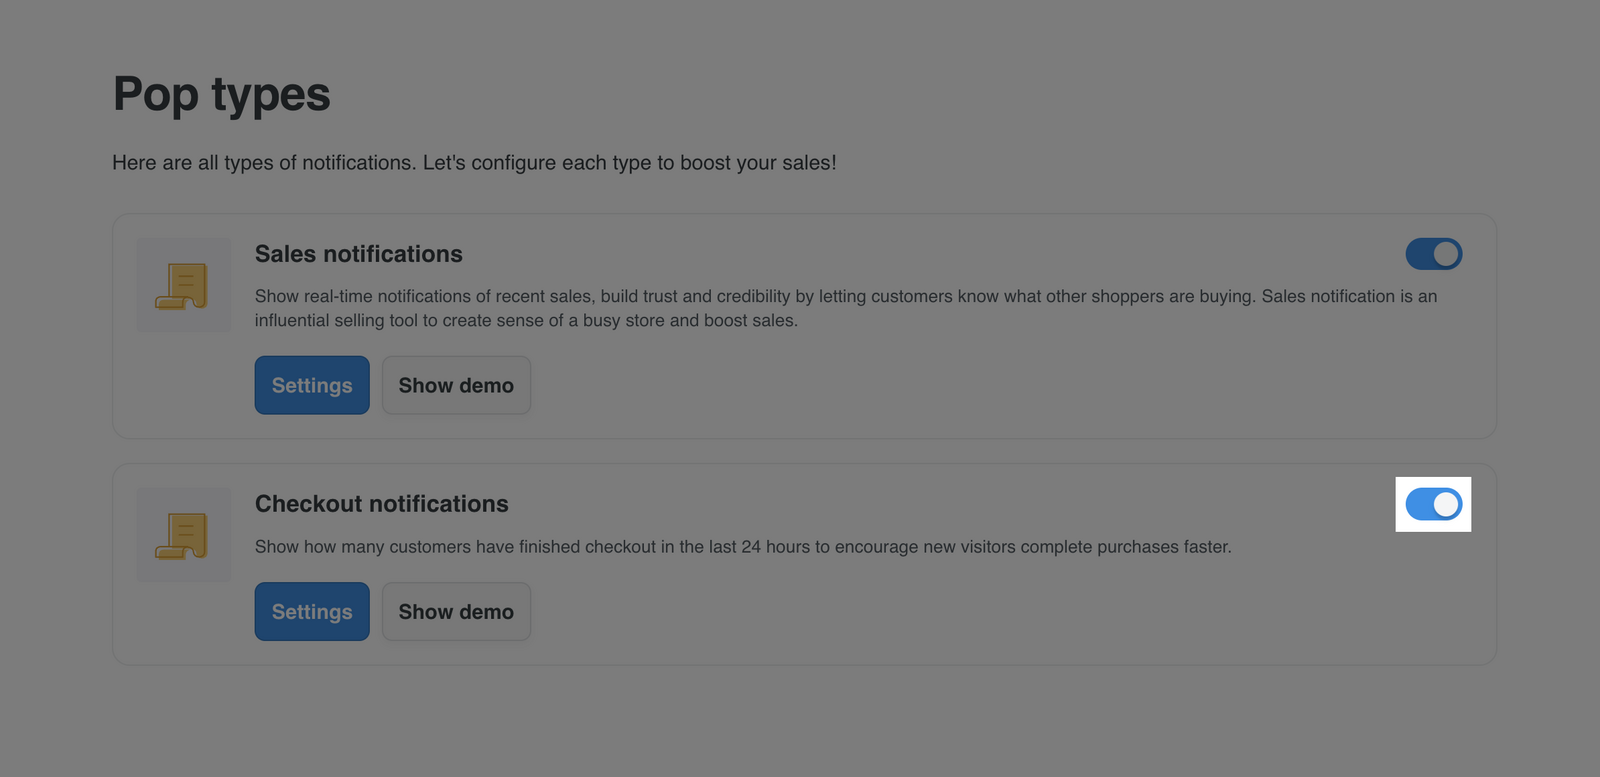
Toggle the switch to activate Checkout notifications.
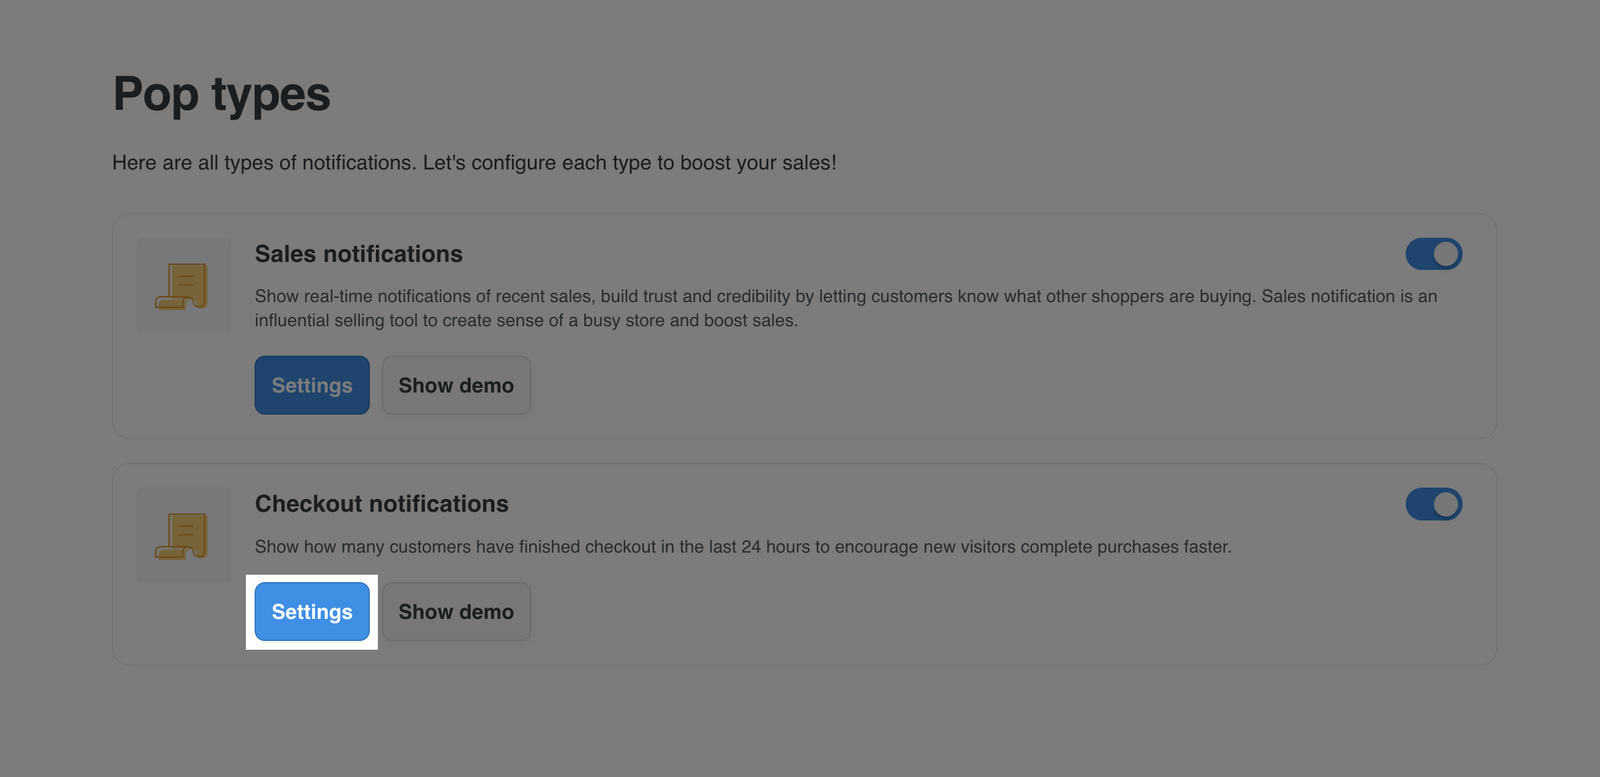
Click Settings to edit notifications.
You will be directed to notification edit page:
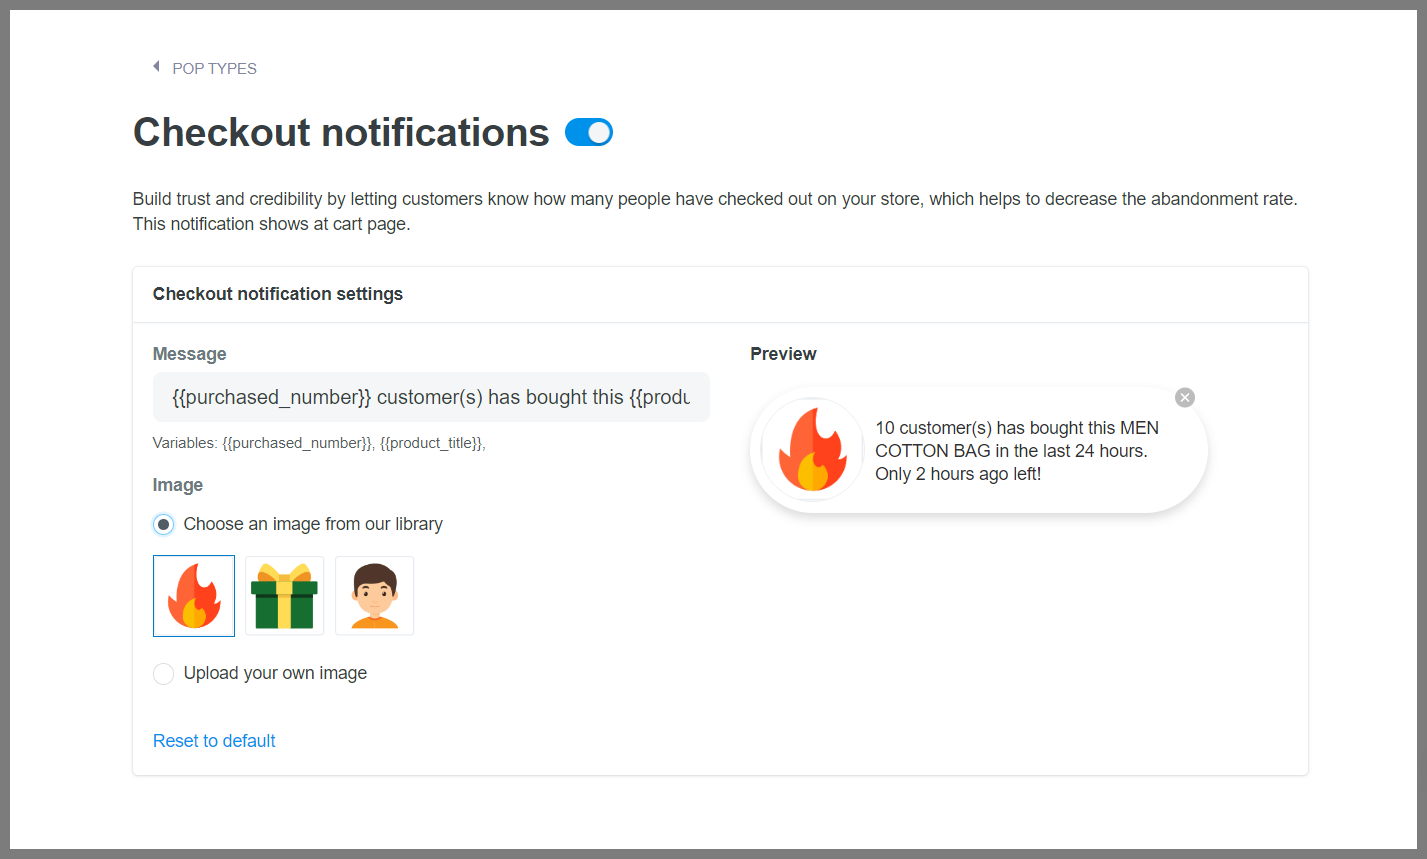
In here:
Enter the notification content in Message.
In Image, Choose an image from our library or Upload your own image for your Checkout notification.
Click Save.
Related articles


