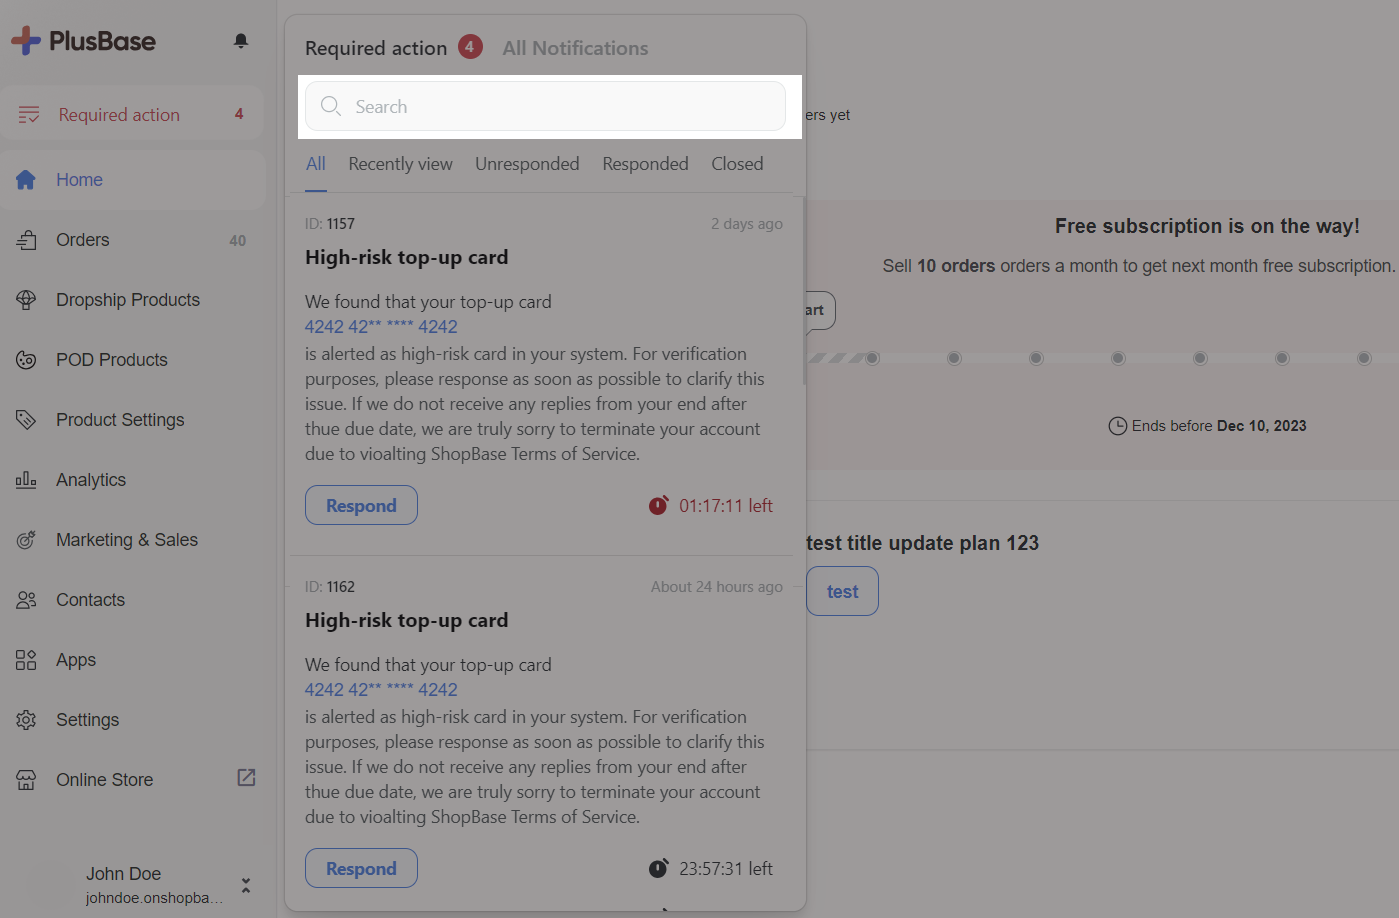
The Required Action feature in the store admin dashboard is designed to centralize notifications about issues that require the seller's response or action within a specified timeframe (usually 1-3 days). These notifications can include a variety of matters, such as content violations, card-related issues, product availability concerns, and more, with the goal of preventing situations where orders are cancelled, products are deleted, stores are closed, and payouts are rejected.
Previously, these messages were sent to merchants via email. However, sending them through email resulted in them being commonly seen as spam, and merchants didn't check their inboxes, leading to a very low response rate. Therefore, we now alert merchants directly through this section in the admin dashboard. You can find these notification in the sidebar of all ShopBase, PlusBase, and PrintBase stores.
In this article, we will provide an in-depth look at the Required Action feature and offer an efficient approach to resolving these issues.
In this article
A. Unlocking the Required Action dashboard
B. Resolving Unresponded Required Actions
C. Dealing with Closed Required Actions
A. Unlocking the Required Action dashboard

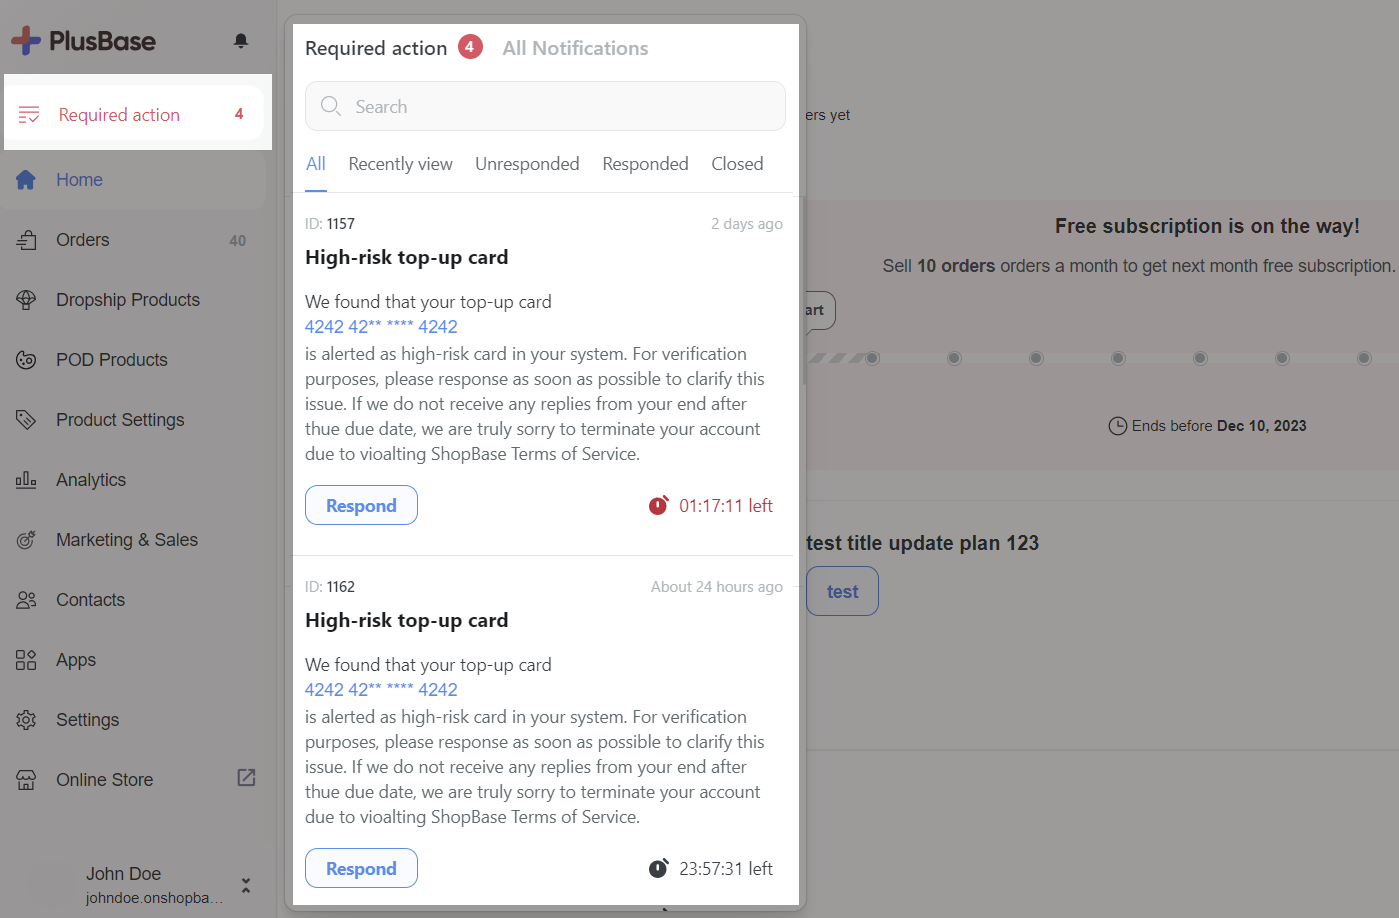
A required action will display the following information:
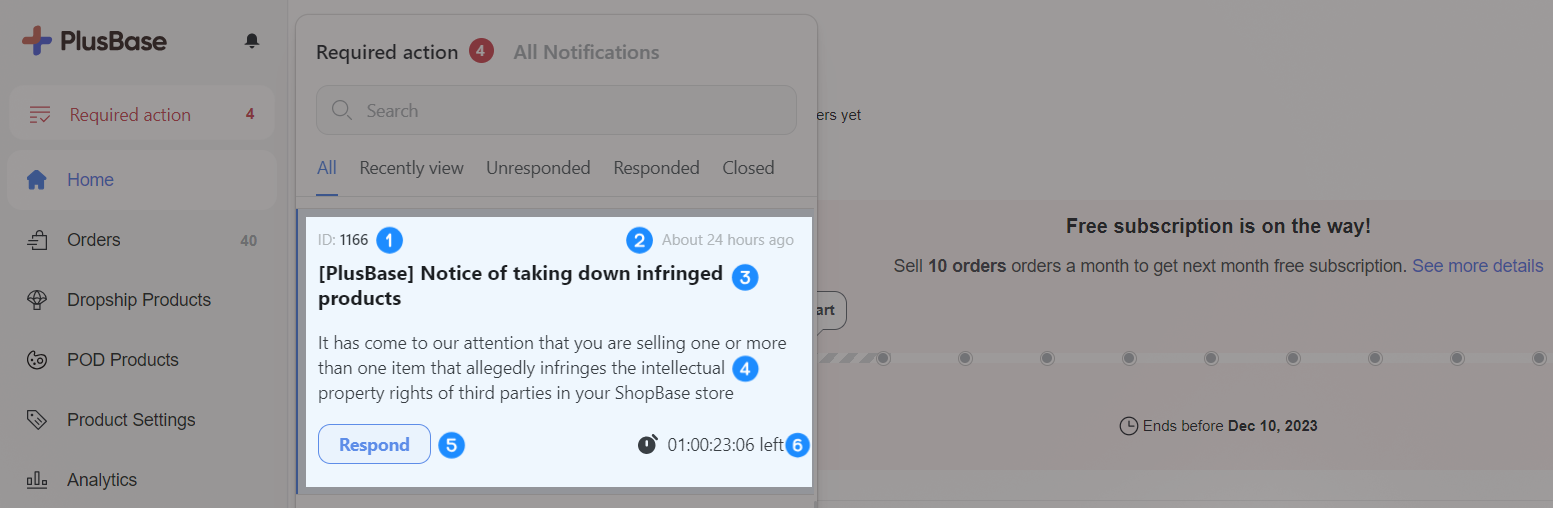
➀ Required action ID: a unique identification number assigned to each required action, making it easier to reference and track.
➁ Creation time: the time when a required action was initially generated.
➂ Title: the title provides a concise heading for the required action, giving you an idea of the issue it pertains to.
➃ Brief description: a short summary of the nature of the required action, providing additional context.
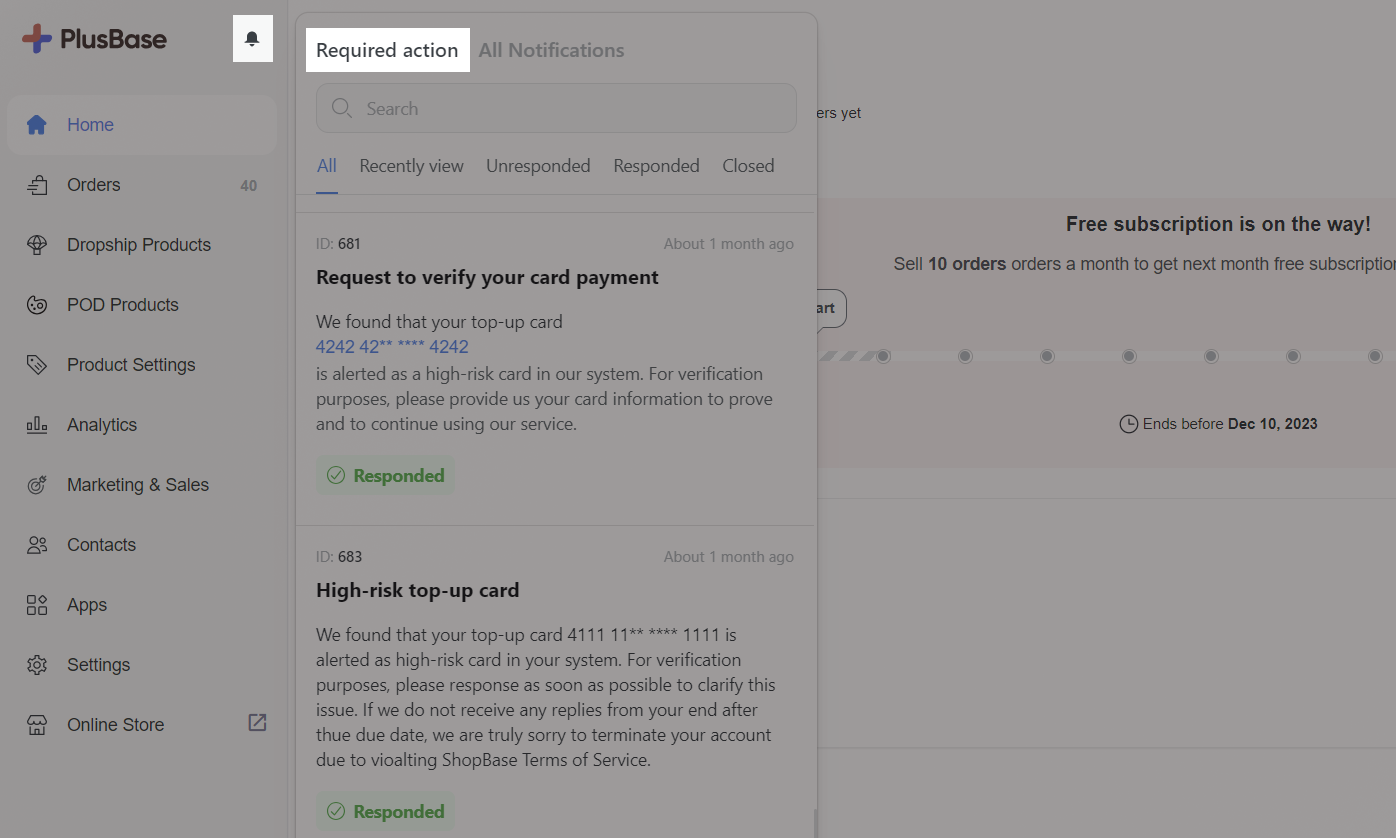
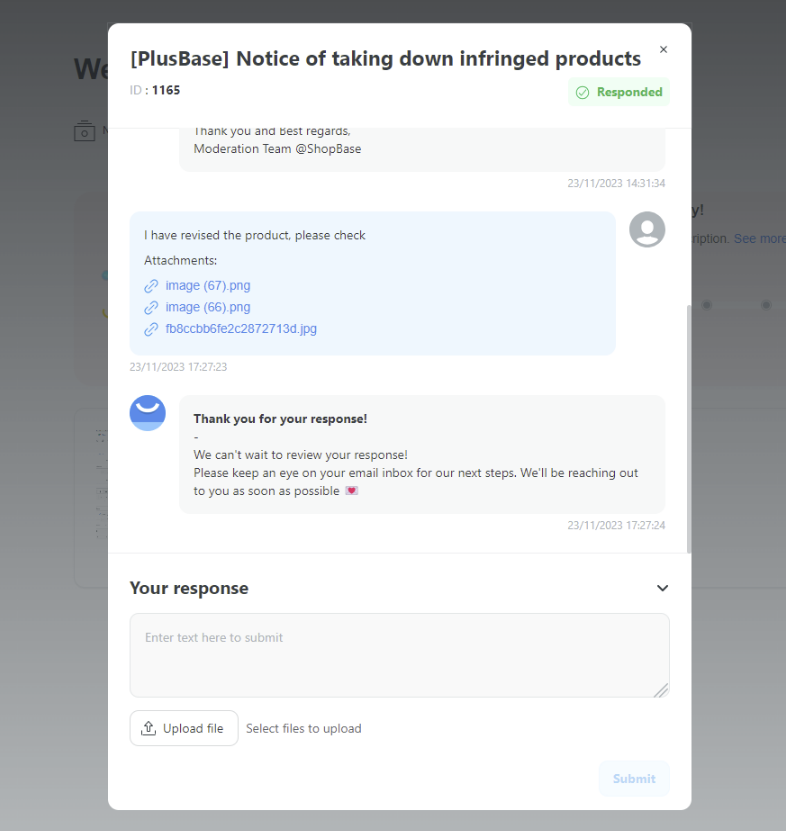
➄ Response status: this indicates whether a required action responded or not.
➅ Countdown time: the amount of time remaining to respond or complete the required action.
You can search for specific required actions using their ID, title, or description.
B. Resolving Unresponded Required Actions
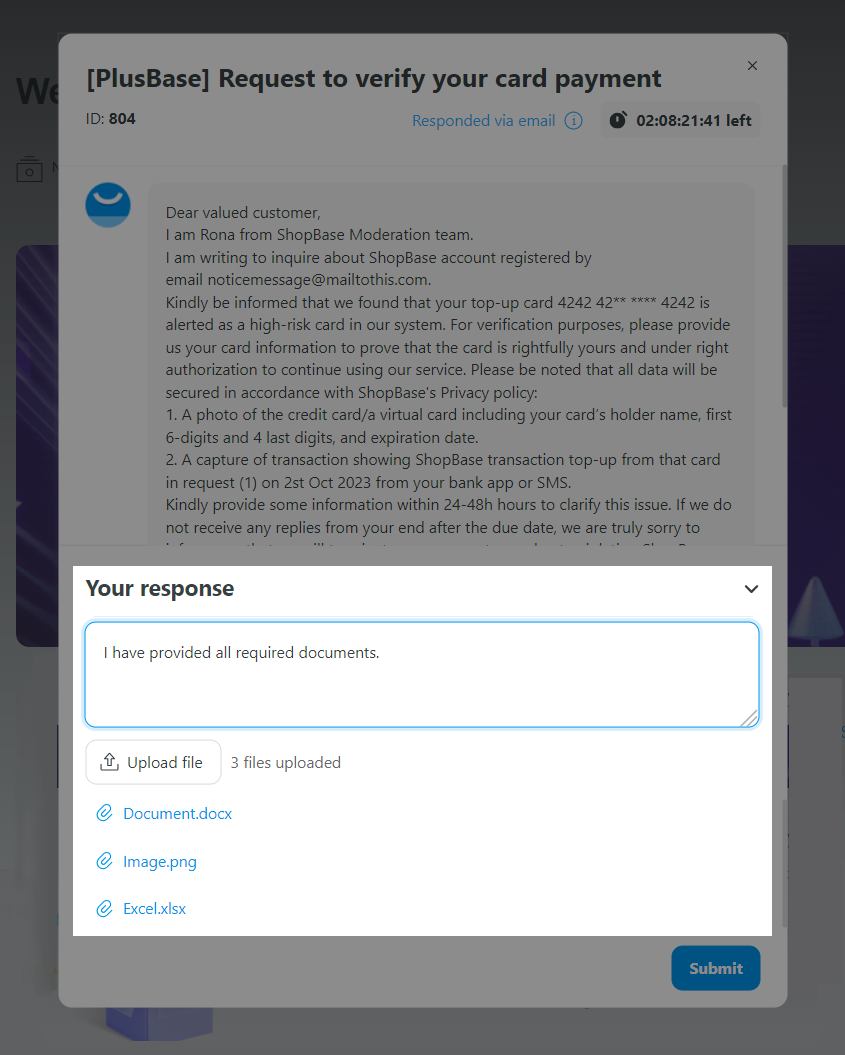
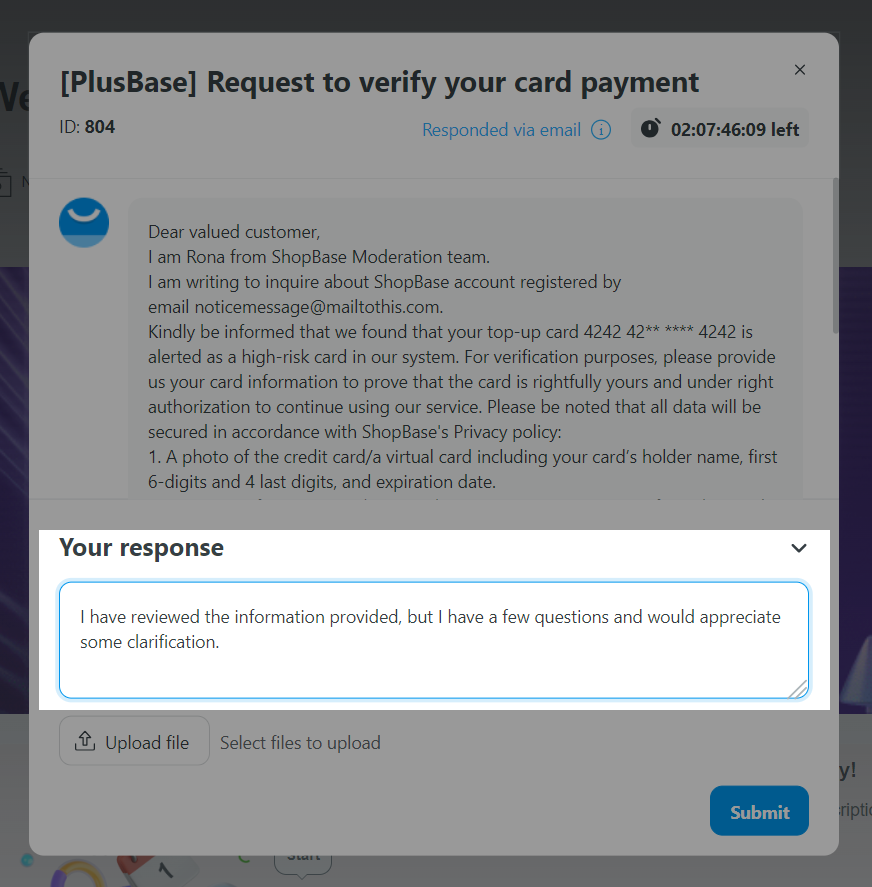
When dealing with an unresponded required action, follow these steps:
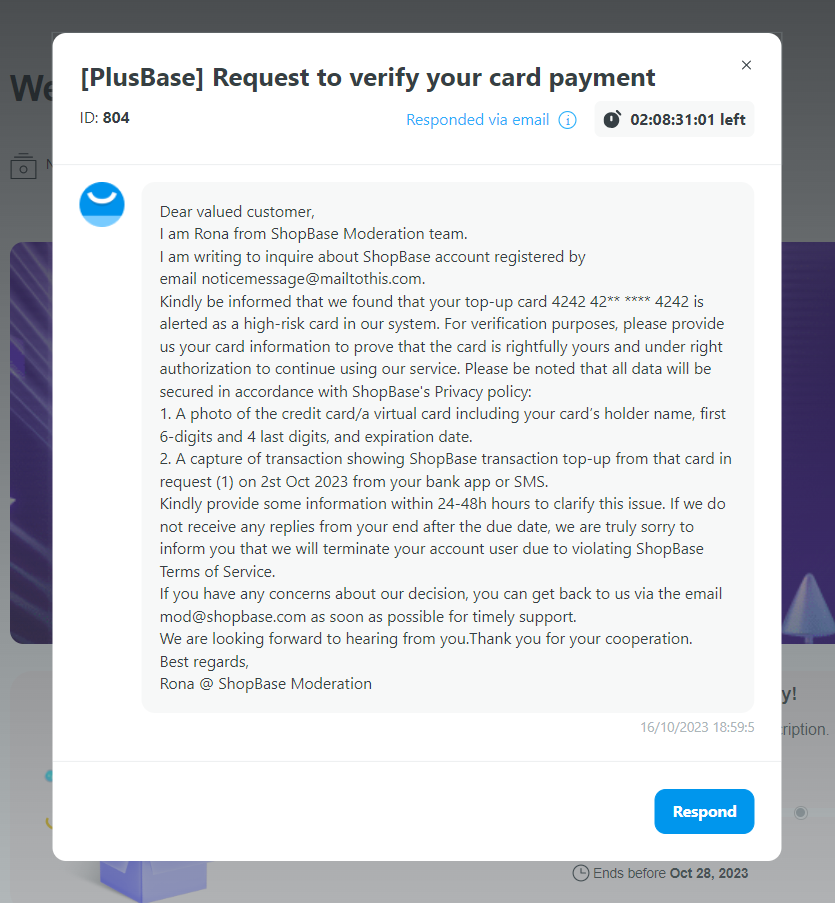
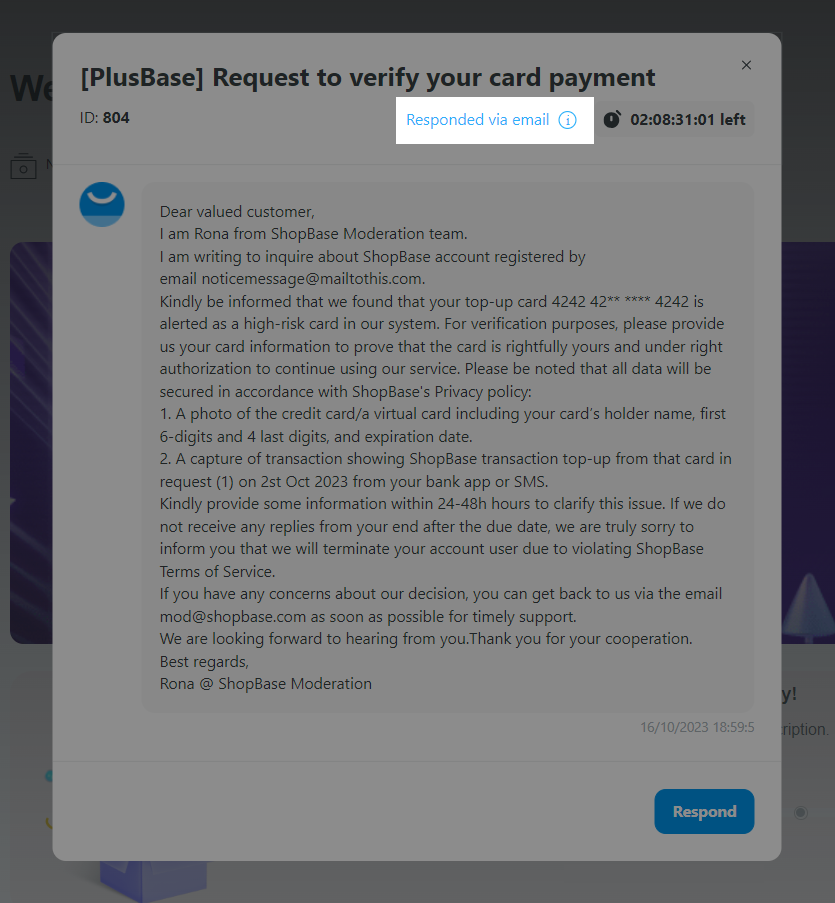
Generally, you will receive notifications through both Required Action and Email. If you haven't responded through either, you only need to reply using one method. Please click on 'Responded via email' only when you are certain that you have already responded via email and do not wish to repeat the response in the Required Action.
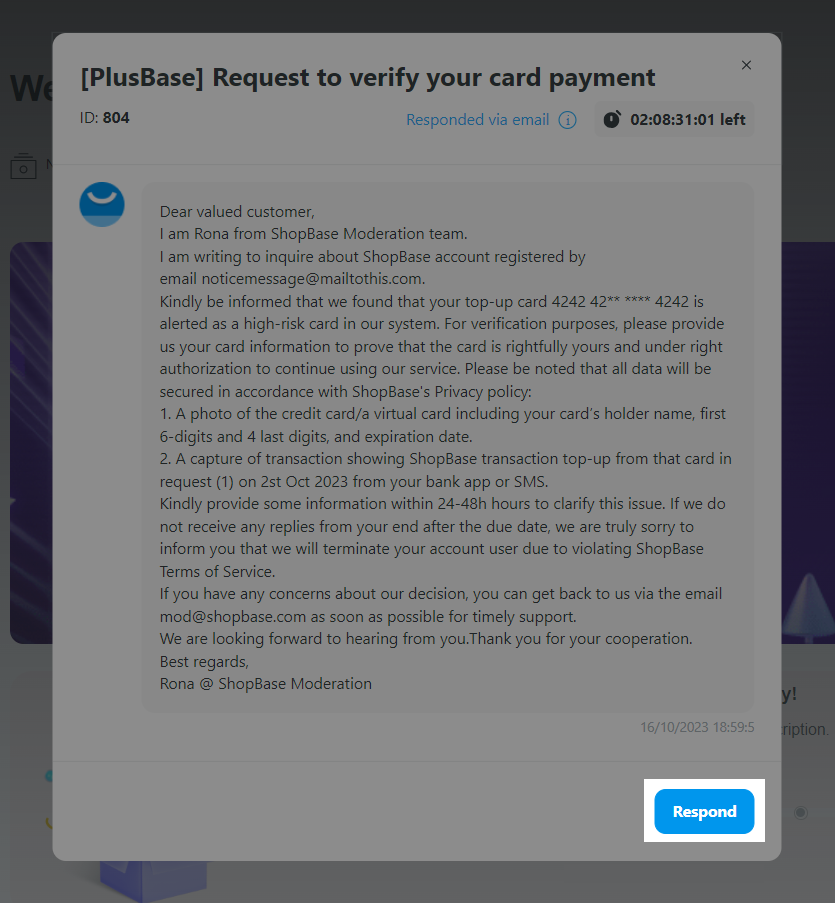
Confirm that you have provided all the required documents and attach file(s) if necessary.
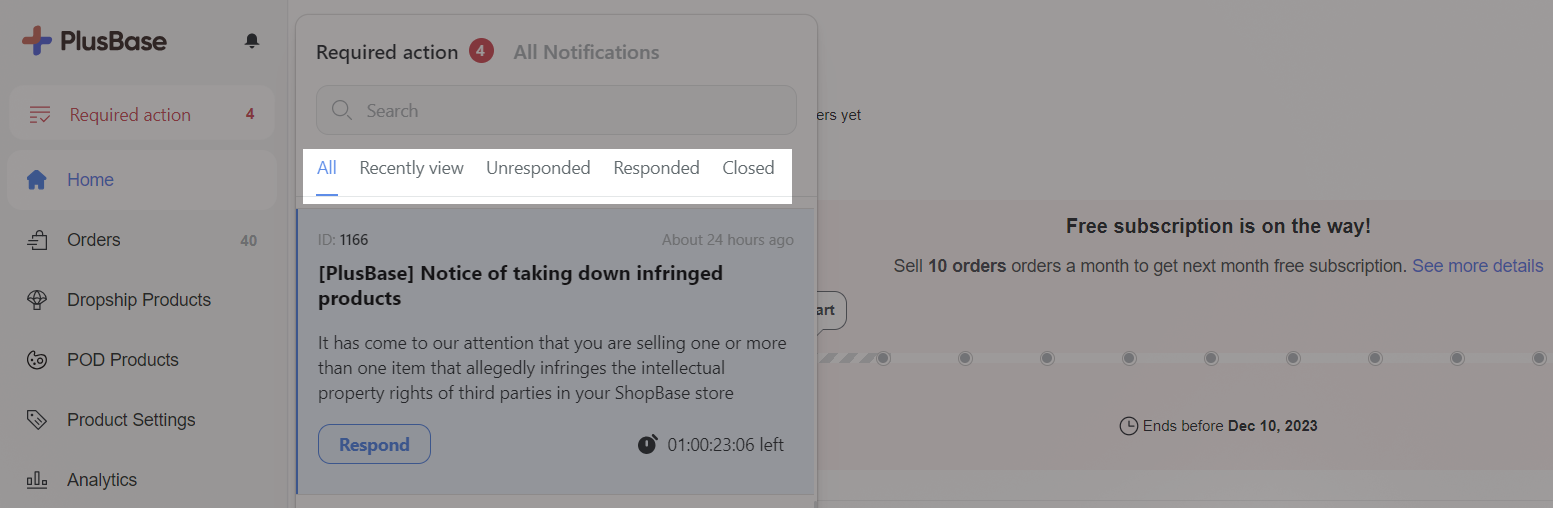
C. Dealing with Closed Required Actions
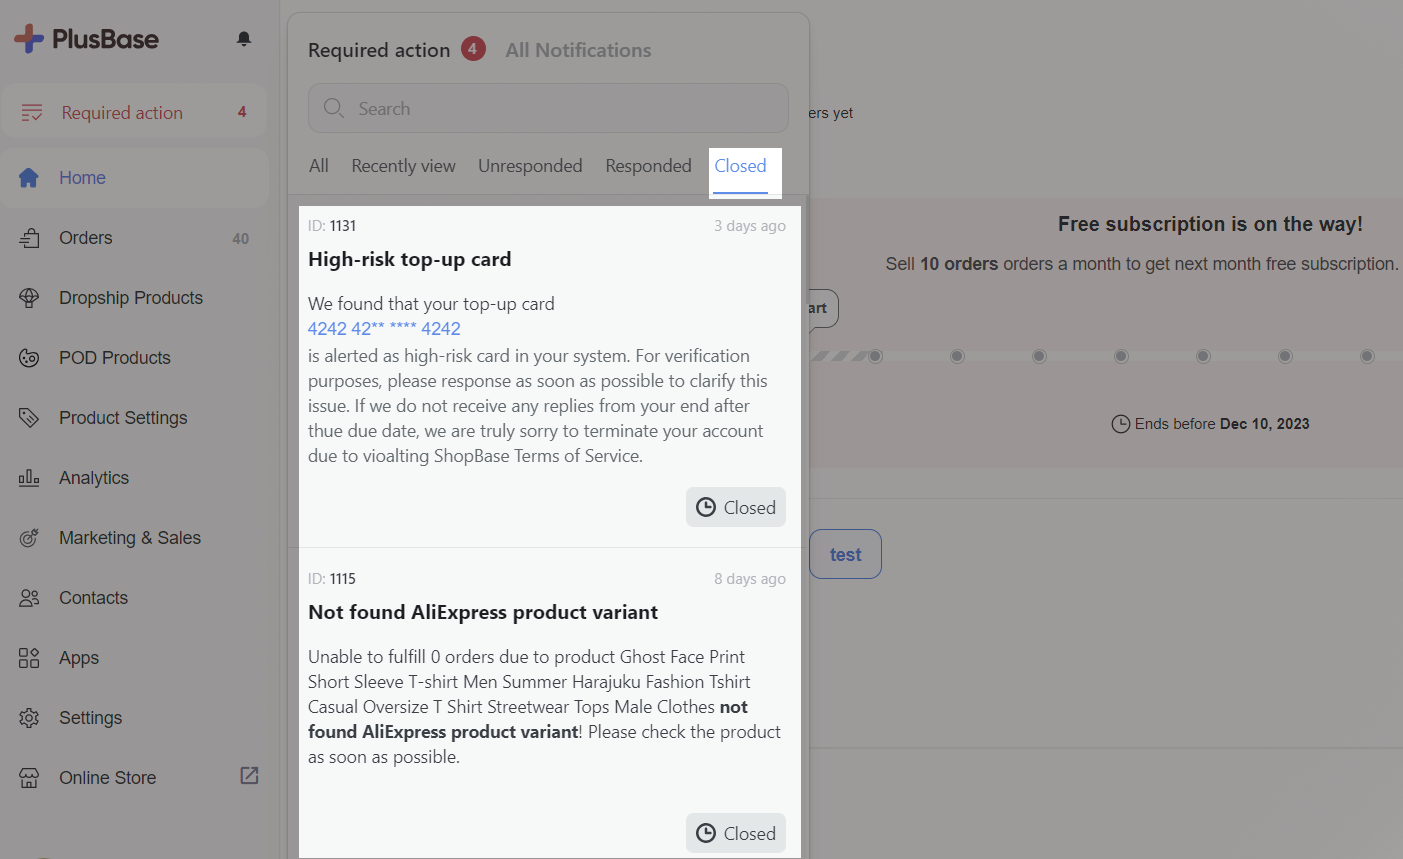
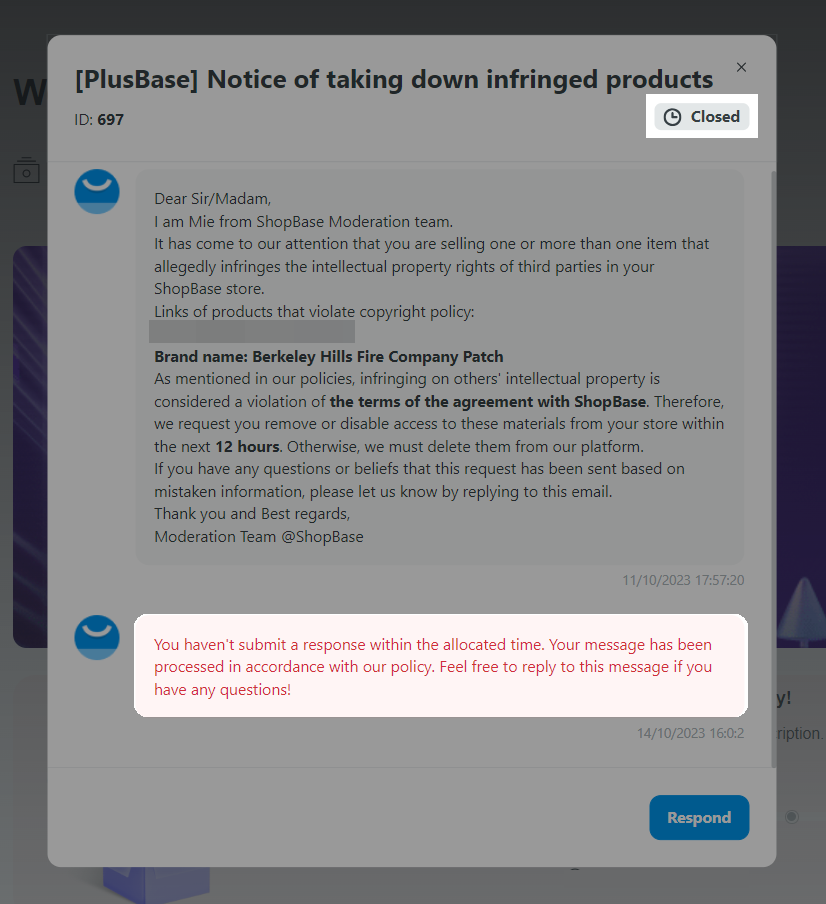
If a required action's status is marked as Closed, it signifies that you did not take any action during the countdown time. In such cases, our support team will proceed to take action as previously communicated in the content of required action. However, you can still Respond to surmount the issue if possible.
