In order to solve the data loss caused by the iOS 14 privacy settings, ShopBase merchants can use ShopBase Ads Assistant extension to match their real-time store order data with the corresponding campaign/adset/ad on their Facebook Ads Manager, allowing them to effectively optimize their advertising campaigns.
In this article
A. Set up ShopBase Ads Assistant on ShopBase
B. Set up Ads on Facebook Ads Manager
C. Customize Facebook Ads columns to view data
A. Set up ShopBase Ads Assistant on ShopBase
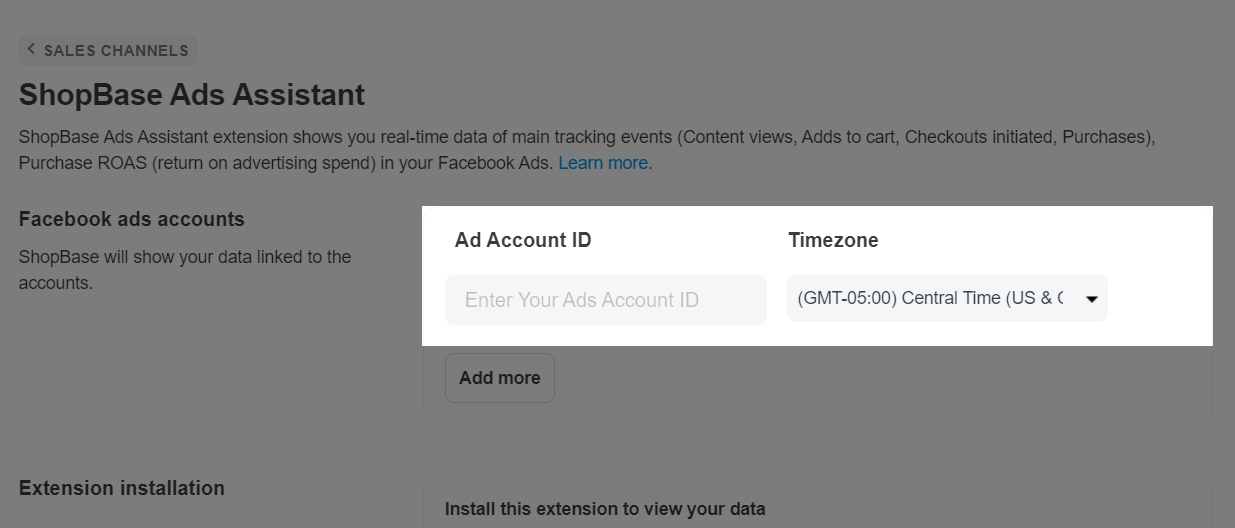
From your Facebook Ads Manager, copy the Ad ID in the upper left corner of the page.

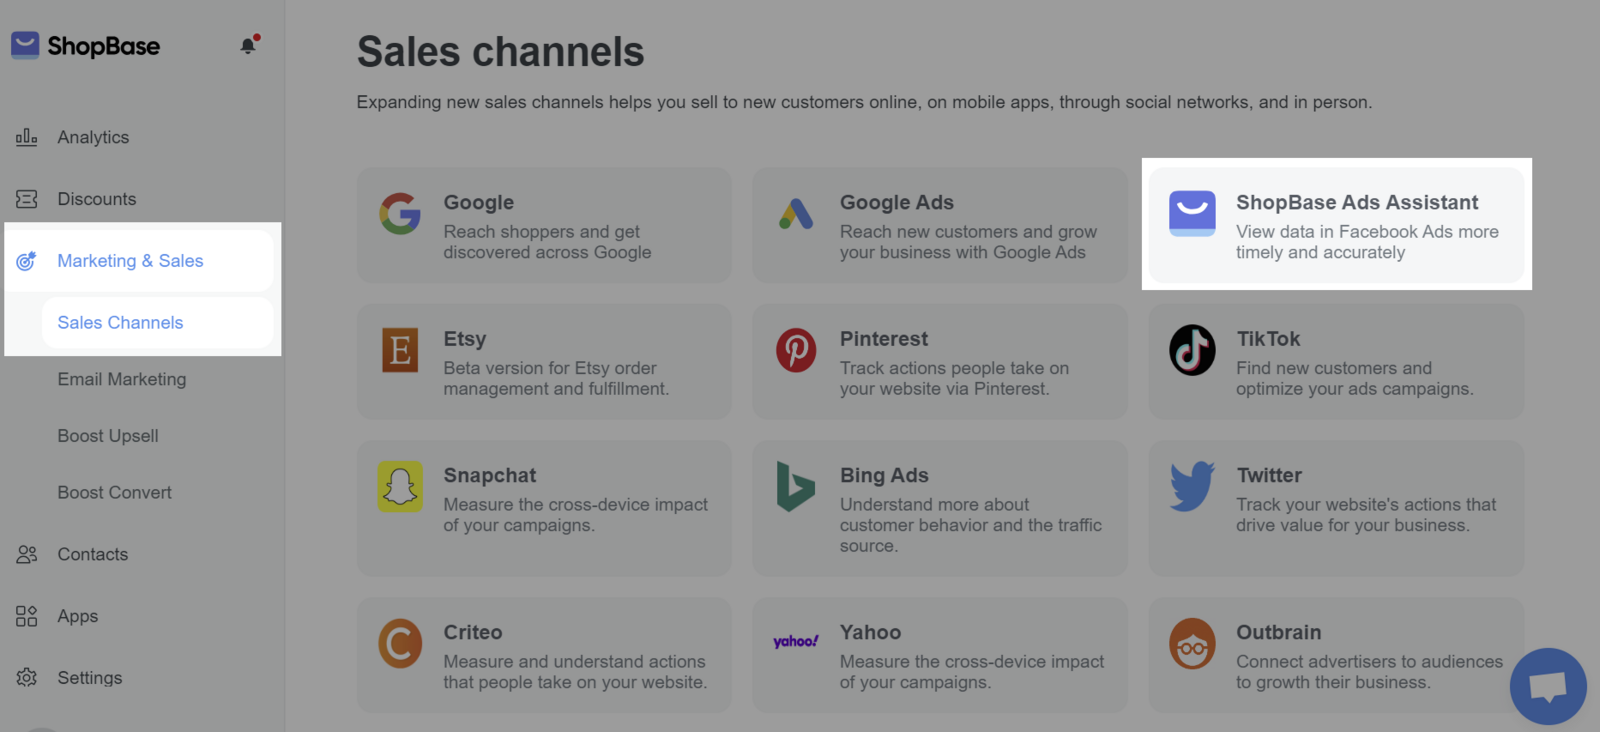
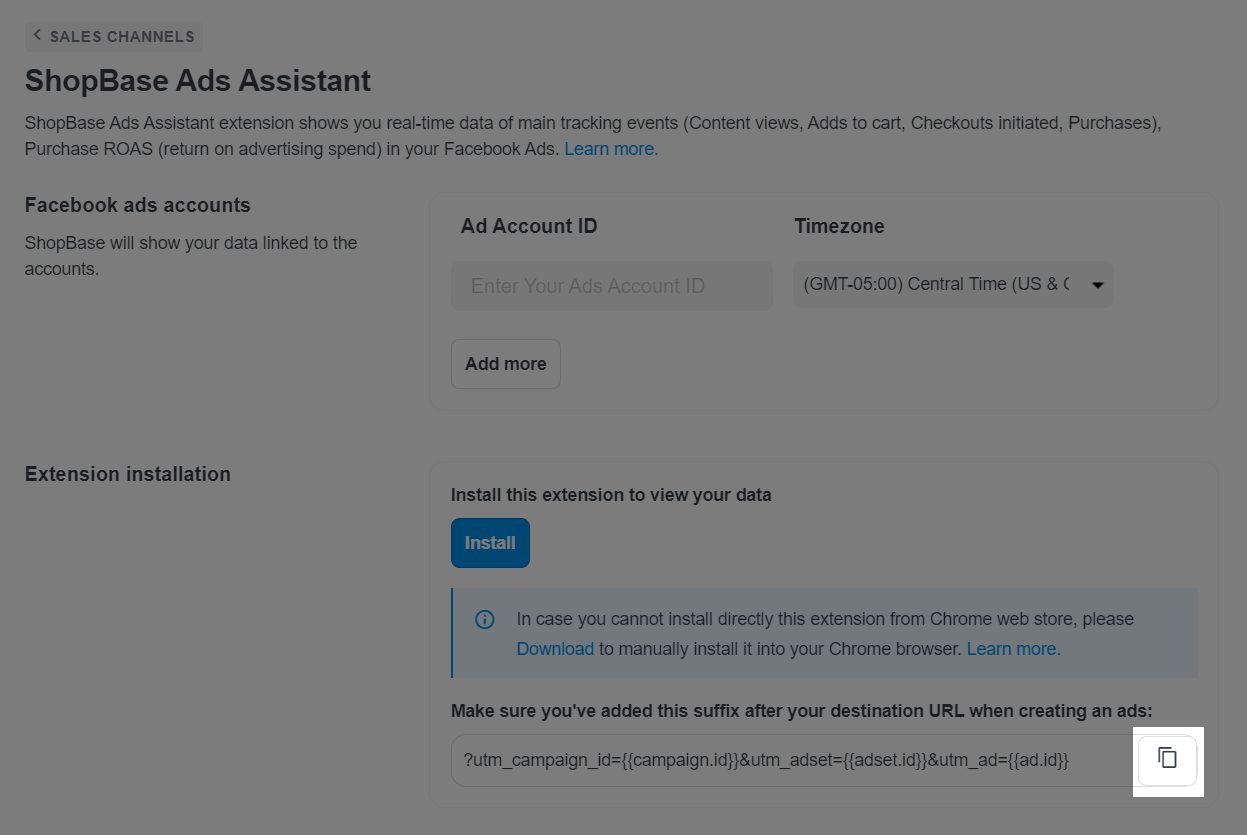
From your ShopBase admin site, go to Marketing & Sales > Sales channels > ShopBase Ads Assistant.
In Ad Account ID, paste your Ad ID copied in step 1. Then choose the corresponding Timezone set in your ads.
An Ad ID can be added to only 1 ShopBase store.
There are 2 ways to install the ShopBase Ads Assistant extension into your Chrome browser:
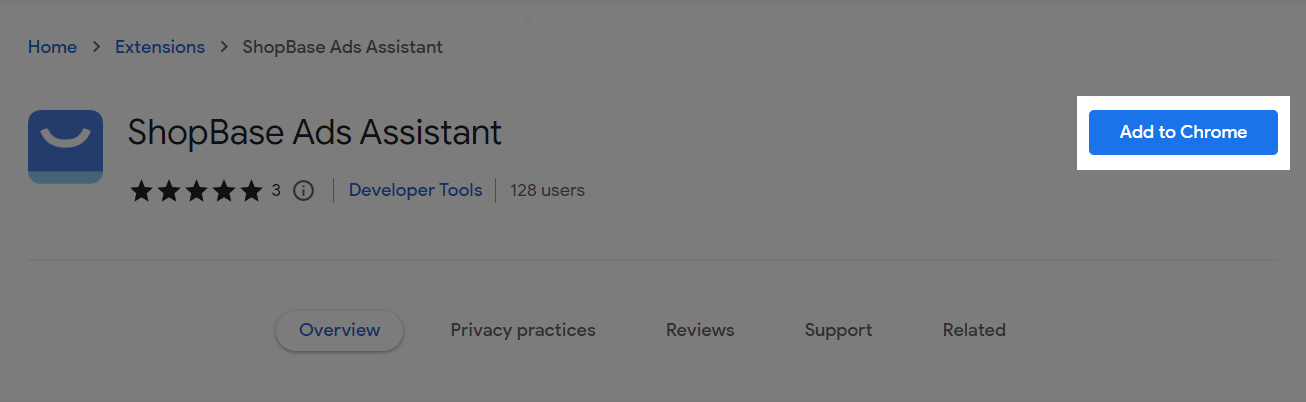
Automatically install the extension from Chrome web store by following the steps from 5 to 6:
Click Install to visit the extension in the Chrome web store.

Click Add to Chrome and confirm by selecting Add extension. Then the extension will be automatically added to your browser. It will be enabled by default or whenever you visit Facebook Ads Manager.
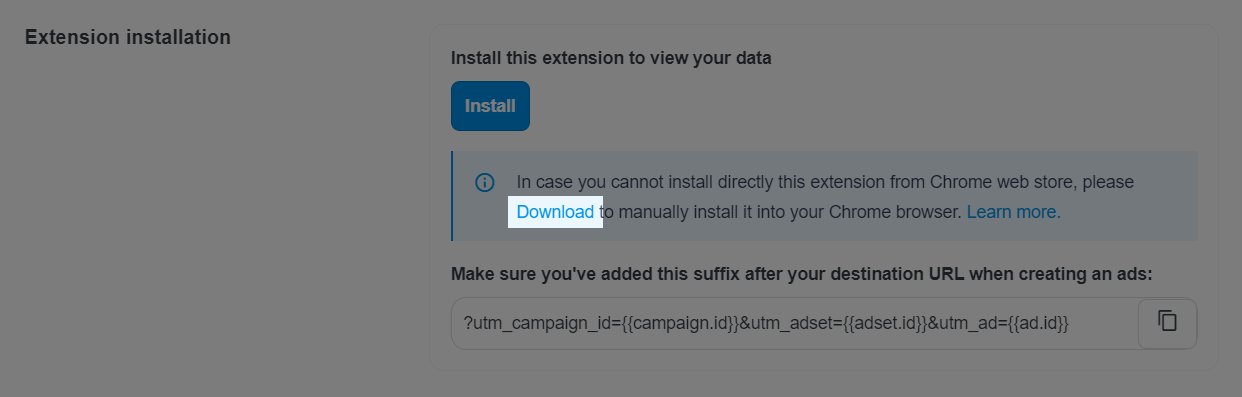
Manually install the extension by following the steps from 7 to 10:
In Extension installation click on Download to download the facebook_data_assistant.zip extension. Once it is downloaded successfully, unzip the installation package.
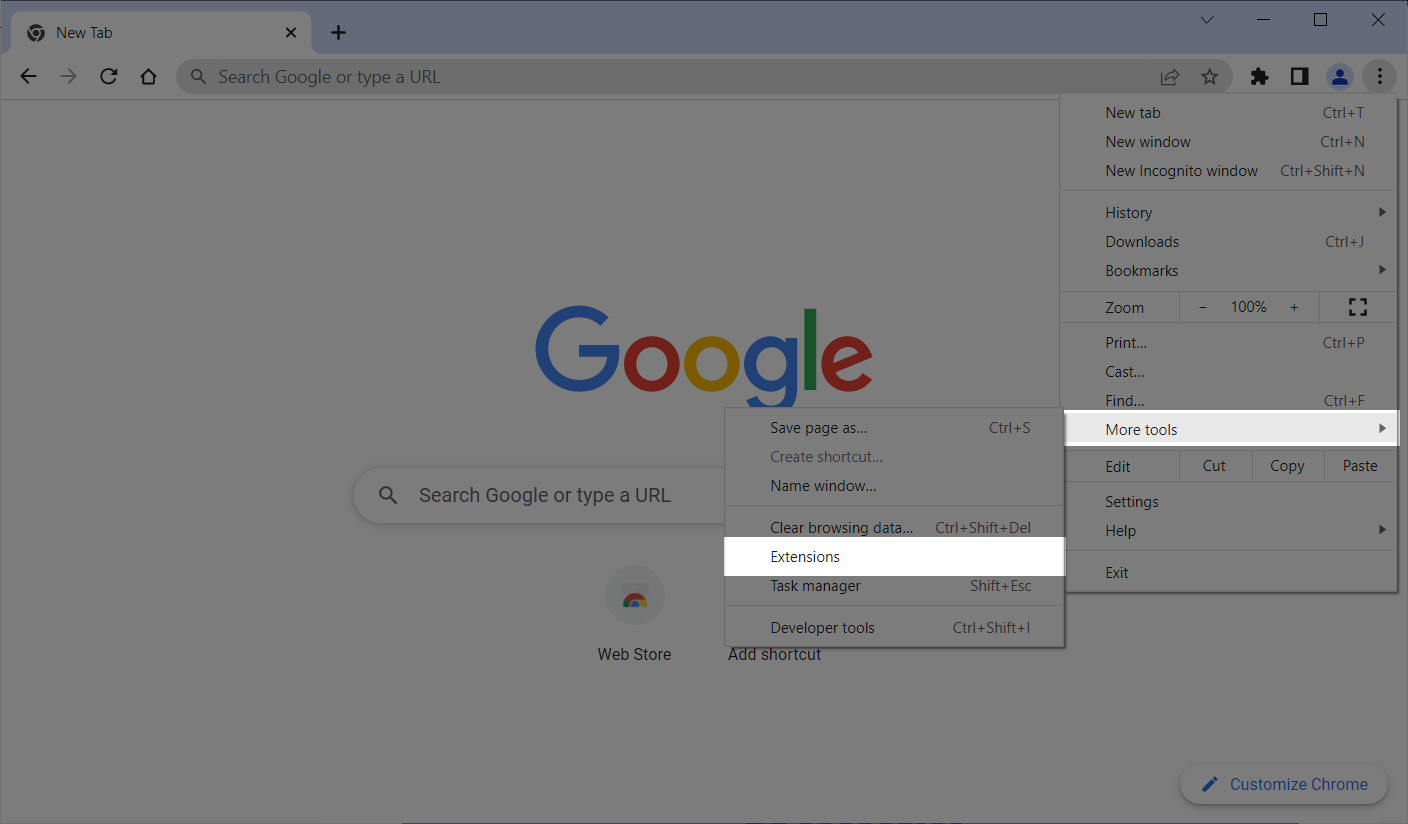
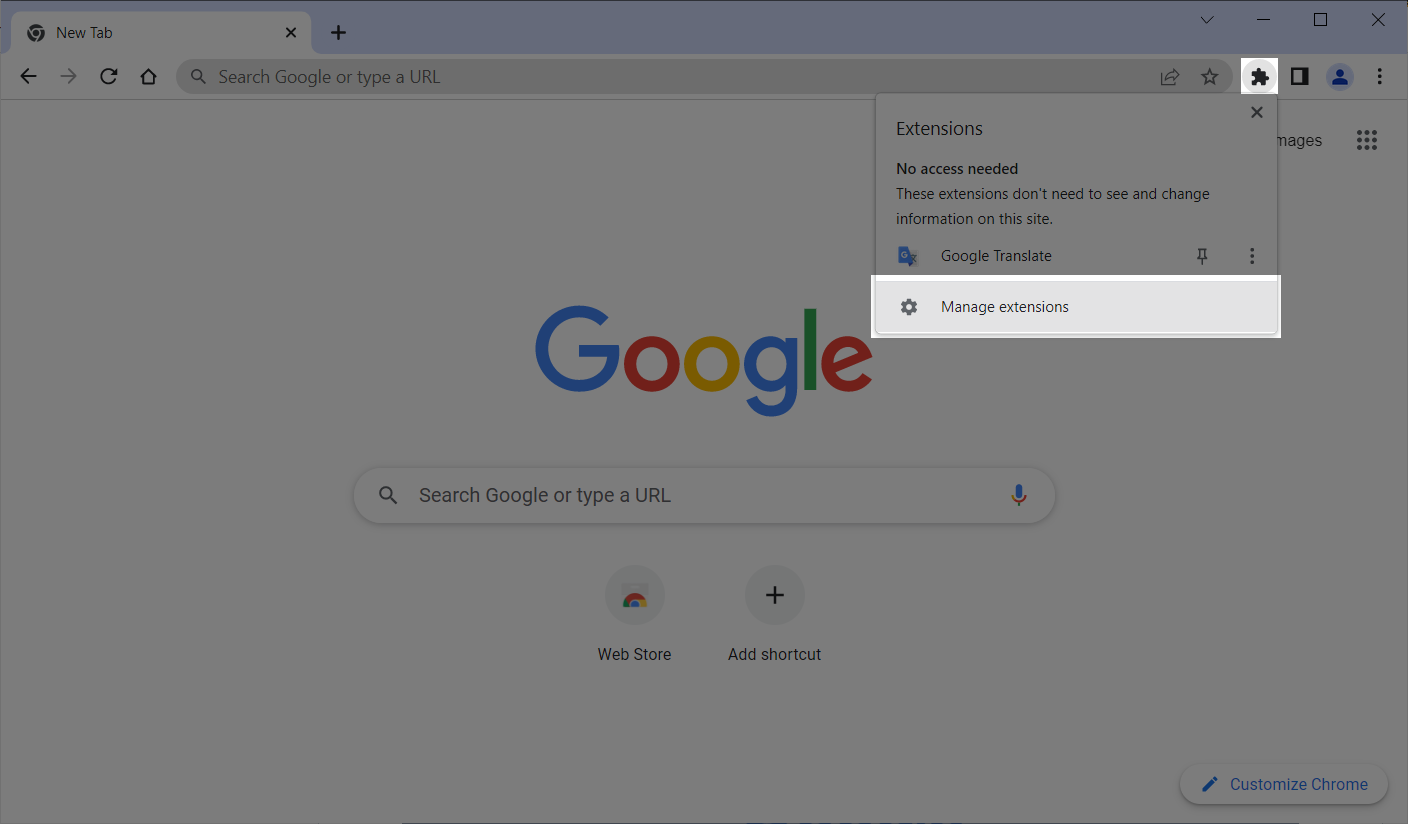
In your Google Chrome web browser, click on the more icon at the top right and More tools > Extensions. Or you can also click on the extension icon and select Manage extension.
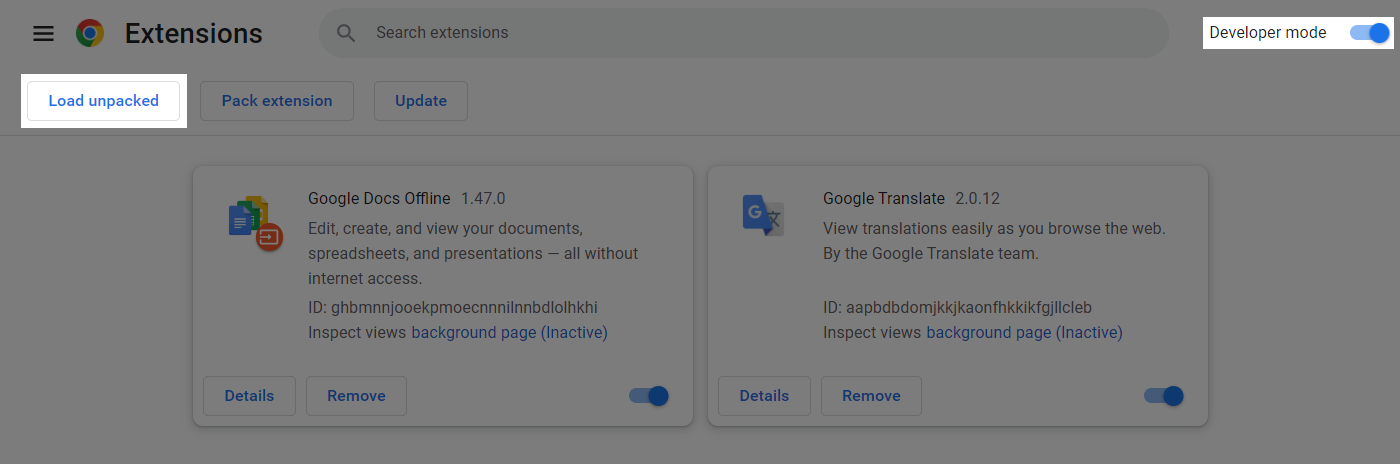
Switch on Developer mode and click on Load unpacked, then select the unzipped installation package.
After successfully uploading, you can see the extension ShopBase Ads Assistant in the list. It will be enabled by default or whenever you visit Facebook Ads Manager.
The ShopBase Ads Assistant extension is only available for Google Chrome web browser.
B. Set up Ads on Facebook Ads Manager
From your ShopBase admin site, go to Marketing & Sales > Sales channels > ShopBase Ads Assistant.

In Extension installation, copy the UTM parameter.
For each of your Facebook ads, add the UTM parameter to the end of website URL.
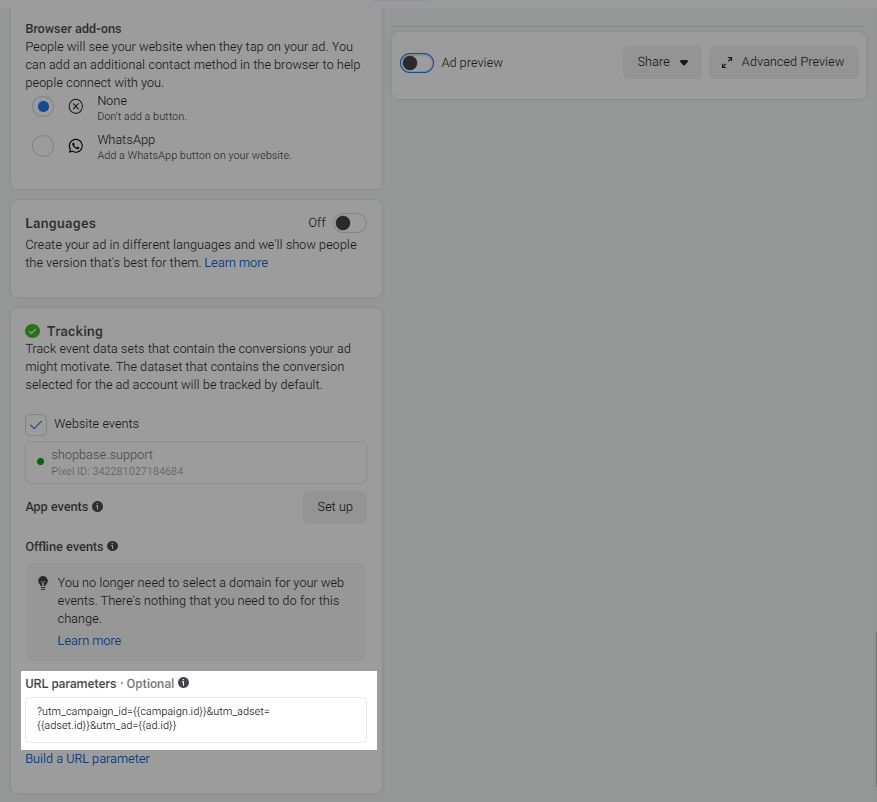
ShopBase will link your store’s data to Facebook campaign/adset/ad only if the UTM parameter is added into your destination URL.
C. Customize Facebook Ads columns to view data
From your Facebook Ads Manager, enter your campaign/ad set/ad and click Columns > Customise columns.
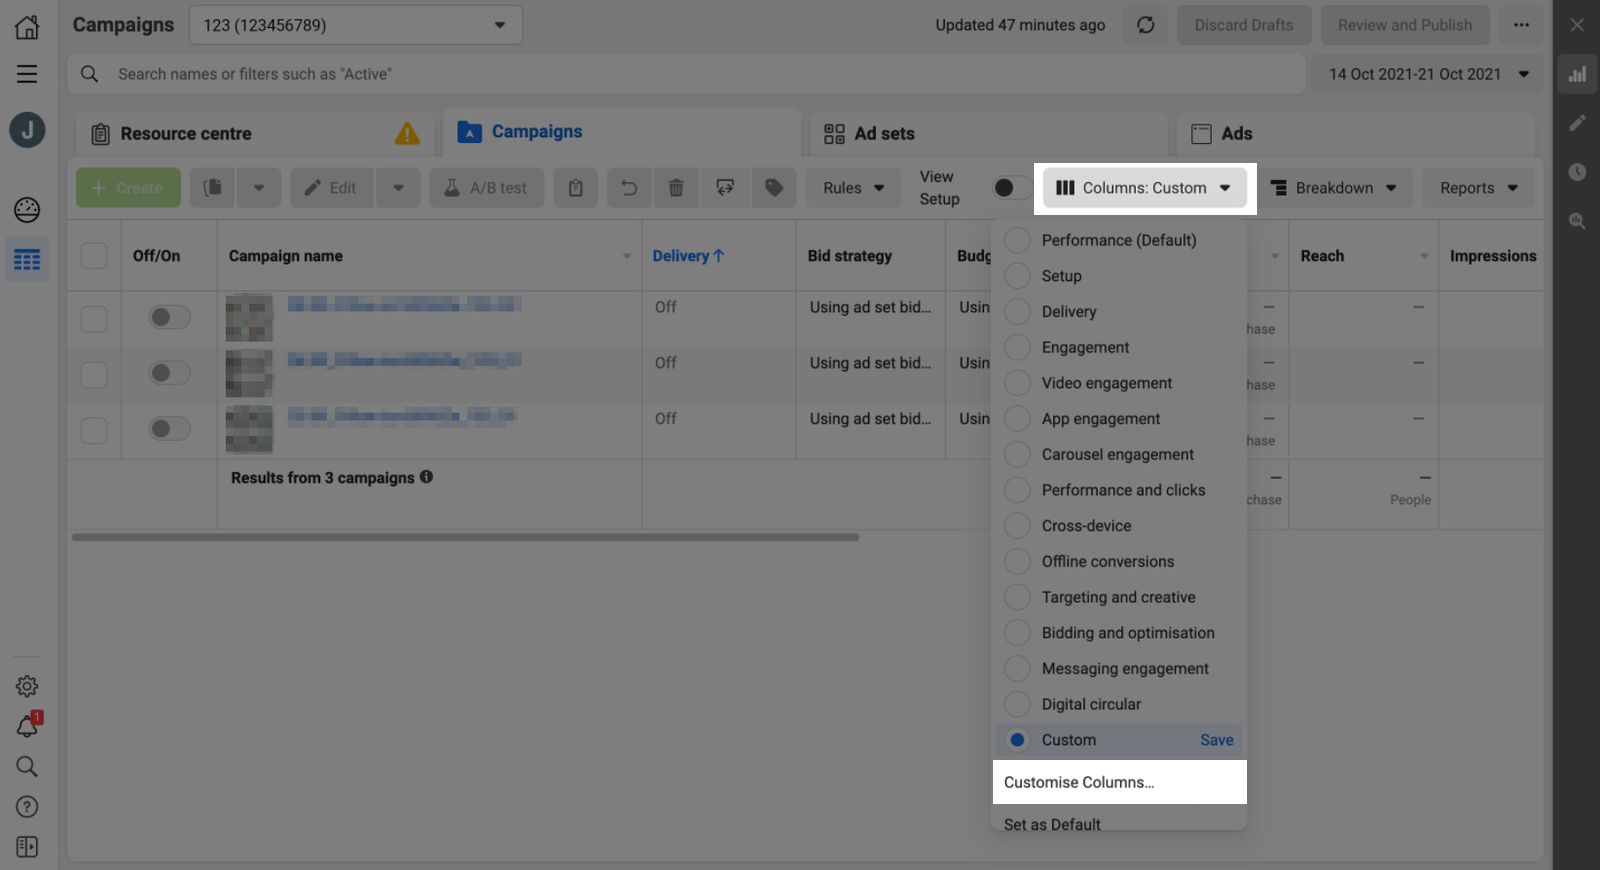
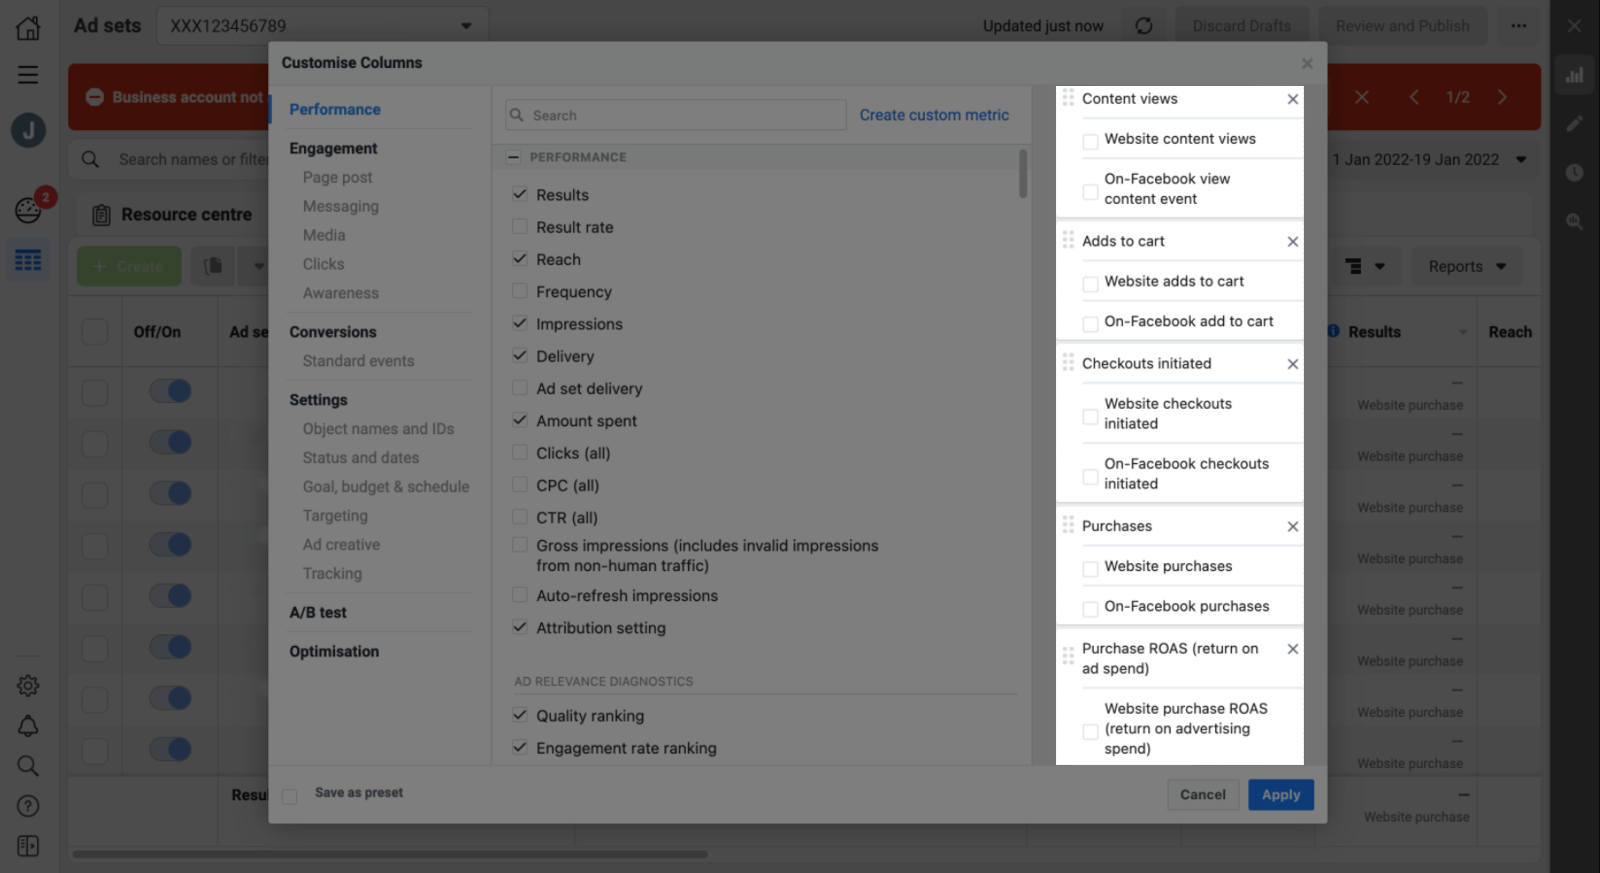
Select the following 6 options:
Content views
Adds to cart
Checkouts initiated
Purchases
Amount spent
Purchase ROAS (return on ad spend)
In the right column, deselect all checkboxes that correspond to 6 above options to ensure your column names are accurate. Then click Apply.
Select your campaign/ad set/ad you want to view data by ticking on the checkbox.
ShopBase data will be converted to the ad timezone you’ve set up in part A and shown in the corresponding columns alongside Facebook real data.
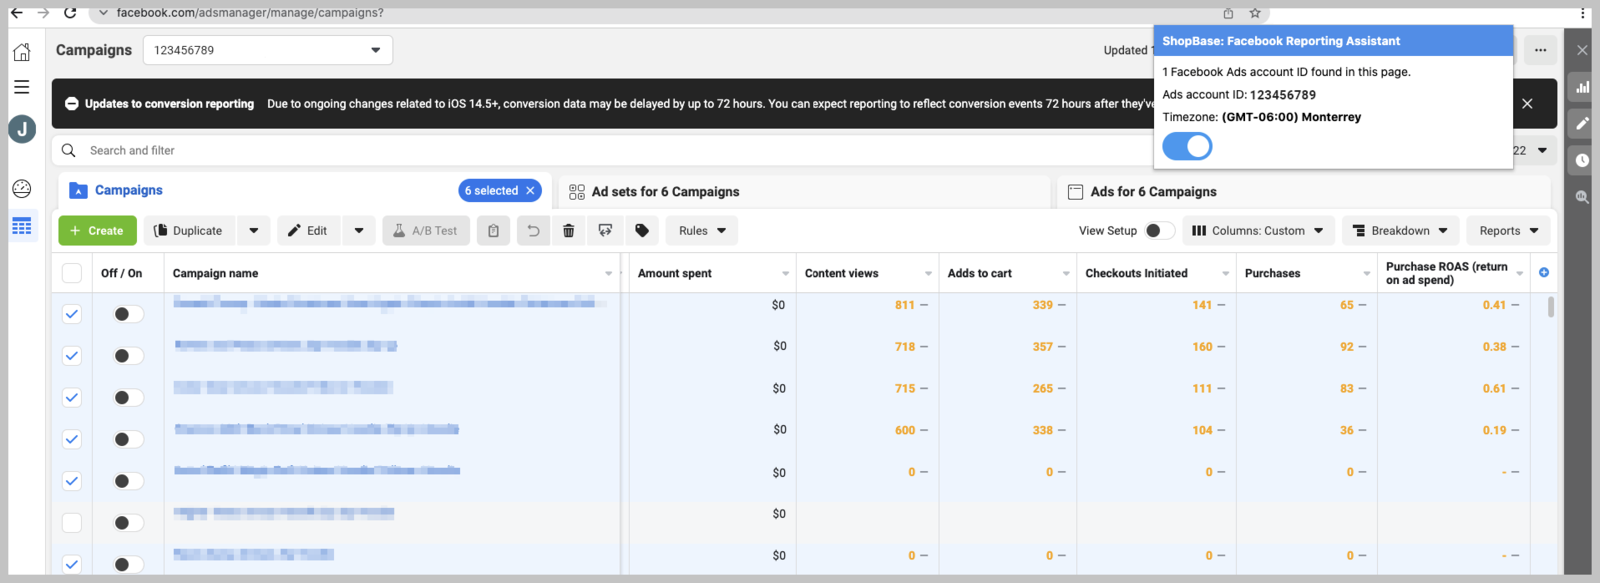
Keep all your selected campaigns/ad sets/ads in one page to ensure all data is accurate.
In case you do not want to view ShopBase data on your Facebook Ads Manager anymore, click to the extension and select OFF.
Updated about 1 year ago