Google Analytics is perhaps one of the most well-known Ecommerce analytics tools used by website owners from all corners of the globe.
To start taking advantage of Google Analytics, you need to have a Google account, sign up for analytics tracking, and choose which data you want to keep track with to start gathering data about purchase activity on your site or app. You can see product and transaction information, average order value, e-commerce conversion rate, time to purchase, and other data.
In this article
A. Make sure you haven't enabled Google Analytics
A. Make sure you haven't enabled Google Analytics
Your data will be inaccurate if Google Analytics is enabled multiple times. If you have not enabled Google Analytics for your store before, proceed to section B on how to enable Google Analytics. If you are unsure whether you have previously enabled Google Analytics for your store, then follow these steps:
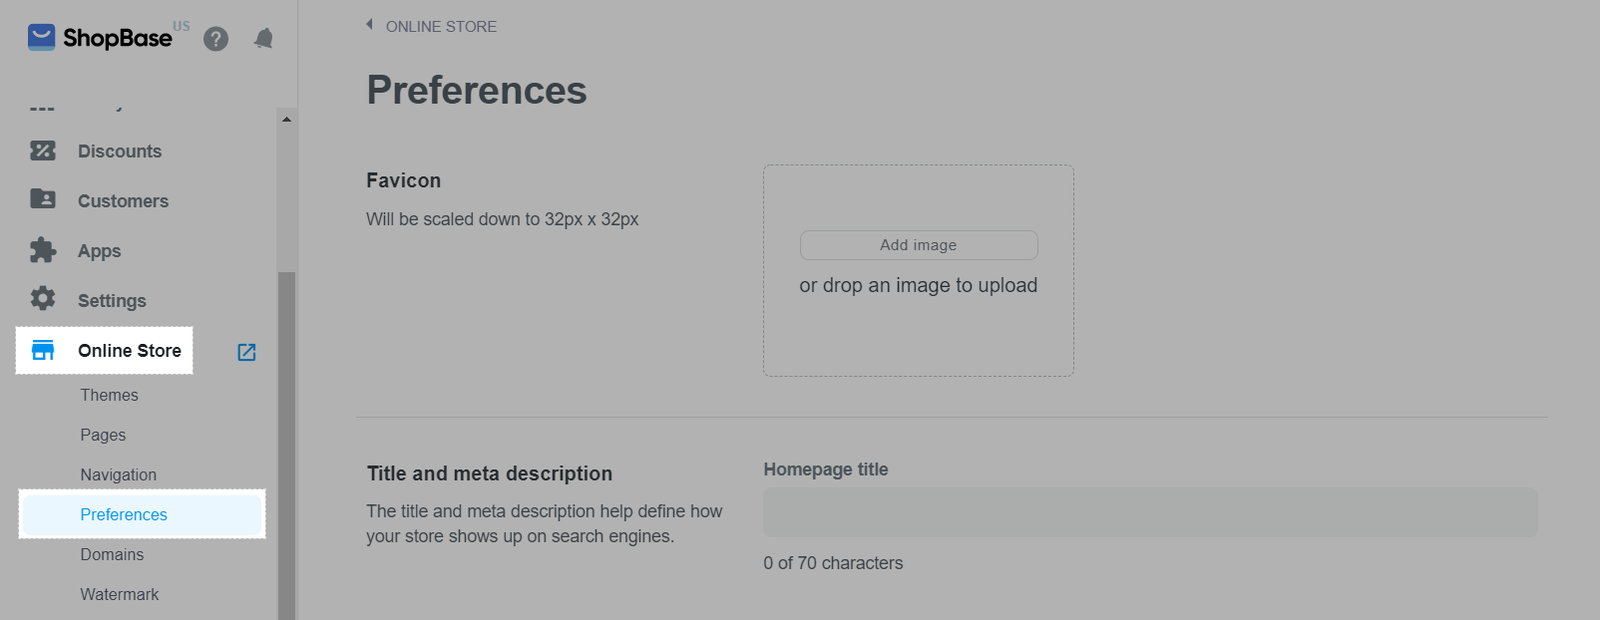
If this section is empty, then continue to the next step. If you see code here instead, Google Analytics is already enabled on your store.
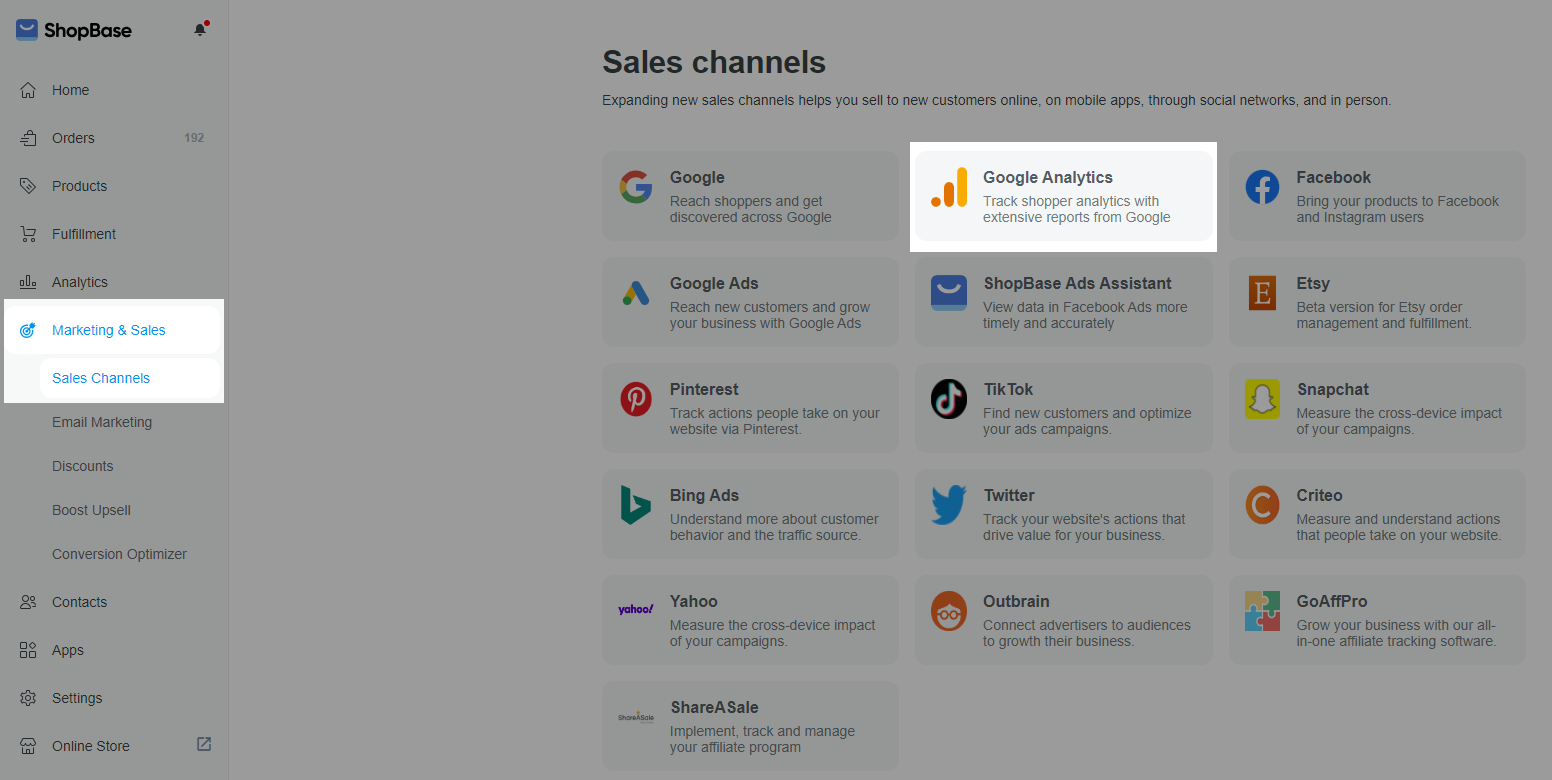
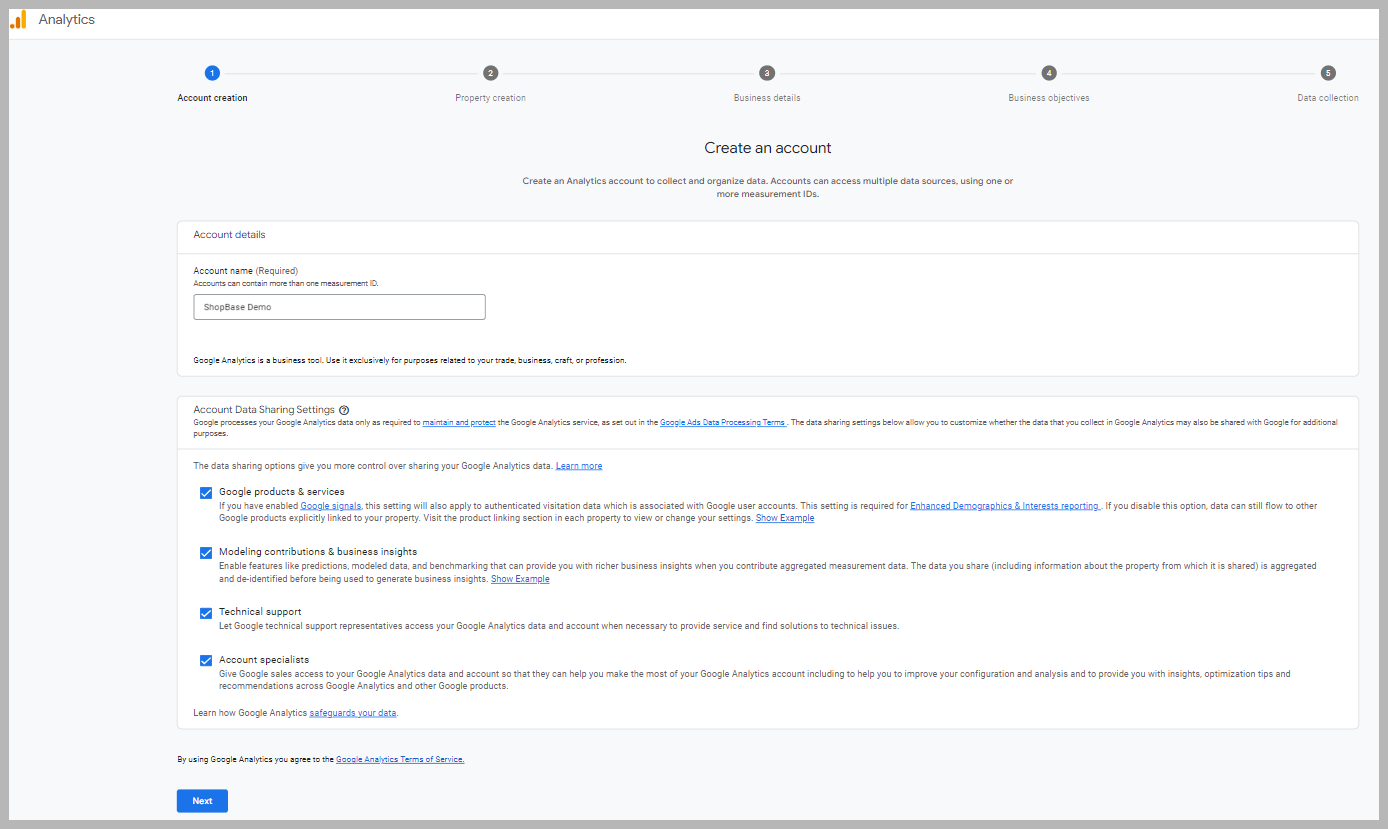
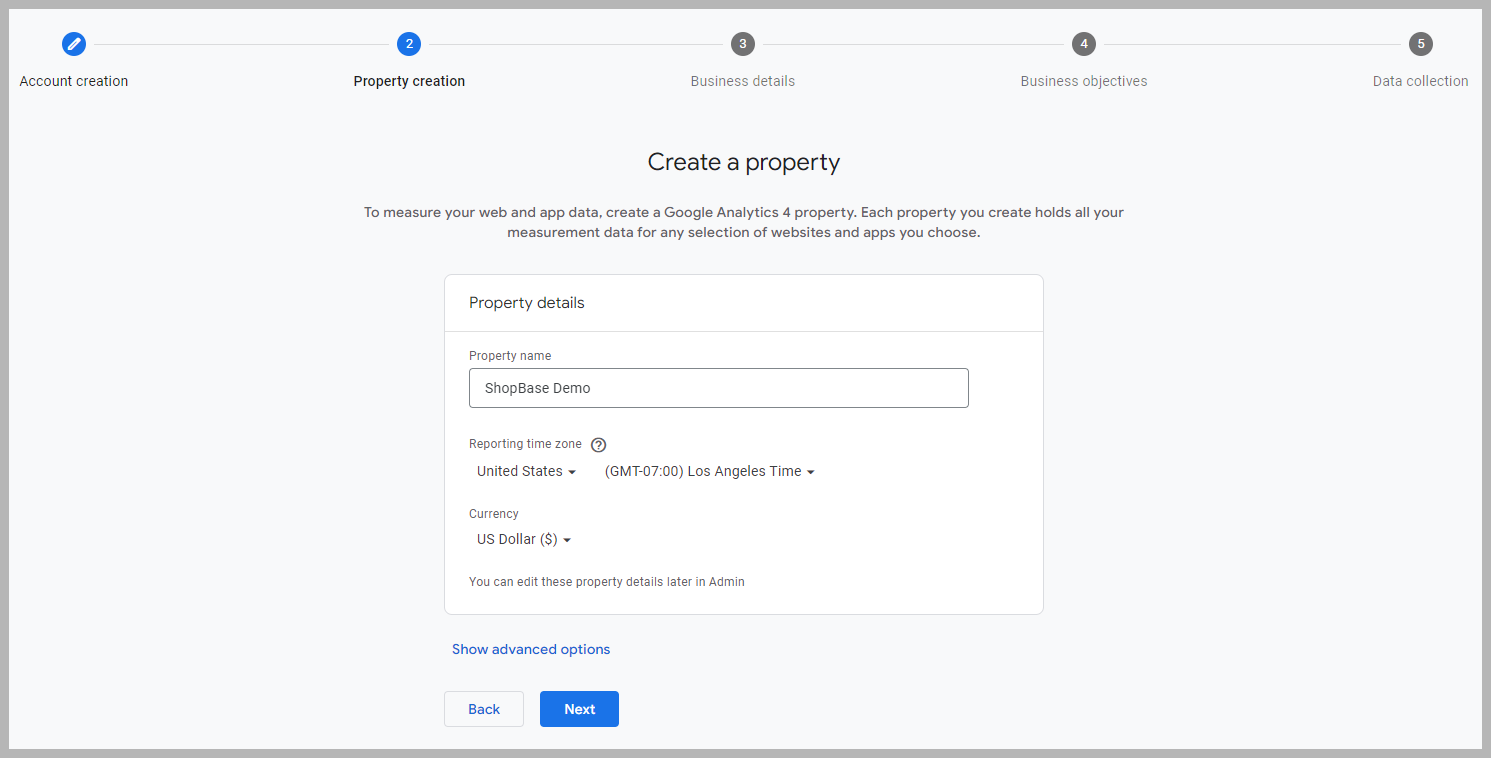
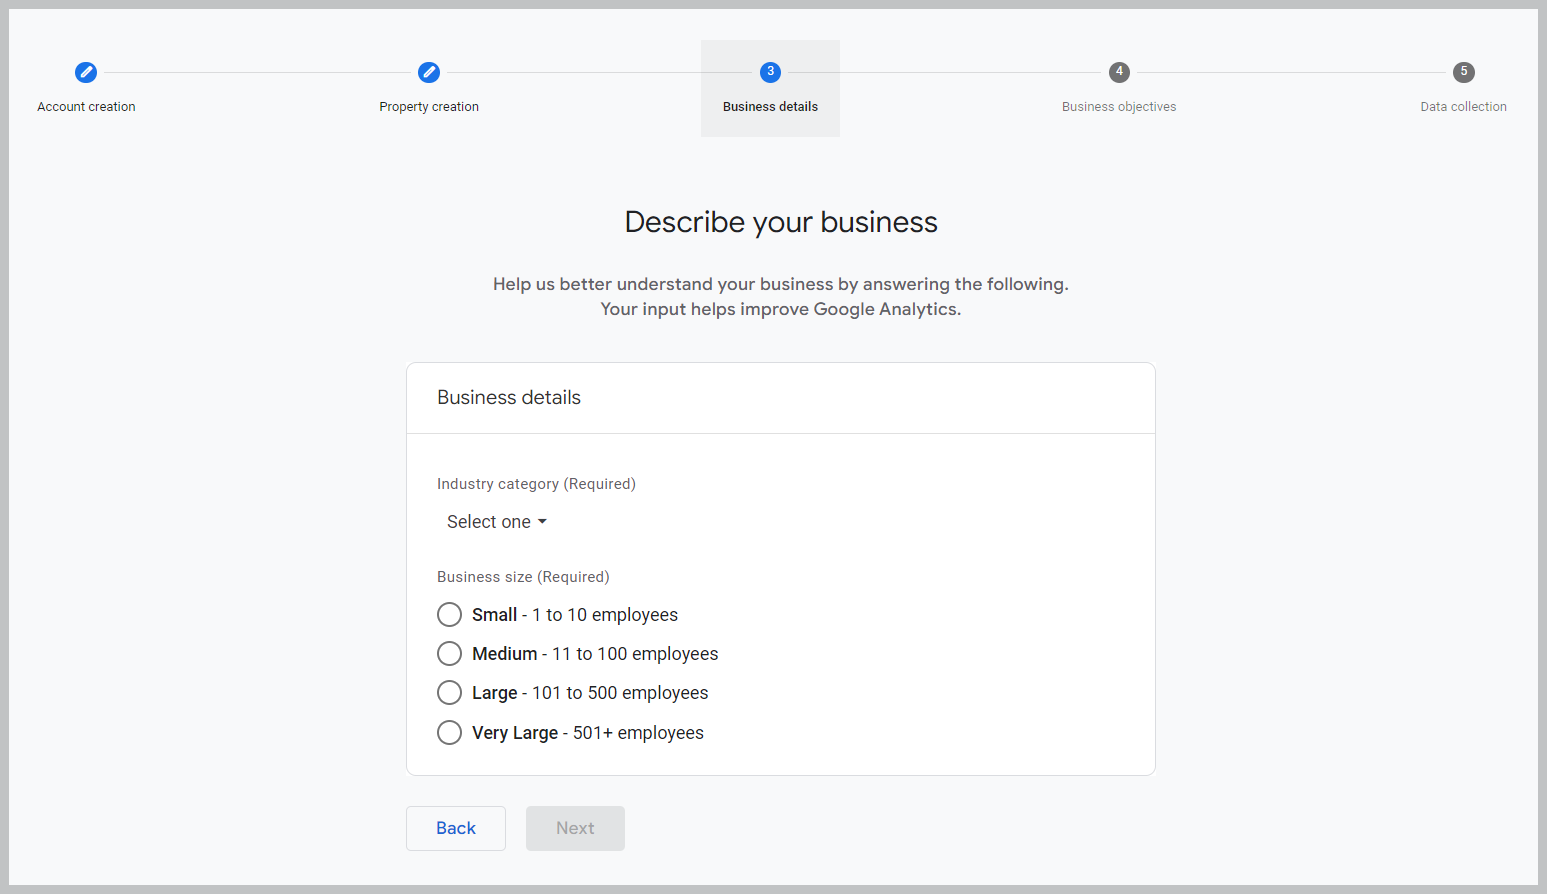
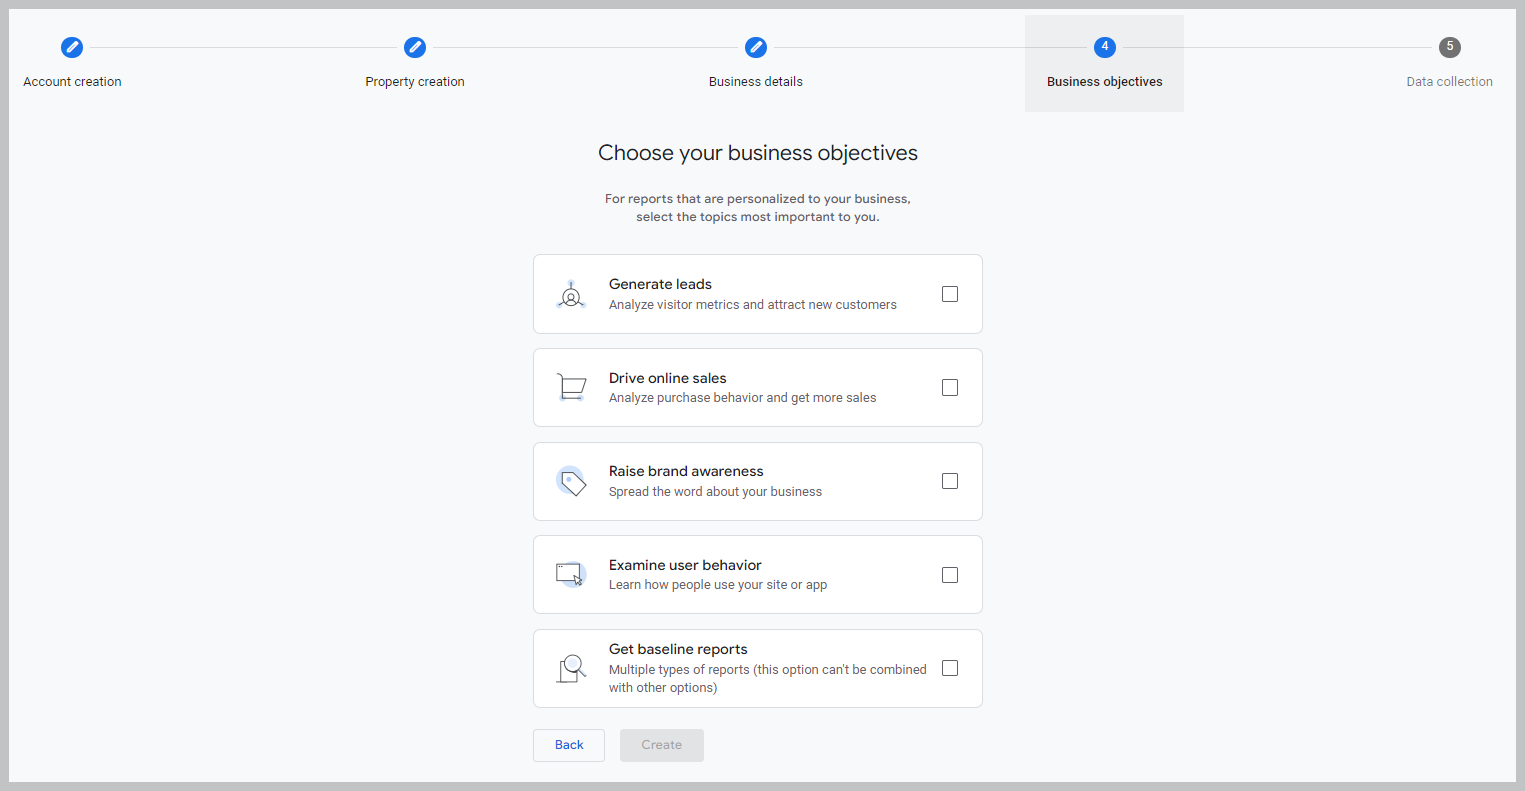
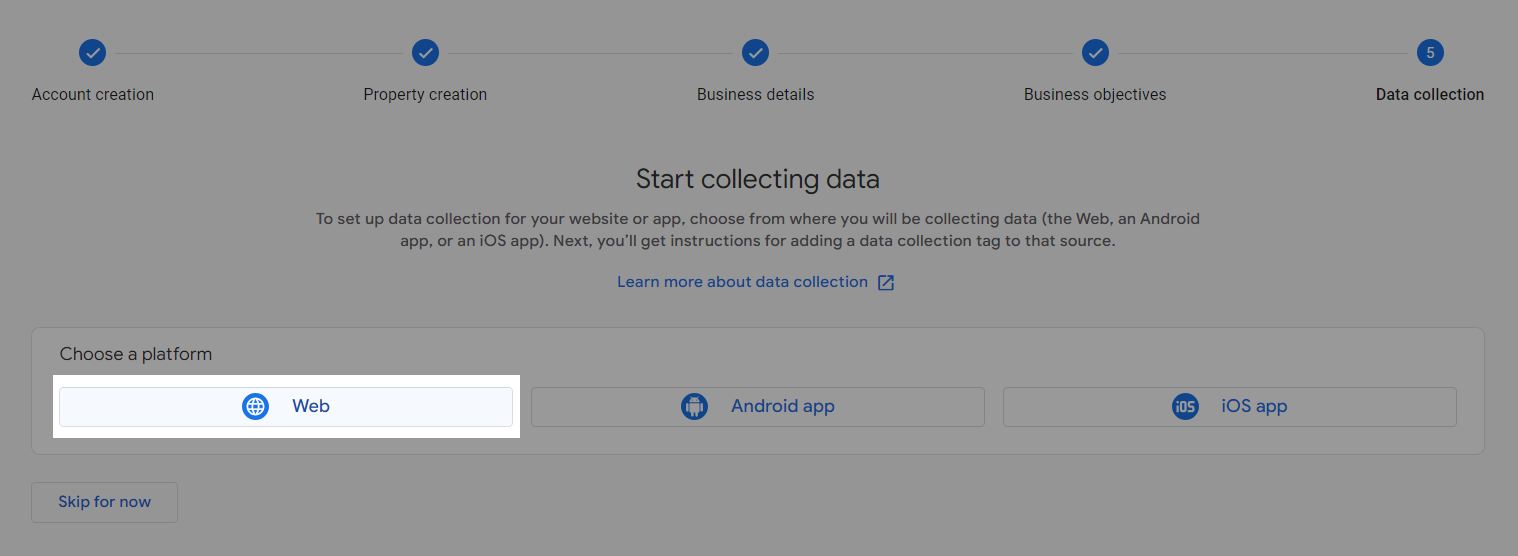
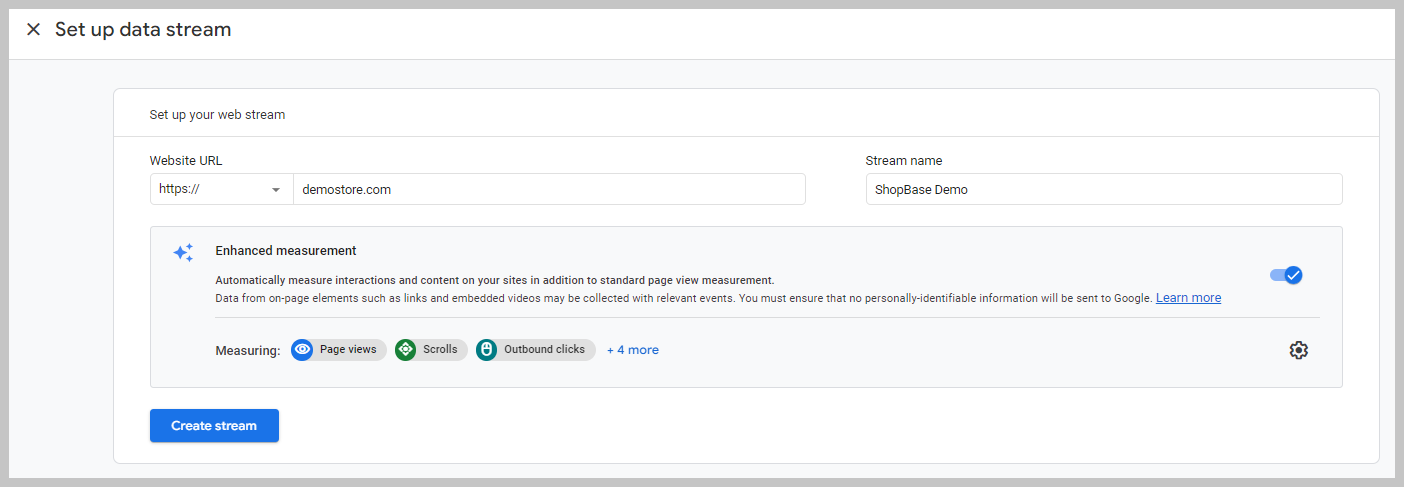
B. Enable Google Analytics
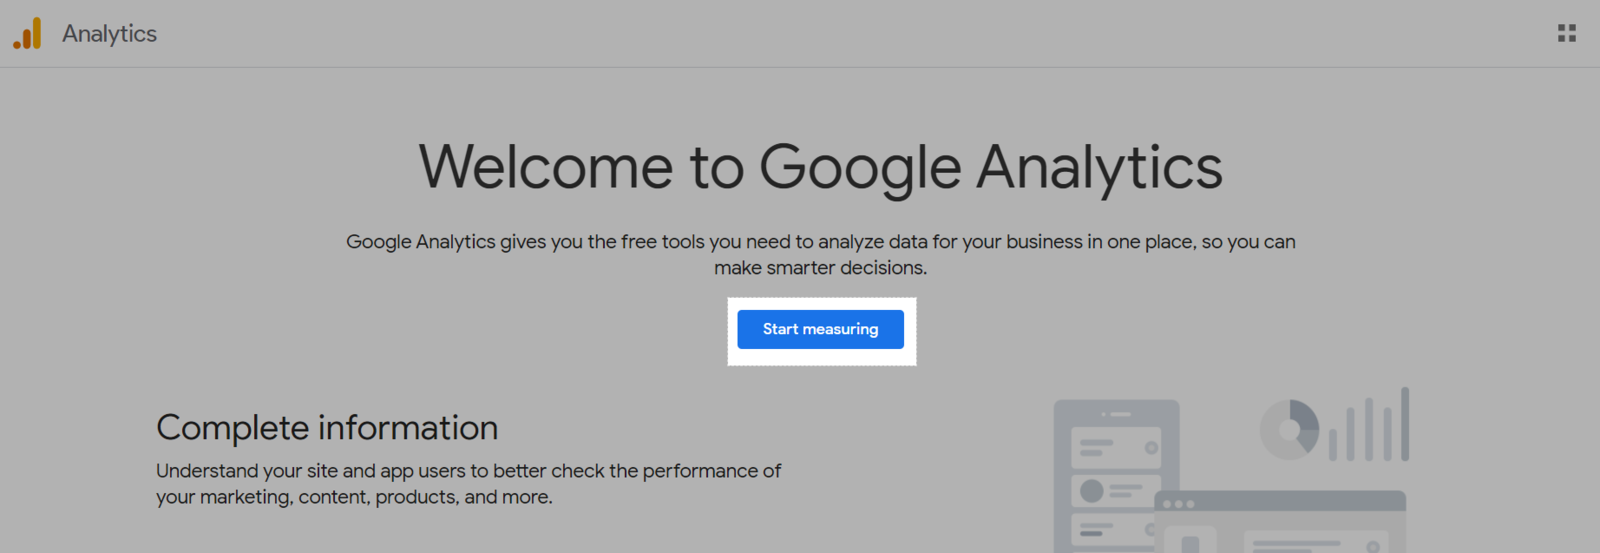
To use Google Analytics, you must have a Google account. If you already use Google products like Gmail or Ads, you can sign in with the same account for Google Analytics. If you don't already have a Google account, kindly visit this link to create a new one. You don't have to use the Google account for anything other than signing in and out of Google Analytics.


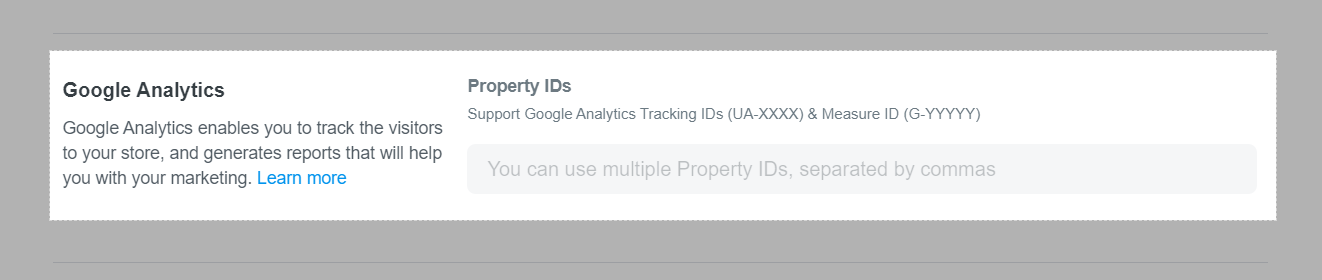
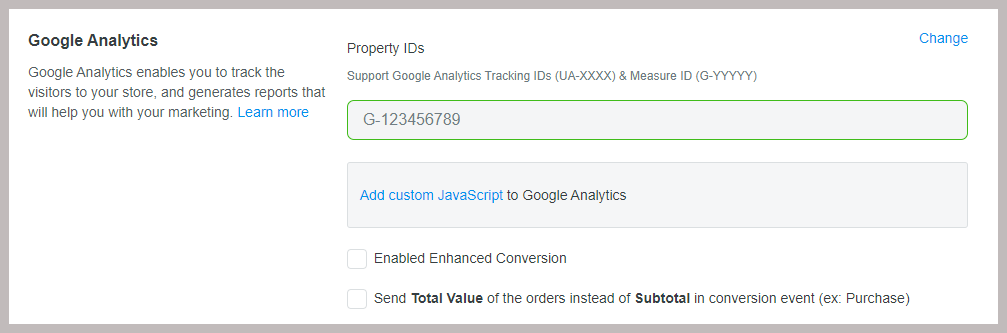
You can add multiple measurement IDs and separate them using commas (without any space).
Because of the relatively significant amount of data provided to Google Analytics, a difference of roughly 5-10% may occur in some circumstances. This difference is permissible when integrating a third-party tool into ShopBase.