Bulk update are modifications that apply to multiple or all products in your store. This feature helps you to manage, and modify information related to products on a large scale more efficiently instead of fixing individual products.
This article categorizes 16 primary actions supported by Bulk Update on ShopBase.
Product Title
Add text to product title in the drop-down menu of Add Action. In the first drop-down menu, choose At the beginning if you want to add text to the beginning of the product title, At the end if you want to add text at the end of the product title. Enter the text to add in the blank box provided.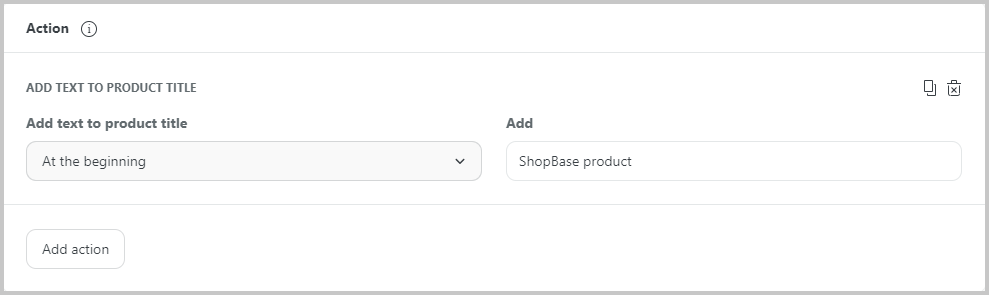
Remove text from product title in the drop-down menu of Add Action. Enter the word you want to delete in the blank field.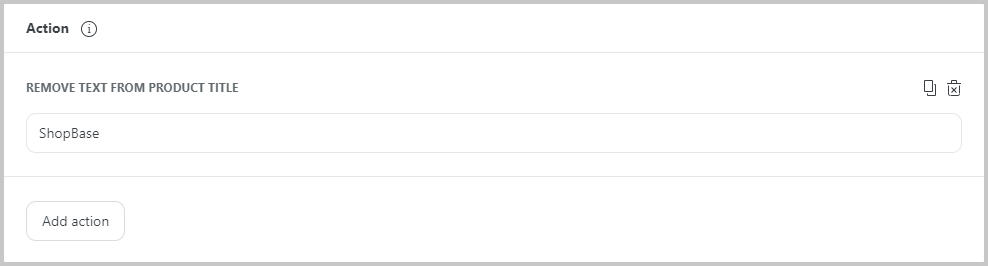
Replace text from to product title in the drop-down menu of Add Action. Enter the word you want to replace in the first blank field and the replaced word in the second blank field.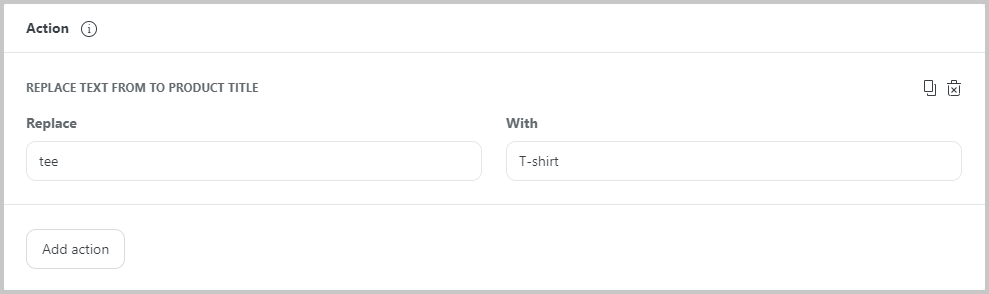
Product Description
Change product description in the drop-down menu of Add Action. The system will appear a text editor field for you to fill in. Then, the description of the filtered products will be updated with a new description.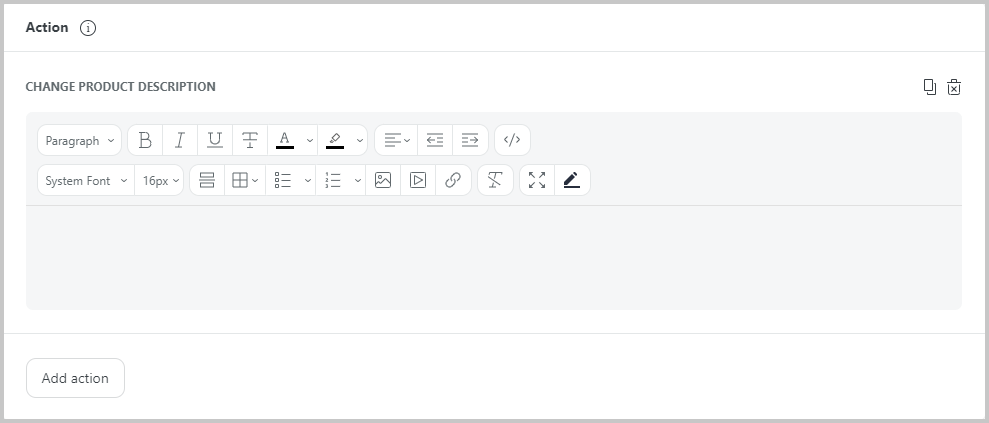
Add text to product description in the drop-down menu of Add Action. In the first drop-down menu, choose At the beginning if you want to add text to the beginning of the product description, At the end if you want to add text at the end of the product description. Enter the text to add in the editor field.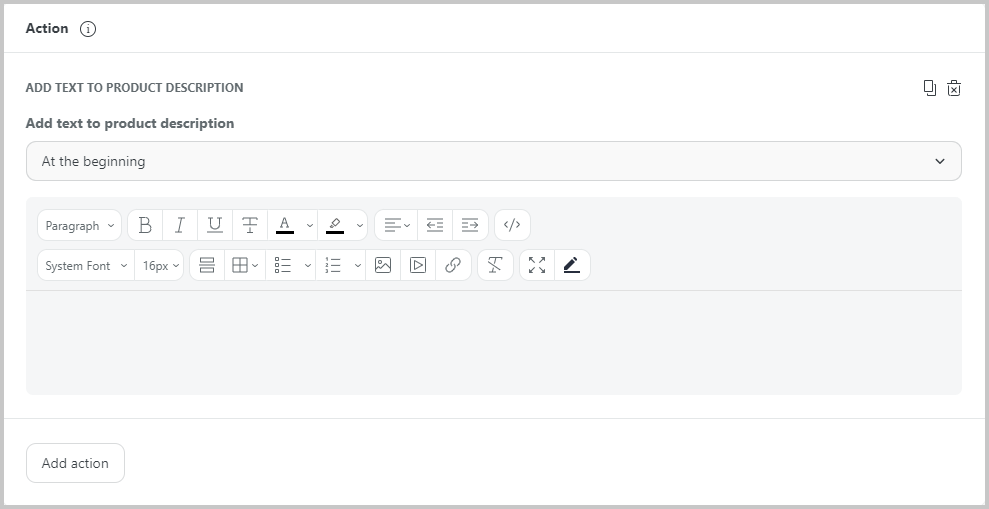
Find and replace text in description in the drop-down menu of Add Action. Enter the word/text you want to replace in the first blank field and the replaced word/text in the second blank field.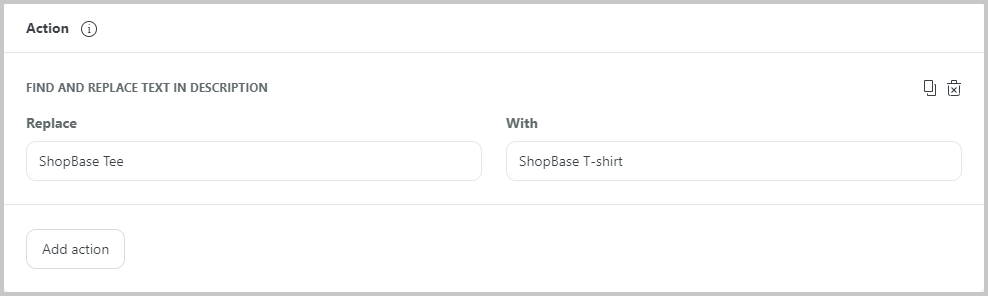
Product Media
Add images to product media in the drop-down menu of Add Action. Here, you can upload your image by clicking Upload file.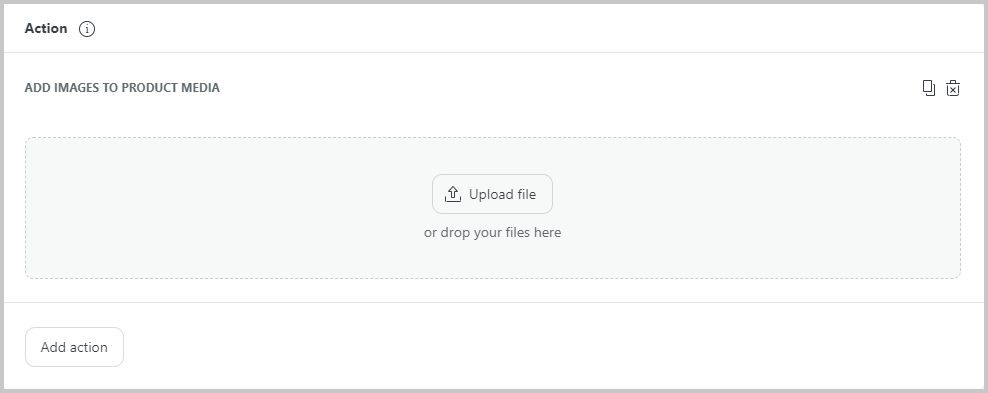
Replace all product images by the uploaded ones in the drop-down menu of Add Action. Click Upload file to upload the image. Uploaded images will replace the current product images.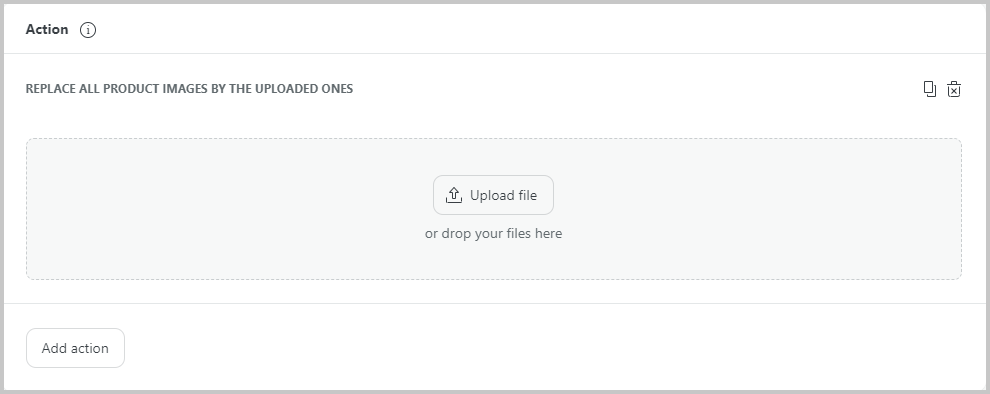
Product Tag
Add tags in the drop-down menu of Add Action. Enter the tag in the field.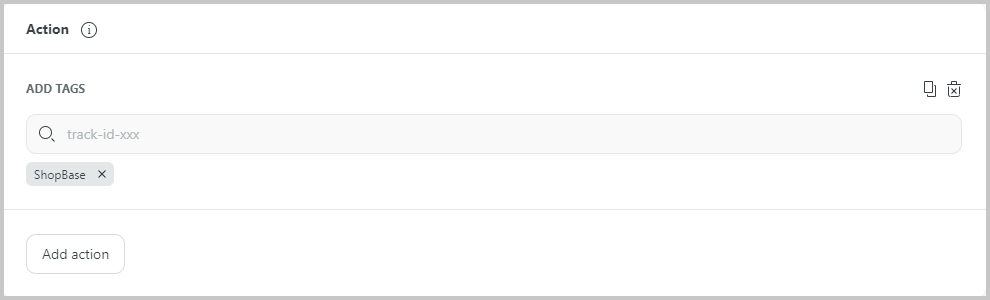
Remove tags in the drop-down menu of Add Action. Choose the conditions for tags that need deleting in the first drop-down menu, including Contains, Is equal to, Doesn't contain. Then, enter the tag in the field.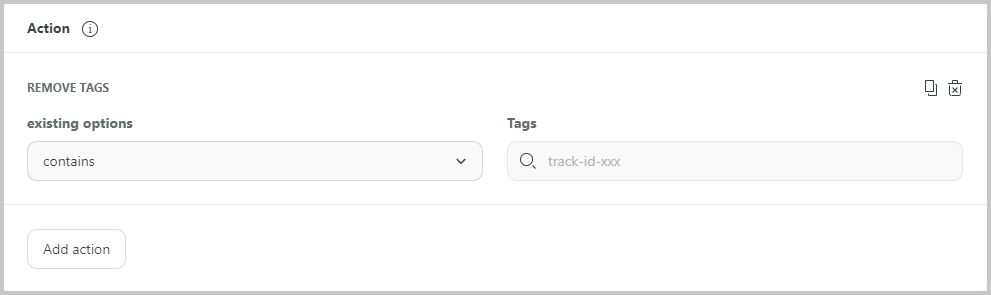
Replace tag in the drop-down menu of Add Action. Enter the tag you want to replace in the first blank field and the replaced tag in the second blank field.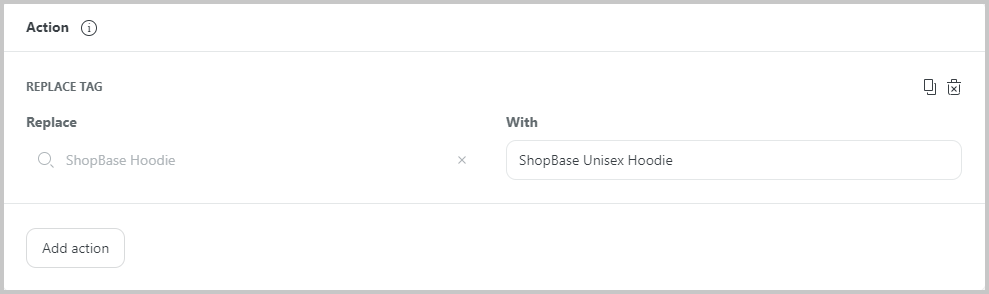
Product Type
Remove product type in the drop-down menu of Add Action. Confirm whether you want to remove the product type by switching on the blue button.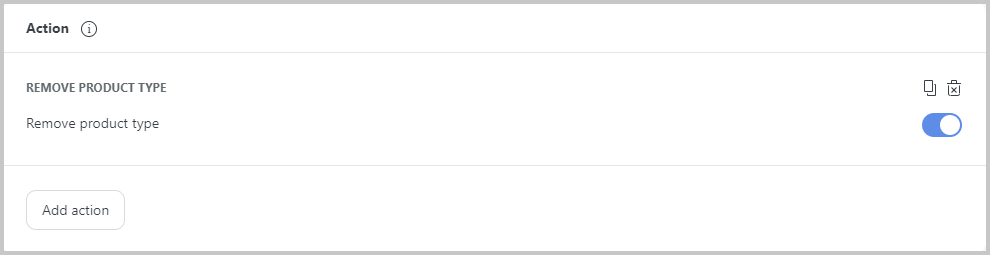
Change product type in the drop-down menu of Add Action. In the blank field, you can choose from the currently available product types or add a new one.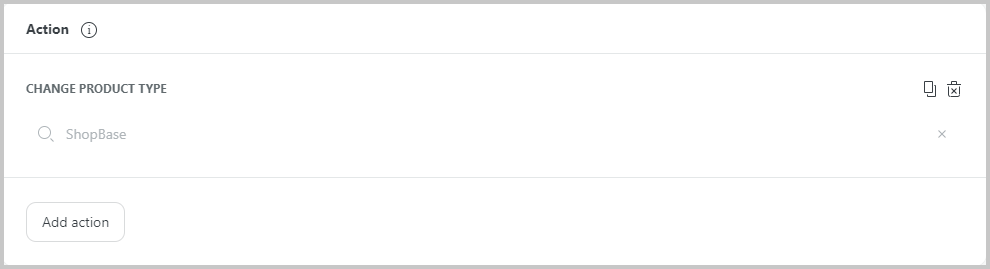
Product Vendor
Change product vendor in the drop-down menu of Add Action. Enter the vendor's information in the field.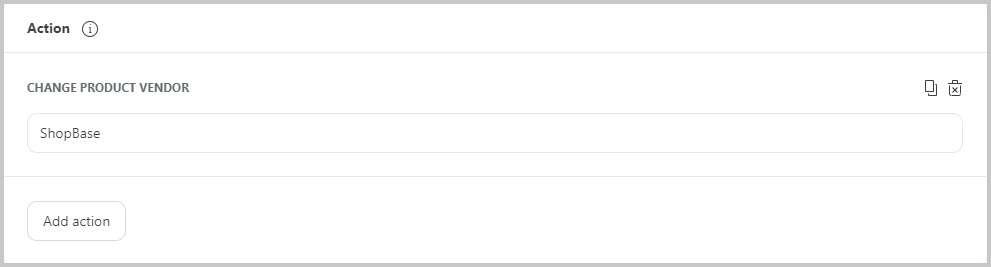
Product Price
Change price in the drop-down menu of Add Action. Enter the price you want to set in the blank field.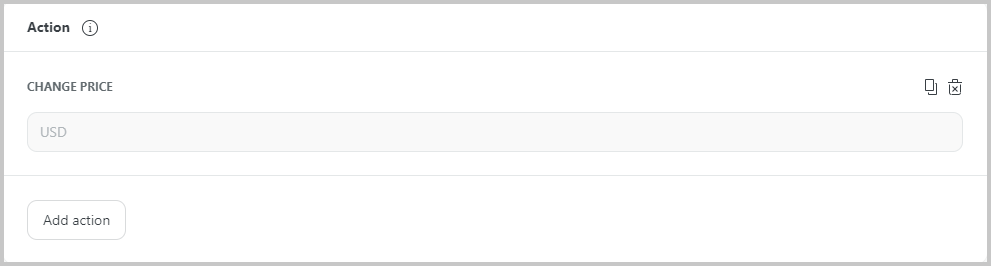
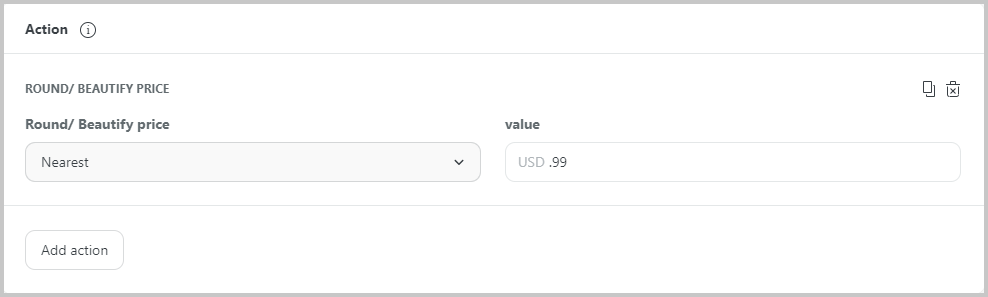
Round/ Beautify price in the drop-down menu of Add Action. Choose the rounding type you want in the first drop-down menu in Action with: Lower, Nearest, and Upper. Enter the rounding value of the integer or decimal part you want in the second blank field.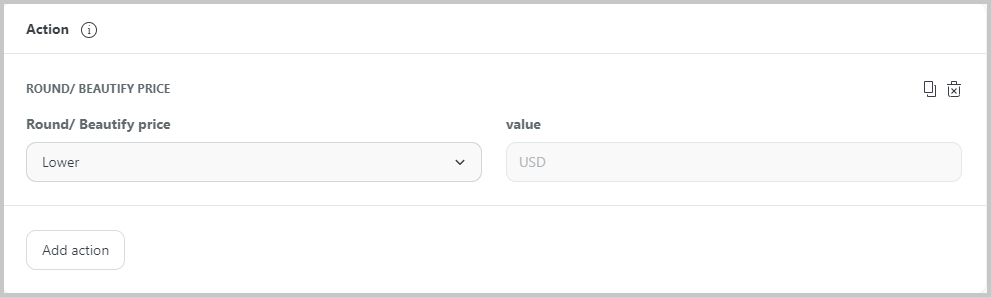
For example, if you enter fields like the image below, it means you want to round the product sale price to the nearest number of the current selling price, so the unit row of the selling price is 9. For example, the current price is 123.00, the result will be 119.00. If you change the first menu option in the example below to Upper, the price would be 129.00. If you change the first menu option in the example below to Lower, the price will be 119.00.

For example, if you enter fields like the image below, you are trying to adjust the selling price of the product to the nearest decimal number of .99. For example the current price is 123.00, the result would be 122.99.
Increase price in the drop-down menu of Add Action. Choose Increase price by percentage or by amount in the first drop-down menu. Enter the value you want to set in the blank field.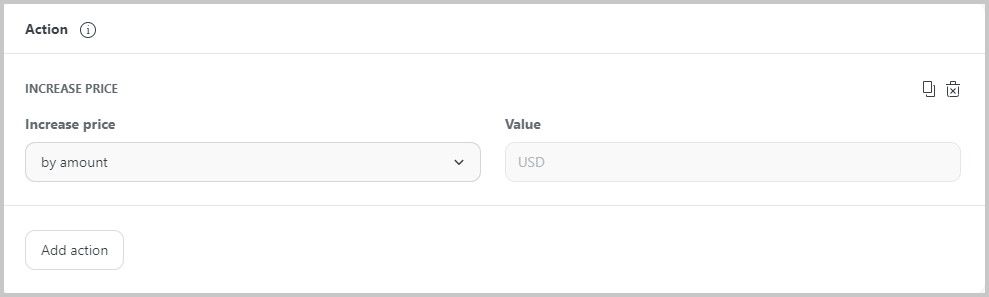
Decrease price in the drop-down menu of Add Action. Choose Decrease price by percentage or by amount in the first drop-down menu. Enter the value you want to set in the blank field.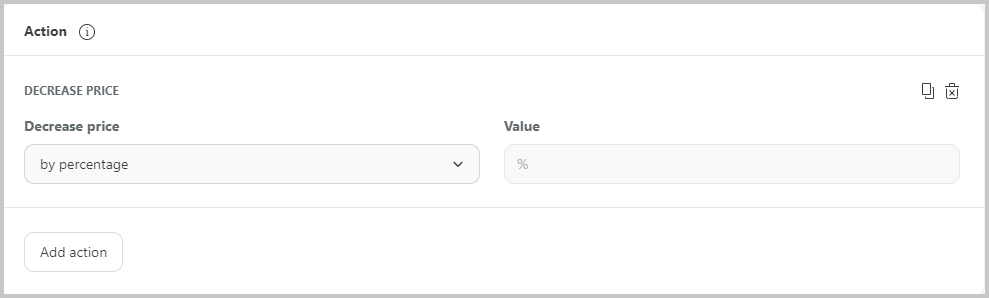
Compare at price
Change compare-at-price (in the drop-down menu of Add Action. Enter the price you want to set in the blank field.
Increase compare-at-price in the drop-down menu of Add Action. Choose Increase compare-at-price by percentage or by amount in the first drop-down menu. Enter the value you want to set in the blank field.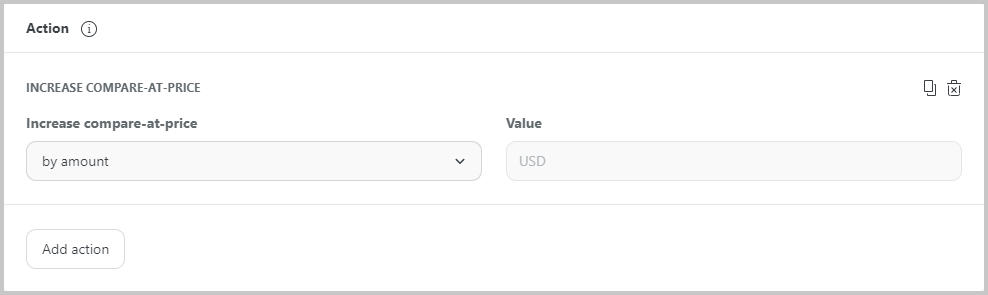
Decrease compare-at-price in the drop-down menu of Add Action. Choose Decrease compare-at-price by percentage or by amount in the first drop-down menu. Enter the value you want to set in the blank field.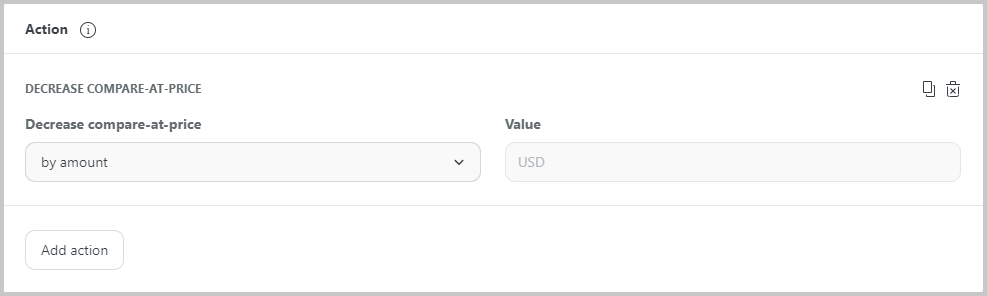
Update compare-at-price based on price in the drop-down menu in Action. Enter the percentage you want to set in the blank field.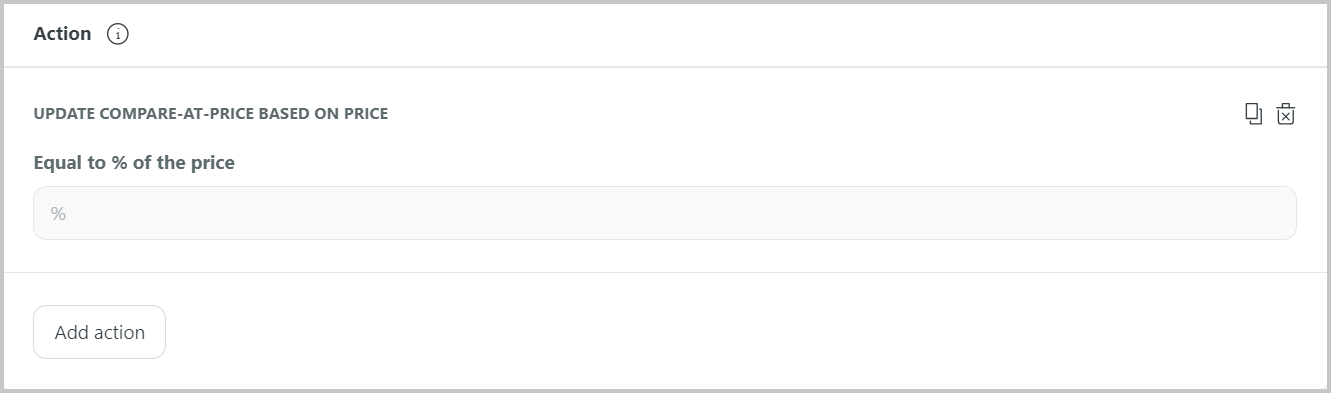
Product Weight
Update product weight in the drop-down menu of Add Action. Choose the weight unit in the first drop-down menu. Enter the weight in the field.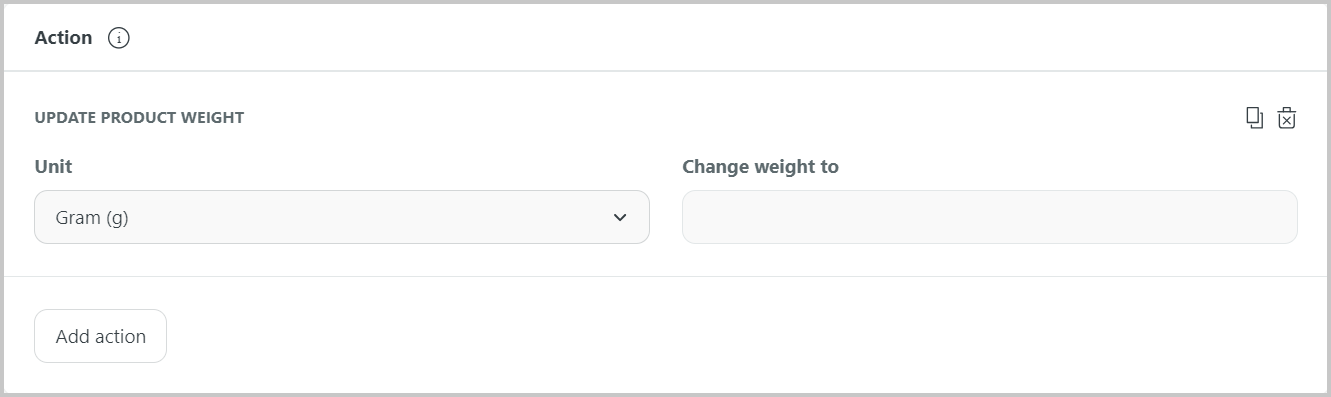
Update product weight by percentage in the drop-down menu of Add Action. Enter the percentage in the field.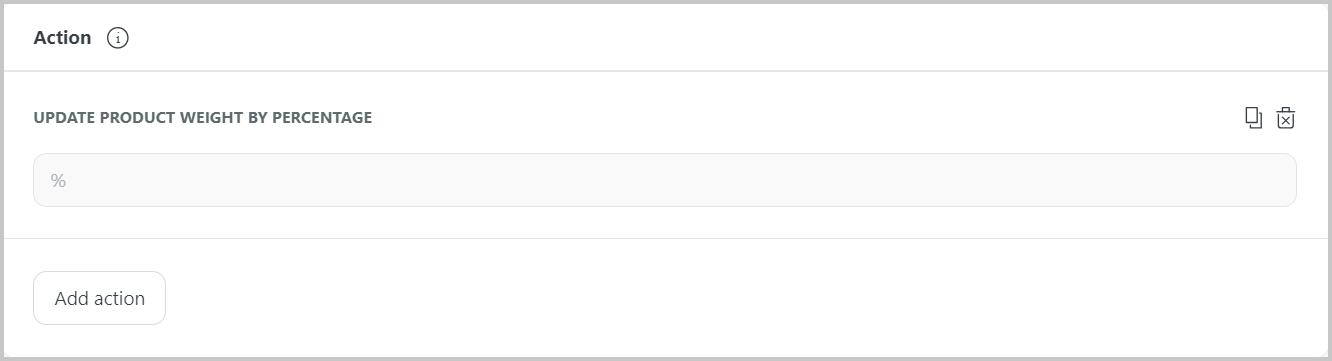
Product Variants
Change variant's option value in the drop-down menu of Add Action. Fill the option name in the first blank field, enter the option value for change in the second blank field, and the new option value in the third field.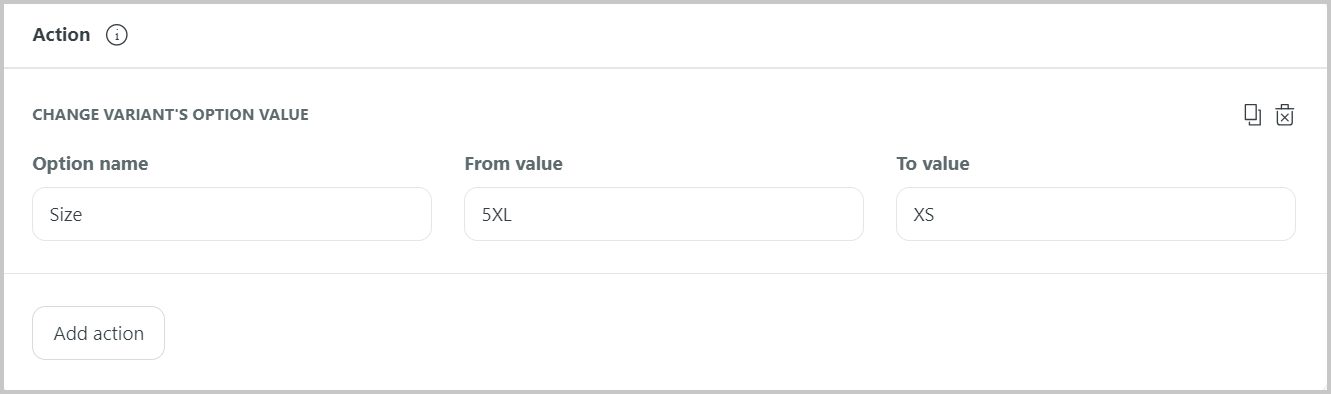
Delete variant's option value in the drop-down menu of Add Action. Enter the Option name that you want to delete in the first blank field and enter the value in the second blank field.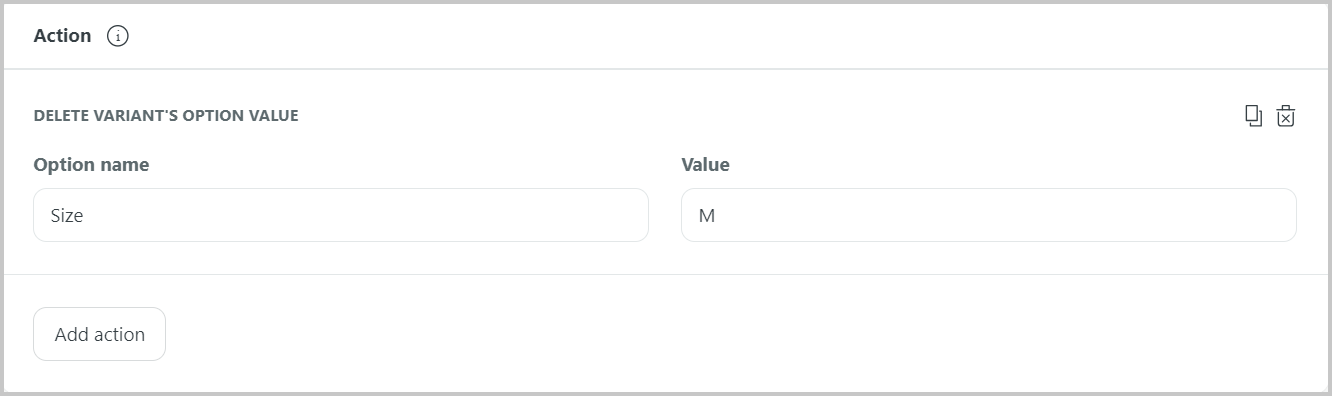
Delete variant tag in the drop-down menu of Add Action. Enter the variant tag that needs deleting in the field.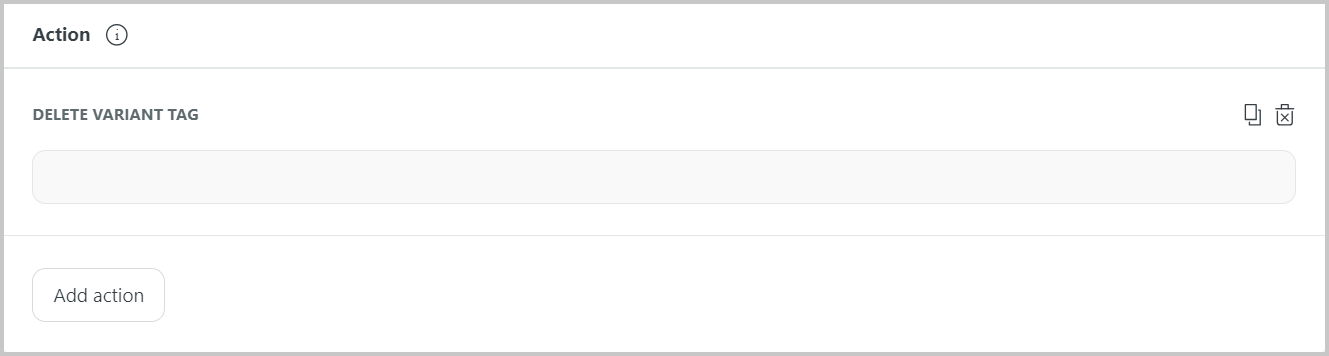
Add variant tag in the drop-down menu of Add Action. Enter the variant tag in the field.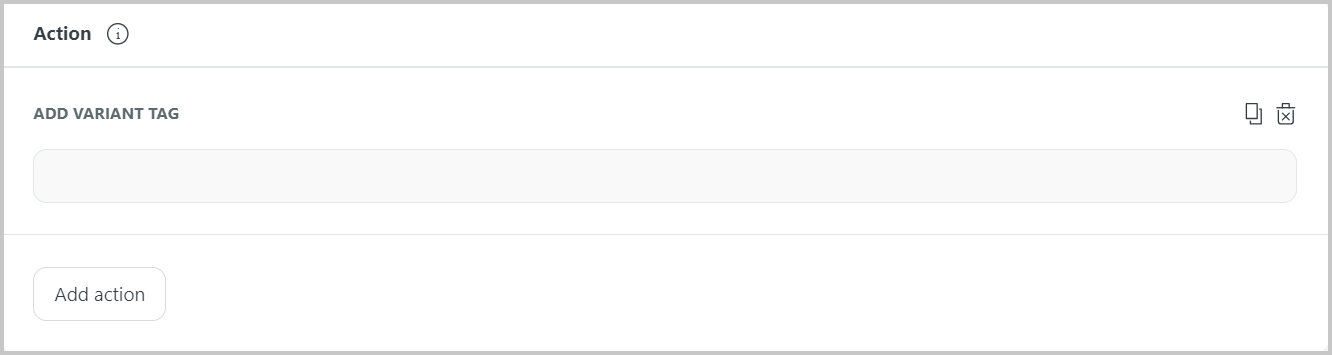
Replace variant tag in the drop-down menu of Add Action. Enter the replaced variant tag in the blank field.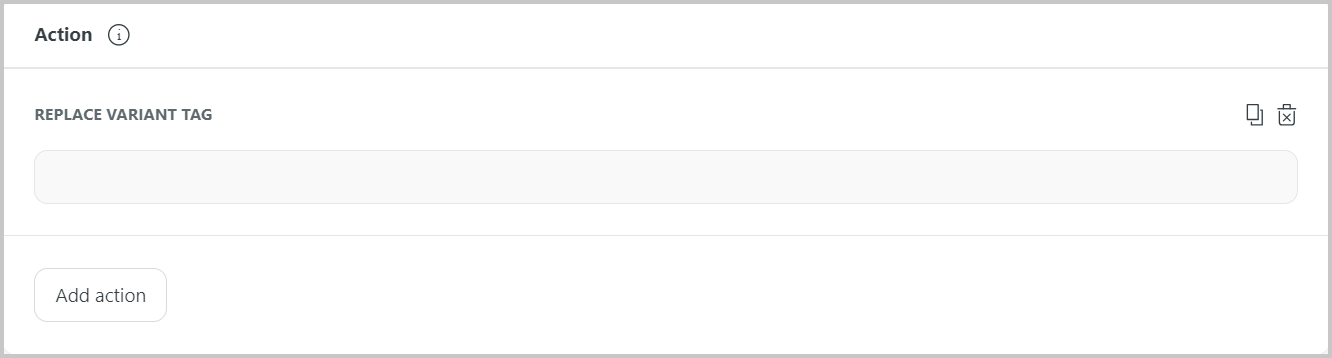
Custom option
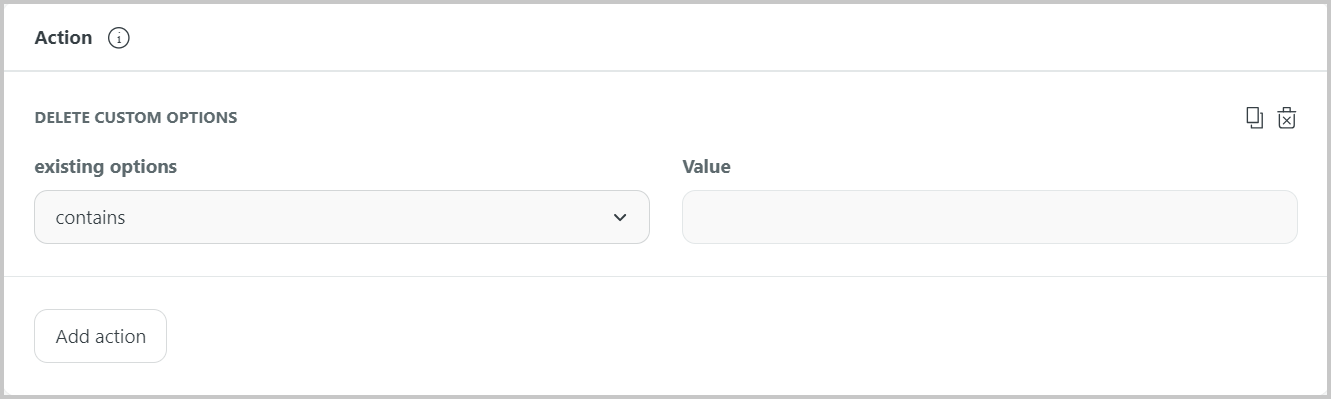
Delete custom options in the drop-down menu of Add Action. Choose the conditions for a custom option that you want to delete using Contains, Is equal to, or Doesn’t contain and enter your Option value.The last custom option of campaigns created from PrintBase or PrintHub app won’t be deleted because personalized campaigns must need at least one active custom option.
Replace custom options in the drop-down menu of Add Action. Enter the name of the custom option you want to replace in the field of From option field, then fill in the requirements for your new custom options.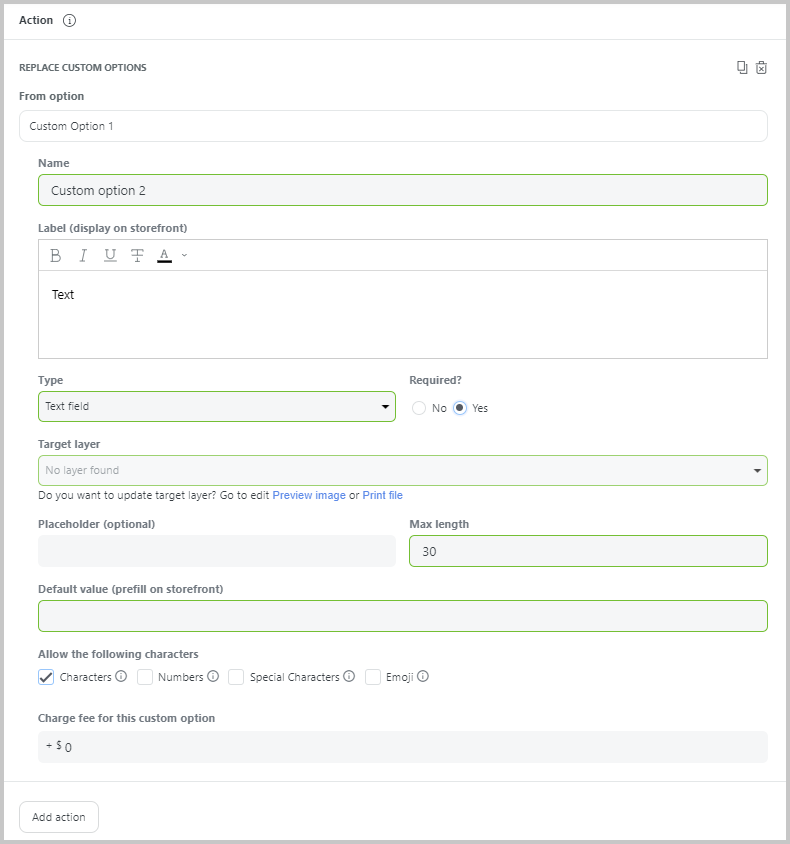
You cannot create a bulk update to add and replace custom options of PrintHub campaigns. When these two actions are performed, PrintHub campaigns can still be listed in the Preview Bulk Update window, however, they will be skipped during the bulk update process.
Add custom options in the drop-down menu of Add Action. Select Before or After in the Existing options section to choose between adding custom options either before or after the customized options on the product. Then, enter the information in the newly created custom option.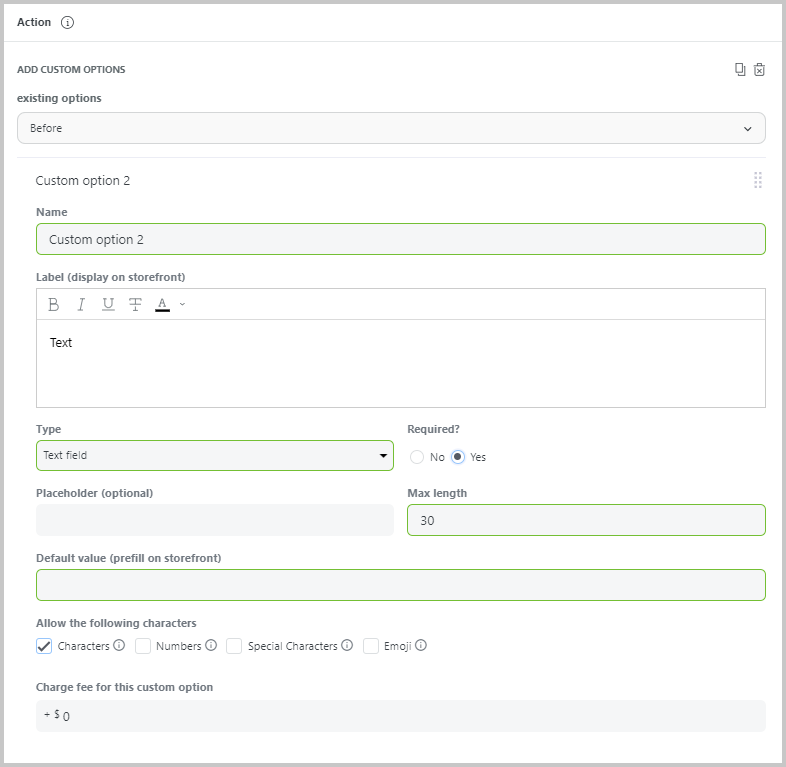
Collection
Add to collection in the drop-down menu of Add Action. Enter the collection name you want in the blank field.
Remove from collection in the drop-down menu of Add Action. Enter the collection name you want in the blank field.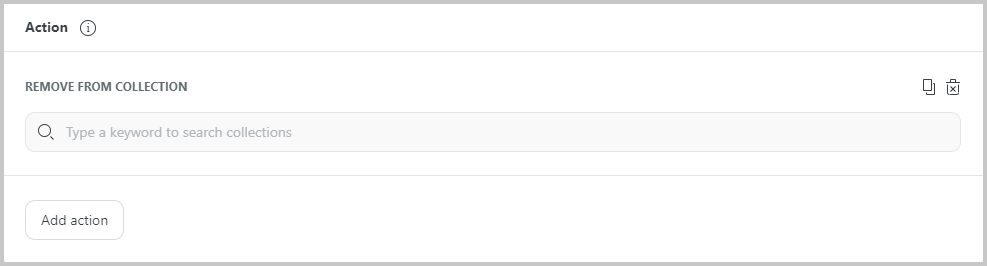
You can only add products to collection or remove products from manually created collection. You cannot add / remove products with automatic collection.
Inventory
Change whole content of SKU in the drop-down menu of Add Action. Enter the new SKU content you want in the blank field.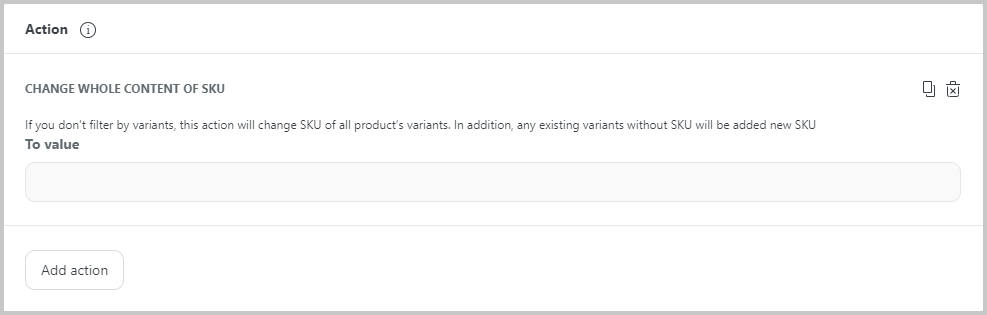
If you don't filter by variants, this action will change SKU of all product’s variants. In addition, any existing variants without SKU will be added new SKU.
Find and replace text in SKU in the drop-down menu of Add Action. Enter the SKU you want to change in the first blank field, enter the new SKU content in the second blank field.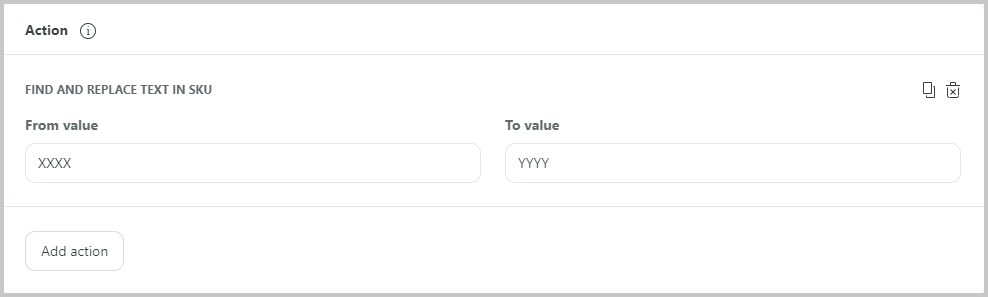
Add text to SKU in the drop-down menu of Add Action. Choose where the characters appear in the first drop-down menu that includes At the beginning or At the end. Enter the character you want to add to the SKU in the blank field.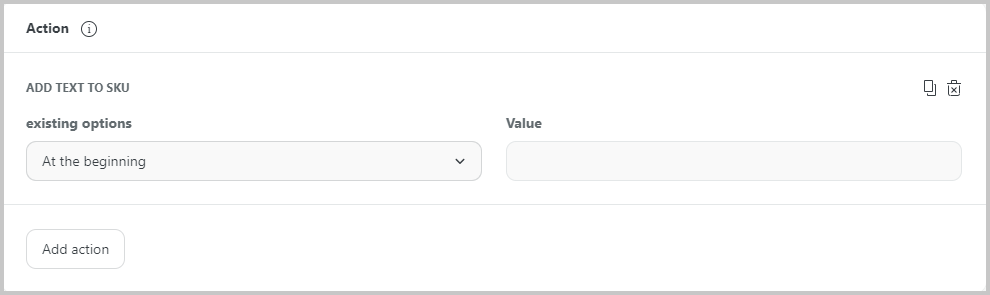
Allow customer to purchase when product's out of stock in the drop-down menu of Add Action. Switch on the blue button to enable customers to purchase out-of-stock items and the gray button to turn it off.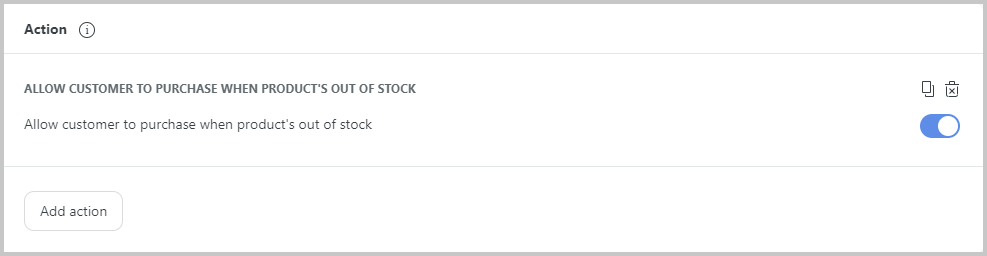
Change inventory policy in the drop-down menu of Add Action. In the drop-down menu, choose Don't track inventory if you don't want ShopBase to track product inventory or ShopBase tracks this product's inventory if you wants ShopBase to track product inventory. When you select ShopBase tracks this product's inventory, this will update the stock quantity every time a product is ordered.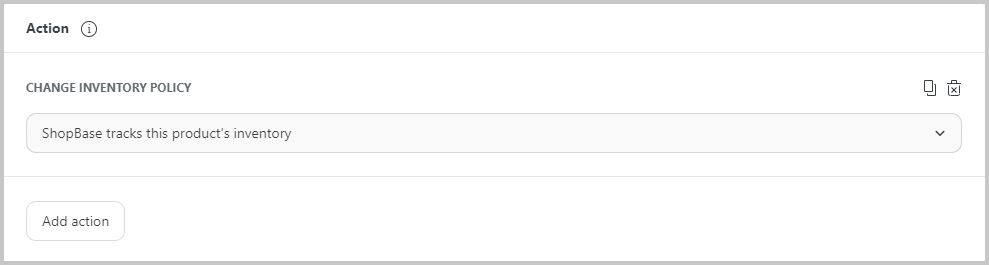
Change inventory quantity in the drop-down menu of Add Action. Enter the inventory quantity you want in the blank field.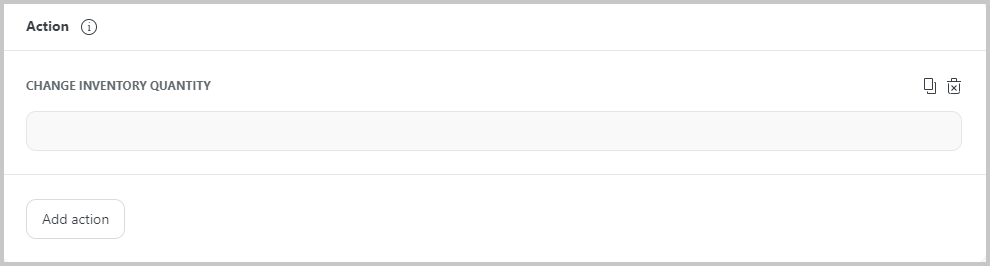
Product Availability
Change inventory quantity in the drop-down menu of Add Action. Select the channel where you want the product to show in the drop-down menu including Online store, Search Engine Bot Crawlers, Sitemap files, or the option for All channels to display the product across all listed channel.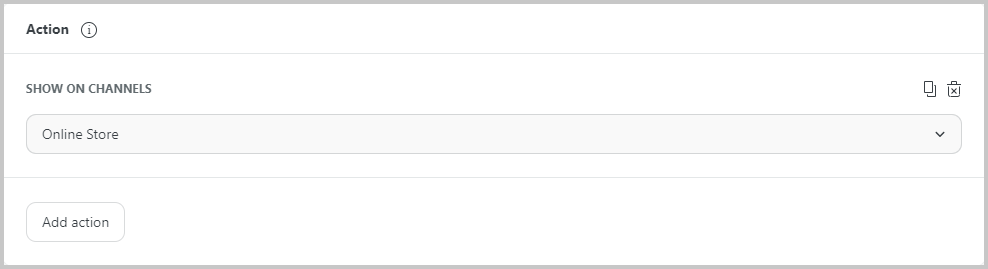
Hide on channels in the drop-down menu of Add Action. Select the channel where you want the product to hide in the second drop-down menu including Online store, Search Engine Bot Crawlers, Sitemap files, or the option for All channels to display the product across all listed channel.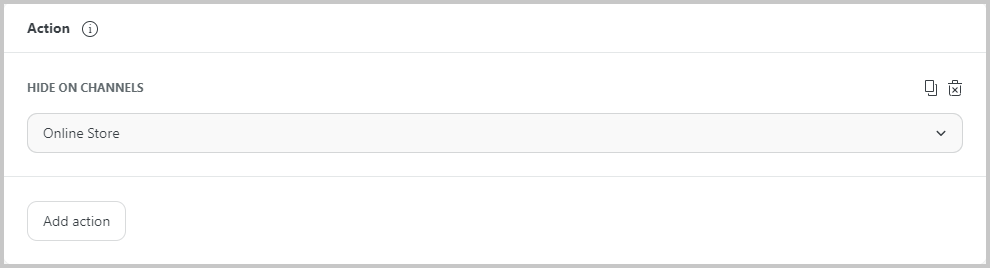
Theme template
Change product page design in the drop-down menu of Add Action. Select the template that you created to assign it to the page of the filtered product.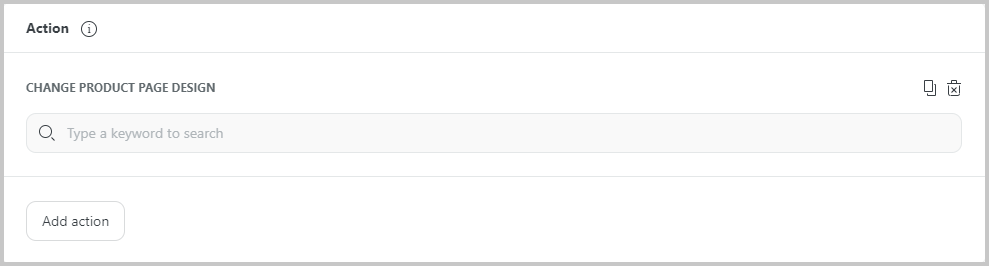
FaceBook pixel & Conversion API
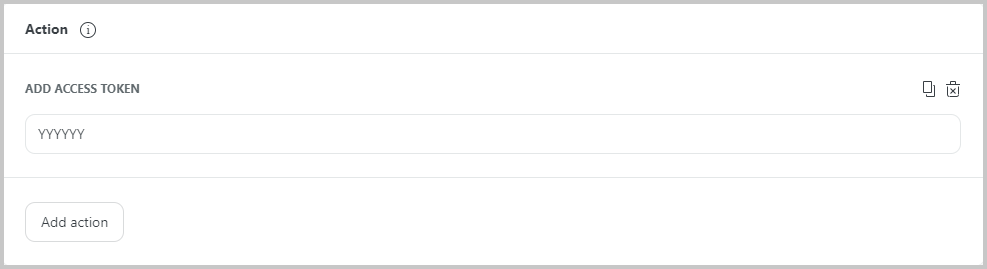
Bulk updates are a more efficient way to set Facebook Pixel and Conversions API for products instead of adding each product individually.
Add pixel ID in the drop-down menu of Add Action. Enter the pixel ID in the blank field.Add access token in the drop-down menu of Add Action. Enter the access token in the blank field.